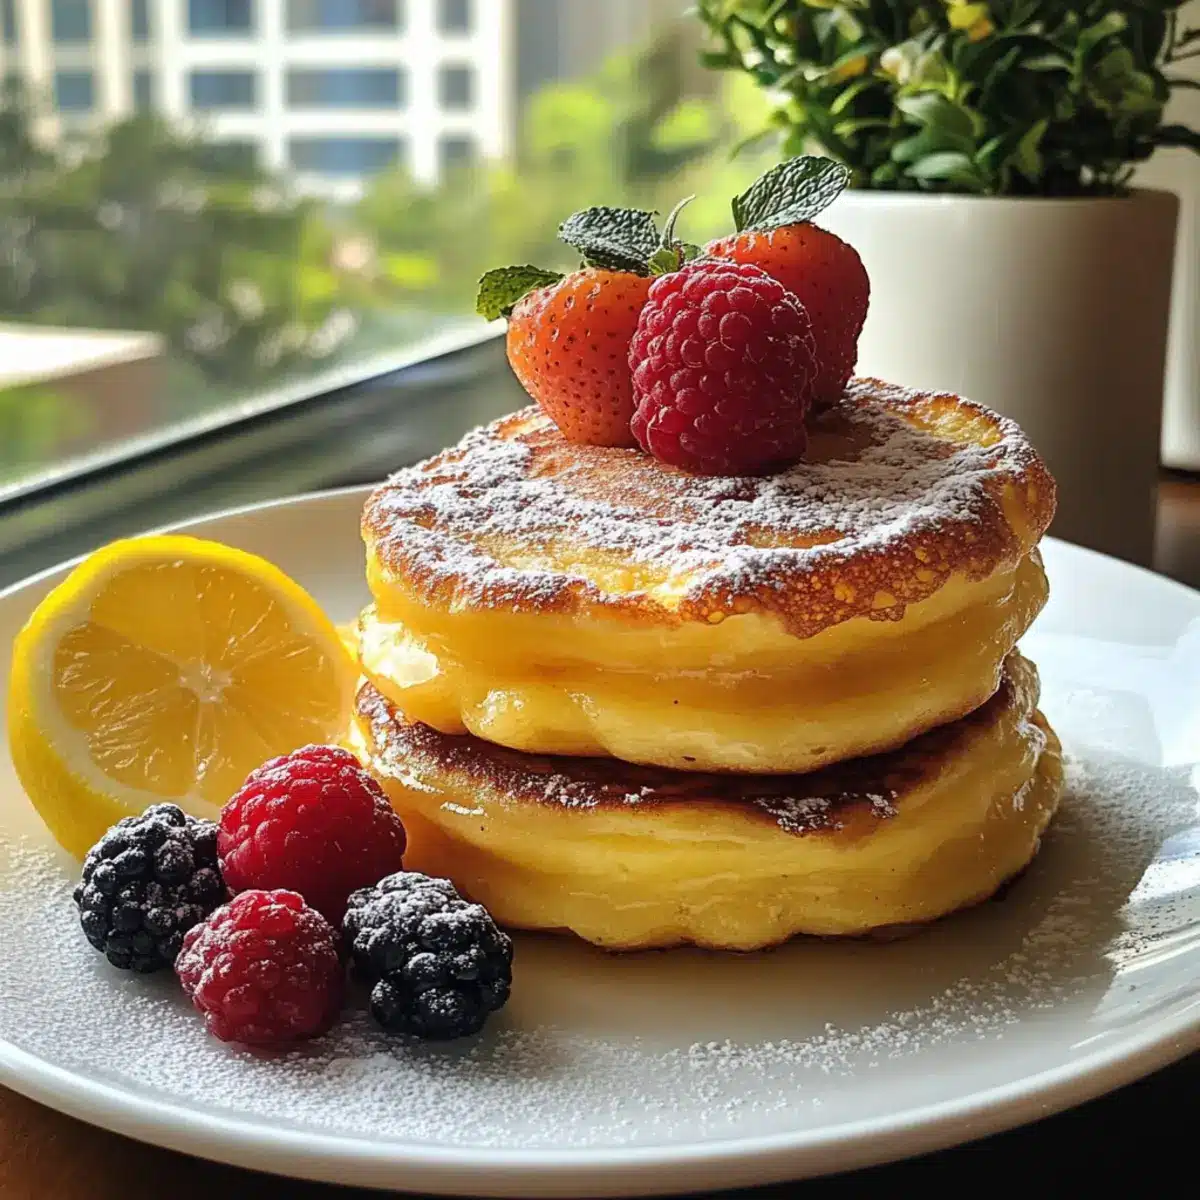
As I pulled my tiny muffin pan from the oven, a cloud of golden-brown wonder emerged, transforming my kitchen into a breakfast haven. These easy Mini Dutch Baby Pancakes are like little puffs of joy that are as delightful to the palate as they are visually stunning. With their airy texture and crispy edges, they turn an ordinary morning into a show-stopping brunch that’s surprisingly effortless to prepare. Plus, they’re completely customizable—feel free to dress them up with fresh fruit, powdered sugar, or even a savory twist! Whether you’re feeding a crowd or just craving something special for yourself, this recipe guarantees a delightful start to the day. Ready to impress your taste buds and make breakfast unforgettable?
Why are Mini Dutch Baby Pancakes Special?
Irresistible fluffiness: The airy texture of these pancakes makes each bite feel like a little cloud of happiness.
Quick and easy: With only a few simple ingredients and minimal prep time, you can whip up a stunning breakfast in no time.
Customizable toppings: Make them your own! Dress them up with fresh fruit, a sprinkle of powdered sugar, or even savory options like cheese and herbs.
Perfect for gatherings: These mini pancakes are sure to impress friends and family, making any brunch an occasion to remember.
Versatile delight: Smoothly transition from sweet to savory by simply adjusting your toppings! If you’re looking for more bite-sized treats, check out my recipes for Mini Carrot Cakes or Fancy Mini Latkes.
Mini Dutch Baby Pancake Ingredients
- For the Batter
• Flour – Provides structure; substitute with a gluten-free 1:1 flour blend for gluten-free Mini Dutch Baby Pancakes.
• Milk – Adds moisture and tenderness; any type of milk (dairy or non-dairy) works beautifully here.
• Eggs – Contributes to the puffiness and richness; essential for that signature fluffy texture.
• Sugar – Adds a hint of sweetness; omit for savory versions or substitute with a sugar alternative if needed.
• Vanilla Extract – Enhances flavor; use pure extract for the best taste experience.
• Salt – Balances sweetness; don’t skip this essential ingredient for maximum flavor.
• Unsalted Butter – Creates crispy edges and enriches flavor; make sure to melt it in the hot muffin tin before adding the batter.
Step‑by‑Step Instructions for Mini Dutch Baby Pancakes
Step 1: Preheat the Oven and Prepare the Muffin Pan
Begin by preheating your oven to 425°F (220°C). Place a 12-cup muffin pan inside to heat up, ensuring it becomes sufficiently hot for a perfect puff. This step is crucial, as a well-preheated pan contributes to the signature rise of your mini Dutch baby pancakes.
Step 2: Blend the Pancake Batter
In a blender, combine flour, milk, eggs, sugar, vanilla extract, and salt. Blend on high for approximately one minute until the mixture is smooth and uniform. Once blended, allow the batter to rest for about 10 minutes, giving it time to thicken slightly and enhance its fluffiness.
Step 3: Melt the Butter in the Muffin Pan
Carefully remove the hot muffin pan from the oven using oven mitts. Immediately add a chunk of unsalted butter into each muffin cup, allowing it to melt and sizzle. This step is vital for achieving the crispy edges that define a delightful mini Dutch baby pancake.
Step 4: Pour in the Batter
Once the butter has melted, pour about 1/3 cup of the rested batter into each muffin cup over the melted butter. Be cautious not to overfill the cups, as the batter will rise considerably while baking. This careful pouring will ensure that your mini Dutch baby pancakes come out perfectly puffed and golden.
Step 5: Bake Until Golden Brown
Return the muffin pan to the oven and bake the mini Dutch baby pancakes for 12-15 minutes. Keep an eye on them as they bake; you’ll know they are ready when they are puffy and golden brown. The visual cue of their rise will indicate that they’re achieving that delightful cloud-like texture.
Step 6: Cool and Serve Promptly
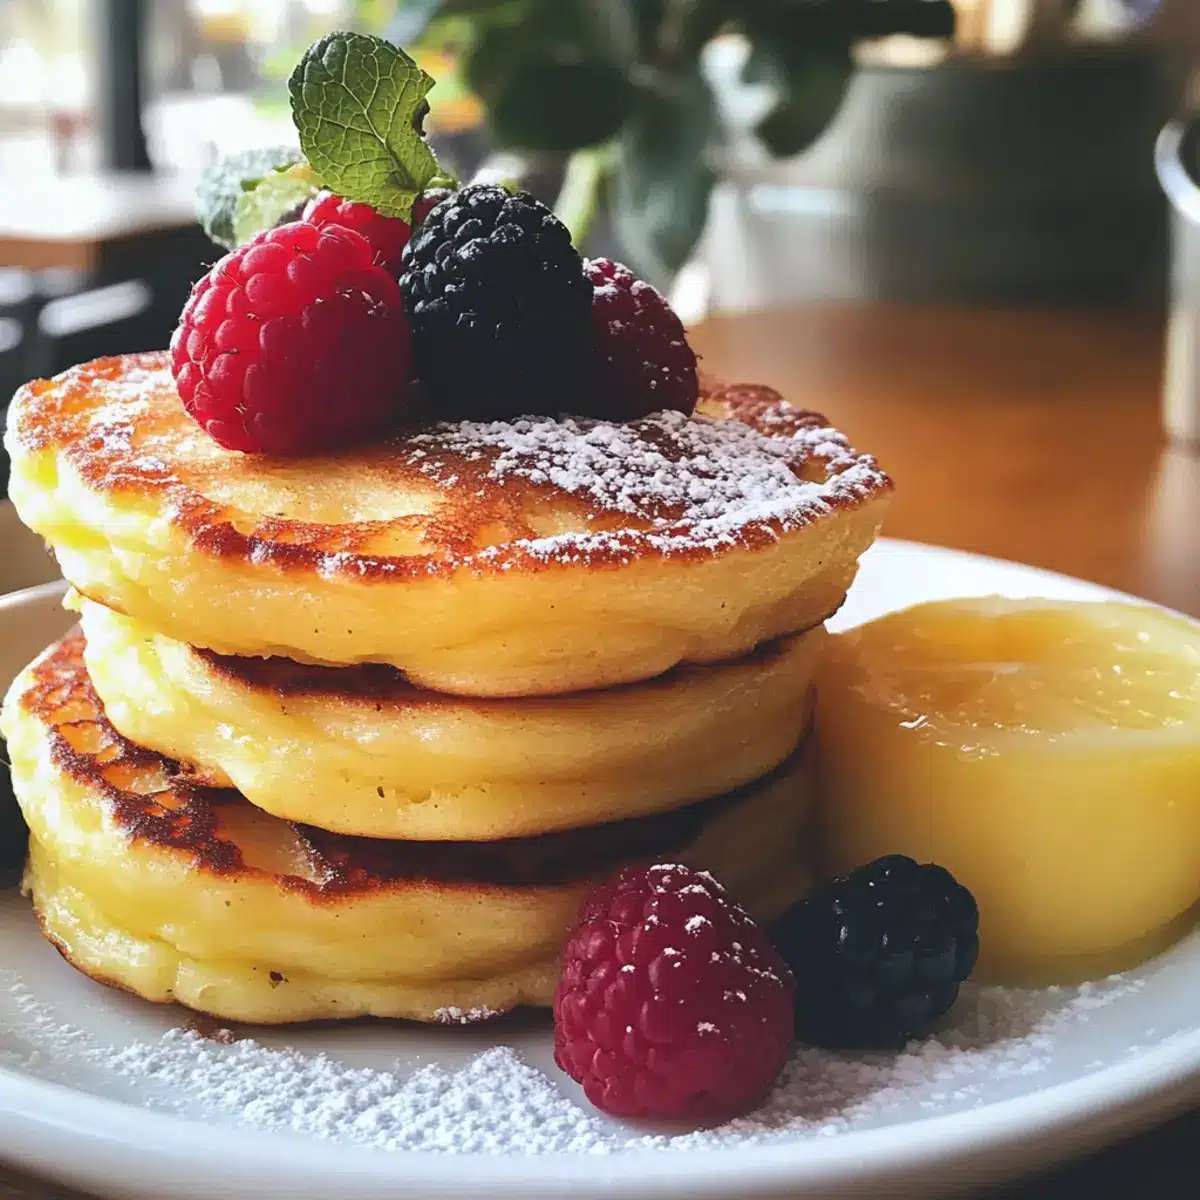
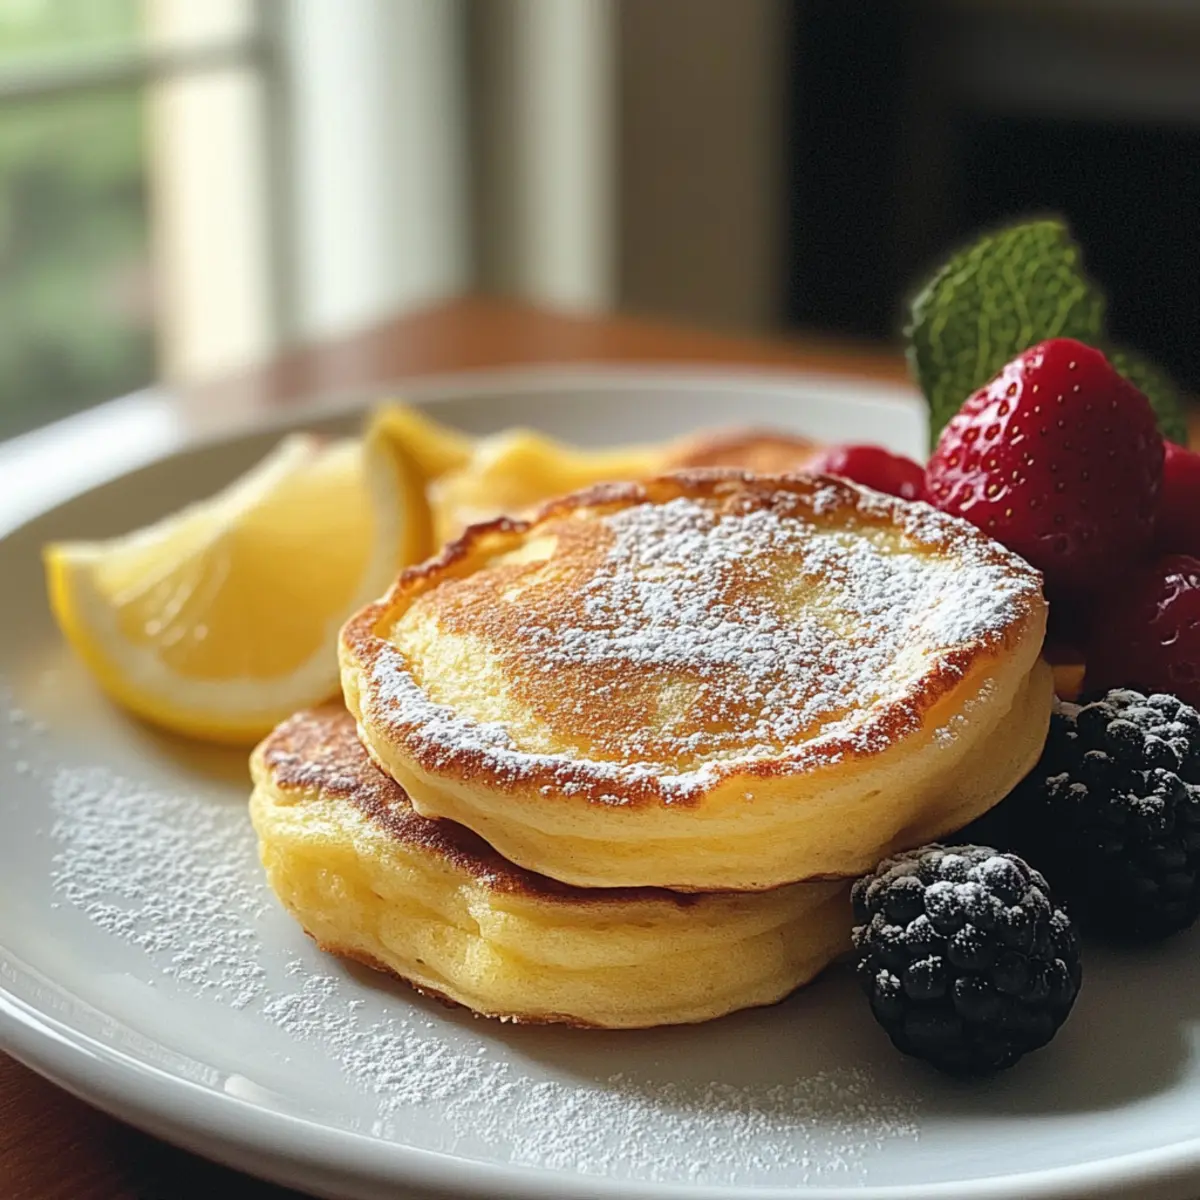
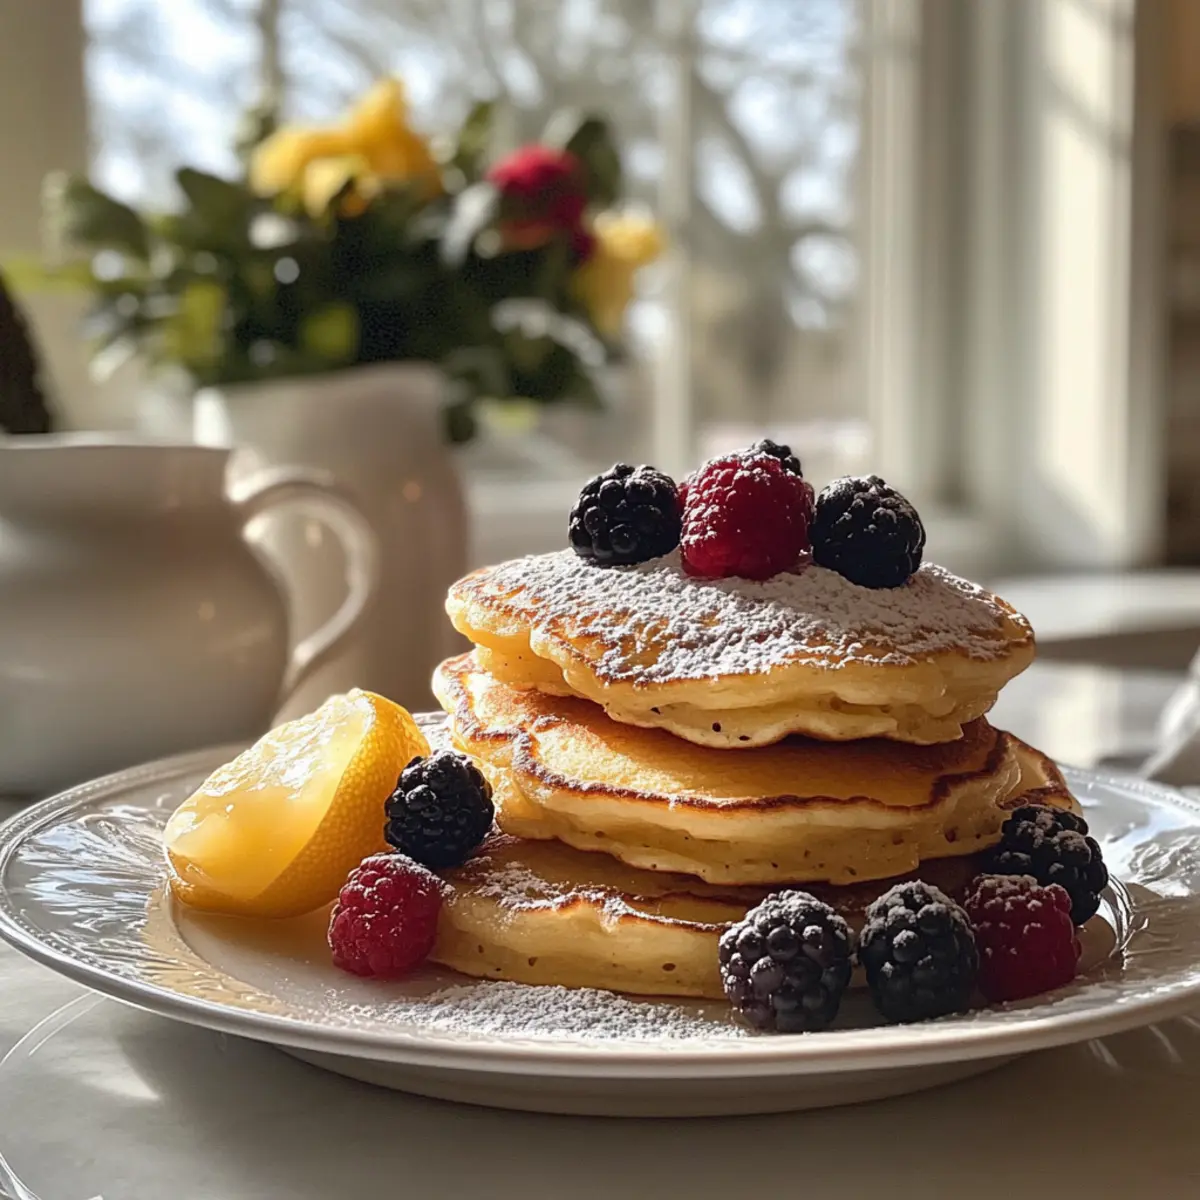
After baking, remove the pan from the oven and let the pancakes cool in the pan for about one minute. They are best served immediately while still warm, light, and airy. Add toppings of your choice, like powdered sugar, fresh fruit, or jam to elevate your mini Dutch baby pancakes to a delightful breakfast treat.
Mini Dutch Baby Pancakes Variations & Substitutions
Get ready to transform these delightful pancakes with exciting twists and customizations that will tickle your taste buds!
-
Dairy-Free: Substitute regular milk with almond, oat, or coconut milk for a creaminess that suits your needs.
-
Gluten-Free: Use a gluten-free 1:1 flour blend in place of all-purpose flour for fluffy pancakes without gluten.
-
Savory Option: Omit sugar and vanilla, adding fresh herbs like chives or thyme for a deliciously savory twist. These mini pancakes can make a delightful appetizer or brunch item!
-
Fruit-Filled Delight: Burst with flavor by filling the pancake cups with fresh berries or sliced bananas before baking. This adds a sweet surprise that complements the fluffy texture exquisitely.
-
Lemon Zest Kick: Incorporate lemon zest into the batter for a bright, zesty flavor that dances on the palate. A little citrus can uplift your breakfast experience!
-
Cheese & Herb: Mix in grated cheese (like cheddar or feta) and your favorite herbs to the batter for deliciously cheesy mini Dutch baby pancakes that everyone will enjoy.
-
Caramelized Apples: Sauté some sliced apples with cinnamon and butter, then spoon them over the cooked pancakes for a warm, comforting topping that feels like a cozy hug.
-
Nutty Crunch: Stir in ground nuts or top with crushed pistachios for an added crunch and flavor that elevates the dish further. Just like the textures from my Mini Mushroom Gruyere are delightful, a nutty accent can add depth to these pancakes too!
Feel free to mix up your toppings and combinations! The possibilities are endless with these Mini Dutch Baby Pancakes, making each breakfast a unique and delightful moment.
What to Serve with Easy Mini Dutch Baby Pancakes
Transform your breakfast into a sparkling feast with delightful accompaniments that add flavor and texture.
-
Fresh Berries: Sweet, juicy strawberries and blueberries provide a refreshing contrast to the airy pancakes, adding a burst of color and flavor.
-
Greek Yogurt: Creamy and tangy, a dollop of yogurt not only enhances the pancakes’ sweetness but also introduces a rich, velvety texture that complements their fluffiness.
-
Maple Syrup: The classic choice! Pouring warm maple syrup over your mini Dutch baby pancakes is a timeless way to elevate their sweetness, making every bite even more indulgent.
-
Whipped Cream: A light, fluffy topping gives a beautiful and airy finish. It’s the perfect companion for a sweetened pancake, creating a dreamy dessert feel.
-
Savory Smoked Salmon: For a unique twist, top with smoked salmon and crème fraîche. The rich, savory flavors transform your breakfast into an elegant brunch experience.
-
Powdered Sugar: A simple dusting of powdered sugar adds a touch of sweetness and elegance, making your mini Dutch baby pancakes visually appealing and tastefully delightful.
-
Hot Chocolate or Coffee: Warm beverages like rich hot chocolate or fresh coffee are great to sip on while enjoying these puffy treats, enhancing the comforting breakfast experience.
Expert Tips for Mini Dutch Baby Pancakes
• Preheat Perfectly: Ensure your oven and muffin pan are fully preheated. A cold pan will yield sad, flat pancakes instead of the fluffy mini Dutch baby pancakes you want.
• Measure Batter Wisely: Use about 1/3 cup of batter per muffin cup to avoid overflow. Overfilling can lead to messy pancakes that don’t puff properly.
• Let Batter Rest: Allowing the blended batter to rest for 10 minutes thickens it slightly, enhancing the light, airy texture of your mini Dutch baby pancakes.
• Serve Warm: These pancakes are best enjoyed fresh out of the oven while they’re still warm and puffy. Keep them from sitting too long to maintain that delightful texture.
• Explore Toppings: Don’t hesitate to get creative! Try sweet toppings like maple syrup or fruit compote, or savory options like cheese or smoked salmon to suit your taste.
Storage Tips for Mini Dutch Baby Pancakes
Fridge: Store leftovers in an airtight container for up to 3 days. This will help maintain their fluffy texture while being conveniently ready for a quick breakfast or snack.
Freezer: For longer storage, freeze the mini Dutch baby pancakes for up to 1 month. Simply place them in a freezer-safe bag, ensuring as much air as possible is removed.
Reheating: Reheat in a preheated oven at 350°F (175°C) for about 5-10 minutes or microwave for 30-60 seconds until warmed through. This will help retain their delightful fluffiness.
Serving Suggestion: Consider serving reheated pancakes with a fresh sprinkle of toppings to elevate their flavor and make breakfast feel special again!
Make Ahead Options
These fluffy Mini Dutch Baby Pancakes are an excellent option for meal prep, allowing you to enjoy a delicious breakfast with minimal effort on busy mornings! You can prepare the batter up to 12 hours in advance by blending your ingredients and refrigerating the mixture (this helps maintain a perfect texture). When you’re ready to bake, simply give the batter a quick blend again to reintroduce air, then pour it into the hot muffin tin with melted butter. If you have leftovers, they can be stored in an airtight container in the refrigerator for up to 3 days; just reheat them in the oven or microwave before serving. This way, you’ll have effortless, restaurant-quality pancakes every time!
Mini Dutch Baby Pancakes Recipe FAQs
How do I choose the best eggs for my mini Dutch baby pancakes?
When selecting eggs, I always recommend using large, fresh eggs for the best flavor and texture. Look for eggs with clean shells, and check the date on the carton to ensure they are not expired. The fresher, the better—it makes a delightful difference in your pancakes!
How should I store leftover mini Dutch baby pancakes?
For optimal freshness, store your leftovers in an airtight container in the refrigerator for up to 3 days. This way, they remain soft and fluffy and are ready for a quick snack or breakfast. If you have more than you can eat, freeze them for up to 1 month in a freezer-safe bag, pressing out as much air as possible to prevent freezer burn.
Can I freeze mini Dutch baby pancakes?
Absolutely! To freeze, let your mini Dutch baby pancakes cool completely. Then layer them between sheets of parchment paper in a freezer-safe container to prevent sticking. They can be kept in the freezer for up to 1 month. When you’re ready to enjoy them, simply reheat them in a preheated oven at 350°F (175°C) for about 5-10 minutes, or in the microwave for 30-60 seconds.
What do I do if my mini Dutch baby pancakes don’t puff up?
If you find your pancakes aren’t puffing up, there are a couple of common culprits. First, ensure your muffin pan is thoroughly preheated; a cold pan will lead to flat pancakes. Also, make sure you’re not overfilling the muffin cups; each should only hold about 1/3 cup of batter. Finally, giving the batter a good blend and allowing it to rest for 10 minutes helps with the fluffiness!
Are mini Dutch baby pancakes safe for children and pets?
These mini Dutch baby pancakes are generally safe for kids as long as there are no allergies to the ingredients used, such as eggs or gluten. For pets, it’s best to avoid giving them cooked pancakes, especially those with added sugar or toppings. Stick to plain versions without additives if you want to share a small piece as a treat.
Can I make adjustments for dietary restrictions?
Yes! For a gluten-free option, swap out regular flour for a gluten-free 1:1 flour blend. You can also use any type of milk, including non-dairy variations such as almond or oat milk. If you want to reduce sugar or make it sugar-free, simply omit the sugar or use a suitable alternative!
Mini Dutch Baby Pancakes: Fluffy Delights Worth Waking For
Ingredients
Equipment
Method
- Preheat your oven to 425°F (220°C) and place a 12-cup muffin pan inside.
- In a blender, combine flour, milk, eggs, sugar, vanilla extract, and salt. Blend on high for approximately one minute until smooth. Let the batter rest for 10 minutes.
- Remove the hot muffin pan from the oven and add 4 tablespoons of unsalted butter to each muffin cup. Allow it to melt and sizzle.
- Pour about 1/3 cup of the rested batter into each muffin cup over the melted butter.
- Bake the pancakes for 12-15 minutes until puffy and golden brown.
- Remove from the oven and let cool in the pan for about one minute. Serve warm with toppings of your choice.
Leave a Reply