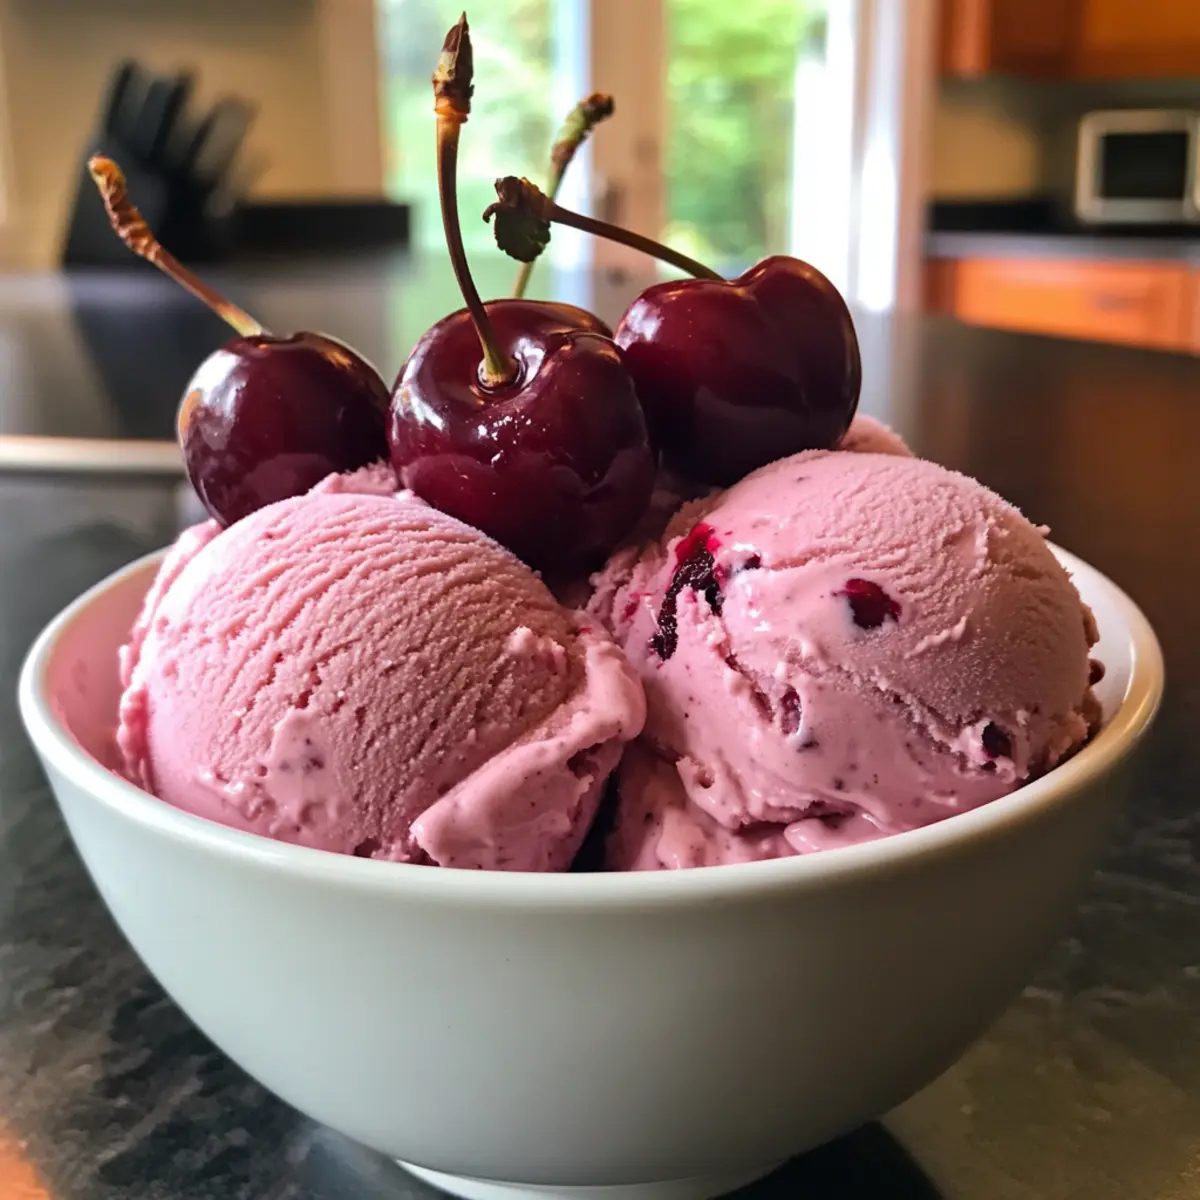
As I stood in my kitchen, the aroma of fresh cherries filled the air, blending sweet and tart notes that sparked a playful memory from childhood. There’s something undeniably magical about crafting Homemade Cherry Ice Cream that takes me back to those sunny afternoons, and this recipe truly hits the mark. This delightful treat isn’t just about chilling out on hot summer days; it’s about transforming simple ingredients into a creamy, velvety dessert that speaks to the heart. With easy variations like Chocolate Cherry and a dairy-free option, it’s perfect for everyone at your gathering, promising to become a new favorite. Whether you want to impress your friends or just savor that iconic flavor, this recipe is your ticket to creamy bliss. Ready to scoop up some smiles? Let’s get started!
Why is Homemade Cherry Ice Cream a Must-Try?
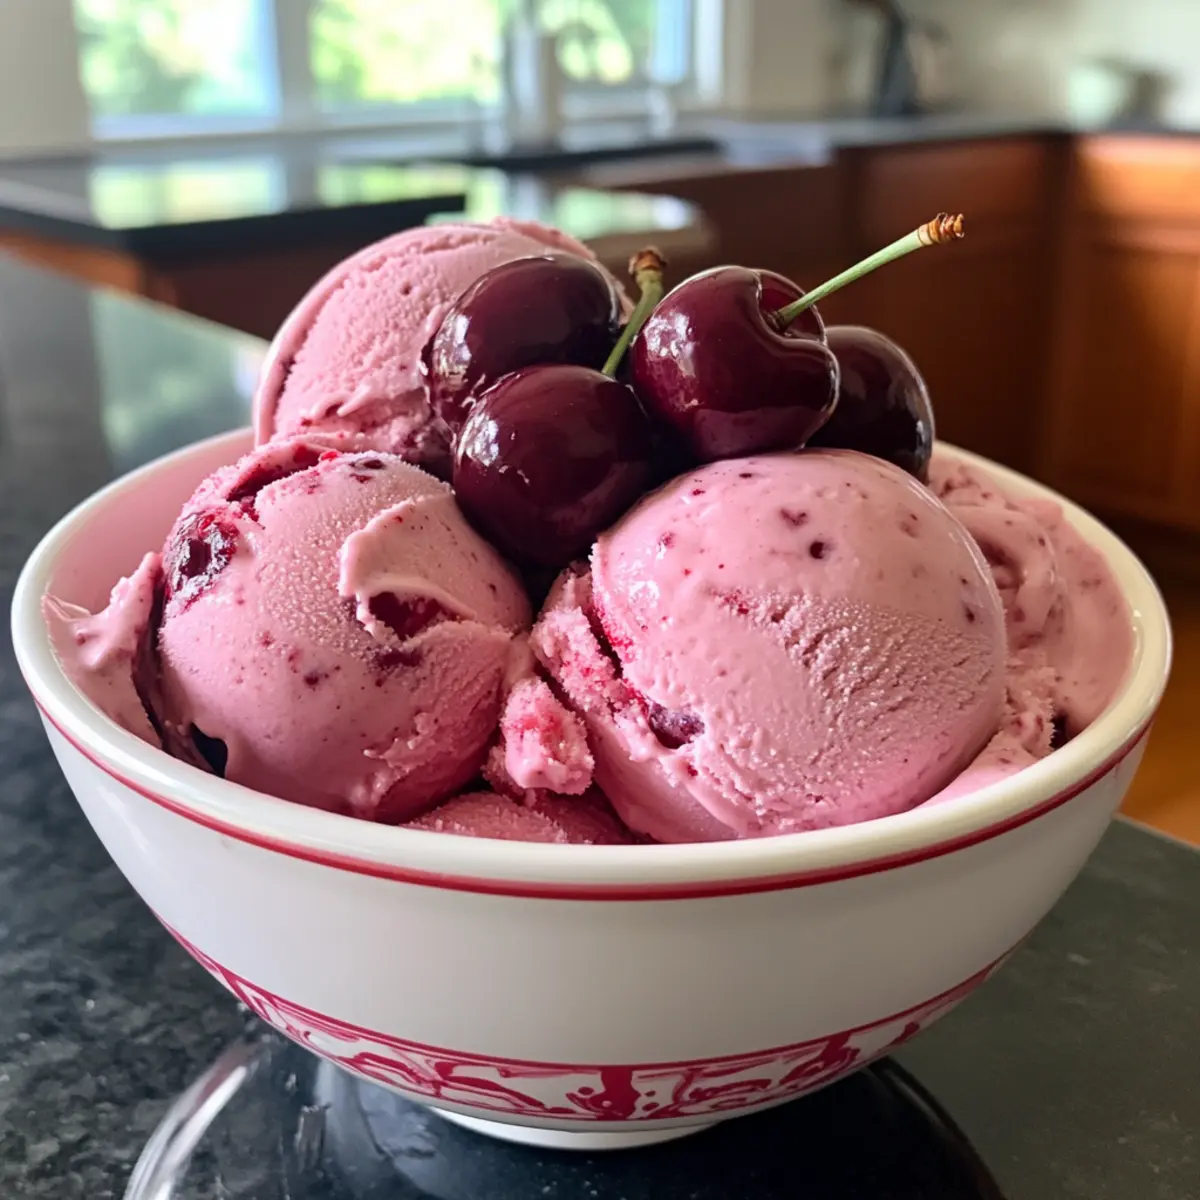
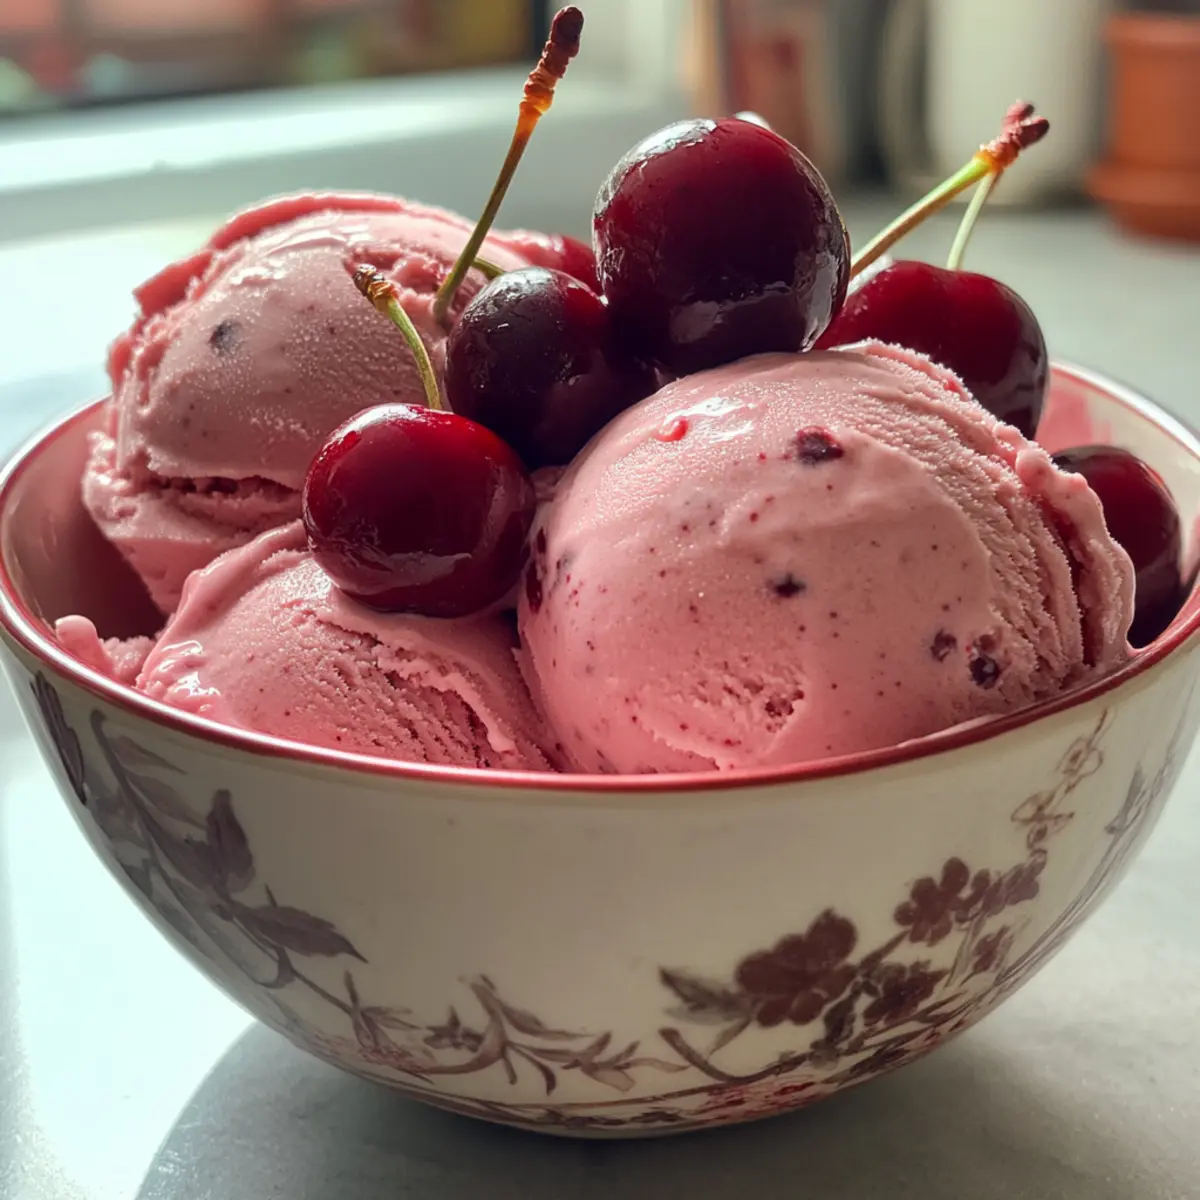
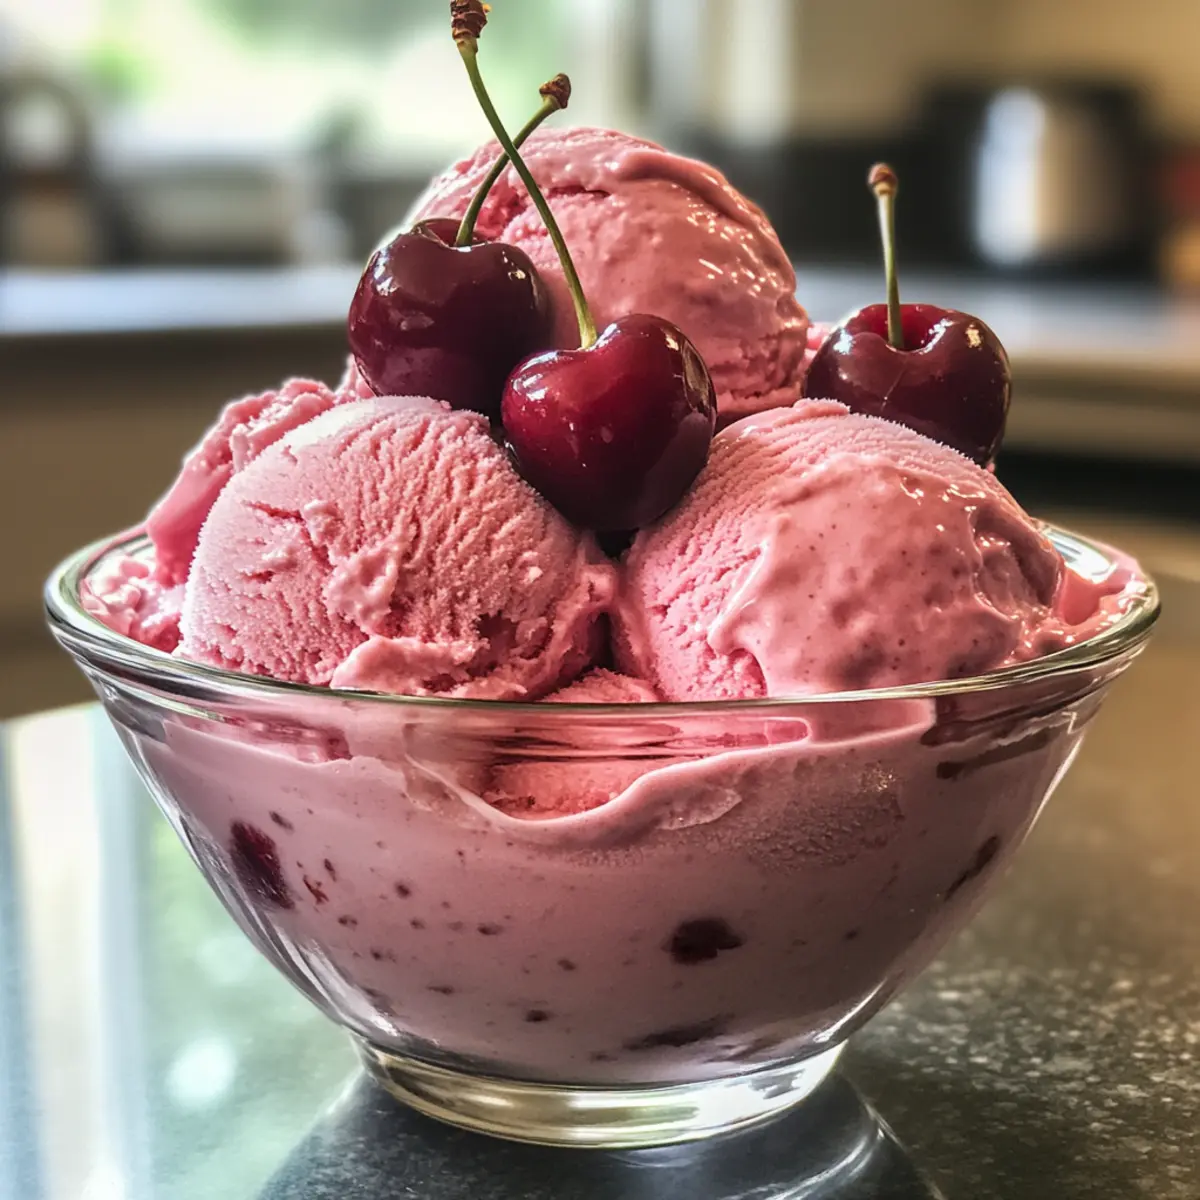
Irresistible Flavor: This homemade cherry ice cream captures the essence of summer with each creamy scoop, thanks to ripe, juicy cherries that burst with flavor.
Endless Variations: Mix it up! Add chocolate chips for a decadent twist or go dairy-free for a lighter option.
Super Simple: With just a few basic ingredients, this recipe is easy to whip up—perfect for even novice chefs!
Crowd-Pleaser: Ideal for parties or family gatherings, everyone will be reaching for seconds. Pair it with a slice of Lemon Truffles for an impressive dessert spread!
Make Ahead: Prep ahead for those spontaneous summer gatherings; this ice cream can be made days in advance, so you’re always ready to serve up smiles!
Cherry Ice Cream Ingredients
For the Ice Cream Base
• Cherries – Fresh, pitted cherries provide natural sweetness and tartness that shines through every scoop.
• Heavy Cream – This ingredient adds the creamy richness that makes your cherry ice cream irresistibly smooth.
• Whole Milk – Contributes to a delightful texture, balancing out the richness of the cream.
• Granulated Sugar – Adjust this sweetener according to your taste preferences; it’s the key to enhancing the cherry flavor.
• Vanilla Extract – A splash of this enhances the overall profile, bringing warmth to your cherry ice cream.
• Salt – Just a pinch helps elevate all the flavors and balances sweetness.
For Optional Variations
• Mini Chocolate Chips – For a delightful Chocolate Cherry Ice Cream, add this to the mixture before freezing.
• Coconut Cream – Use this as a substitute for heavy cream to create a creamy dairy-free version of your ice cream.
• Almond Milk – A perfect base for your dairy-free twist; it pairs beautifully with cherries.
Step‑by‑Step Instructions for Homemade Cherry Ice Cream
Step 1: Prepare Cherries
In a medium saucepan, combine pitted and halved fresh cherries with 1-2 tablespoons of sugar over medium heat. Cook for about 5–7 minutes, stirring occasionally, until the cherries soften and release their juices. Once they’re bubbling and fragrant, remove from heat and let them cool completely.
Step 2: Optional Purée
If you prefer a smoother texture for your cherry ice cream, take half of the cooled cherries and blend them in a food processor until smooth. This purée will give your ice cream a delightful, creamy consistency, making it even more luxurious when mixed with the whole cherry pieces.
Step 3: Make Ice Cream Base
In a large mixing bowl, whisk together 1 cup of heavy cream, 1 cup of whole milk, the remaining sugar, a splash of vanilla extract, and a pinch of salt. Keep whisking until the sugar fully dissolves. This rich mixture forms the baseline for your cherry ice cream, providing that creamy texture you desire.
Step 4: Combine and Chill
Now, gently fold in the cooled cherries and the optional cherry purée into your ice cream base. Mix until everything is well incorporated. Cover the bowl with plastic wrap and refrigerate for at least 2 hours to ensure it’s thoroughly chilled, which is important for the next step.
Step 5: Churn
After chilling, pour the mixture into your ice cream maker. Churn according to the manufacturer’s instructions, typically for about 20–25 minutes, until the mixture thickens and reaches a soft-serve consistency. As it churns, watch for it to get creamy and airy—this is what you’re aiming for!
Step 6: Freeze
Transfer the churned ice cream into a freezer-safe container, smooth the top, and seal tightly. Place in the freezer for at least 4 hours, or until firm. This step firms up the cherry ice cream even more, allowing those luscious flavors to meld perfectly.
Step 7: Serve
Before serving, let the ice cream sit at room temperature for about 5–10 minutes to soften slightly for easy scooping. Once softened, use a scoop or a spoon to serve your delightful homemade cherry ice cream into bowls or cones. Enjoy the sweet, creamy taste of summer!
What to Serve with Homemade Cherry Ice Cream
Imagine a sun-soaked afternoon, with creamy cherry goodness melting away in your bowl—now let’s make it a full feast!
- Lemon Tart: The bright citrus flavor of lemon tart offers a refreshing contrast to the sweetness of cherry ice cream, elevating your dessert experience.
- Chocolate Wafers: Crunchy, cocoa-rich wafers create a delightful textural contrast to the creamy ice cream, making each bite a treat to remember.
- Grilled Peaches: Serve warm grilled peaches alongside for a mouthwatering combination of warm and cold, sweet and tart flavors.
- Fresh Mint Leaves: Add a handful of fresh mint leaves as a garnish for a pop of color and an aromatic freshness that enhances each scoop.
- Chocolate Ganache: Drizzling rich chocolate ganache over your ice cream brings an indulgent, luxurious feel that pairs beautifully with the cherry flavors.
- Sparkling Rosé: This bubbly wine makes a light, fruity pairing for summer desserts, perfectly complementing the sweet and tart notes of the cherry ice cream.
With these delightful pairings, your homemade cherry ice cream will truly shine, promising smiles all around at your next gathering!
Expert Tips for Cherry Ice Cream
• Choose Fresh Cherries: Opt for ripe, in-season cherries for the best flavor; avoid overripened or damaged fruits to ensure quality.
• Check Temperature: Ensure your ice cream base is well-chilled before churning; this helps achieve a creamy texture in your cherry ice cream.
• Avoid Ice Crystals: For smoother ice cream, stir the mixture every 30 minutes during the first couple of hours of freezing to break up any ice crystals.
• Customize Sweetness: Adjust the amount of sugar based on your preferred sweetness level; taste as you go to avoid an overly sweet cherry ice cream.
• Experiment with Mix-ins: Don’t hesitate to try different variations or mix-ins; adding nuts or other fruits can elevate your cherry ice cream experience!
• Rest Before Serving: Allow your ice cream to soften at room temperature for 5–10 minutes pre-scooping, making it easier to serve and enjoy.
Make Ahead Options
These homemade cherry ice cream preparations are perfect for busy home cooks looking to save time! You can prepare the cherry mixture (cooked and cooled) up to 3 days in advance, storing it in an airtight container in the refrigerator to maintain freshness. Additionally, you can whisk together the ice cream base (cream, milk, sugar, vanilla, and salt) and refrigerate it for up to 24 hours before you churn it. This way, when it’s time to enjoy your cherry ice cream, all you need to do is churn and freeze as instructed, ensuring you get that rich and creamy flavor with minimal effort on your part. Enjoy effortless scoops of this delightful cherry ice cream whenever the craving strikes!
How to Store and Freeze Cherry Ice Cream
Airtight Container: Transfer your cherry ice cream to an airtight container to prevent freezer burn and maintain its creamy texture.
Freezer: Store your cherry ice cream in the freezer for up to 2 weeks for the best flavor and texture.
Reheating: If the ice cream becomes hard, let it sit at room temperature for 5–10 minutes before scooping to enjoy that smooth, creamy consistency again.
Do Not Refreeze: Avoid refreezing once the ice cream has been removed from the freezer, as this can lead to an icy texture and a loss of flavor.
Cherry Ice Cream Variations & Substitutions
Discover delightful ways to customize your homemade cherry ice cream and personalize it to suit your taste!
-
Dairy-Free: Swap heavy cream for coconut cream and whole milk for almond milk for a creamy, luscious alternative.
-
Chocolate Cherry: Stir in mini chocolate chips just before the freezing stage for a delightful chocolatey twist. Imagine each scoop bursting with rich chocolate and sweet cherry!
-
Chunky Style: Leave a portion of the cherries whole for a chunkier, fruitier texture. This variation makes each bite an exciting surprise, adding a great mouthfeel.
-
Berry Delight: Replace cherries with seasonal berries like strawberries or raspberries for a colorful, vibrant variation. This fruity swap will infuse your ice cream with a different sweetness that’s equally refreshing.
-
Peachy Keen: Try fresh peaches in place of cherries for a summery peach ice cream. The natural sweetness of peaches alongside the creamy base will transport you to sunny orchard afternoons.
-
Spiced Cherry: Add a sprinkle of cinnamon or nutmeg to elevate the flavor profile, creating a warm and inviting aroma that charms your palate. It’s a cozy twist to brighten up any gathering.
-
Herbal Touch: Infuse your ice cream with fresh basil or mint by blending them into the base—imagine the refreshing aroma that dances on the tongue! This herbaceous addition will bring a unique, sophisticated flair to your dessert.
-
Cherry Amaretto: Gently stir in a splash of amaretto liqueur for a delightful adult version—a flavor combination that plays beautifully with the richness of the ice cream. Serve it alongside a slice of Cherry Amaretto Tiramisu for an unforgettable dessert experience!
Cherry Ice Cream Recipe FAQs
What type of cherries should I use for the best flavor?
For the most irresistible cherry ice cream, choose ripe, in-season fresh cherries. Look for cherries that are firm, plump, and free from dark spots or damage. Sweet varieties like Bing or Rainier are excellent options, delivering a perfect balance of sweetness and tartness.
How should I store homemade cherry ice cream?
Transfer your cherry ice cream into an airtight container to keep it fresh and prevent freezer burn. Store the ice cream in the freezer, where it will maintain its quality for about 2 weeks. Just remember to let it sit at room temperature for about 5–10 minutes before scooping to restore that creamy texture.
Can I freeze cherry ice cream for an extended period?
Absolutely! While homemade cherry ice cream tastes best within 2 weeks, it can be frozen for up to 3 months if stored properly in an airtight container. To enjoy the best experience, make sure it’s tightly sealed to avoid freezer burn, and allow it to soften a bit before serving.
What if my cherry ice cream turns out icy?
If your ice cream has an icy texture, it could be due to not churning long enough or not chilling the base properly before freezing. Make sure to churn for the recommended 20–25 minutes for a creamy consistency. Additionally, stir the mixture every 30 minutes during the first couple of hours in the freezer to break up any developing ice crystals.
Can I make this recipe dairy-free?
Yes! To create a delicious dairy-free cherry ice cream, substitute heavy cream with coconut cream and whole milk with almond milk. This gives a creamy, rich texture while keeping it free from dairy. Adjust the sweetness as needed, and enjoy a delightful treat that everyone can savor!
Creamy Cherry Ice Cream Recipe for a Sweet Summer Treat
Ingredients
Equipment
Method
- In a medium saucepan, combine pitted and halved fresh cherries with 1-2 tablespoons of sugar over medium heat. Cook for about 5–7 minutes, stirring occasionally, until the cherries soften and release their juices. Remove from heat and let cool completely.
- If you prefer a smoother texture, take half of the cooled cherries and blend them in a food processor until smooth.
- In a large mixing bowl, whisk together 1 cup heavy cream, 1 cup whole milk, the remaining sugar, a splash of vanilla extract, and a pinch of salt. Whisk until sugar is fully dissolved.
- Gently fold in the cooled cherries and optional cherry purée into your ice cream base. Mix until well incorporated and refrigerate for at least 2 hours.
- Pour the mixture into your ice cream maker and churn according to the manufacturer's instructions for about 20–25 minutes.
- Transfer the churned ice cream into a freezer-safe container, smooth the top, and seal tightly. Freeze for at least 4 hours, or until firm.
- Let the ice cream sit at room temperature for about 5–10 minutes before serving. Use a scoop or spoon to serve.
Leave a Reply