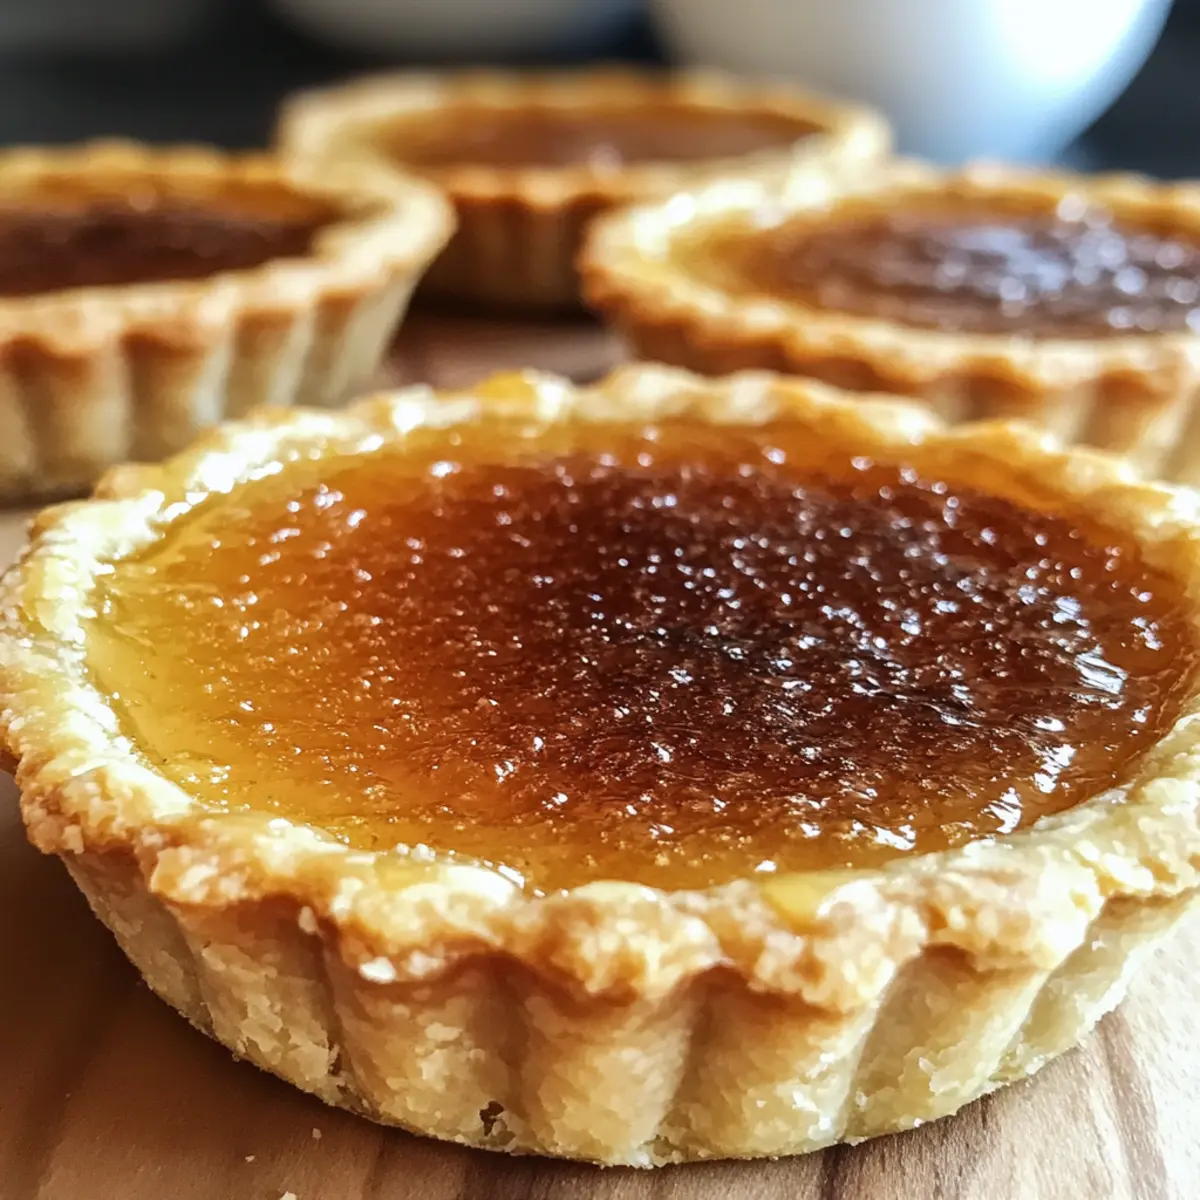
Imagine walking into a cozy kitchen, the aroma of sweet, buttery goodness wrapping around you like a warm hug. That’s the magic of Classic Canadian Butter Tarts with Gooey Maple Filling. These delightful little treats, with their flaky crusts and rich, caramel-like centers, strike the perfect balance of texture and flavor, making them a hit for any occasion. Whether you’re a seasoned baker or just starting out, this easy dessert offers a fun baking adventure that’s as rewarding as it is delicious. Plus, they can be made in various ways—think raisins, nuts, or even chocolate chips for an exciting twist! So, are you ready to bring a piece of Canadian tradition into your kitchen? Let’s dive into the delightful world of butter tarts!
Why are Canadian Butter Tarts irresistible?
Irresistible Flavors: The rich, gooey maple filling dances on your palate, delivering a sweet, caramelized delight that’s simply unforgettable.
Versatile Variations: Customize them with your favorite add-ins like raisins, nuts, or chocolate chips for a unique twist that suits all taste buds.
Ease of Preparation: Crafted with minimal ingredients, these tarts are beginner-friendly, making them a perfect choice for anyone looking to bake something special.
Crowd-Pleasing Delight: Whether you’re hosting a family gathering or a cozy dinner, these classic treats are sure to steal the show, leaving everyone asking for seconds!
For a complementary side, try them alongside a refreshing homemade Garlic Butter Lobster for a luxurious dining experience that truly impresses.
Canadian Butter Tarts Ingredients
• A sweet treat you can’t resist!
For the Crust
- All-Purpose Flour – Provides structure to the tart crust, but gluten-free flour can substitute seamlessly.
- Sugar – Sweetens the crust; consider using brown sugar for a deeper, richer flavor.
- Fine Sea Salt – Enhances the overall taste; you can use regular salt, reducing the amount slightly if needed.
- Unsalted Butter (Cold) – Essential for a flaky crust; margarine works as a vegan alternative.
- Cold Water – Binds the crust ingredients; ice water yields the best texture.
For the Filling
- Unsalted Butter (Room Temperature) – Adds richness to the filling, making it delectable.
- Brown Sugar – Provides sweetness with hints of caramel; feel free to swap for light brown sugar.
- Eggs – Vital for binding the filling; egg substitutes can work, but expect a change in texture.
- Maple Syrup – The star flavor in the filling, but light corn syrup can replace it, albeit losing some maple essence.
- Fine Sea Salt (for Filling) – Balances sweetness; a touch of regular salt will do.
- Vanilla Extract – Adds a layer of depth to the flavor; omit if you prefer a simpler taste.
Optional Add-Ins
- Raisins or Nuts – Add for texture and flavor; they make the Canadian Butter Tarts even more delightful!
- Chocolate Chips – Stir in for a rich, chocolatey twist that elevates these treats to new heights.
Step‑by‑Step Instructions for Canadian Butter Tarts
Step 1: Prepare the Crust
In a food processor, combine all-purpose flour, sugar, and fine sea salt. Next, add cold butter chunks and pulse until the mixture resembles coarse crumbs, about 10 pulses. Gradually drizzle in cold water, pulsing until a dough forms. Wrap the dough in plastic wrap and refrigerate for at least 1 hour to solidify and enhance the flavor.
Step 2: Roll Out Dough
Once chilled, sprinkle flour on a clean work surface and roll out the dough to a thickness of about 1/8 inch. Use a round cutter to cut out 15 circles, approximately 4 inches in diameter. Place each round into a greased muffin tin, gently pressing them into the bottom and up the sides. Refrigerate the crusts while you prepare the filling.
Step 3: Preheat Oven
Preheat your oven to 350°F (175°C). This step ensures that your Canadian Butter Tarts bake evenly and develop that perfect golden-brown crust. As the oven heats, you can focus on making the luscious filling that will nestle inside those beautifully prepared crusts.
Step 4: Make Filling
In a mixing bowl, cream together room-temperature unsalted butter and brown sugar until smooth and fully combined. Add eggs one at a time, mixing well after each addition. Stir in maple syrup, fine sea salt, and vanilla extract until the mixture is homogeneous. Let the filling sit for 5-10 minutes to dissolve the sugar completely.
Step 5: Add Optional Ingredients
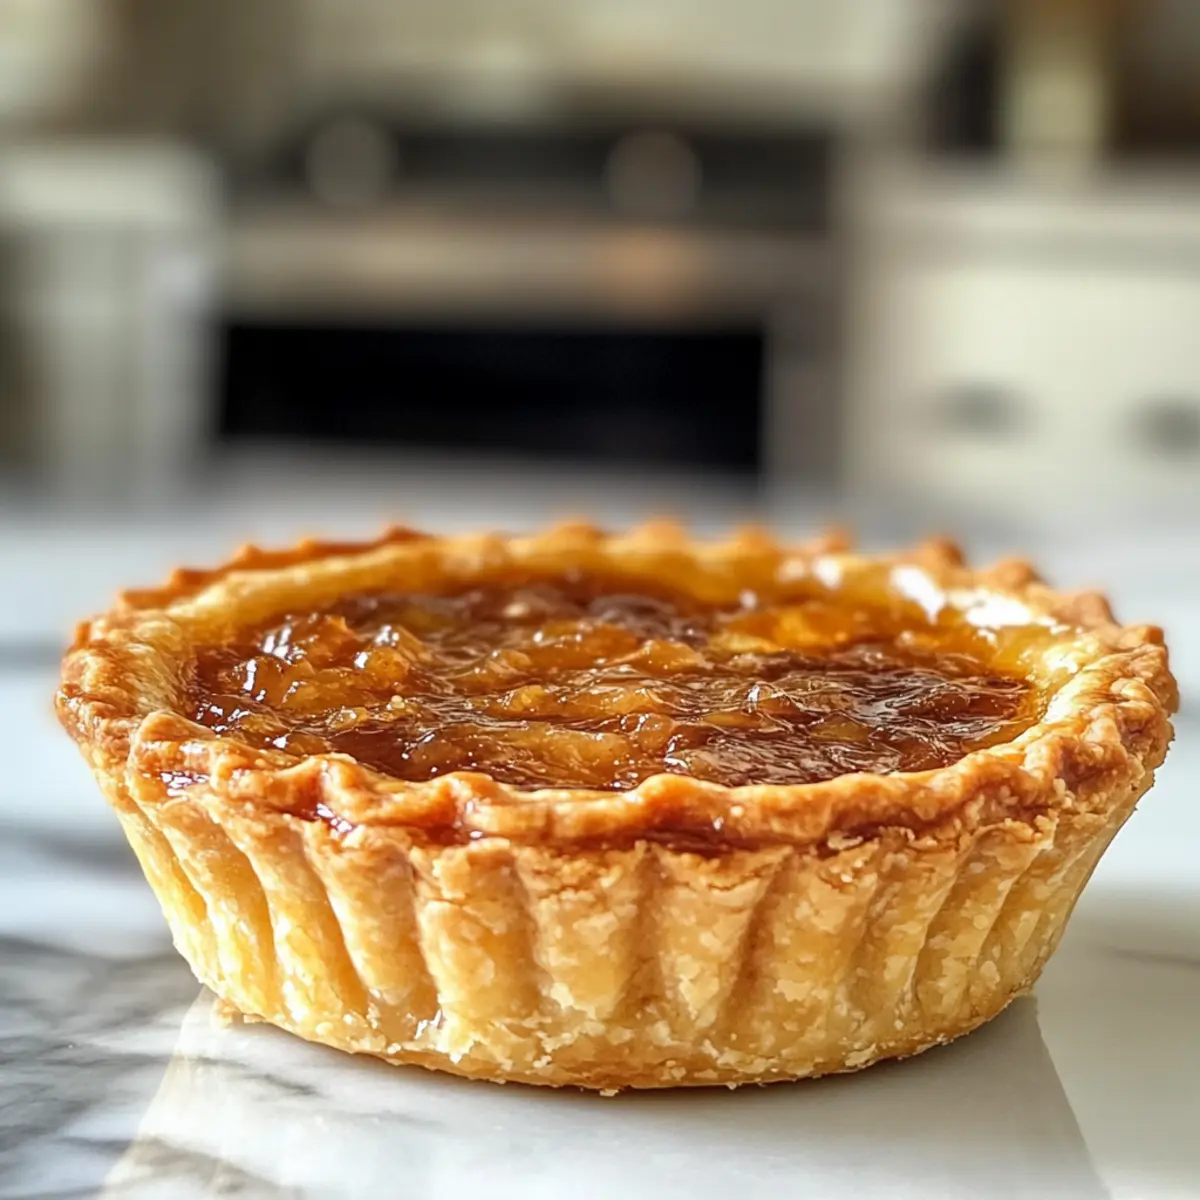
If you desire a little extra texture and flavor, now is the time to incorporate optional ingredients like raisins or chopped nuts into each tart crust. Sprinkle them in before pouring in the filling, allowing them to enhance the taste and enjoy the warmth of tradition within these Canadian Butter Tarts.
Step 6: Fill and Bake
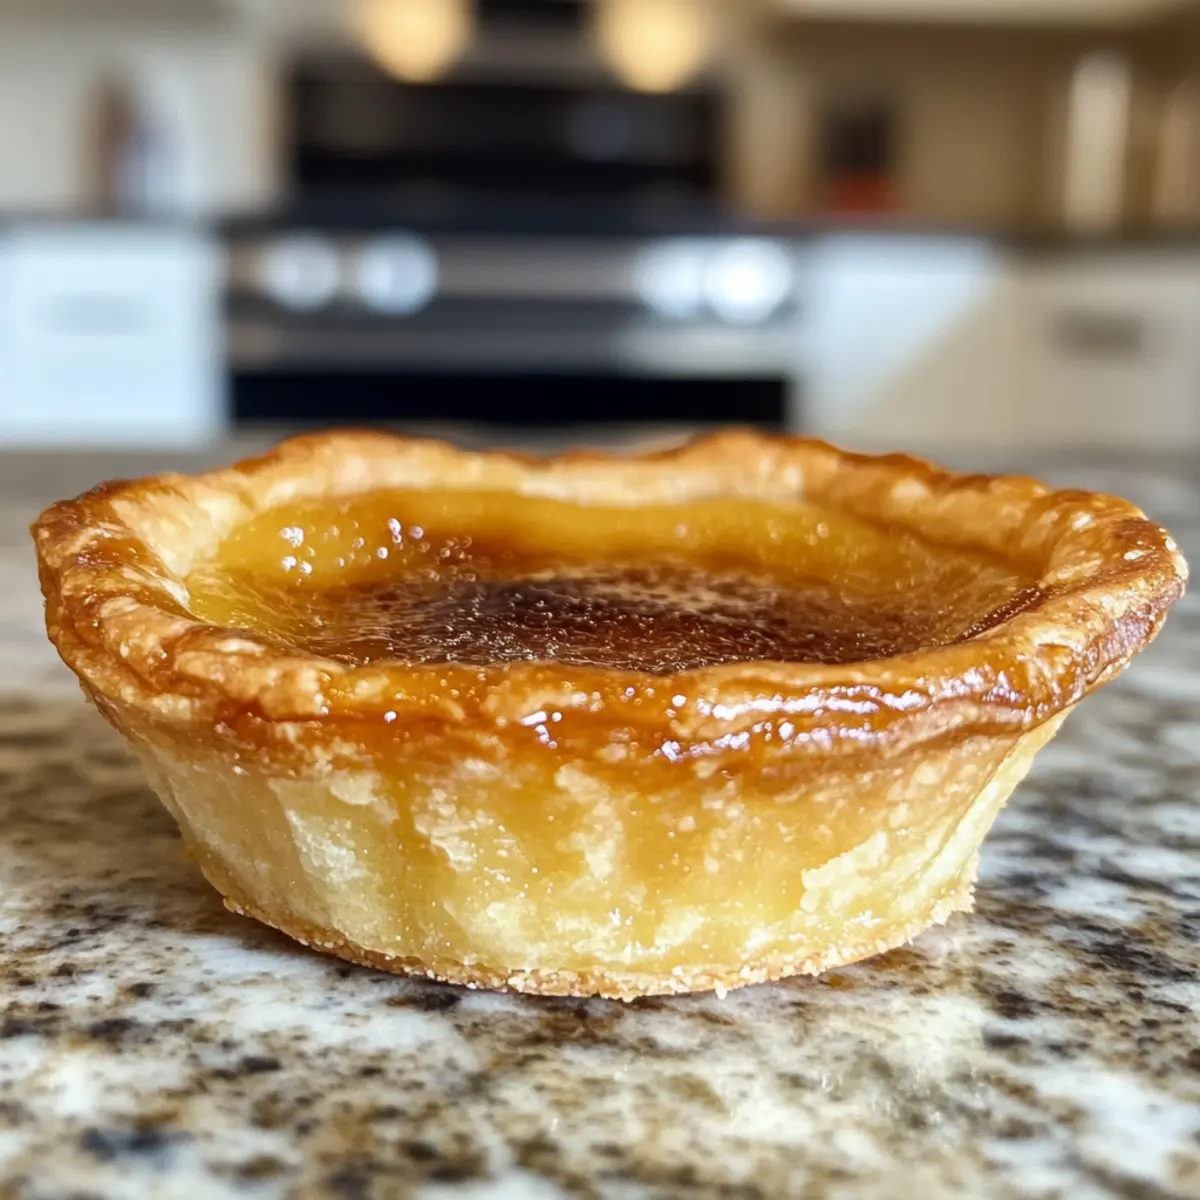
Carefully pour the filling into each tart shell, filling them about three-quarters full to prevent overflowing. Place the muffin tin in the oven and bake for 25 minutes, or until the edges are caramelized, and the filling has set but is still a little jiggle in the center. The rich aroma will fill your kitchen!
Step 7: Cool
Once baked, remove the tarts from the oven and allow them to cool in the pans for about 5-10 minutes. This resting time helps them firm up before transferring. Use a spatula to gently lift each tart from the muffin tin and place them on a wire rack to cool completely, allowing their gooey centers to settle.
What to Serve with Canadian Butter Tarts
Imagine the sweet symphony of flavors that can accompany these delightful treats, enhancing your dessert experience.
- Whipped Cream: A light dollop adds a creamy contrast that balances the rich, gooey filling of the tarts.
- Vanilla Ice Cream: The cool, smooth texture perfectly complements the warm tarts, elevating every bite into a comforting indulgence.
- Fresh Berries: Sweet and tart berries like raspberries or strawberries provide a refreshing pop of flavor that brightens each mouthful.
- Maple Glazed Nuts: For added crunch and flavor, sprinkle some maple-glazed pecans or walnuts beside your tarts; their sweetness enhances the maple profile.
- Chocolate Sauce Drizzle: A warm drizzle adds a decadent touch, creating an enchanting chocolate experience alongside the vanilla notes of the tarts.
- Café au Lait: This delightful coffee drink pairs beautifully, grounding the sweetness of the tarts with bold coffee flavors for a harmonious finish.
Embrace the joy of serving these diverse sides and drinks when you present your Canadian Butter Tarts, crafting a truly unforgettable dessert experience!
Make Ahead Options
These Classic Canadian Butter Tarts are perfect for busy weeknights and meal prep enthusiasts! You can prepare the tart crust up to 24 hours in advance by following the initial steps, then wrap and refrigerate it to maintain its freshness. The filling can also be made up to 3 days ahead; just store it in an airtight container in the fridge. To maintain the quality, let the filling sit at room temperature for 30 minutes before pouring it into the chilled crusts. When ready to serve, simply fill the tart shells and bake as instructed for a quick, delicious treat that’s just as delightful as if you made it on the day!
Expert Tips for Perfect Canadian Butter Tarts
- Chill the Butter: Ensure your butter is cold when making the crust. This is crucial for achieving that flaky texture that makes Canadian Butter Tarts so delightful.
- Watch the Filling Level: Avoid overfilling the tarts; leave a little space to prevent any gooey overflow during baking.
- Oven Accuracy Matters: Always check the oven temperature with an oven thermometer, as inconsistent heat can impact baking time and tart texture.
- Let It Rest: Allow the filling mixture to rest before pouring, ensuring the sugars dissolve fully and contribute to a smooth and creamy texture.
- Experiment with Add-Ins: Don’t hesitate to customize— raisins, nuts, or chocolate chips can enhance the flavor profile and elevate your Canadian Butter Tarts.
How to Store and Freeze Canadian Butter Tarts
Room Temperature: Store your butter tarts in an airtight container at room temperature for up to 2 days to keep them fresh and delicious.
Fridge: For longer storage, refrigerate the tarts in an airtight container; they will stay good for up to a week, maintaining their gooey filling.
Freezer: These delightful Canadian Butter Tarts can be frozen for up to two months. Wrap each tart individually in plastic wrap and then place them in a freezer-safe bag.
Reheating: To enjoy again, thaw in the refrigerator overnight and reheat in the oven at 350°F (175°C) for about 10 minutes for that fresh-out-of-the-oven warmth.
Canadian Butter Tarts Variations & Substitutions
Feel free to explore these delightful twists, making the classic Canadian Butter Tarts truly your own!
- Gluten-Free: Substitute all-purpose flour with a 1:1 gluten-free flour blend for a deliciously inclusive treat.
- Dairy-Free: Use vegetable shortening or coconut oil in place of butter for a dairy-free option that doesn’t compromise on taste.
- Maple Twist: Swap maple syrup for agave nectar to create a lighter sweetness that still enhances the filling’s richness.
- Nutty Delight: Add chopped pecans or walnuts into the filling for a delightful crunch that contrasts beautifully with the gooey center.
- Chocolate Lovers: Stir in mini chocolate chips for an indulgent experience that transforms your tarts into a decadent dessert.
- Fruity Burst: Incorporate chopped dried cherries or cranberries into the filling for a burst of tangy sweetness with each bite.
- Spiced Up: Mix a pinch of cinnamon or nutmeg into the filling to add a warm, cozy flavor that enchants the palate.
- Savory Kick: For a unique flavor profile, try adding a sprinkle of sea salt on top before baking, enhancing the sweetness with a touch of savory bliss.
With these ideas, your butter tarts can take on new identities! If you’d like to continue your culinary adventures, consider pairing your sweets with some mouthwatering Garlic Butter Lobster or elevate your meal with delicious Baked Lobster Potatoes. Happy baking!
Canadian Butter Tarts Recipe FAQs
What’s the best way to choose ripe ingredients for Canadian Butter Tarts?
Absolutely! When selecting ingredients, particularly butter, look for unsalted butter that is firm but not overly hard. It should be cold, which is essential for creating that flaky crust. For eggs, ensure they are fresh by checking the sell-by date. Fresh eggs will help bind the filling nicely.
How should Canadian Butter Tarts be stored to maintain freshness?
Very important! Store your butter tarts in an airtight container at room temperature for up to 2 days. If you want to keep them longer, refrigerate them for up to a week. Just make sure they are in an airtight container to prevent them from drying out.
Can I freeze Canadian Butter Tarts, and how?
Absolutely, these tarts can be frozen for up to two months! First, wrap each tart individually in plastic wrap, sealing it tightly to prevent freezer burn. Then, place them in a freezer-safe bag or container. When you’re ready to enjoy, simply thaw them in the refrigerator overnight and reheat in a 350°F (175°C) oven for about 10 minutes for that fresh-out-of-the-oven taste.
What common issues should I watch for when baking Canadian Butter Tarts?
One frequent issue relates to the filling overflowing during baking. To prevent this, don’t overfill the tart shells—fill them about three-quarters full. Also, ensure your oven is correctly calibrated; sometimes, an incorrect temperature can lead to uneven baking. If your crust is soggy, it may not have baked long enough, so keep an eye on it for that golden-brown texture.
Are there any dietary considerations for Canadian Butter Tarts?
Very much so! If you have allergies, be mindful of the ingredients. These tarts contain butter and eggs, which may not be suitable for those following a dairy-free or vegan diet. You can substitute margarine for the butter and explore egg replacements if needed. Additionally, when adding optional ingredients like nuts or raisins, always check for any nut allergies among your guests.
How long do Canadian Butter Tarts last in the fridge?
In an airtight container, these delicious treats can last up to a week in the refrigerator. Just ensure they are well-sealed to keep that gooey filling intact and the crust from getting soggy.
Decadent Canadian Butter Tarts with Maple Goodness
Ingredients
Equipment
Method
- In a food processor, combine all-purpose flour, sugar, and fine sea salt. Add cold butter chunks and pulse until resembling coarse crumbs. Gradually drizzle in cold water while pulsing until a dough forms. Wrap and refrigerate for at least 1 hour.
- Sprinkle flour on a clean surface and roll out the chilled dough to 1/8 inch thick. Cut out 15 circles and press them into a greased muffin tin. Refrigerate the crusts.
- Preheat the oven to 350°F (175°C) to ensure even baking.
- Cream room-temperature unsalted butter and brown sugar until smooth. Add eggs one at a time, mixing well. Stir in maple syrup, salt, and vanilla extract. Let sit for 5-10 minutes.
- Incorporate optional ingredients like raisins or nuts into each tart crust before pouring in the filling.
- Pour filling into each tart shell, about three-quarters full. Bake for 25 minutes until edges are caramelized and filling is set.
- Allow tarts to cool in the pan for 5-10 minutes before transferring to a wire rack to cool completely.
Leave a Reply