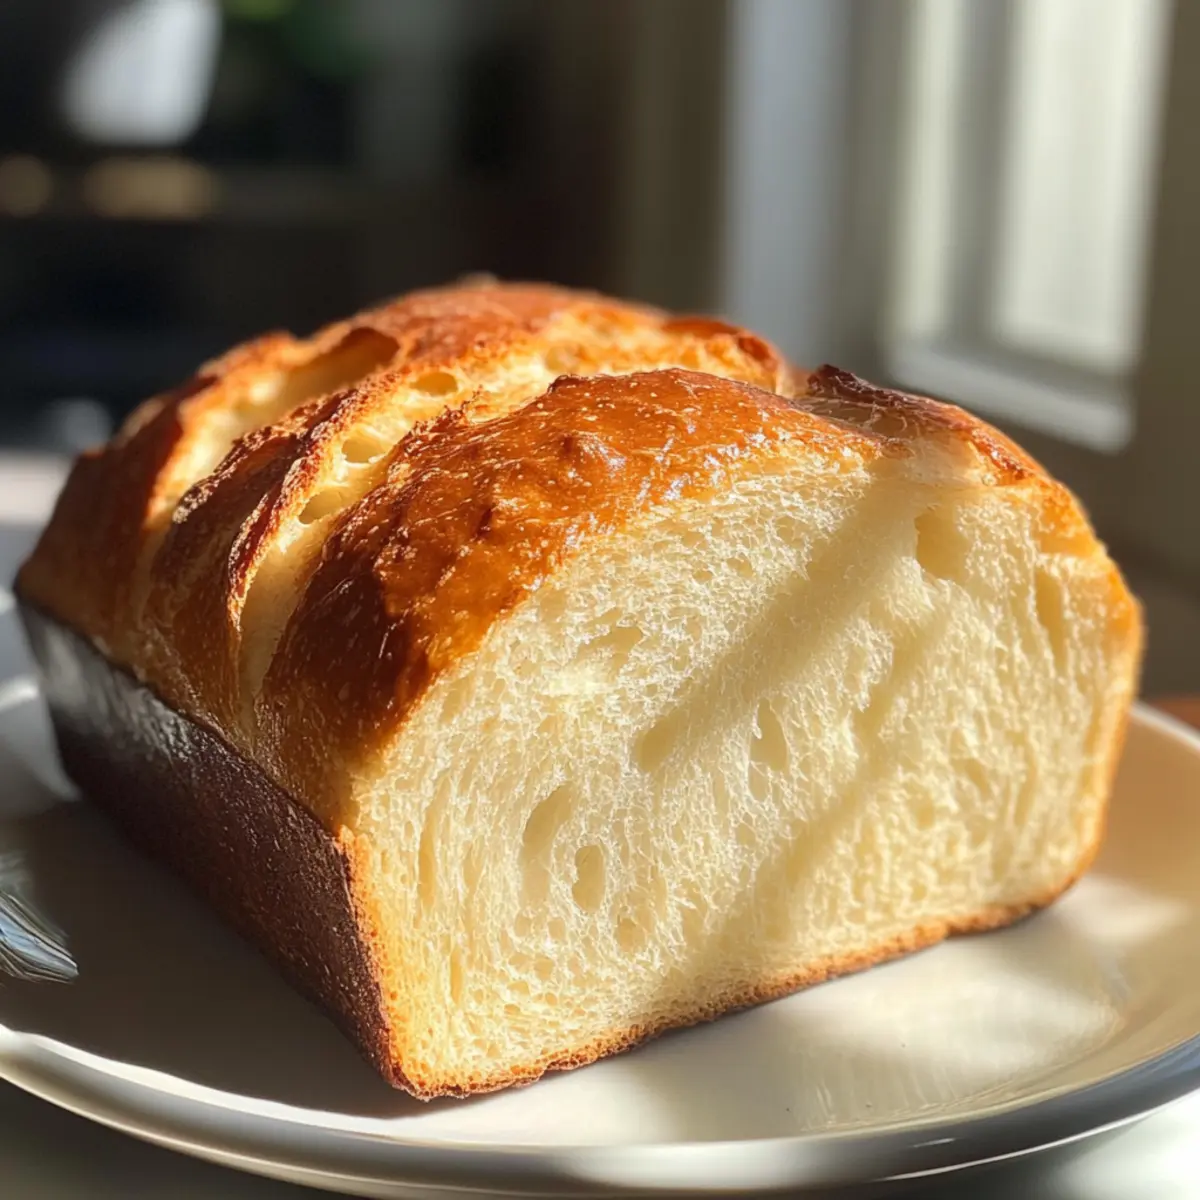
As I stood in my kitchen, my heart raced with excitement at the thought of the warm, fluffy goodness about to emerge from my oven. Today, I’m sharing my go-to recipe for 20-Minute Homemade Bread, a delightful treat that will bring a touch of homemade warmth to your table in no time. With no rising required, this quick bread is perfect for busy weeknights or unexpected guests. What’s even better? You can customize each loaf by adding your favorite ingredients like herbs, cheese, or garlic, transforming it into something uniquely yours. Just imagine the joy of serving a fresh, warm loaf straight from the oven! Are you ready to elevate your meals with this versatile homemade bread? Let’s dive in!
Why is Homemade Bread so Special?
Freshness at your fingertips: Nothing beats the aroma of freshly baked bread filling your kitchen, evoking warmth and comfort.
Quick & Easy: This recipe has no rising time, making it a perfect solution for last-minute gatherings or busy weeknights.
Versatile Flavors: With options to add cheese, herbs, or garlic, you can craft a bread that’s uniquely yours. Just like my French Gingerbread Cakes make for delightful treats, this bread can easily adapt for any occasion!
Crowd-Pleasing: Serve it warm alongside soups, salads, or turn it into tasty sandwiches for lunch.
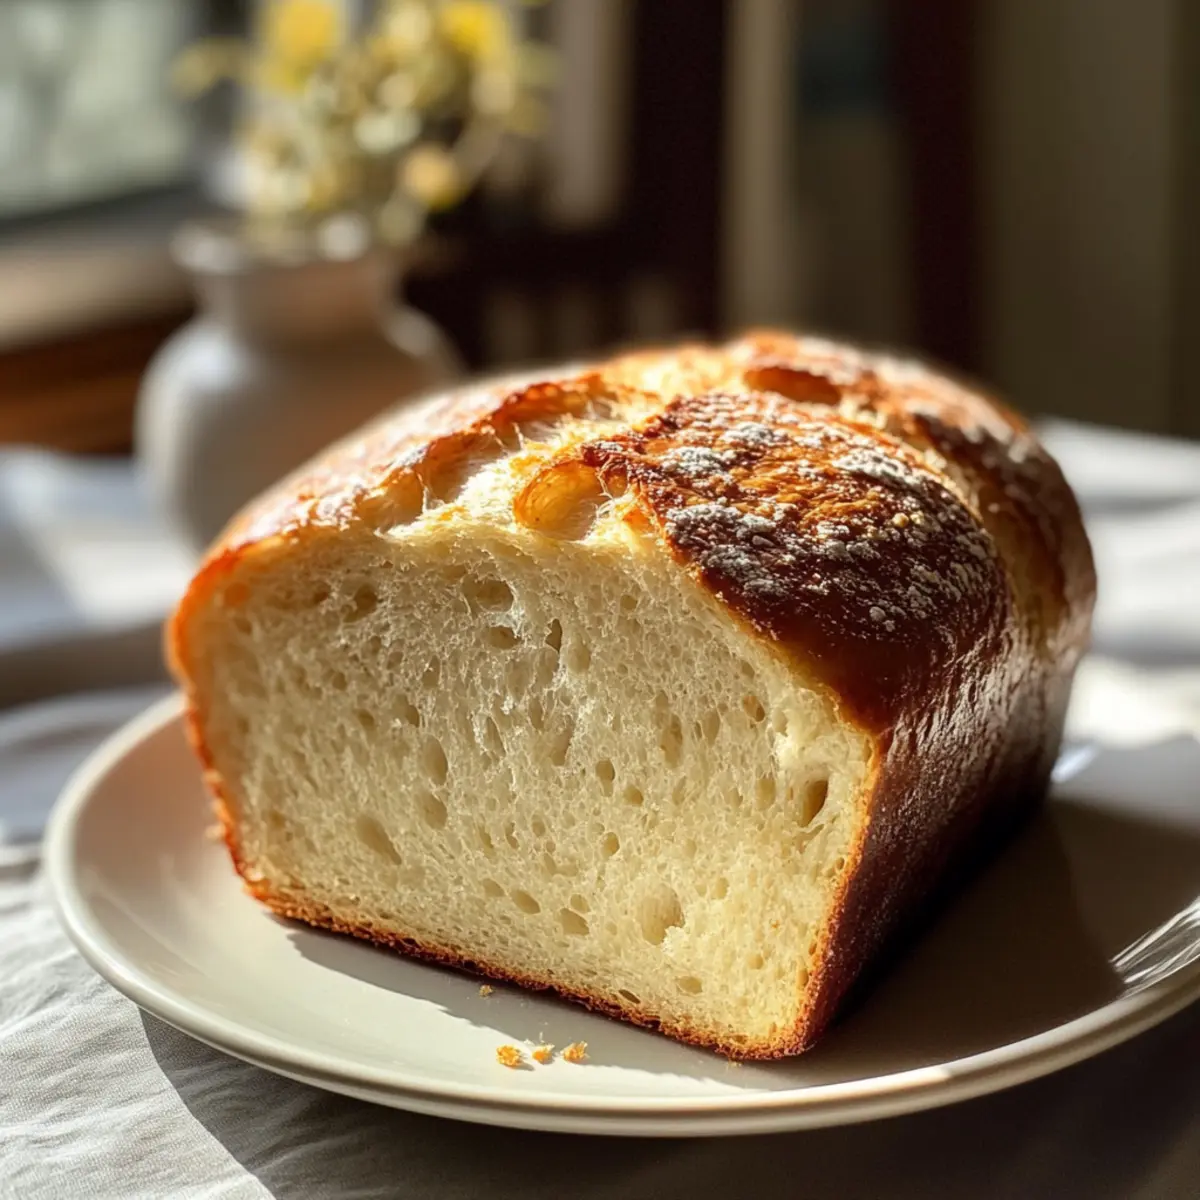
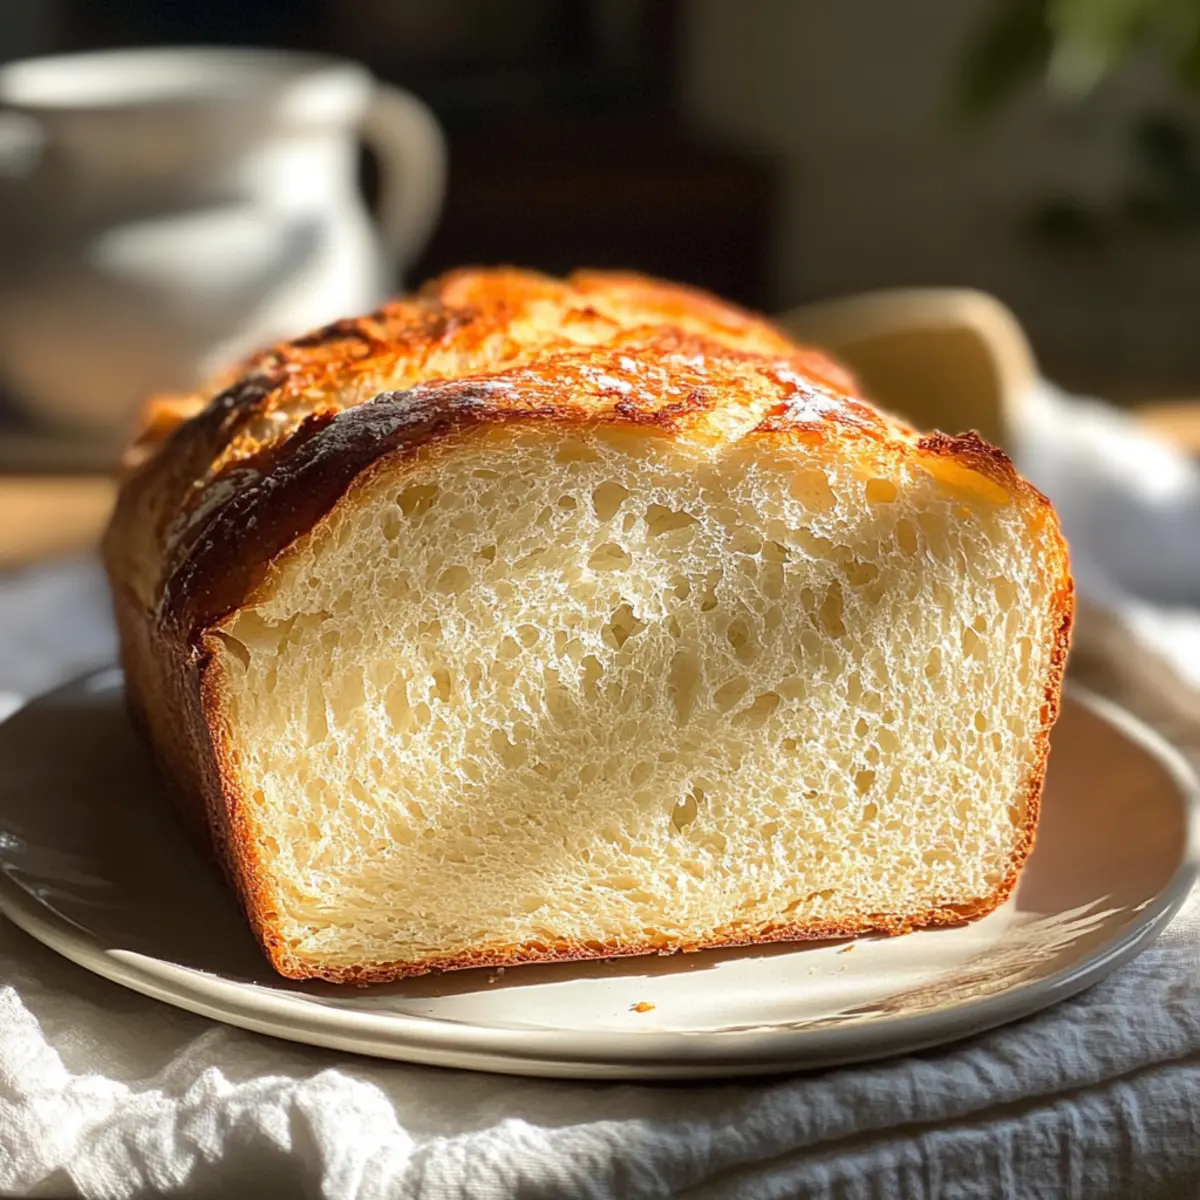
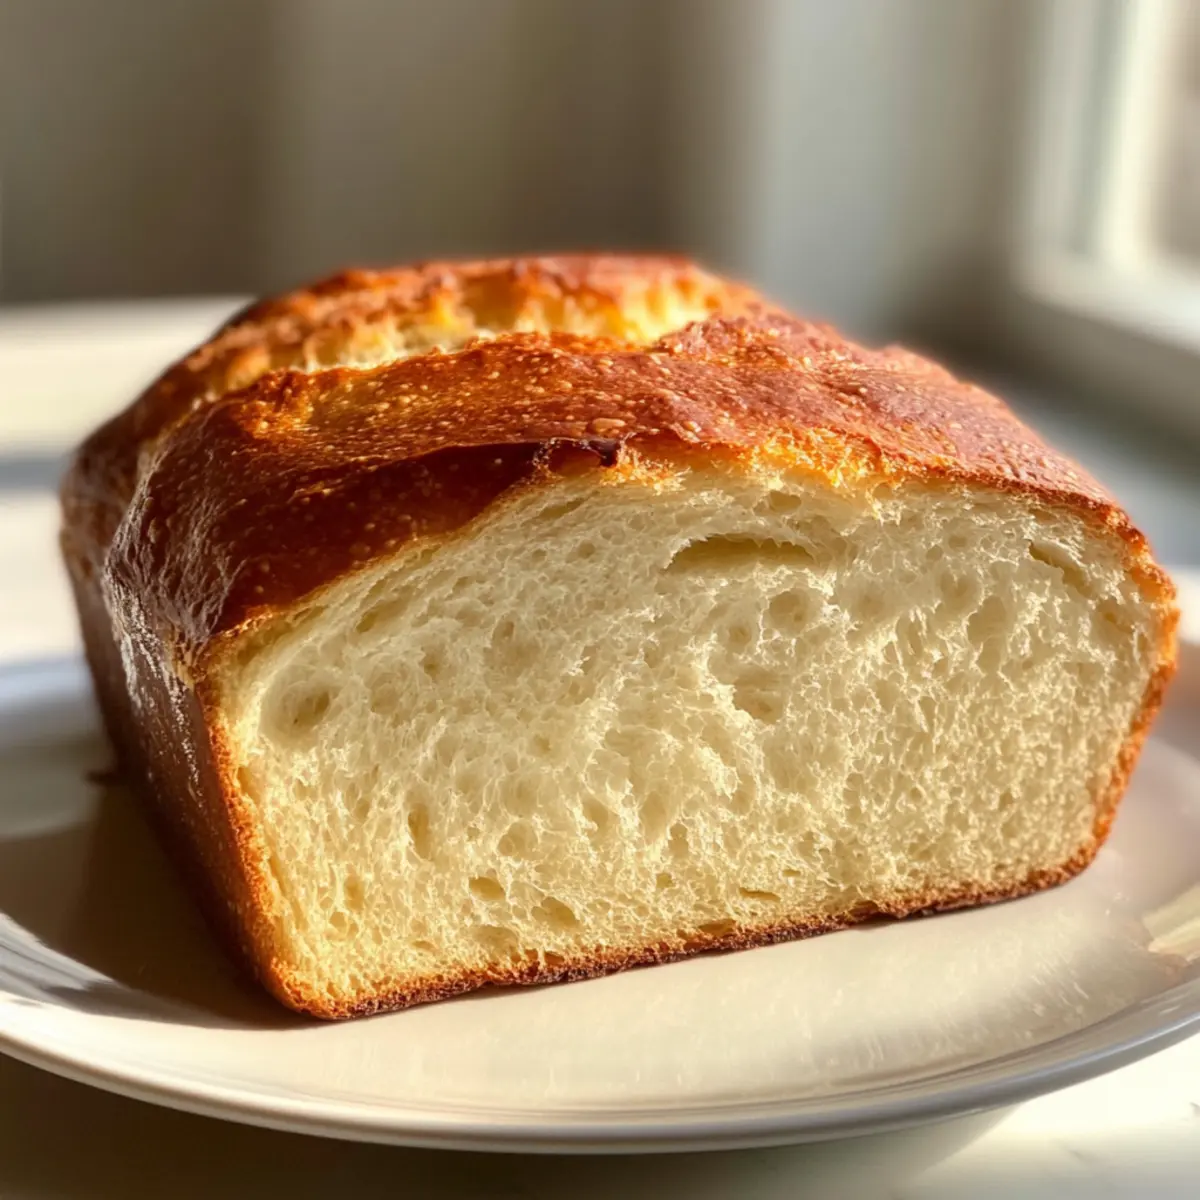
Perfect Texture: Enjoy a golden-brown crust with a soft, fluffy interior that’s simply irresistible. You’ll love sharing your creations, especially when paired with favorites like Cranberry Orange Shortbread!
Homemade Bread Ingredients
• To create your delightful 20-Minute Homemade Bread, gather these essential ingredients!
For the Batter
- All-Purpose Flour – Provides structure; for a denser texture, try substituting with whole wheat flour.
- Baking Powder – Acts as a leavening agent; ensure it’s fresh for the best rise.
- Salt – Enhances flavor; it’s crucial for balancing the sweetness of the bread.
- Sugar – Adds a hint of sweetness; feel free to increase to 2 tablespoons for a sweeter loaf.
- Milk – Adds moisture and softness; any plant-based milk works as a great substitute.
- Vegetable Oil – Provides richness and moisture; olive oil is a fantastic flavor-enhancing alternative.
Optional Add-ins
- Cheese – Add ½ cup shredded cheese for a delightful cheesy twist.
- Herbs – Incorporate dried or fresh herbs like rosemary or thyme for a savory flavor boost.
- Garlic – Mix in minced garlic or garlic powder for a robust, savory dimension.
Step‑by‑Step Instructions for 20-Minute Homemade Bread
Step 1: Preheat the Oven and Prepare the Baking Sheet
Begin by preheating your oven to 400°F (200°C) to ensure it reaches the optimal temperature for baking. While the oven warms up, grease a baking sheet with a little vegetable oil or line it with parchment paper. This will prevent your bread from sticking and make for easy cleanup.
Step 2: Combine Dry Ingredients
In a large mixing bowl, whisk together 2 cups of all-purpose flour, 1 tablespoon of baking powder, 1 teaspoon of salt, and 1 tablespoon of sugar. Make sure the ingredients are well combined to ensure even texture. The mixture should appear light and fluffy, signaling that it’s ready for the wet ingredients.
Step 3: Mix in Wet Ingredients
Next, add 1 cup of milk and 2 tablespoons of vegetable oil to the dry ingredients. Stir the mixture with a wooden spoon or spatula until a cohesive dough forms. The dough will be slightly sticky, but you should see no dry flour left. This is the foundation of your delicious 20-Minute Homemade Bread.
Step 4: Knead the Dough
Turn the dough out onto a lightly floured surface. Gently knead it for about 1 minute until it becomes smooth and elastic. This brief kneading allows the gluten to develop, which is key for achieving the perfect texture. Be careful not to over-knead; your dough should still feel soft.
Step 5: Shape the Loaf
Shape the dough into a round loaf, using your hands to form it gently. Place the loaf on the greased baking sheet, and if desired, score the top with a sharp knife to create a decorative pattern. This step not only enhances the presentation but also helps the bread cook evenly.
Step 6: Bake the Bread
Slide your baking sheet into the preheated oven and bake the bread for 15-20 minutes. Keep an eye on the loaf; it should turn a lovely golden brown and produce a hollow sound when tapped on the bottom. This visual cue indicates that your homemade bread is perfectly baked and ready to be enjoyed.
Step 7: Cool Before Slicing
Once baked, remove the bread from the oven and let it cool on the baking sheet for a few minutes. Then, transfer it to a wire rack to cool completely. This cooling process helps the crumb set, making it easier to slice. Be patient, as the aroma will surely tempt you!
What to Serve with 20-Minute Homemade Bread
Warm, inviting aromas of freshly baked bread can elevate any meal, inviting your loved ones to gather around the table.
-
Creamy Tomato Soup: The rich, velvety texture of tomato soup perfectly complements the fluffy bread for the ultimate comfort meal.
-
Garden Salad: A crisp salad adds refreshing crunch and balances the softness of the bread, making it a delightful pairing.
-
Garlic Butter Shrimp: The savory, garlicky shrimp enhance the homemade bread, allowing you to soak up every luscious bite with ease.
-
Herbed Olive Oil Dip: A sprinkle of herbs infused in delicious olive oil creates a fragrant dip, inviting you to savor warm bread as you socialize.
-
Cheese Platter: An assortment of cheeses provides a variety of textures and flavors, transforming your bread into a perfect vehicle for delectable bites. Include some grapes for a sweet touch.
-
Honey Butter: Sweet and creamy honey butter slathered on warm slices of bread adds an indulgent twist, showcasing versatility in flavors.
-
Sparkling Lemonade: The bright, fizzy drink refreshes your palate and complements the homemade bread’s rich flavors, adding an uplifting touch to your meal.
Enjoy crafting your complete dining experience, where every bite and sip creates memorable moments around the table!
Homemade Bread: Variations & Substitutions
Feel free to explore different flavor profiles and textures with these delightful twists on your homemade bread!
-
Cheese Bread: Add ½ cup shredded cheese to the dough for a cheesy lift. Imagine the melty goodness as you pull apart warm slices, perfect for pairing with soups or salads.
-
Herb Bread: Incorporate dried or fresh herbs like rosemary or thyme for a savory flavor. The aroma will waft through your home, inviting everyone to the table for a fragrant feast.
-
Garlic Bread: Mix in minced garlic or garlic powder for a robust flavor. This twist transforms the bread into a delightful side for pasta dishes—think of it as a warm hug on a chilly evening.
-
Sweet Bread: Increase the sugar and add cinnamon for a delightful sweet treat. Perfect for breakfast toasting or as a comforting afternoon snack paired with a cup of tea.
-
Spicy Twist: Add 1-2 teaspoons of red pepper flakes for a subtle heat. This variation is great for those who enjoy a bit of a kick, setting the stage for lively meals with friends.
-
Whole Wheat Twist: Substitute half of the all-purpose flour with whole wheat flour. This adds nuttiness and is great for hearty sandwiches; you’ll appreciate the depth of flavor!
-
Fruit & Nut Bread: Fold in ½ cup of dried fruits and nuts to the dough for a delightful breakfast option. This sweet variation can brighten up any morning and pair beautifully with coffee or tea.
-
Nutty Bread: Add a cup of chopped nuts for added crunch and flavor. The texture will be rustic and satisfying, perfect for spreading with butter or your favorite jam.
As you can see, with a little creativity, your homemade bread can shine in countless ways! For a sweet treat to go with your bread, consider whipping up some Pumpkin Bread Pudding or enjoy a perfect afternoon snack with Homemade Orange Candy.
Make Ahead Options
These 20-Minute Homemade Bread loaves are perfect for meal prep! You can prepare the dough up to 24 hours ahead, refrigerating it after forming the loaf. To maintain quality, wrap the dough tightly in plastic wrap to prevent drying or browning. When ready to bake, simply take the dough out of the refrigerator and allow it to sit at room temperature for about 30 minutes before baking. This ensures a lovely rise and retains that soft texture. You can also mix your optional add-ins, like cheese or herbs, in advance and store them separately until you’re ready to incorporate them into the dough. With these simple steps, enjoy homemade bread just as delicious as if you made it fresh from scratch, saving you valuable time on busy weeknights!
Expert Tips for Homemade Bread
-
Fresh Baking Powder: Ensure your baking powder is within its expiration date for the best rise; stale baking powder can lead to dense bread.
-
Knead Lightly: Knead the dough gently for about 1 minute. Over-kneading can result in a tough bread, while under-kneading may leave it too loose.
-
Cool Before Slicing: Allow the bread to cool slightly before slicing with a serrated knife. This prevents squishing and achieves clean, beautiful slices.
-
Mixing Flour Types: If using whole wheat flour, consider mixing it with all-purpose flour for a lighter texture. This blend maintains flavor while keeping your bread soft.
-
Double the Batch: Feel free to double the recipe to make two loaves! Bake them separately to ensure each loaf rises perfectly and has a delightful crust.
Storage Tips for Homemade Bread
-
Room Temperature: Store leftover homemade bread in an airtight container at room temperature for up to 2 days to maintain its softness and flavor.
-
Freezer: For longer storage, wrap the bread tightly in plastic wrap, then place it in a freezer-safe bag or container to freeze for up to 3 months.
-
Reheating: To enjoy your bread warm again, reheat it in a preheated oven at 350°F (175°C) for 5-7 minutes. Alternatively, toast individual slices for a quick snack.
-
Slicing: For best texture and ease in storage, slice the bread after it has cooled completely to avoid squishing the soft interior.
20-Minute Homemade Bread Recipe FAQs
How do I pick the best ingredients for my homemade bread?
Absolutely! Choose all-purpose flour that is fresh and free from clumps for the best results. If opting for whole wheat flour, ensure it’s fresh and well-stored, as older flour can affect the bread’s texture. For baking powder, check the expiration date—fresh baking powder guarantees a good rise. Pick a good quality milk, whether dairy or plant-based, to enhance the moisture and flavor of your bread.
How should I store leftover homemade bread?
To keep your freshly baked bread delicious, store it in an airtight container at room temperature for 2 days. For longer storage, wrap it tightly in plastic wrap and place it in a freezer-safe bag or container, where it can last for up to 3 months. Make sure the bread is completely cool before wrapping to avoid condensation and sogginess!
Can I freeze my homemade bread? If so, how?
Of course! To freeze your homemade bread, first let it cool completely after baking. Then, wrap it tightly in plastic wrap, ensuring no air gets in, and place it in a freezer-safe bag or container. This helps to retain its moisture and texture. When you’re ready to enjoy it, just remove the bread from the freezer and let it thaw at room temperature—voilà!
What if my bread doesn’t rise properly?
Very! If your bread isn’t rising, first check if your baking powder is fresh—stale baking powder can prevent any rise at all. If it’s too dense, make sure you added enough liquid to create a cohesive dough. Kneading the dough for the right amount of time (about 1 minute) is key; too little or too much can impact the texture. Rest assured, even if mistakes happen, your homemade bread will still taste great!
Is this recipe suitable for those with dietary restrictions?
Definitely! This homemade bread can easily cater to different dietary needs. For a vegan option, simply use plant-based milk and oil instead of dairy. If you have nut allergies, stick to grains and seeds that are safe for you. Feel free to experiment with gluten-free flour blends if gluten sensitivity is a concern—just keep in mind that the texture may vary!
Quick & Easy Homemade Bread: Freshness in Just 20 Minutes
Ingredients
Equipment
Method
- Preheat your oven to 400°F (200°C) and grease a baking sheet with vegetable oil or line it with parchment paper.
- In a large mixing bowl, whisk together 2 cups of all-purpose flour, 1 tablespoon of baking powder, 1 teaspoon of salt, and 1 tablespoon of sugar.
- Add 1 cup of milk and 2 tablespoons of vegetable oil to the dry ingredients and stir until a cohesive dough forms.
- Turn the dough out onto a lightly floured surface and knead gently for about 1 minute.
- Shape the dough into a round loaf and place it on the greased baking sheet.
- Bake the bread for 15-20 minutes until golden brown.
- Cool on the baking sheet for a few minutes, then transfer to a wire rack to cool completely.
Leave a Reply