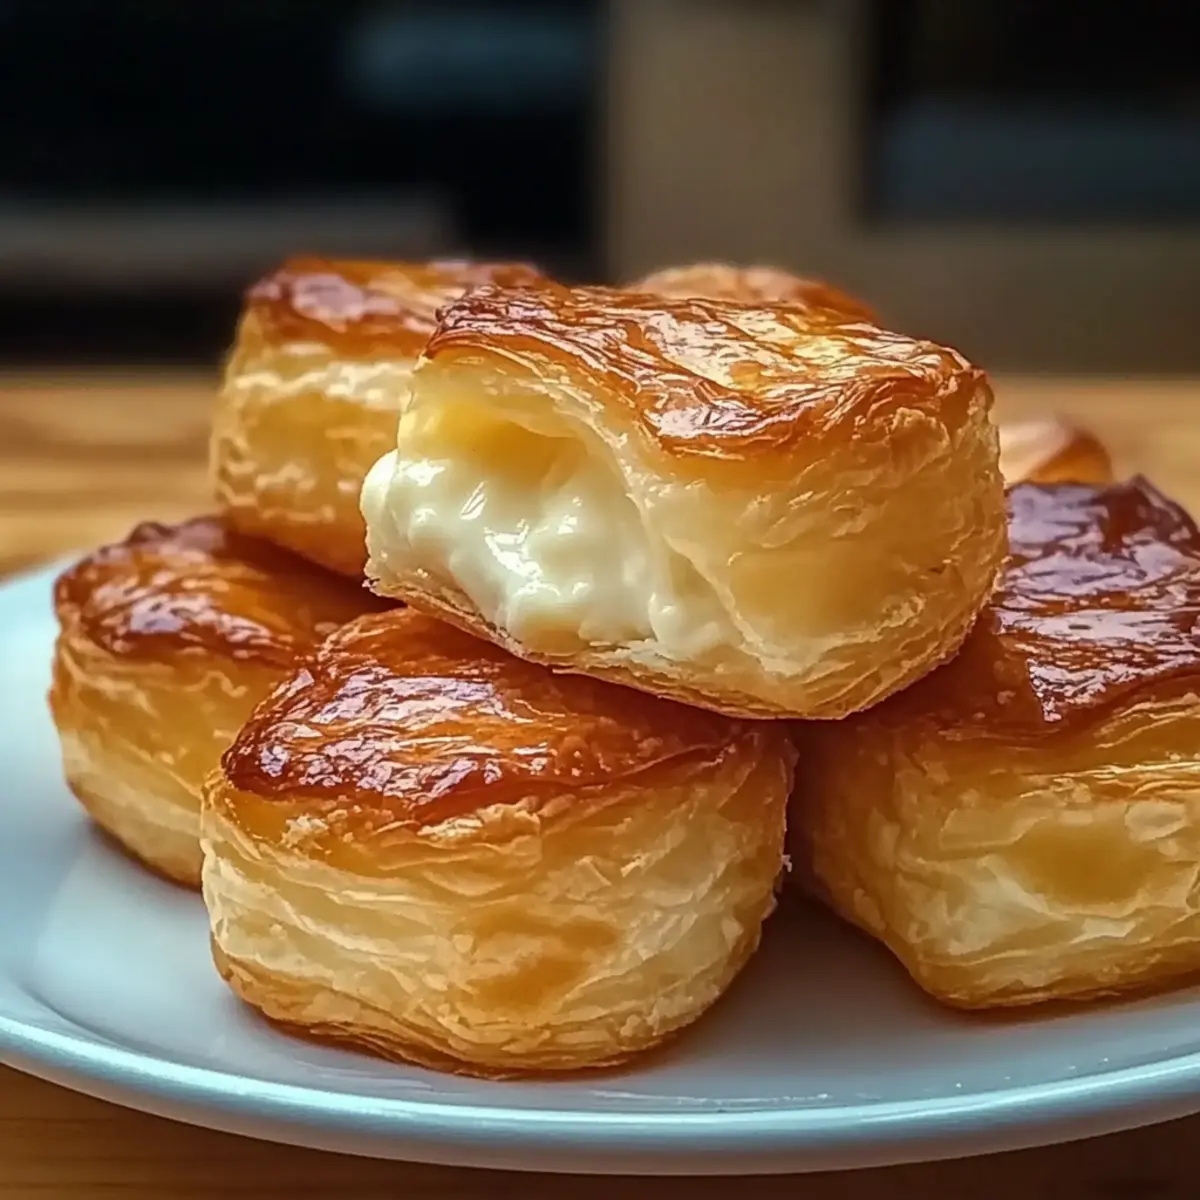
As I stood in my kitchen, the sweet scent of baked pastries filled the air, instantly transporting me to a quaint café in a far-off land. That’s the magic of Nun’s Puffs, a whimsical dessert that captures the essence of homemade indulgence! These delightful, cloud-like pastries are not only incredibly easy to whip up but also offer a customizable filling that lets your creativity shine. Whether you’re hosting a brunch for friends or seeking something unique for dessert, these airy wonders will steal the show. Plus, you can fill them with anything from a rich cream cheese mixture to seasonal fruits, ensuring every bite is a delightful surprise. Ready to take your taste buds on a joyful ride? Let’s dive in and make these irresistible Nun’s Puffs together!
Why Are Nun’s Puffs Irresistible?
Whimsical Treat: Nun’s Puffs are like little clouds of joy, bringing a unique twist to your dessert table.
Easy to Make: With straightforward instructions, you don’t need to be a pro baker to impress your guests!
Customizable Fillings: Choose from a variety of fillings like creamy cheese or fresh fruits to match any occasion.
Perfect for Any Gathering: Whether it’s a casual brunch or a fancy dinner, these delightful pastries will wow your family and friends.
Time-Saving Delight: Quick to prepare and bake, you’ll have a stunning dessert ready in no time!
Nun’s Puffs Ingredients
Here’s everything you need to create your own airy Nun’s Puffs!
For the Dough
- Whole Milk – Provides moisture and richness to the dough; substitute with almond milk for a dairy-free option.
- Unsalted Butter – Adds richness and flavor; can use salted butter, but reduce additional salt in the recipe.
- All-Purpose Flour – The main structure builder for the puffs; gluten-free flour can be used with a binding agent.
- Eggs (4 large) – Provide structure and help puffs rise; room temperature eggs are essential for optimal mixing.
- Vanilla Extract (1 tsp) – Enhances flavor; substitute with almond extract for a different profile.
For the Creamy Filling
- Cream Cheese (8 oz, softened) – Primary filling that gives a creamy texture; Greek yogurt can be used as a lighter alternative.
- Powdered Sugar (1 cup) – Sweetens the filling; can reduce sugar for a less sweet version.
These ingredients come together to create the delightful, cloud-like experience of Nun’s Puffs!
Step‑by‑Step Instructions for Nun’s Puffs
Step 1: Preheat the Oven
Begin by preheating your oven to 400°F (200°C). While the oven heats, line a baking sheet with parchment paper to prevent the Nun’s Puffs from sticking. This preparation ensures the puffs have a smooth surface to rise beautifully and become golden brown as they bake.
Step 2: Prepare the Dough
In a medium saucepan, combine 1 cup of whole milk and 1/2 cup of unsalted butter over medium heat. Stir gently until the butter melts completely. Once it reaches a gentle boil, reduce the heat and add 1 cup of all-purpose flour, stirring vigorously until the mixture forms a ball and pulls away from the sides of the pan, about 3-5 minutes.
Step 3: Incorporate Eggs
Remove the saucepan from the heat and allow it to cool slightly, about 2 minutes. Gradually add 4 large room temperature eggs, one at a time, mixing well after each addition. The dough should become smooth and glossy, indicating it’s ready for piping into delightful Nun’s Puffs.
Step 4: Pipe the Dough
Transfer the dough to a piping bag fitted with a large round tip. Pipe golf ball-sized mounds of dough onto the prepared baking sheet, spacing them about 2 inches apart. This spacing allows the air to circulate, ensuring the Nun’s Puffs rise properly while they bake.
Step 5: Bake the Puffs
Place the baking sheet in the preheated oven and bake for 20-25 minutes. Avoid opening the oven door during the first 15 minutes, as this could cause the Nun’s Puffs to deflate. You’ll know they’re ready when they’re puffed up and golden brown, creating a delightful aroma in your kitchen.
Step 6: Make the Creamy Filling
While the puffs are baking, prepare the filling by beating together 8 oz of softened cream cheese and 1 cup of powdered sugar in a mixing bowl. Blend until the mixture is fluffy and creamy, and if desired, add 1 teaspoon of vanilla extract to enhance the flavor, making it even more irresistible.
Step 7: Fill the Puffs
Once the Nun’s Puffs have cooled slightly on a wire rack, slice each one open carefully. Using a piping bag or a small spatula, fill each puff with the creamy mixture. For a finishing touch, dust them lightly with powdered sugar before serving, showcasing their cloud-like charm and inviting filling.
Expert Tips for Nun’s Puffs
- High Temperature Start: Ensure to bake the Nun’s Puffs initially at a high temperature to allow for proper rising and puffiness.
- No Peeking: Avoid opening the oven door too soon; this can cause the delicate puffs to deflate, ruining the airy texture.
- Custom Fillings: Don’t shy away from experimenting! Fill the puffs with chocolate mousse, fruit compotes, or even seasonal flavors for a delicious twist.
- Room Temperature Eggs: Using room temperature eggs is vital for achieving a smooth dough, helping the puffs rise beautifully.
- Storage Wisely: Store leftover puffs in an airtight container at room temperature for up to two days, and reheat briefly in the oven for best texture.
Make Ahead Options
These delightful Nun’s Puffs are perfect for meal prep enthusiasts! You can prepare the dough up to 24 hours in advance by following the first four steps, then refrigerate it in an airtight container. The creamy filling can also be made ahead and stored in the fridge for up to 3 days to enhance its flavors. When you’re ready to enjoy your Nun’s Puffs, simply pipe and bake the chilled dough right from the fridge, ensuring a delightful rise and airy texture. For the best quality, fill the puffs just before serving to keep them fresh and crisp, allowing you to serve exceptional treats with minimal fuss on busy days!
What to Serve with Irresistible Nun’s Puffs
Indulging in the airy delight of these pastries opens the door to an enchanting meal experience. Let’s elevate your dessert spread with these delightful pairings!
-
Fresh Berries: Juicy strawberries and blueberries offer a refreshing contrast to the creamy filling, adding a burst of natural sweetness.
-
Whipped Cream: Light and fluffy whipped cream enhances the lightness of Nun’s Puffs, making for a charming, elegant presentation.
-
Chocolate Sauce: A drizzle of rich chocolate sauce provides a decadent touch, perfect for those who crave a sweet balance with every puff.
-
Caramel Drizzle: Soft and warm caramel adds a lovely depth, creating a luxurious complement to the cloud-like pastries.
-
Cocoa Powder Dusting: A light dusting of cocoa powder enhances the visual appeal while introducing a hint of bitterness against the sweet filling.
-
Coffee or Espresso: A warm cup of coffee or espresso pairs beautifully, cutting through the sweetness and highlighting the creamy flavors.
-
Sparkling Wine: Celebrate with a glass of bubbly! The effervescence enhances the airy sensation while providing a festive touch.
-
Herbal Tea: A soothing cup of chamomile or peppermint tea brings warmth and comfort, creating a serene end to your meal.
With these thoughtfully selected accompaniments, your Nun’s Puffs will truly shine as the centerpiece of a delightful gathering!
Nun’s Puffs Variations & Substitutions
Feel free to unleash your creativity and play around with these delightful Nun’s Puffs variations that add extra joy to your baking adventure!
- Dairy-Free: Substitute whole milk with almond milk and cream cheese with vegan cream cheese for a deliciously light, dairy-free treat.
- Gluten-Free: Use a 1:1 gluten-free flour blend instead of all-purpose flour, ensuring a fluffy, gluten-free version that everyone can enjoy.
- Flavored Fillings: Mix in flavored extracts like almond or lemon to your cream cheese filling for a refreshing twist that tickles your palate.
- Chocolate Lovers: Fold in mini chocolate chips or cocoa powder into the filling for a chocolate indulgence that will melt hearts.
- Fruit-Infused: Stir in fresh, chopped fruit like strawberries or raspberries to the filling for a seasonal burst of flavor that brightens every bite.
- Nutty Crunch: Add finely chopped nuts, such as pistachios or hazelnuts, to the filling for a delightful crunch and flavor contrast in every puff.
- Spiced Up: Add warm spices like cinnamon or nutmeg to the filling for a cozy twist, creating a nostalgic flavor that warms the soul.
- Savory Option: For a unique twist, try incorporating savory fillings like whipped goat cheese blended with herbs for a classy party appetizer.
Remember, if you’re looking for other delightful desserts, my recipe for Chocolate Mousse is a perfect pairing with these puffed delights! Whether you’re in the mood for sweet or savory, you can make these Nun’s Puffs your own, ensuring every bite is nothing short of magical!
How to Store and Freeze Nun’s Puffs
Room Temperature: Keep unfilled Nun’s Puffs in an airtight container for up to 2 days to maintain their delightful texture.
Fridge: If filled, store them in the refrigerator in a sealed container for 1 day. Consume them fresh for the best flavor and creaminess.
Freezer: Unfilled puffs can be frozen for up to 2 months. Place them in a single layer on a baking sheet, freeze until solid, then transfer to a freezer bag.
Reheating: For the best results, reheat frozen or leftover puffs in a preheated oven at 350°F (175°C) for about 5 minutes to restore their airy texture.
Nun’s Puffs Recipe FAQs
How do I select the right eggs for my Nun’s Puffs?
Absolutely! It’s best to use large eggs at room temperature as they mix more easily into the dough, ensuring a smooth and fluffy texture. Room temperature eggs help the puffs rise properly, preventing dense pastries.
How should I store leftover Nun’s Puffs?
For the best results, store unfilled Nun’s Puffs in an airtight container at room temperature for up to 2 days. If they’re filled, keep them in the fridge in a sealed container and consume them within a day for optimal freshness.
Can I freeze Nun’s Puffs? How do I do it?
Very! To freeze unfilled Nun’s Puffs, place them in a single layer on a baking sheet, freeze until solid (about 1-2 hours), then transfer to a freezer bag, sealing tightly. They can be stored for up to 2 months. When you’re ready to enjoy, reheat them in a preheated oven at 350°F (175°C) for about 5 minutes.
What should I do if my Nun’s Puffs deflate after baking?
If your Nun’s Puffs deflate, it may be due to opening the oven door too soon or not baking at a high enough temperature initially. To prevent this, resist the urge to check on them during the first 15 minutes of baking and ensure the oven is properly preheated to 400°F (200°C) for a great rise!
Are Nun’s Puffs suitable for those with dietary restrictions?
Yes! You can easily customize Nun’s Puffs to cater to different dietary needs. For dairy-free options, replace whole milk with almond milk and use a non-dairy cream cheese alternative for the filling. Just be sure to check for any allergens in the substitutes you choose.
What other fillings can I use for my Nun’s Puffs?
I recommend getting creative! You can fill them with chocolate mousse, whipped cream mixed with fresh fruits, or Almond-flavored pastry cream. Feel free to explore different flavor extracts or seasonal fruits to make each batch unique and exciting!
Delightful Nun’s Puffs: Whimsical Creamy Cloud Treats
Ingredients
Equipment
Method
- Preheat your oven to 400°F (200°C) and line a baking sheet with parchment paper.
- In a medium saucepan, combine 1 cup of whole milk and 1/2 cup of unsalted butter over medium heat until melted. Add 1 cup of all-purpose flour, stirring until a ball forms.
- Remove from heat, cool for 2 minutes, then gradually add 4 large eggs, mixing well until smooth.
- Transfer to a piping bag and pipe golf ball-sized mounds onto the baking sheet, spaced 2 inches apart.
- Bake for 20-25 minutes, avoiding opening the oven for the first 15 minutes.
- Prepare the filling by beating together 8 oz of softened cream cheese and 1 cup of powdered sugar until fluffy; optionally add 1 tsp of vanilla extract.
- Once cooled, slice each puff open and fill with the creamy mixture; dust lightly with powdered sugar before serving.
Leave a Reply