The first time I tried a chocolate oat cookie, it felt like a delicious revelation. These 4-Ingredient Gluten-Free Chocolate Oat Cookies blend a chewy texture with a satisfying crunch that keeps you coming back for more. Made with just four simple ingredients, this recipe is not only quick to whip up but also perfect for anyone looking to enjoy homemade treats without the fuss of complicated baking. Whether you’re snagging a late-night snack or surprising guests with a sweet delight, these cookies hit the spot. Plus, they’re gluten-free and can easily be tailored to your dietary preferences, making them a guilt-free indulgence. Ready to dive into the world of simple yet scrumptious cookies? Let’s get baking!
Why are these cookies a game-changer?
Simplicity at its finest: With just four ingredients, you can whip up a batch of these cookies in no time—perfect for busy days or spontaneous cravings!
Deliciously versatile: Customize them with your favorite nut butter or sweeteners. Add some dried fruits for a fun twist or switch to sunflower seed butter for a nut-free alternative!
Health-conscious indulgence: Packed with fiber and healthy fats, these cookies satisfy your sweet tooth while keeping it nutritious.
Crowd-pleaser: Whether enjoyed warm from the oven or stored for later, these cookies are sure to impress family and friends alike. Pair them with a comforting cup of tea or a glass of milk for the ultimate snack experience!
So, if you’re looking for a quick and delightful treat that brings the joy of homemade baking without the hassle, these 4-Ingredient Gluten-Free Chocolate Oat Cookies are the answer!
4-Ingredient Chocolate Oat Cookies
-
For the Base
• Oats – Provide structure and chewiness; quick oats give a finer texture, while rolled oats add hearty goodness.
• Nut Butter – Acts as a binder, with almond or peanut butter enhancing richness; sunflower seed butter works for nut-free options. -
For Sweetness
• Sweetener – Maple syrup or honey lend natural sweetness; agave syrup is a perfect vegan substitute. -
For Indulgence
• Chocolate Chips – Add extra richness and flavor; dark chocolate chips deepen the chocolate experience, while dairy-free versions suit vegan preferences.
Dive into the delightful world of 4-Ingredient Gluten-Free Chocolate Oat Cookies and discover the joy they bring to your baking!
Step‑by‑Step Instructions for 4-Ingredient Gluten-Free Chocolate Oat Cookies
Step 1: Preheat the Oven
Start by preheating your oven to 350°F (175°C). While it warms up, line a baking sheet with parchment paper to prevent sticking. This step is crucial to ensure your 4-Ingredient Gluten-Free Chocolate Oat Cookies bake evenly and achieve that perfect texture, so don’t skip it!
Step 2: Mix the Oats and Nut Butter
In a mixing bowl, combine your choice of oats with the nut butter. Stir together until the mixture is well blended. It should be thick and sticky, indicating that the oats and nut butter are fully combined. This mixture serves as the foundation of your cookies, so mix thoroughly for best results.
Step 3: Add Sweetener and Chocolate Chips
Once your oat and nut butter mixture is ready, it’s time to incorporate the sweetener and chocolate chips. Fold these in gently until everything is evenly combined. You’ll see the chocolate chips spread throughout the dough, adding a delightful richness to your chocolate oat cookies.
Step 4: Form the Cookie Dough
Using a spoon, drop spoonfuls of dough onto your prepared baking sheet. Space them about 2 inches apart to allow for spreading while baking. This will help your cookies maintain their shape and ensure they become evenly golden brown—just what we want for our 4-Ingredient Gluten-Free Chocolate Oat Cookies!
Step 5: Bake the Cookies
Place the baking sheet in your preheated oven and bake for 10-12 minutes. Keep an eye on them—look for a golden-brown color around the edges, which indicates they are ready to come out. This is where the magic happens, transforming your dough into delicious cookies!
Step 6: Cool Before Enjoying
Once baked, let the cookies cool on the baking sheet for about 5 minutes. This cooling time allows them to firm up. After that, carefully transfer them to a wire rack to cool completely. This step is essential to achieving the perfect chewy texture we all love in homemade treats.

Expert Tips for 4-Ingredient Gluten-Free Chocolate Oat Cookies
- Nut Butter Quality: Use smooth and well-mixed nut butter to ensure even blending; clumps can affect the cookie’s texture.
- Bake Time Awareness: Keep a close eye on baking time to prevent over-baking, which can result in dry cookies instead of the desired chewy consistency.
- Cooling Importance: Allow cookies to cool completely on a wire rack to achieve that soft and chewy texture, enhancing the overall experience.
- Oat Type Choice: Opt for quick oats for a finer texture or rolled oats for more bite; both work beautifully in this recipe.
- Flavorful Add-ins: Feel free to experiment with extra ingredients like nuts or dried fruits to elevate your 4-ingredient gluten-free cookies!
What to Serve with 4-Ingredient Gluten-Free Chocolate Oat Cookies
Pair your homemade creations with delightful accompaniments for a truly satisfying experience.
- Cold Glass of Milk: Complements the cookies’ chocolaty richness while providing a classic, comforting pairing.
- Aromatic Tea: Herbal or chai tea adds a warm, soothing contrast, enhancing the cookie’s sweetness with its subtle spices.
- Coconut Yogurt: Adds a creamy, tart flavor that balances the sweetness of the cookies, while keeping it light and refreshing.
- Nutty Granola: Offers an additional crunch and flavor depth, making a delightful combination for those craving texture.
- Chocolate Dipped Fruit: Fresh strawberries or bananas dipped in dark chocolate pair beautifully, enhancing the chocolate notes in the cookies.
- Whipped Coconut Cream: Light and airy, this topping brings decadence without heaviness, enriching the overall indulgent experience.
- Espresso: A small cup of rich espresso creates a sophisticated pairing, with its boldness contrasting wonderfully with the cookies’ sweetness.
- Fruit Salad: A fruity mix adds a refreshing contrast to the cookies, introducing natural sweetness and a burst of freshness.
- Mini Ice Cream Cones: Serve as a fun dessert option, with the cookies acting as a perfect sidekick to ice cream’s chilled creaminess.
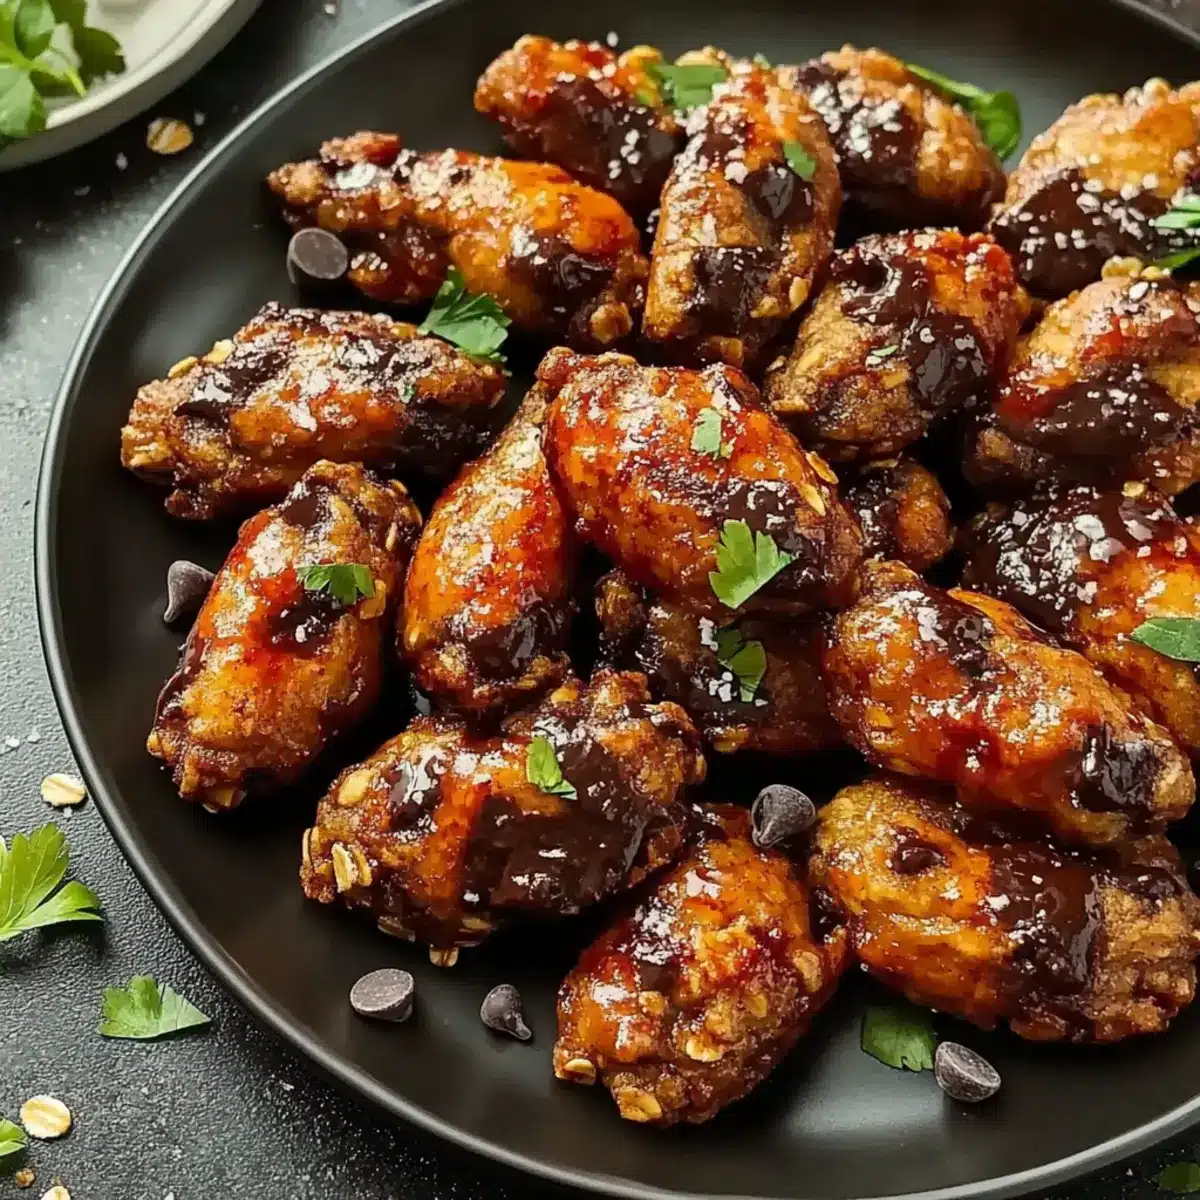
- Sweet and Spicy Chicken Wings: For an adventurous pairing, these wings introduce a delightful kick, creating a unique twist for bold flavor enthusiasts.
Sweet and Spicy Chicken Wings Variations
Feel free to get creative with these cookies; there are so many delightful twists to try that will make every bite even more special!
- Gluten-Free: Use certified gluten-free oats to ensure these cookies cater to gluten-sensitive eaters without sacrificing taste. Your loved ones will appreciate the extra care!
- Nut-Free: Substitute almond butter with sunflower seed butter for a nut-free treat without losing any of that delightful chewiness. Perfect for school lunches or gatherings!
- Vegan Delight: Replace honey with agave syrup and choose dairy-free chocolate chips to whip up a truly vegan version that everyone will enjoy. It’s a sweet surprise for all!
- Fruit Boost: Toss in some dried cranberries or raisins to add a fruity dimension that complements the rich chocolate flavor beautifully. Sweet, chewy, and oh so satisfying!
- Crunchy Twist: Mix in chopped nuts such as walnuts or pecans for an added crunch that takes your cookies to the next level. Textures are always fun in cookies!
- Flavor Explosion: Experiment with different flavors by adding a sprinkle of cinnamon or a dash of vanilla extract for a warm, comforting twist. Each bite will be a delight!
- Cacao Nibs: For an intense chocolate experience, substitute half of the chocolate chips with cacao nibs. This adds a rich bitterness that balances the sweetness perfectly.
- Spicy Kick: Add a pinch of cayenne pepper to the mixture for a surprising, sweet-heat combination that will tantalize your taste buds and leave everyone guessing!
As you explore these delightful options, you might find yourself inspired to create even more variations. Each cookie is a canvas for your culinary art, just like those sweet and spicy wings you might serve on game day alongside a refreshing beverage!
Make Ahead Options
These 4-Ingredient Gluten-Free Chocolate Oat Cookies are perfect for meal prep enthusiasts! You can prepare the cookie dough up to 24 hours in advance by mixing the oats, nut butter, sweetener, and chocolate chips together, then storing it in an airtight container in the refrigerator. This not only saves you time but ensures that your cookies are just as fresh when you bake them. When ready to serve, simply scoop the chilled dough onto a baking sheet and bake right from the fridge. Alternatively, you can also shape the cookies and freeze them for up to 3 months; just bake straight from the freezer, adding a couple of extra minutes to your baking time for a delightful homemade treat at a moment’s notice!
How to Store and Freeze Chocolate Oat Cookies
Airtight Container: Store your cookies in an airtight container at room temperature for up to one week to keep them fresh and chewy.
Fridge: For extra freshness, you can refrigerate the cookies for up to two weeks, but allow them to return to room temperature before enjoying.
Freezer: Freeze cookies individually wrapped in plastic wrap for up to three months. Thaw at room temperature before serving for the best texture.
Reheating: Reheat in the microwave for about 10-15 seconds to restore their warm, gooey goodness, perfect for enhancing those chocolate flavors in your treats!

4-Ingredient Gluten-Free Chocolate Oat Cookies Recipe FAQs
How can I choose the best oats for this recipe?
Absolutely! For the best results, I recommend using rolled oats if you prefer a heartier texture or quick oats for a finer consistency. Both types work well, but be sure not to use instant oats, as they can lead to mushy cookies.
What’s the best way to store leftover cookies?
Very! Store your 4-Ingredient Gluten-Free Chocolate Oat Cookies in an airtight container at room temperature for up to one week. If you want to keep them fresh longer, consider refrigerating them for up to two weeks. Just let them come back to room temperature before enjoying!
Can I freeze these cookies, and how should I do it?
Absolutely! To freeze your cookies, wrap each one individually in plastic wrap, then place them in a freezer-safe bag or container. They can be stored in the freezer for up to three months. When you’re ready to enjoy, simply thaw them at room temperature for about 15-30 minutes or pop them in the microwave for 10-15 seconds to bring back their warm, delicious goodness!
What if my dough is too dry or too wet?
If your dough is too dry, try adding a touch more nut butter or a splash of sweetener to bring moisture back in. Conversely, if the mixture feels too wet, you can mix in more oats to achieve the desired thickness. Remember, the cookie dough should be thick and slightly sticky!
Are these cookies safe for those with nut allergies?
Great question! For anyone with nut allergies, I recommend using sunflower seed butter as a substitute for the nut butter. This keeps the delightful flavor and chewy texture without any nut-based ingredients. Always check all other ingredients to ensure they are also nut-free and safe for consumption.
Can I customize the sweetness level?
Certainly! You can adjust the sweetness by either reducing the amount of sweetener you add or experimenting with various sweeteners like coconut sugar for a deeper flavor. Just be mindful that different sweeteners may slightly alter the final texture and sweetness of your cookies.

Sweet and Spicy Chicken Wings that Make Every Bite Irresistible
Ingredients
Equipment
Method
- Preheat your oven to 350°F (175°C) and line a baking sheet with parchment paper.
- In a mixing bowl, combine soy sauce, honey, sriracha, and garlic powder to create the marinade.
- Add chicken wings to the marinade and let them marinate for at least 30 minutes.
- Spread wings on the prepared baking sheet, ensuring they are spaced apart.
- Bake in the preheated oven for 30 minutes or until golden brown and crispy.
- Let wings cool for 5 minutes before serving to allow flavors to settle.
Leave a Reply