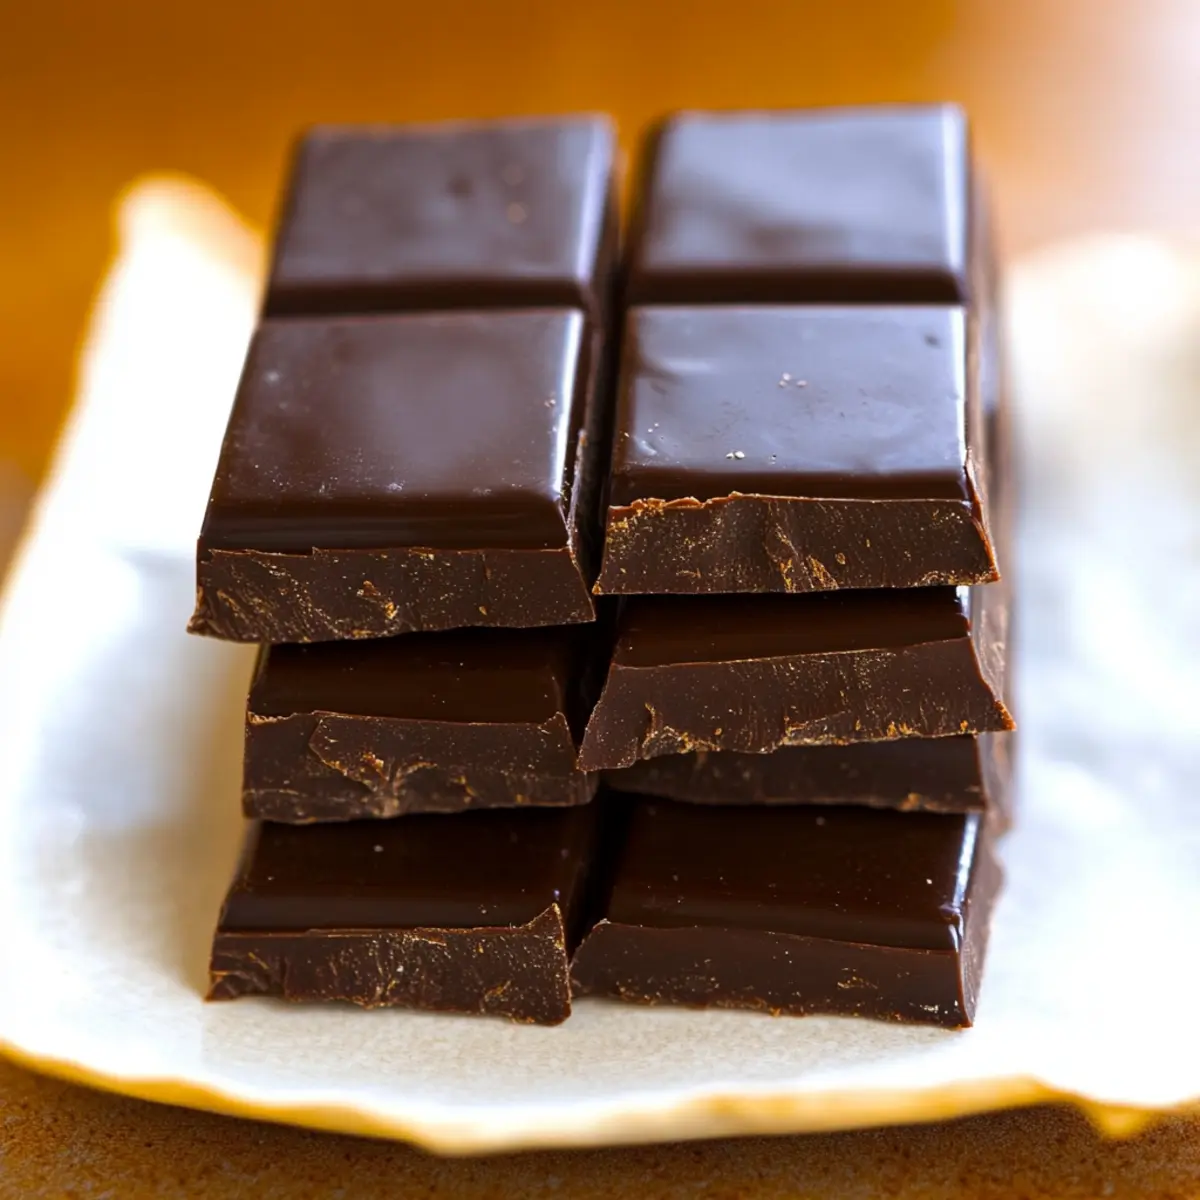
The aroma of warm, rich chocolate fills my kitchen as I whip up a batch of these 3-Ingredient Homemade Chocolate Bars. With only three simple ingredients, this quick and easy recipe is my go-to for satisfying those chocolate cravings without the guilt associated with store-bought treats. In just five minutes, you can create creamy, customizable bars that not only taste amazing but also cater to a variety of dietary needs—think vegan, keto, or sugar-free options! Whether you’re a kitchen novice or a seasoned pro, this recipe is the perfect opportunity to unleash your creativity with flavors like mint, almond, or even a hint of espresso. So, what delightful twist will you add to your homemade creation?
Why make homemade chocolate bars?
Simplicity at its finest: With just three ingredients, you can whip up these delicious treats in no time. Customizable flavors mean you can experiment endlessly—try a refreshing mint or a rich espresso twist. Diet-friendly options make this recipe suitable for everyone, whether you’re keto, vegan, or looking for sugar-free alternatives. Impressive Presentation: Surprise friends and family with bars that look and taste gourmet, yet are incredibly easy to make. Perfect for Gifting: Package your homemade chocolate bars in a festive box for a thoughtful, homemade gift. Discover more delectable delights with recipes like Chocolate Dipped Orange Shortbread Cookies for added inspiration!
Homemade Chocolate Bars Ingredients
• Whip up your own delicious chocolate bars with these simple ingredients!
For the Chocolate Base
- 1/4 cup cacao or cocoa powder – A delightful base that provides rich chocolate flavor; feel free to substitute with carob powder for a different taste.
- 3 tbsp coconut oil – The fat element for a smooth texture; use unsalted butter or cocoa butter if you’re looking for a coconut-free option.
- 3 tbsp pure maple syrup, honey, or agave – Adds the perfect touch of sweetness; for a sugar-free alternative, try drops of liquid stevia to taste.
Optional Flavor Enhancers
- Flavor extracts – A few drops of peppermint, vanilla, or almond extract can elevate your bars to another level of yumminess.
- Nuts or Seeds – Adding chopped nuts or seeds brings delightful texture and added nutrition; feel free to use your favorites like almonds or sunflower seeds.
- Dried fruits – Chopped dried fruits, such as cherries or cranberries, provide a chewy contrast to your chocolate bars; experiment with different fruits!
With just a few ingredients, you can create Customized Homemade Chocolate Bars that will wow your taste buds and impress everyone around you!
Step‑by‑Step Instructions for Homemade Chocolate Bars
Step 1: Melt Coconut Oil
Begin by gently warming the coconut oil in a small saucepan over low heat, ensuring it becomes fully liquid. This should take about 2-3 minutes, and you want to avoid boiling it. Stir occasionally until it’s completely melted, and then remove it from heat to cool slightly before mixing with the dry ingredients.
Step 2: Mix the Ingredients
In a medium mixing bowl, combine the melted coconut oil, cocoa powder, and your choice of sweetener—maple syrup, honey, or agave. Using a whisk or spatula, stir the mixture until it’s thick and fully blended, achieving a luscious chocolate consistency. The final mixture should be smooth and glossy, free of lumps, ready for molding.
Step 3: Prepare the Molds
Grab a flat container or silicone candy molds, which will help shape your chocolate bars. Carefully pour the chocolate mixture into each mold, using a spatula to spread it evenly, ensuring there are no air bubbles trapped inside. Smooth the top with the spatula for a beautifully finished surface.
Step 4: Chill Until Solid
Place your filled molds in the refrigerator or freezer to chill until the chocolate has completely hardened. This will take approximately 30-60 minutes. Keep an eye on them; they should snap firmly when done, giving you that desired chocolate bar texture and sheen.
Step 5: Remove and Serve
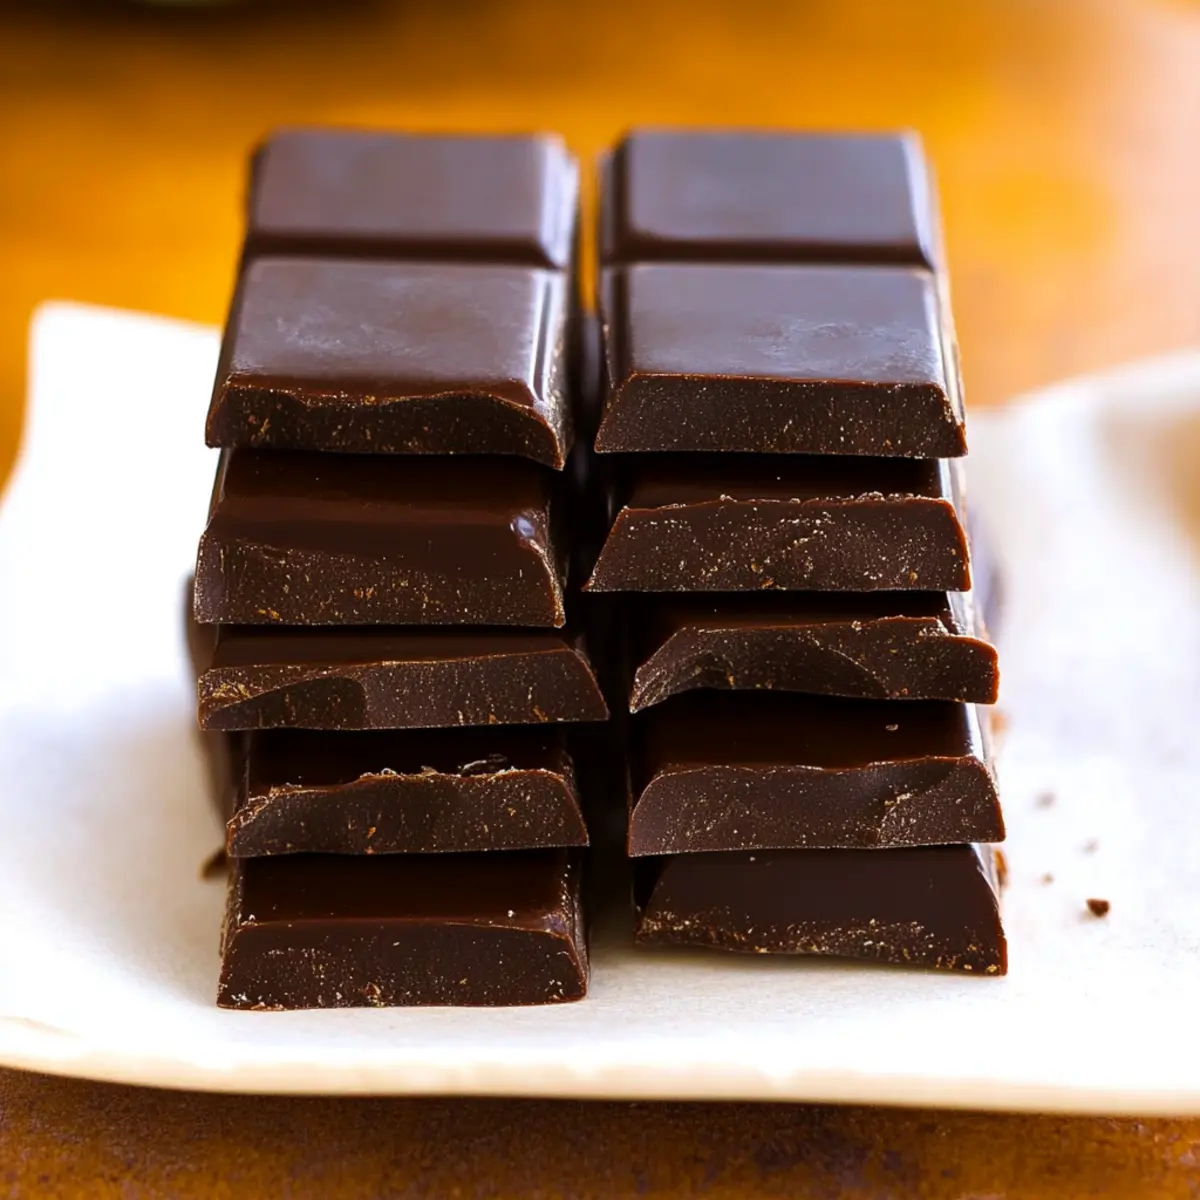
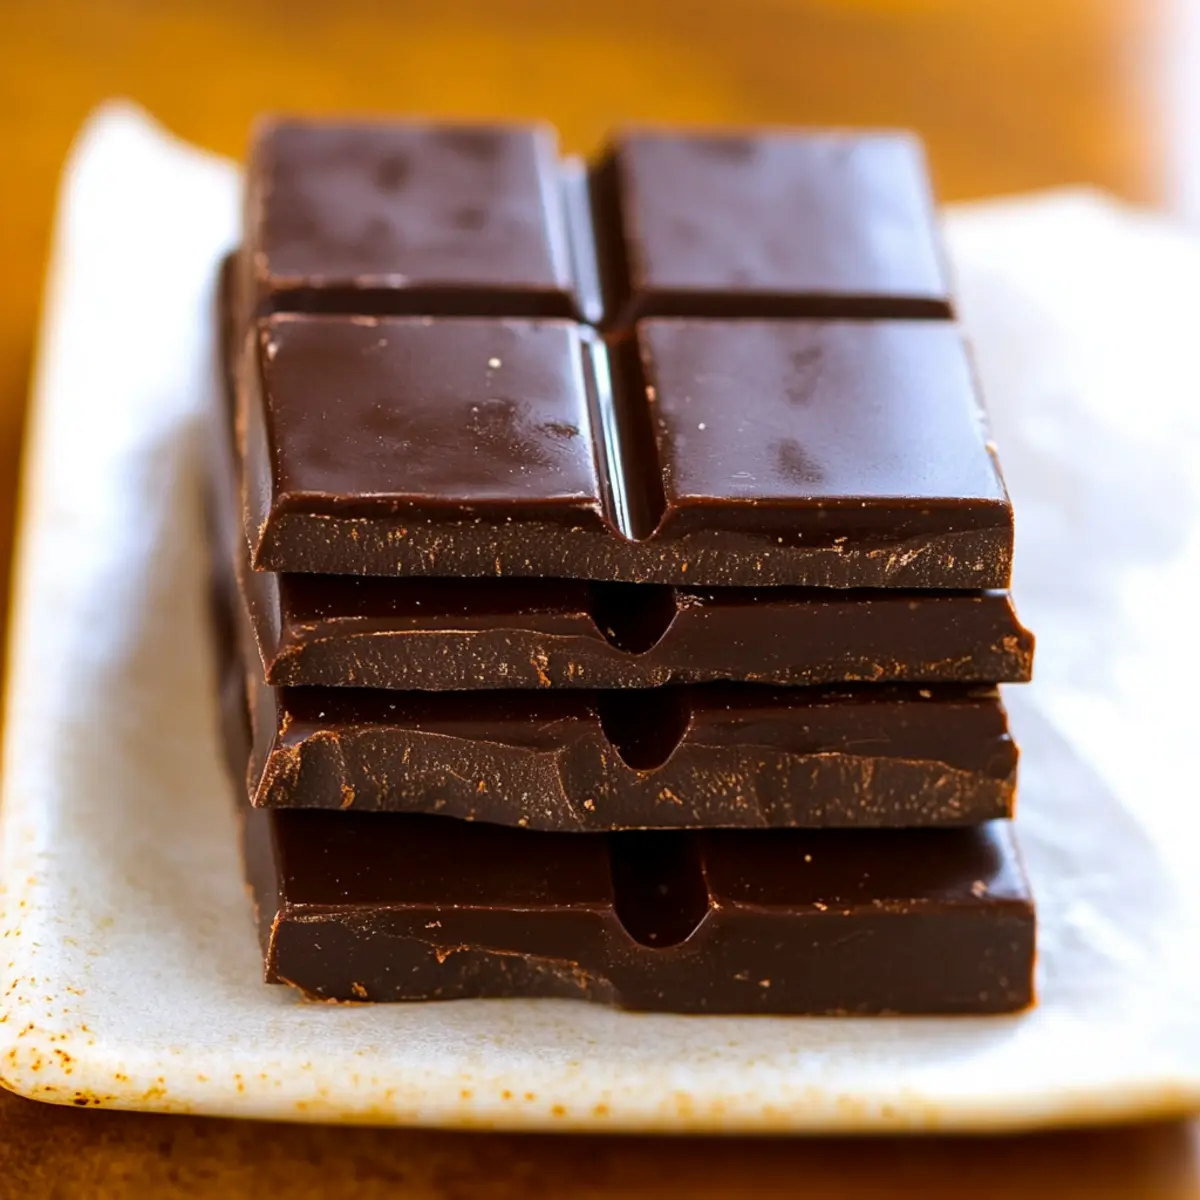
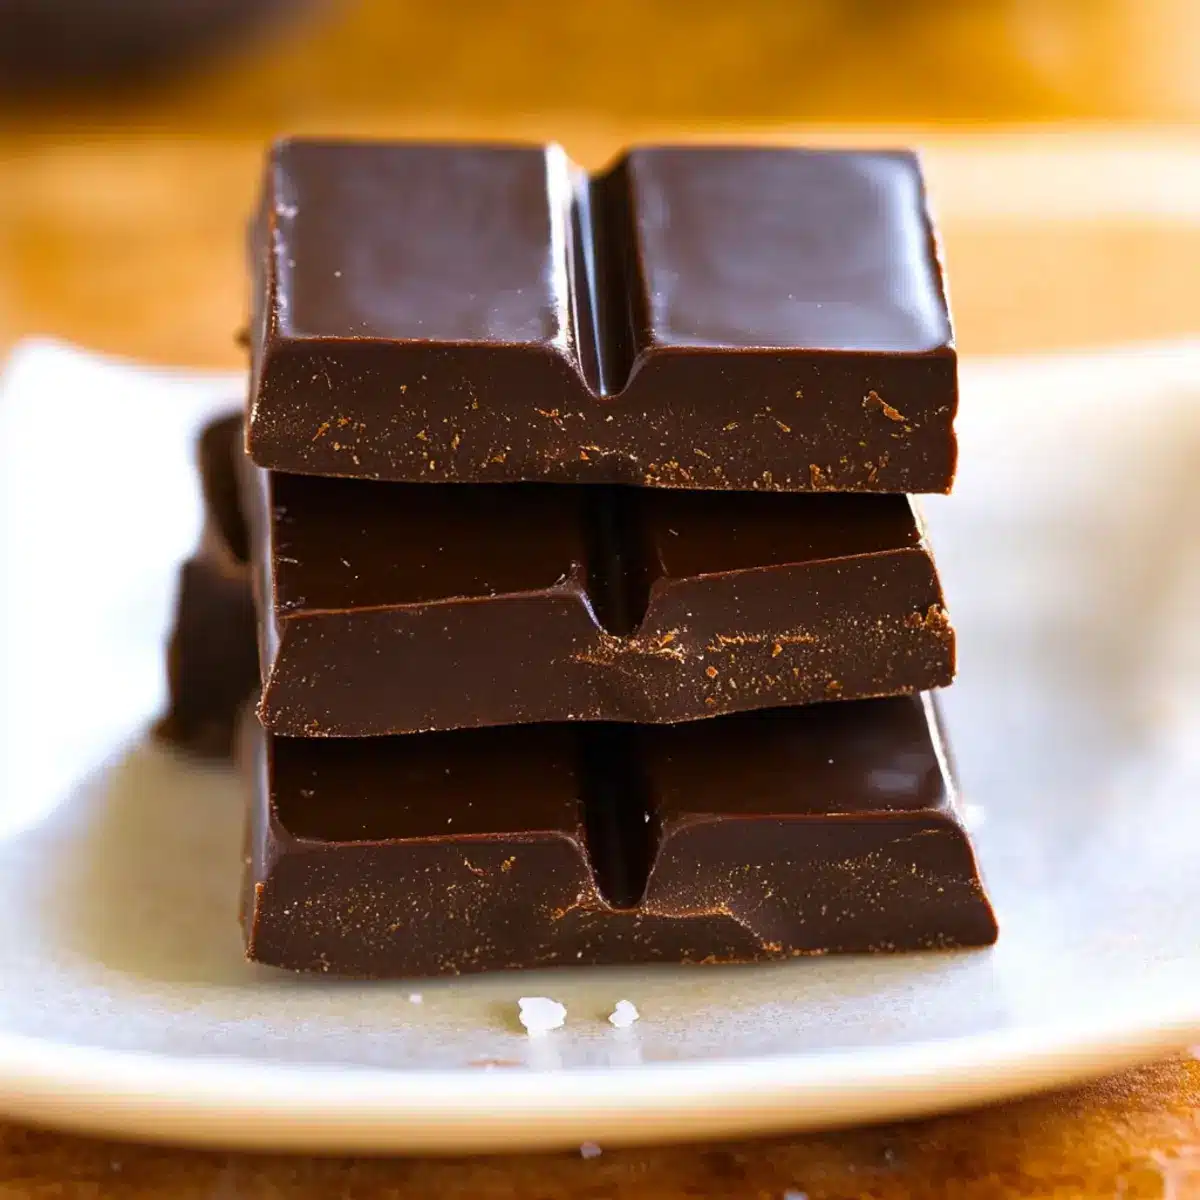
Once fully set, gently pop the chocolate bars out of the molds. If you’re using a flat container, carefully cut the solidified chocolate into bars or squares. Now, they are ready to be enjoyed as a delightful homemade snack! Store any leftovers in an airtight container in the fridge for up to two weeks.
How to Store and Freeze Homemade Chocolate Bars
Fridge: Keep your homemade chocolate bars in an airtight container for up to two weeks. This will help maintain their delightful texture and flavor while keeping them fresh.
Freezer: For longer storage, freeze the chocolate bars in a single layer and then transfer them to a freezer-safe container. They can last for up to 3 months—perfect for having a quick treat on hand!
Reheating: If you decide to use them as a chocolate sauce, melt the bars gently in a double boiler or microwave. Stir intermittently to ensure they become silky smooth again.
Room Temperature: If consumed within a few days, you can also keep the bars at room temperature; just ensure they’re stored in a cool, dry place away from direct sunlight.
Make Ahead Options
These 3-Ingredient Homemade Chocolate Bars are perfect for busy home cooks looking to streamline their meal prep! You can prepare the chocolate mixture up to 24 hours in advance by melting the coconut oil and mixing it with cocoa powder and your sweetener, ensuring it’s well-blended. Simply refrigerate the mixture in an airtight container until you’re ready to pour it into molds. Additionally, you can pour the chocolate into molds and let them chill for up to 3 days without compromising quality. Just be sure to keep them covered to maintain that glossy texture. When you’re ready to enjoy, pop the bars out of the molds and indulge in your delightful homemade chocolate goodness!
Homemade Chocolate Bars: Sweet Variations
Feel free to explore the endless possibilities this recipe offers and create your own delightful spin on these chocolate bars!
- Minty Fresh: Stir in a few drops of peppermint extract for a refreshing minty touch. Ideal for those who love a classic mint chocolate combo!
- Rocky Road: Incorporate mini marshmallows and chopped nuts for a fun and chewy texture. Every bite will remind you of the beloved ice cream flavor!
- Espresso Delight: Add a spoonful of instant coffee granules for a delightful mocha kick. This variation is perfect for coffee lovers!
- Nutty Crunch: Include chopped nuts or seeds, such as almonds or sunflower seeds, for an added crunch. A textural twist that takes your bars to the next level!
- Spiced Cocoa: Mix in a pinch of cinnamon or cayenne pepper to give your chocolate a warm kick. Perfect for those adventurous flavor seekers!
- Fruity Fusion: Fold in dried fruits like cranberries or cherries for a sweet-tart contrast. It adds a lovely chewy texture alongside the smooth chocolate.
- Sugar-Free Option: Swap out the syrup for liquid stevia to cater to your sugar-free cravings. Enjoy chocolate guilt-free without sacrificing sweetness!
- Dark Chocolate Almond: Substitute cacao powder for dark chocolate powder and mix in crushed almonds for a rich, nutty flavor. This kick of elegance will impress your guests!
If you’re looking for other chocolate treats, consider trying my White Chocolate Raspberry Cheesecake or indulge in some Dark Chocolate Quinoa Crisps for a health-conscious treat!
Tips for the Best Homemade Chocolate Bars
-
Measure Accurately: Use precise measurements for each ingredient. Too much cocoa or sweetener can alter the taste and texture of your homemade chocolate bars.
-
Melt Slowly: Always melt coconut oil gently over low heat. Rapid heating can lead to burning, affecting the flavor and consistency.
-
Chill Properly: Allow enough time in the fridge or freezer for the chocolate to set. Rushing this step can leave you with a soft, unformed bar.
-
Avoid Overfilling: Fill molds to just below the top; the mixture expands slightly as it chills. This prevents messy spills and ensures a beautiful final shape.
-
Experiment Freely: Don’t be afraid to mix in your favorite add-ins. Flavor variations can lead to delightful homemade chocolate bars that please everyone’s palate!
What to Serve with 3-Ingredient Homemade Chocolate Bars
Indulging in these creamy chocolate delights opens the door to an array of delightful pairings that enhance your sweet experience.
- Fresh Berries: Juicy strawberries or raspberries add a refreshing contrast, balancing the rich flavors of chocolate.
- Coconut Whipped Cream: Light and airy, this tropical touch introduces a wonderful creaminess that complements the bars beautifully.
- Nutty Granola: Crunchy, chewy variations offer a satisfying texture difference, bringing wholesome goodness to your chocolate treat.
For a balanced snack, pair your bars with a simple fruit salad drizzled in citrus dressing. This not only elevates the chocolate but also provides a delightful burst of freshness.
- Herbal Tea: A soothing cup of chamomile or mint tea enhances the chocolate’s richness while introducing calming notes, making it a perfect pairing.
- Dark Chocolate Drizzle: Adding a little extra drama, a drizzle of dark chocolate not only intensifies the flavor but also creates an elegant presentation.
- Almonds or Hazelnuts: Toasted nuts introduce a savory crunch that contrasts beautifully with the smoothness of the chocolate bars, enhancing each bite.
- Salted Caramel Sauce: Sweet and salty, a drizzle of homemade or store-bought caramel sauce elevates your dessert experience into sheer bliss.
These thoughtful combinations create the perfect memorable moment as you savor your homemade chocolate bars.
Homemade Chocolate Bars Recipe FAQs
What should I look for when selecting cacao or cocoa powder?
When choosing cacao or cocoa powder, look for high-quality brands that list minimal additional ingredients. The powder should have a rich, deep color, and if you notice any lumps or an unpleasant odor, it’s best to avoid that option. Fresh cocoa powder will provide the best flavor in your homemade chocolate bars!
How should I store leftover homemade chocolate bars?
Store your homemade chocolate bars in an airtight container in the refrigerator for up to two weeks. This will help retain their fresh, creamy texture. If you have extra bars, you can freeze them for longer storage—just ensure they’re wrapped tightly to prevent freezer burn.
Can I freeze my homemade chocolate bars?
Absolutely! To freeze your homemade chocolate bars, place them in a single layer on a baking sheet for about an hour. Once firm, transfer them to a freezer-safe container or a zip-lock bag, separating layers with parchment paper. They can be stored for up to 3 months, making them a convenient treat to have on-hand!
What should I do if my chocolate mixture is too thick?
If your chocolate mixture turns out too thick, don’t worry! Simply add a little more melted coconut oil, a teaspoon at a time, until you reach your desired consistency. Stir well to combine. This will help you achieve that velvety texture perfect for your homemade chocolate bars!
Are there any dietary considerations I should keep in mind?
Yes, definitely! If you’re making these homemade chocolate bars for someone with specific dietary needs, you can easily substitute ingredients. For a vegan option, stick to maple syrup or agave. If necessary, avoid any added ins that could contain gluten or dairy. Always check ingredient labels, especially for allergies.
What to do if my chocolate bars don’t set properly?
If your chocolate bars don’t set properly after chilling, it might be due to not melting the coconut oil completely or mixing the ingredients thoroughly. You can simply re-melt the mixture and then pour it back into molds, ensuring everything is well-blended this time. Chill again until fully hardened. Enjoy your delicious homemade chocolate bars!
Quick 3-Ingredient Homemade Chocolate Bars You’ll Love
Ingredients
Equipment
Method
- Melt the coconut oil in a small saucepan over low heat until fully liquid.
- Combine melted coconut oil, cocoa powder, and your choice of sweetener in a medium mixing bowl.
- Pour the chocolate mixture into molds, smoothing the top with a spatula.
- Chill in the refrigerator or freezer until the chocolate is hardened, about 30-60 minutes.
- Remove from molds and enjoy your homemade chocolate bars.
Leave a Reply