As the aroma of freshly baked cookies wafts through my kitchen, I can’t help but feel a comforting wave of nostalgia wash over me. These 4-ingredient crispy chocolate oat cookies are more than just a sweet treat; they’re a swift pathway to happiness, perfect for anyone looking to indulge without the guilt. Packed with wholesome oats, they satisfy your cravings while keeping a focus on health. What’s even better? They’re quick to whip up and tailor-made for dietary flexibility—gluten-free or nut-free options are just a swap away. With a delightful crunch and a chewy center, these cookies are bound to steal the spotlight, whether as an afternoon snack or a late-night dessert. Curious to see how this simple recipe can transform your snacking game? Let’s dive in!
Why are these cookies a must-try?
Simplicity at Its Best: With just four ingredients, this recipe is perfect for those busy days when you need a delicious treat without the fuss.
Health-Conscious Indulgence: These cookies are packed with wholesome oats and nut butter, offering a nutritious option for snack time—great for anyone tired of fast food!
Versatile Options: Customization is key; swap ingredients easily for gluten-free or nut-free variations, ensuring everyone can enjoy a delicious cookie.
Quick Preparation: Ready in just 20 minutes, you’ll have a delightful snack at your fingertips in no time.
Crowd-Pleasing Treat: Whether it’s for kids or adults, these cookies offer a delightful crunch and rich chocolate flavor sure to please any palate—perfect for sharing with friends over a warm cup of Breakfast Poutine Hollandaise or as a treat after a satisfying Baked Lobster Tails dinner!
4-Ingredient Chocolate Oat Cookie Ingredients
For the Cookies
• Oats – Provide structure and a chewy texture; for a gluten-free option, use certified gluten-free oats.
• Nut Butter – Adds richness and binds the cookies together; almond butter offers a mild flavor, while peanut butter delivers a bolder taste.
• Sweetener (Maple Syrup or Honey) – Sweetens the cookies naturally and can be adjusted to taste for a personalized touch.
• Chocolate Chips – Provide sweetness and a luscious chocolate flavor; swap for dairy-free chocolate chips to keep it vegan.
Step‑by‑Step Instructions for 4-Ingredient Crispy Chocolate Oat Cookies
Step 1: Preheat and Prepare
Begin by preheating your oven to 350°F (175°C). While the oven warms up, line a baking sheet with parchment paper to prevent sticking and ensure easy cleanup. This step is crucial for achieving that perfect cookie texture, so take a moment to gather all your ingredients and equipment before proceeding.
Step 2: Mix Oats and Nut Butter
In a large mixing bowl, combine the oats and nut butter. Stir vigorously until they are fully incorporated, encouraging a thick, dough-like consistency to form. This should take about 2-3 minutes. You want the mixture to hold together and not crumble apart, as it forms the base for your 4-ingredient crispy chocolate oat cookies.
Step 3: Add Sweetener
Next, pour in your chosen sweetener, either maple syrup or honey, and mix well. Keep stirring until the dough becomes sticky, which should take about another minute. This blending is key, as the sweetener will enhance the flavor and help bind the cookie mixture, making it a delightful treat.
Step 4: Fold in Chocolate Chips
Now it’s time to fold in the chocolate chips. Gently stir them into the mixture, ensuring they are evenly distributed. This step elevates your cookies with rich chocolatey bites that will melt slightly as they bake, making each cookie a tasty experience.
Step 5: Scoop and Shape Cookies
Using a spoon or cookie scoop, place dollops of the cookie dough onto your prepared baking sheet. Flatten each scoop slightly with the back of the spoon to promote even baking. Aim for about 2 inches apart to give them room to spread during baking, ensuring each cookie gets the perfect crispiness around the edges.
Step 6: Bake to Perfection
Bake your cookies in the preheated oven for 10-12 minutes, or until the edges are golden brown. Keep a close eye on them, as you want the centers to remain slightly soft. This is crucial for that perfectly chewy center combined with crisp edges in your chocolate oat cookies.
Step 7: Cool and Enjoy
Once baked, remove the cookies from the oven and let them cool on the baking sheet for about 5 minutes. This cooling period allows them to firm up before transferring to a wire rack. Enjoy these delightful 4-ingredient crispy chocolate oat cookies warm or store them for later snacking!
What to Serve with 4-Ingredient Crispy Chocolate Oat Cookies
Indulging in these delightful cookies opens the door to a world of complementary flavors and textures that can turn a simple snack into an unforgettable experience.
- Chilled Almond Milk: This creamy, nutty beverage enhances the cookies’ flavors while providing a refreshing contrast to their sweetness.
- Fresh Berries: Juicy raspberries or strawberries add a pop of freshness that balances the rich chocolate, creating a harmonious bite.
- Greek Yogurt Parfait: Layer with yogurt and fruits for a nutritious treat; it makes for a satisfying dessert or breakfast option.
- Coffee or Espresso: A warm cup brings out the chocolatey richness while adding a delightful bitterness that plays beautifully with the sweetness.
- Coconut Whipped Cream: Light and airy, this topping adds a tropical touch to your cookies, making for a lovely contrast in texture.
- Nutty Granola Mix: Sprinkle some granola on the side for an added crunch; it elevates your snacking experience while being wholesome.
- Vegan Ice Cream: Serve alongside a scoop of your favorite flavor for a decadent twist, perfect for warm days or a cozy evening treat.
- Dark Chocolate Drizzle: A simple drizzle over the cookies can enhance their chocolaty goodness, making them look even more irresistible.
Variations & Substitutions for Chocolate Oat Cookies
Feel free to play around with these ideas and create a version that speaks to your taste buds!
-
Nut-Free: Replace nut butter with sunbutter for a delicious, nut-free alternative. This swap maintains that creamy texture while catering to nut allergies.
-
Sweetener Swap: Try using coconut sugar or agave syrup instead of maple syrup. Each offers a unique sweetness that can change the cookie’s flavor profile completely.
-
Fruit Infusion: Mix in some dried fruits like chopped apricots or banana chips. They’ll add a chewy texture and a delightful burst of fruity flavor that’ll brighten each bite.
-
Spiced Delight: Add a pinch of cinnamon or nutmeg to the mixture for a warm, spiced flavor. This little twist enhances the overall taste and gives your cookies an inviting aroma.
-
Cocoa Kick: For extra chocolatey goodness, substitute half of the oats with cocoa powder. It adds a rich chocolate depth and makes these cookies irresistible to chocoholics.
-
Texture Boost: Fold in some crushed nuts or seeds for added crunch. The blend of textures will create a delightful contrast with your chewy cookie center.
-
Mini Cookies: Shape your cookies smaller for bite-sized treats. Baking for 7-9 minutes will give you perfectly portioned snacks that are great for sharing or portion control.
These simple variations will keep your cookie jar exciting and ensure that everyone can find their perfect match among your delightful creations. Why not enjoy them with a cup of coffee after a lovely dinner of Seafood Lasagna Lobster or a warm slice of Chicken Fennel Mashed? Happy baking!
Make Ahead Options
These 4-ingredient crispy chocolate oat cookies are a fantastic choice for meal prep! You can mix the dough and refrigerate it for up to 24 hours before baking, allowing the flavors to meld beautifully. Simply combine the oats, nut butter, sweetener, and chocolate chips as outlined, then store the mixture in an airtight container. Alternatively, you can pre-scoop the cookie dough onto the baking sheet and cover it tightly; just pop it into the freezer for up to 3 days. When you’re ready to enjoy them, bake straight from the fridge or freezer, adding an extra minute or two to the baking time while ensuring they maintain that delightful chewy texture. This thoughtful prep makes busy weeknights so much smoother!
Expert Tips for Chocolate Oat Cookies
-
Check Oat Quality: Ensure oats are certified gluten-free if needed; it’s essential for anyone with dietary restrictions.
-
Monitor Baking Time: Avoid over-baking! Keep an eye on the cookies—they should be slightly soft in the center to achieve that delightful chewiness.
-
Temperature Matters: Using room temperature nut butter will help create a smooth dough, preventing the cookies from becoming too crumbly.
-
Chill the Dough: For firmer cookies, chill the dough for 15 minutes before baking—it helps maintain their shape and creates a softer texture.
-
Mix Up the Sweetness: Experiment with different sweeteners! Customize your chocolate oat cookies by adjusting the maple syrup or honey based on your preferred sweetness level.
How to Store and Freeze 4-Ingredient Chocolate Oat Cookies
Room Temperature: Store cookies in an airtight container at room temperature for up to 7 days. This keeps them soft and chewy while retaining that delicious crunch.
Fridge: For extended freshness, place cookies in the fridge for up to 2 weeks. Make sure they’re in an airtight container to prevent them from drying out.
Freezer: Freeze cookies individually wrapped for up to 3 months. Just layer them in a freezer-safe container with parchment paper in between to prevent sticking.
Reheating: To enjoy the cookies warm, simply reheat in the microwave for 10-15 seconds or pop them back in the oven at 350°F (175°C) for a few minutes. Enjoy your 4-ingredient chocolate oat cookies anytime!

4-Ingredient Crispy Chocolate Oat Cookies Recipe FAQs
How do I choose the right oats for this recipe?
Absolutely! For the best results, choose certified gluten-free oats if you require a gluten-free option. Look for whole oats that are free from dark spots or contaminants, ensuring optimal flavor and texture in your cookies.
How should I store leftover cookies?
Very! To keep your cookies fresh, store them in an airtight container at room temperature for up to 7 days. If you’d like them to last longer, you can refrigerate them for up to 2 weeks, just be sure they’re sealed properly to avoid drying out.
Can I freeze these cookies for later?
Definitely! Freezing is a great option. Individually wrap each cookie and place them in a freezer-safe container, layering parchment paper in between to prevent sticking. These cookies can be frozen for up to 3 months. Just thaw them at room temperature or pop them in the microwave for a quick warm-up!
What if my cookie dough is too dry?
If you find your dough isn’t coming together well, don’t worry! Simply add a bit more nut butter or a splash of sweetener—maple syrup or honey works wonders. Mix it well to achieve that sticky consistency that holds the cookies together beautifully.
Are there any dietary considerations I should keep in mind?
Yes! If you’re serving these cookies to kids or others with dietary restrictions, consider using nut butters that are allergy-friendly, such as sunflower seed butter for nut-free alternatives. Always check the labels for any allergens, especially if you’re using chocolate chips, to accommodate everyone at the table.
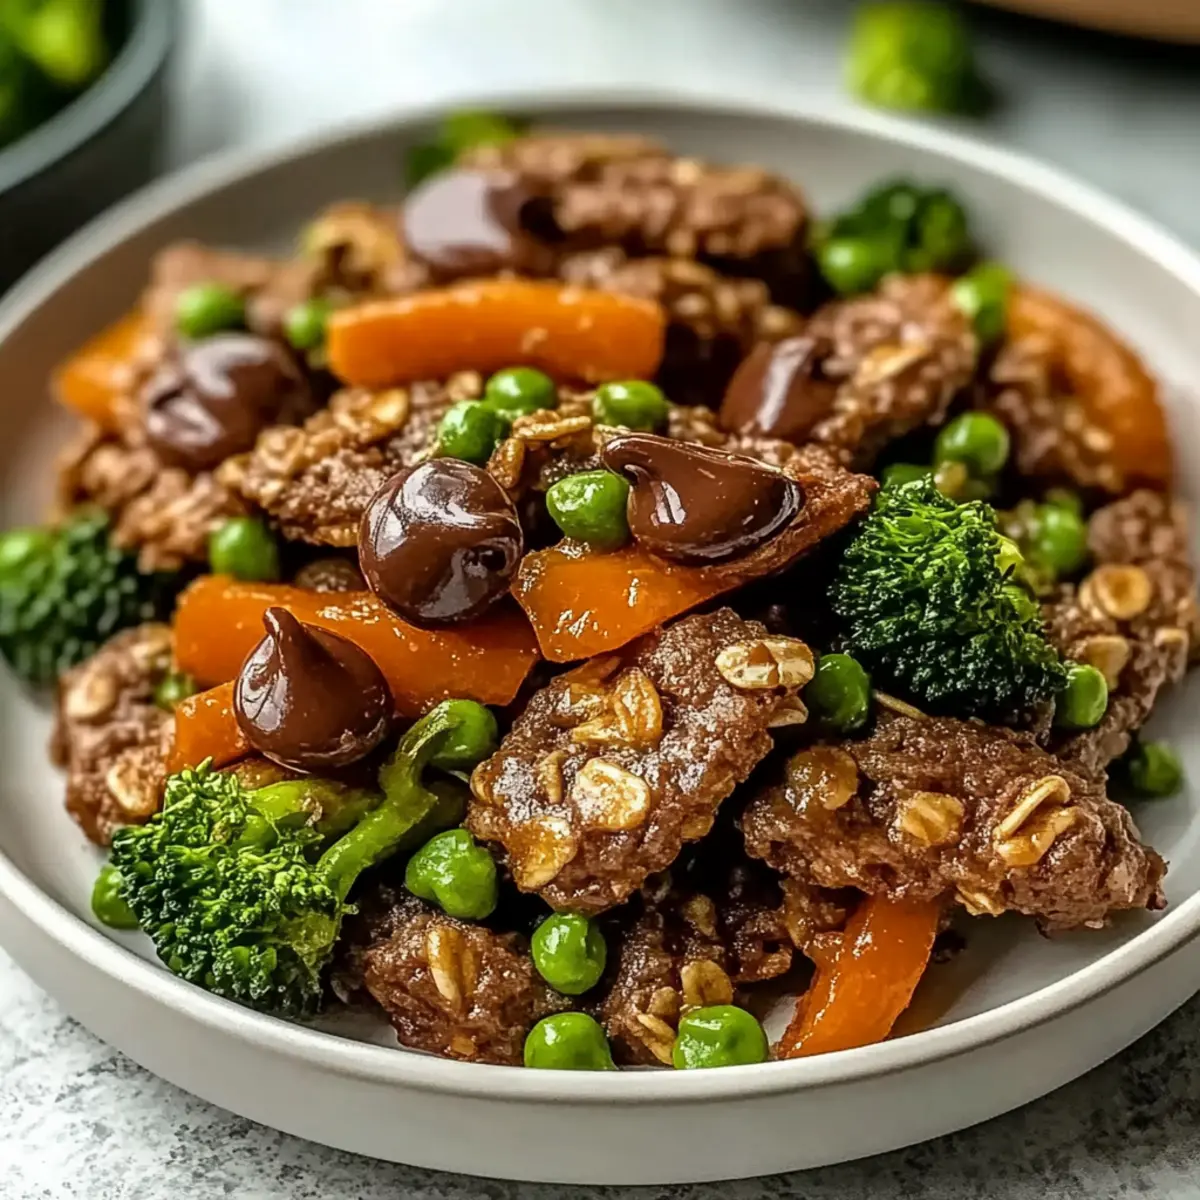
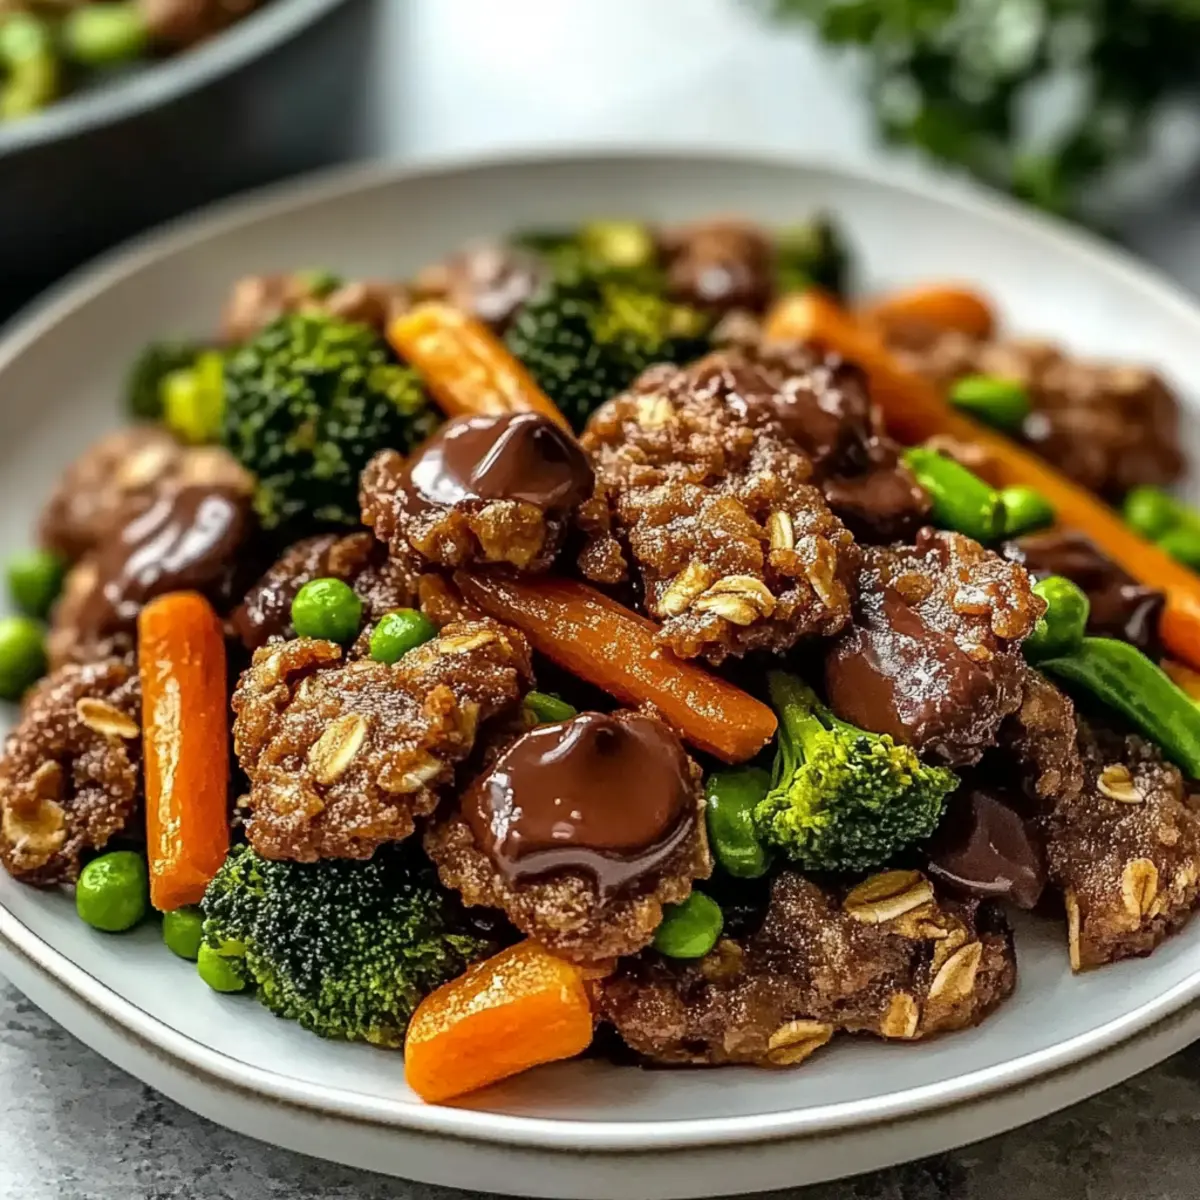
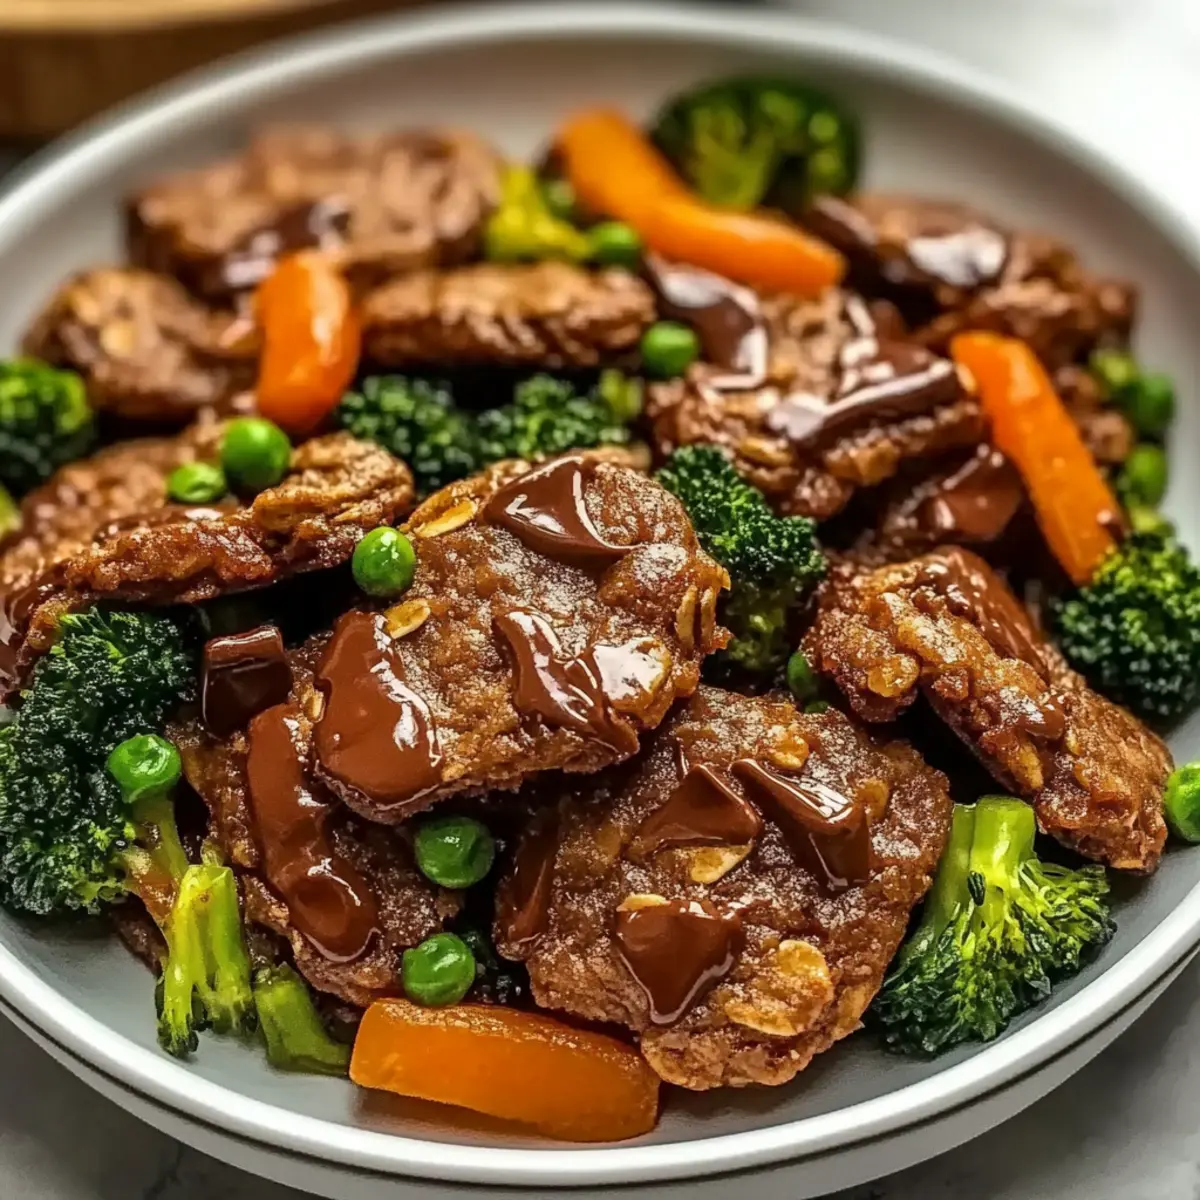
Savory Beef Stir Fry with Vegetables in 20 Minutes Flat
Ingredients
Equipment
Method
- Preheat your oven to 350°F (175°C) and line a baking sheet with parchment paper.
- In a large mixing bowl, combine the oats and nut butter, stirring until fully incorporated.
- Add your chosen sweetener and mix well until the dough becomes sticky.
- Fold in the chocolate chips, ensuring they are evenly distributed.
- Scoop dollops of the cookie dough onto the prepared baking sheet, flatten slightly.
- Bake for 10-12 minutes until the edges are golden brown.
- Cool on the baking sheet for 5 minutes before transferring to a wire rack.
Leave a Reply