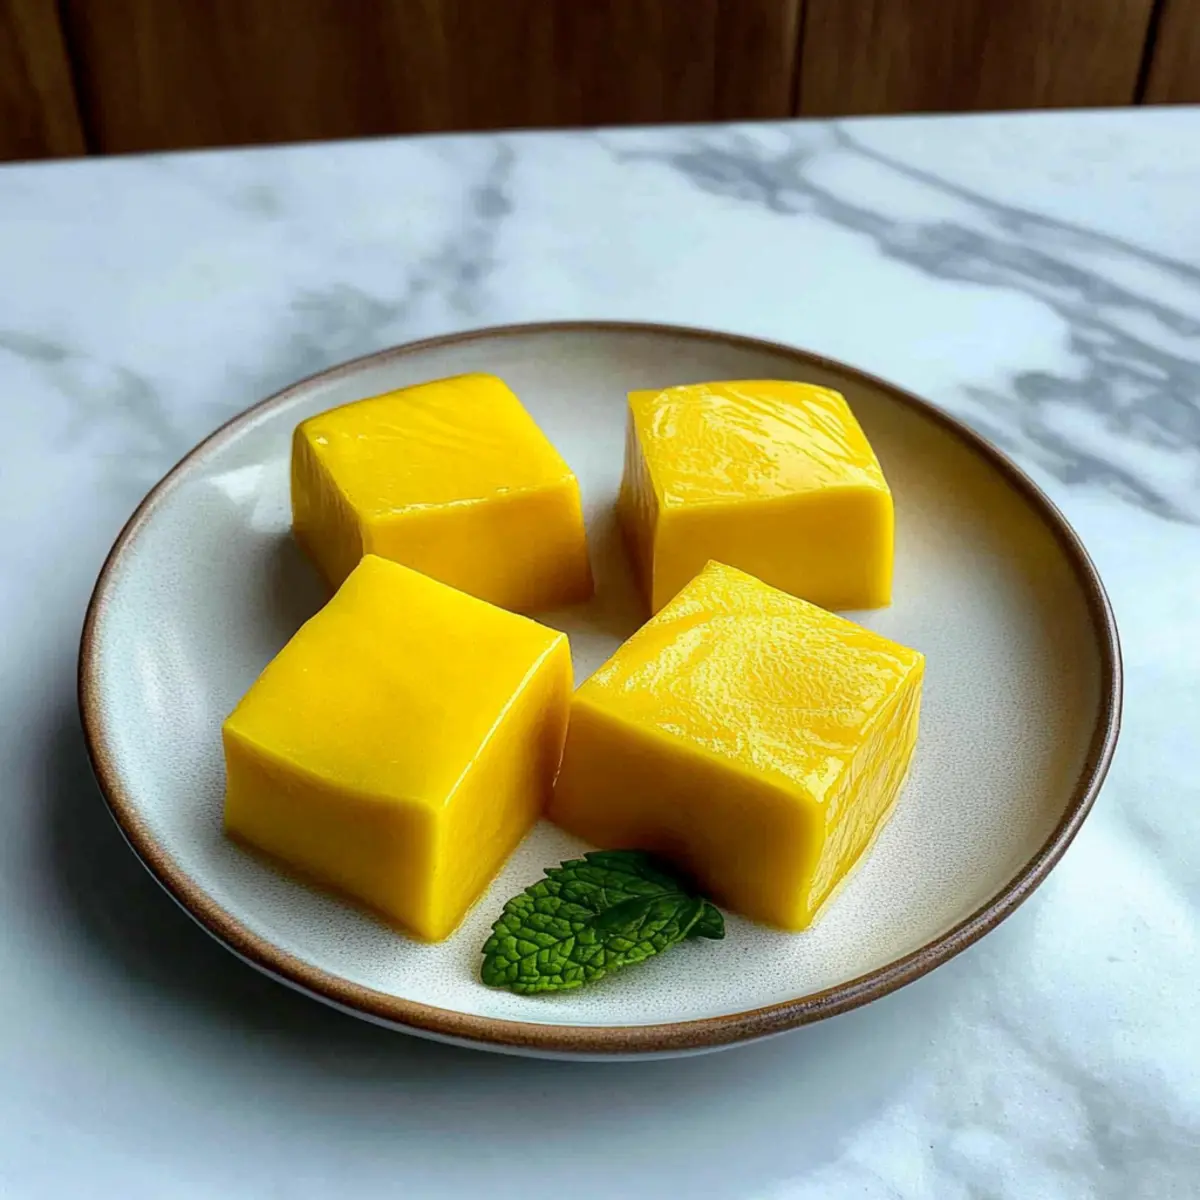
The first time I tasted Mango Pudding, the experience felt like a tropical getaway, celebrating the sweet essence of summer in every silky bite. This Easy Mango Pudding with Canned Mango Pulp is exactly that—an effortless dessert that whisks you away to a sun-soaked beach, all from the comfort of your kitchen. With just five simple ingredients, you can create a delightful, vegetarian-friendly treat that’s not only refreshingly light but also perfect for any occasion. It requires no baking, making it a stress-free option for gatherings or a sweet indulgence after dinner. Are you ready to impress your guests and yourself with this luscious dessert? Let’s dive into the recipe!
Why Is Mango Pudding So Irresistible?
Simplicity at Its Best: With just five straightforward ingredients, you can whip up this elegant dessert without the fuss.
Silky Smooth Texture: The combination of gelatin and canned mango pulp delivers a mesmerizingly creamy consistency that melts in your mouth.
Versatile Flavors: Customize the tropical delight by swapping in coconut milk for a dairy-free option or adding in some fresh fruit for extra flavor.
Quick Preparation: This no-bake treat requires minimal time, making it an ideal choice for spontaneous gatherings or a sweet weeknight indulgence.
Vibrant Presentation: Serve it in individual molds for a stunning visual that’s sure to impress your guests. Consider pairing it with a delightful Mango Panna Cotta for a layered dessert experience!
Mango Pudding Ingredients
• Here’s what you need for a delightful treat!
For the Pudding Base
- Gelatin – Acts as the thickener for that delightful jelly-like consistency.
- Sugar – Sweetens the pudding; adjust according to the mango pulp’s natural sweetness.
- Boiling Water – Activates the gelatin for proper thickening, ensuring a smooth texture.
- Evaporated Milk – Adds creaminess; coconut milk can be a great dairy-free substitute.
- Mango Pulp – The star of the show, offering vibrant flavor and a silky texture; canned is perfect for consistency!
- Lemon Juice – Balances the sweetness; always use fresh for the best flavor.
Feel free to substitute ingredients or tweak quantities based on your preferences!
Step‑by‑Step Instructions for Easy Mango Pudding
Step 1: Combine Gelatin and Sugar
In a large mixing bowl, place the gelatin and sugar together. Stir the two dry ingredients well to ensure they are evenly mixed, creating a uniform base for your mango pudding. This step sets the foundation for the delightful texture, so take a minute to do it right!
Step 2: Dissolve with Boiling Water
Next, carefully pour in one cup of boiling water to the gelatin-sugar mixture. Stir continuously for about 2 minutes until the gelatin is completely dissolved. You’ll know it’s ready when the mixture is clear and homogeneous, without any granules. This activation is crucial for achieving that perfect pudding consistency.
Step 3: Add Evaporated Milk
Once the gelatin is dissolved, add in one cup of evaporated milk to the bowl. Whisk the mixture vigorously for about 1-2 minutes to ensure a smooth, creamy blend. This addition enhances the richness of the pudding, making each bite velvety.
Step 4: Incorporate Mango Pulp and Lemon Juice
Now, gently fold in one cup of canned mango pulp and a tablespoon of fresh lemon juice into the mixture. Whisk again for 2 minutes until everything is well-combined. The vibrant color and tropical aroma will emerge as you blend, creating a deliciously refreshing mango pudding.
Step 5: Transfer to Molds
Carefully pour the smooth mixture into silicone molds or individual ramekins for serving. Using a ladle will help avoid spills. Fill them evenly, leaving a little space at the top to allow for expansion. This step ensures that your mango pudding sets beautifully in perfect portions.
Step 6: Chill Until Set
Cover the molds with plastic wrap to prevent any external moisture from altering your dessert. Place them in the refrigerator for at least 2 hours, or until the pudding is firm and wobbly to the touch. Patience pays off here as the cooling process transforms the mixture into a silky mango pudding delight.
Step 7: Serve and Enjoy
Once set, gently unmold the pudding by inverting them onto a plate, or serve directly from the ramekins. For an elegant touch, consider garnishing your mango pudding with fresh mint leaves or a dollop of whipped cream. Now you’re ready to indulge in this refreshing treat!
How to Store and Freeze Mango Pudding
Fridge: Keep your mango pudding stored in an airtight container for up to 3 days. This ensures its silky texture and refreshing flavor remain intact until you’re ready to enjoy it!
Freezer: While it’s best enjoyed fresh, you can freeze the pudding for up to a month. Cut into portions and wrap each piece tightly in plastic wrap before placing them in a freezer-safe container.
Thawing: To enjoy frozen mango pudding, transfer it to the fridge for 4-6 hours to thaw gently, preserving its creamy consistency. Avoid thawing in the microwave, as this may alter the texture.
Reheating: If you prefer it slightly warmed, place the pudding in the fridge overnight, then carefully heat in the microwave at a low setting, ensuring not to overheat. Enjoy the sweet, fruity delight of mango pudding anytime!
Mango Pudding: Customizable Delights
Feel free to let your creativity shine as you tailor this dessert to your taste buds—let’s explore some exciting variations!
- Dairy-Free: Substitute evaporated milk with coconut milk for a rich, tropical twist that everyone will enjoy.
- Fresh Mango: Use ripe, fresh mangoes instead of canned for a more vibrant flavor, remembering that it may slightly change the texture.
- Passion Fruit Add-In: Blend some pureed passion fruit into the mixture for a tart and tangy flavor burst in every bite.
- Honey Sweetener: Swap sugar for honey or maple syrup to give your pudding a different layer of sweetness that echoes natural flavors.
- Increased Texture: Add finely chopped nuts like pistachios or almonds for a delightful crunch that complements the smoothness of the pudding.
- Spicy Kick: Stir in a hint of chili powder or cayenne pepper for a unique spicy-sweet experience sure to surprise your taste buds.
- Citrus Boost: Besides lemon, experiment with lime juice for a zesty twist that brightens the dessert beautifully.
- Layered Treat: Alternate layers of mango pudding with Pumpkin Bread Pudding for a visually stunning and incredibly tasty treat!
These variations not only make the recipe your own but also promise a unique take with each preparation!
Make Ahead Options
These Easy Mango Puddings are perfect for meal prep enthusiasts looking to save time on busy weeknights! You can prepare the entire pudding mixture up to 24 hours in advance, storing it in the refrigerator in an airtight container after pouring it into your molds. Just remember to cover the molds with plastic wrap to ensure the pudding retains its delicious flavor and silky texture. When you’re ready to serve, simply allow the pudding to set in the fridge for at least 2 hours before unmolding. This way, you’ll enjoy a refreshing, homemade dessert that is just as delightful as if you made it fresh that day!
Expert Tips for Mango Pudding
- Perfect Gelatin Dissolution: Ensure the boiling water completely dissolves the gelatin without any granules. This will create a smooth, silky mango pudding texture.
- Adjust Sweetness Wisely: Depending on the natural sweetness of your canned mango pulp, feel free to tweak the sugar amount, avoiding overly sweet pudding.
- Opt for Silicone Molds: Using silicone molds makes unmolding your mango pudding much easier, preventing any sticking that could ruin its presentation.
- Refrigerate Correctly: Cover your molds securely with plastic wrap while chilling to avoid moisture alterations; this keeps the pudding smooth and lovely.
- Garnish Creatively: Consider topping your mango pudding with fresh fruit or mint to enhance its tropical charm and make for a stunning presentation.
What to Serve with Easy Mango Pudding
Are you looking to create a delightful meal that pairs perfectly with this creamy dessert?
-
Tropical Fruit Salad: A refreshing mix of seasonal fruits adds brightness, balancing the richness of the pudding. This vibrant medley enhances the tropical vibe and provides a juicy, fresh contrast.
-
Coconut Macaroons: These chewy, sweet treats bring an extra touch of coconut flavor, harmonizing beautifully with the mango. Their texture complements the pudding, making for a satisfying dessert duo.
-
Spiced Ginger Cookies: The warmth of ginger cookies contrasts nicely with the coolness of the pudding. Their crunchy texture adds an interesting dimension to each bite.
-
Mint Infused Iced Tea: Refreshing and aromatic, this drink cleanses the palate and complements the fruity notes in the mango pudding. Serve it on the rocks for a truly refreshing sip.
-
Chocolate Covered Strawberries: The rich taste of chocolate enhances the bright mango flavor. These delectable bites bring a romantic touch to your dessert table.
-
Citrus Sorbet: The tangy sorbet acts as a palate cleanser, enhancing the tropical flavors. Its light, icy texture is a perfect end to a meal, refreshing after the creamy pudding.
-
Chilled Coconut Milk Smoothie: This creamy, dreamy drink echoes the pudding’s flavors and provides a delightful accompaniment. The cold beverage enhances the dessert’s tropical essence.
-
Lemon Bars: Their zesty brightness and buttery crust elevate the mango pudding’s sweetness, creating an exciting taste contrast and a vibrant presentation.
-
Passion Fruit Mousse: Adding elegance, this mousse mirrors the tropical theme with bright flavors and creamy texture, making it a fantastic follow-up to your mango pudding.
Mango Pudding Recipe FAQs
What type of mango pulp should I use?
I recommend using canned mango pulp, specifically the Kesar variety for its balance of sweetness and tartness. It provides a smooth texture and vibrant flavor that truly elevate the pudding. Look for options that don’t contain added sugars to keep the pudding light and fresh.
How should I store leftover mango pudding?
Keep your mango pudding stored in an airtight container in the refrigerator for up to 3 days. This will ensure that its silky texture and refreshing flavor remain intact. If you plan to make it ahead of time, it’s a delightful option for gatherings or meal prep!
Can I freeze mango pudding?
Absolutely! You can freeze the mango pudding for up to a month. Cut it into portions and wrap each piece tightly in plastic wrap. Then place them in a freezer-safe container. When you’re ready to enjoy, transfer the pudding to the fridge for 4-6 hours to thaw slowly, which helps maintain that creamy consistency.
What should I do if my gelatin doesn’t dissolve properly?
If your gelatin doesn’t dissolve completely, don’t worry! Simply heat an additional 1/4 cup of water until boiling and carefully whisk that into the mixture. This can often help dissolve any remaining granules. Remember, the key is ensuring no granules remain; a smooth base is critical for that beautiful pudding texture.
Is mango pudding safe for pets?
Mango pudding, in moderation, is fine for pets, but be cautious of any ingredients. The sugar and gelatin might not be suitable for pets’ diets. It’s best to keep this treat for yourself and avoid feeding it to your furry friends.
Can I substitute any ingredients for dietary restrictions?
Certainly! If you’re looking for a dairy-free alternative, swap out the evaporated milk for coconut milk, which adds a lovely tropical twist. Additionally, if you’re watching your sugar intake, consider using a sweetener of your choice. Just be mindful to adjust the amount depending on how sweet your mango pulp is!
Silky Mango Pudding: A No-Bake Delight You’ll Love
Ingredients
Equipment
Method
- Combine the gelatin and sugar in a large mixing bowl, stirring well to mix.
- Dissolve the mixture with 1 cup of boiling water, stirring for about 2 minutes until clear.
- Add 1 cup of evaporated milk and whisk for 1-2 minutes until smooth.
- Gently fold in 1 cup of canned mango pulp and 1 tablespoon of fresh lemon juice, whisking for 2 minutes.
- Pour the mixture into silicone molds or ramekins, filling evenly.
- Chill in the refrigerator for at least 2 hours until set and firm.
- Serve by inverting onto a plate or directly from the ramekins, optionally garnishing with mint or whipped cream.
Leave a Reply