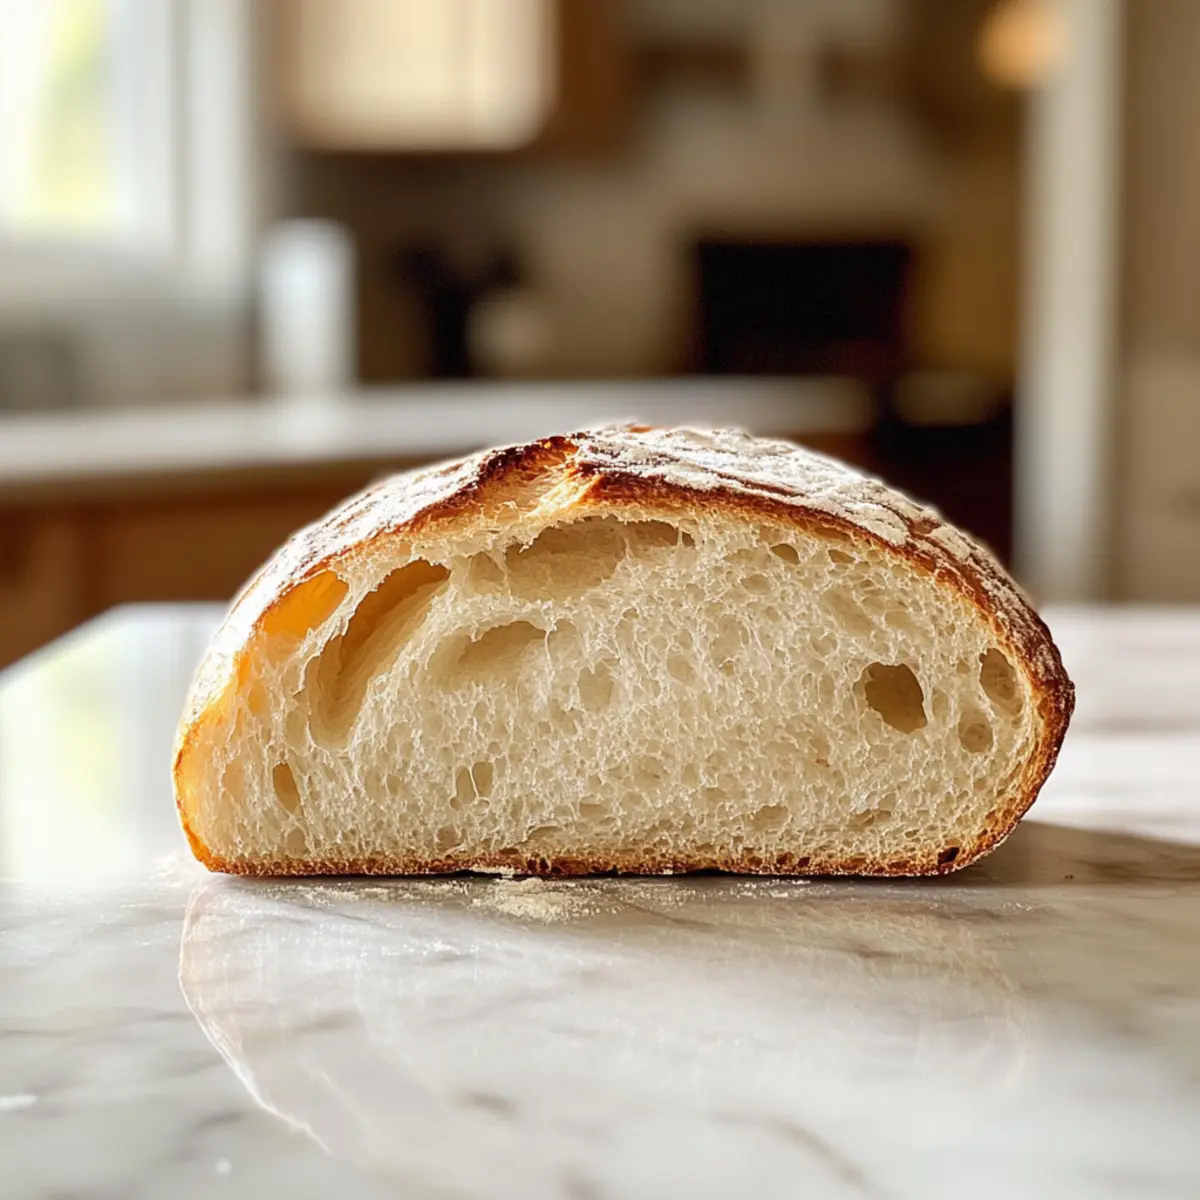
As I stood in my kitchen, the scent of fresh Italian Bread filling the air, I couldn’t help but feel a wave of nostalgia wash over me. There’s something magical about homemade bread, especially this crusty delight that boasts a golden exterior and a soft, airy interior. Not only is this Homemade Crusty Italian Bread simple to whip up with ingredients that are probably already in your pantry, but it also brings a warm, comforting touch to any meal. It’s a perfect crowd-pleaser and an inviting aroma that makes every gathering feel special. Whether you’re having a cozy dinner or a festive family celebration, this bread is guaranteed to elevate the experience. So, are you ready to transform your kitchen into a pizzeria with this delightful recipe?
Why is Homemade Italian Bread So Special?
Freshness from your kitchen: There’s nothing quite like the aroma of homemade bread rising in your home, captivating the senses and creating a cozy atmosphere.
Versatility for any meal: This crusty Italian bread pairs beautifully with pasta dishes, soups, or as a base for delectable bruschetta.
Simple ingredients make it easy: With just a handful of basic pantry staples, you’ll effortlessly craft a bakery-quality loaf without any fuss.
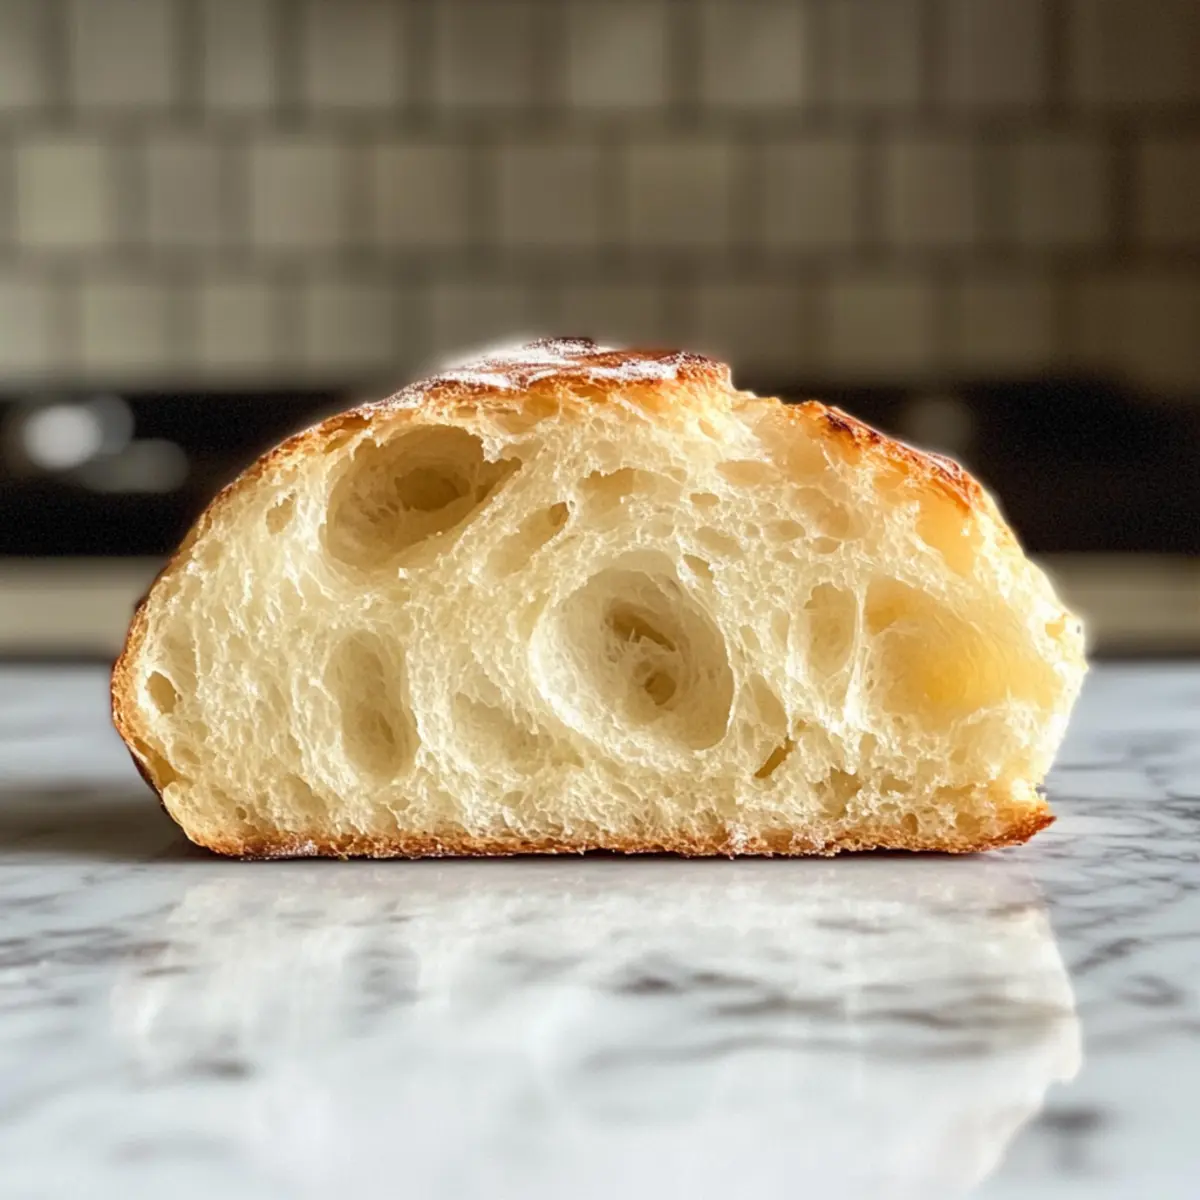
Crispy exterior, soft interior: Achieve the perfect balance of textures that impresses both family and friends, making it a fantastic choice for gatherings or everyday meals.
Customization invites creativity: Feel free to jazz it up with cheese or sun-dried tomatoes, turning this bread into a delightful centerpiece on your table.
Italian Bread Ingredients
• Craft the perfect loaf with these essentials!
For the Dough
- Lukewarm Water – Activates the yeast; make sure it’s warm but not hot to prevent killing the yeast.
- Yeast – The magic leavening agent; ensure it’s active and frothy before use.
- Brown Sugar – Helps activate the yeast while adding a hint of sweetness; white sugar can work as a substitute.
- Salt – Enhances flavor and strengthens the dough; no substitutions recommended for best results.
- Italian Seasoning – Adds aromatic flavor; feel free to use fresh herbs for an extra burst of taste.
- Olive Oil – Adds moisture and richness for a softer crumb; can be swapped for melted butter or other oils.
- All-Purpose Flour – Provides structure; for a gluten-free version, consider a 1:1 gluten-free flour blend.
- Egg (for egg wash) – Gives the crust a beautiful golden sheen; can be replaced with milk or omitted for a vegan option.
Indulge in the delightful process of creating your homemade Italian bread—the keyword ‘Italian bread’ is perfect for impressing friends and family alike!
Step‑by‑Step Instructions for Italian Bread
Step 1: Proof the Yeast
In a stand mixer bowl, combine lukewarm water, brown sugar, and yeast. Stir gently and let the mixture sit undisturbed for about 5-10 minutes until it becomes frothy on top, indicating the yeast is active and ready to work its magic in your Italian bread.
Step 2: Make the Dough
Once the yeast is foamy, add olive oil, salt, Italian seasoning, and 3 cups of all-purpose flour to the bowl. Using the dough hook attachment, mix on low speed until a soft dough starts to form. If it feels too sticky, gradually sprinkle in more flour until the dough is smooth and elastic but still slightly tacky.
Step 3: First Rise
Cover the bowl with a damp cloth and place it in a warm, draft-free area to rise. Allow the dough to rest and expand for about 30 minutes, until it has doubled in size. This is a crucial step for achieving that airy texture in your Italian bread.
Step 4: Shape the Loaves
After the dough has risen beautifully, turn it out onto a lightly floured surface. Divide it into two equal pieces and shape each into a loaf. Carefully transfer the loaves onto a parchment-lined baking sheet, ensuring they have space to expand. Cover again and let them rise for another 30 minutes to develop their structure.
Step 5: Prepare for Baking
Preheat your oven to 350°F (175°C) while the dough rises. Once the loaves have puffed up, brush the tops with an egg wash for a golden crust. Use a sharp knife to make a few slits along the top of each loaf; this allows the bread to expand while baking and gives it that artisan look.
Step 6: Bake
Place the loaves in the middle of the preheated oven, adding a shallow dish with water on the lower rack to create steam for a crisp crust. Bake for approximately 30 minutes, or until the loaves are golden brown and sound hollow when tapped on the bottom. Let them cool slightly before serving to maintain that delightful crusty exterior.
What to Serve with Homemade Crusty Italian Bread
Embracing the warm aroma of baked Italian bread, you’ll want to explore delicious companions that enrich every bite.
- Olive Tapenade: A spread bursting with briny flavors complements the bread’s crust beautifully, making each bite a savory delight.
- Ratatouille: This rustic vegetable medley offers a colorful, hearty contrast that pairs wonderfully with the warm, crusty bread.
- Garlic Butter Shrimp: Juicy shrimp in a fragrant, garlic-rich sauce provides a luxurious topping that transforms bread into a sumptuous starter.
For a light option, consider pairing with a fresh garden salad. The crisp greens and vibrant vegetables offer a refreshing palate cleanser.
- Spaghetti Aglio e Olio: This simple yet flavorful pasta dish highlights Italian flavors while letting the bread shine as a perfect side.
And of course, enjoy a glass of Chianti or a light Pinot Grigio for a delightful beverage pairing that rounds out the dining experience. Each sip complements the richness of the bread and the dishes you serve alongside it.
Make Ahead Options
These Homemade Crusty Italian Bread loaves are perfect for busy home cooks looking to save time without sacrificing flavor! You can prep the dough and shape the loaves up to 24 hours in advance. After shaping, place them on a parchment-lined baking sheet, cover with plastic wrap, and refrigerate. This slows down the yeast activity while allowing the flavors to develop beautifully. When you’re ready to bake, simply take them out of the fridge, let them rise at room temperature for about 30-60 minutes, brush with egg wash, and bake as usual. Enjoy restaurant-quality homemade Italian bread with minimal effort on your busy weeknights!
Expert Tips for Italian Bread
-
Fresh Yeast: Ensure your yeast is fresh: If it doesn’t foam within 10 minutes, it’s likely expired. Active yeast is key to a good rise in your Italian bread.
-
Knead Well: Don’t skip kneading: Knead the dough until it’s smooth and elastic, about 8-10 minutes. This strengthens gluten, leading to that perfect chewiness.
-
Proper Rising: Keep it warm: Ensure the dough rises in a warm, draft-free spot. A cool environment can hinder fermentation, affecting bread texture.
-
Add Steam: Use a water dish: Place a shallow dish of water in the oven during baking. The steam helps create that wonderful crust we love on Italian bread.
-
Cool on Rack: Let it breathe: After baking, cool your loaves on a wire rack instead of a solid surface. This prevents steam from making the crust soggy.
How to Store and Freeze Italian Bread
Room Temperature: Keep your homemade Italian bread in a bread bag or wrapped in foil for up to 1 day to maintain freshness and prevent stale crust.
Fridge: Storing in the fridge is not recommended, as it may dry out the bread. Instead, enjoy it fresh or freeze it for later!
Freezer: For longer storage, wrap the Italian bread tightly in plastic wrap or aluminum foil, then place it in a freezer bag. It will keep for up to 3 months.
Reheating: To enjoy, thaw at room temperature, then reheat in a preheated oven at 350°F (175°C) for about 10 minutes to revive that crusty exterior.
Italian Bread: Exciting Variations
Feel free to put your own spin on this delightful Italian bread with these creative variations!
-
Cheesy Bread: Mix in grated Parmesan or mozzarella for a rich, savory twist that’s sure to wow your taste buds. Cheese melts beautifully inside, enhancing the flavor and texture of the bread.
-
Mediterranean Delight: Toss in sun-dried tomatoes or olives into the dough to transport your taste buds to the sun-soaked shores of Italy. This addition adds tang and bursts of flavor with every slice.
-
Whole Wheat Option: Swap half or all of the all-purpose flour for whole wheat for a heartier loaf that is both delicious and nutritious. The nutty flavor pairs wonderfully with rustic meals.
-
Herb-Infused Bread: Use fresh herbs like rosemary or basil instead of dried Italian seasoning. This adds freshness, giving a vibrant aroma and enhancing the overall flavor profile.
-
Spicy Kick: Add red pepper flakes to the dough for a hint of heat that will keep your guests coming back for more. Just a pinch can elevate the bread to a exciting new level.
-
Nutty Flavor: Incorporate a handful of toasted nuts such as walnuts or hazelnuts for an unexpected crunch and depth of flavor. This adds delightful texture and a unique twist.
-
Garlic Lovers: Infuse the dough with minced garlic or roasted garlic for an aromatic flavor. This irresistible combination is perfect for serving alongside pasta dishes or soups.
As you experiment with different twists, consider pairing this bread with a lovely dish of Cranberry Orange Shortbread for dessert, or enjoy it alongside a warm bowl of Pumpkin Bread Pudding. Happy baking!
Italian Bread Recipe FAQs
What should I look for when selecting yeast?
Absolutely! It’s crucial to use fresh and active yeast for the best results. When purchasing, check the expiration date. When you mix the yeast with lukewarm water and sugar, it should foam within 5-10 minutes. If it doesn’t, your yeast may be old or inactive, and it’s best to start with a new batch.
How should I store leftover Italian bread?
To keep your homemade Italian bread fresh, store it at room temperature in a bread bag or wrapped in foil for up to 1 day. For longer storage, wrap the bread tightly in plastic wrap or aluminum foil to freeze it. You can keep it in the freezer for up to 3 months without losing quality.
Can I freeze homemade Italian bread?
Very! Freezing homemade Italian bread is simple and effective. First, ensure it’s fully cooled. Then wrap it tightly in plastic wrap, followed by aluminum foil to prevent freezer burn. Label it with the date and pop it into a freezer bag. When you’re ready to enjoy it, thaw it at room temperature, then reheat it at 350°F (175°C) for about 10 minutes to revive its crustiness.
Why isn’t my Italian bread rising properly?
I often find that improper yeast activation or temperature issues can be the culprits. To troubleshoot, ensure the yeast is fresh and that the water used for activation is lukewarm—not too hot (which kills the yeast) or too cold (which doesn’t activate it). Additionally, the rising environment should be warm and draft-free; a cool location can hinder fermentation. If the dough isn’t rising after the designated time, it may need more warmth or time, so give it another go!
Can I make this bread vegan or gluten-free?
Absolutely! To make this Italian bread vegan, simply omit the egg wash or replace it with a splash of almond milk for a similar sheen. For a gluten-free version, swap the all-purpose flour for a 1:1 gluten-free flour blend. Ensure your baking powder and other ingredients are gluten-free, as cross-contamination can occur.
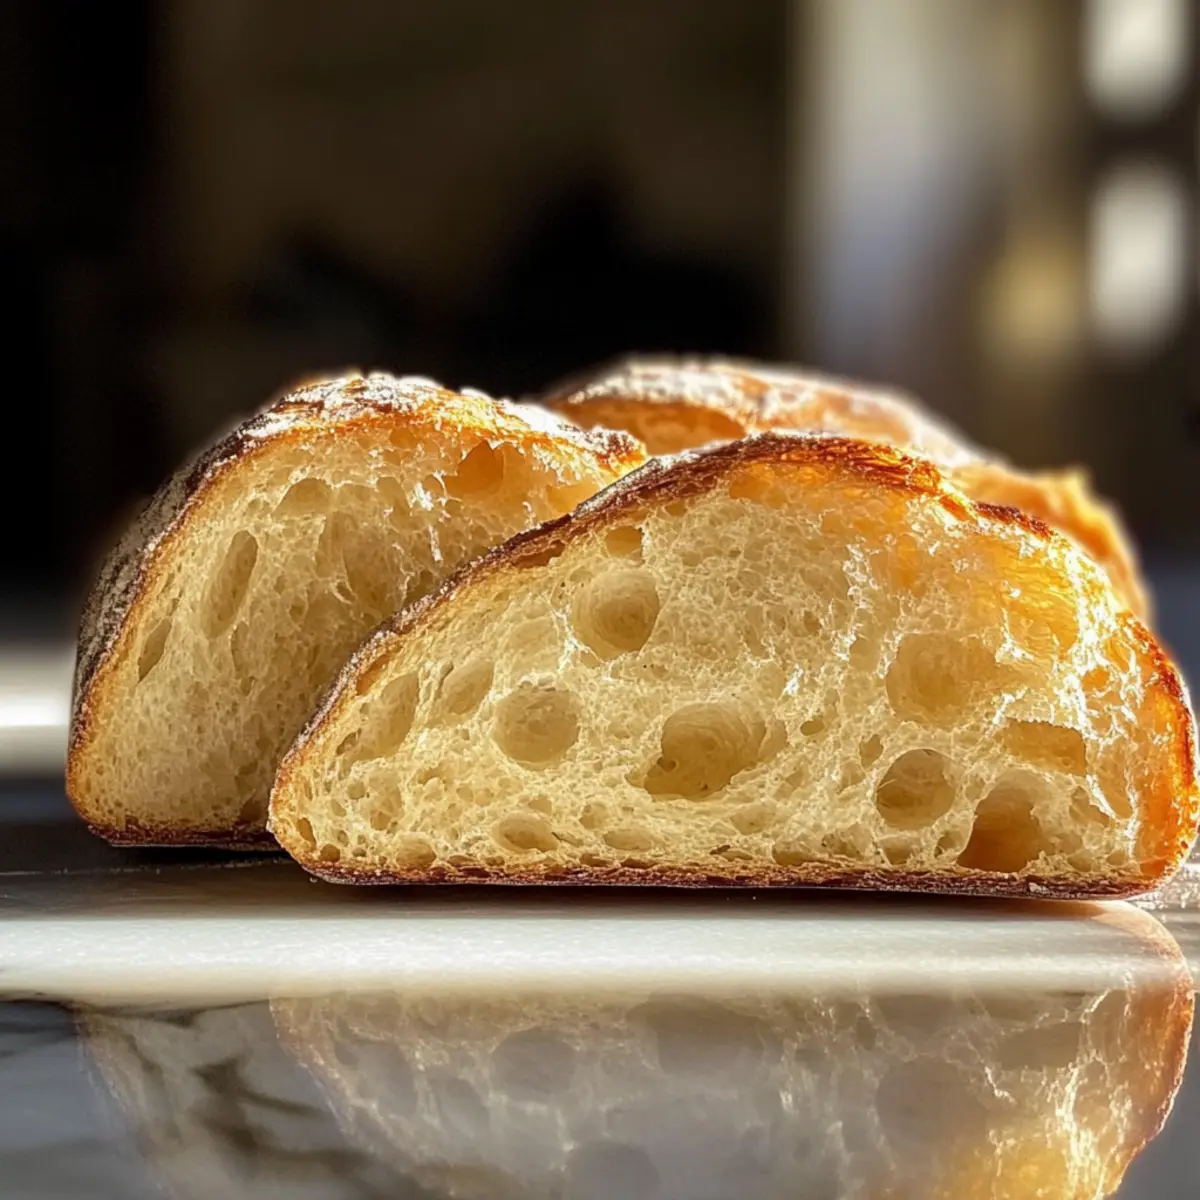
Golden Crust Italian Bread That Will Wow Your Taste Buds
Ingredients
Equipment
Method
- In a stand mixer bowl, combine lukewarm water, brown sugar, and yeast. Stir gently and let sit for about 5-10 minutes until foamy.
- Once the yeast is foamy, add olive oil, salt, Italian seasoning, and 3 cups of flour. Mix on low speed until a soft dough forms.
- Cover the bowl with a damp cloth and place it in a warm area. Let it rise for about 30 minutes until doubled in size.
- Turn the dough onto a floured surface, divide into two, and shape into loaves. Place on a baking sheet and let rise for another 30 minutes.
- Preheat oven to 350°F (175°C). Brush tops with egg wash and score slits for expansion.
- Bake for approximately 30 minutes until golden brown and hollow when tapped. Let cool slightly before serving.
Leave a Reply