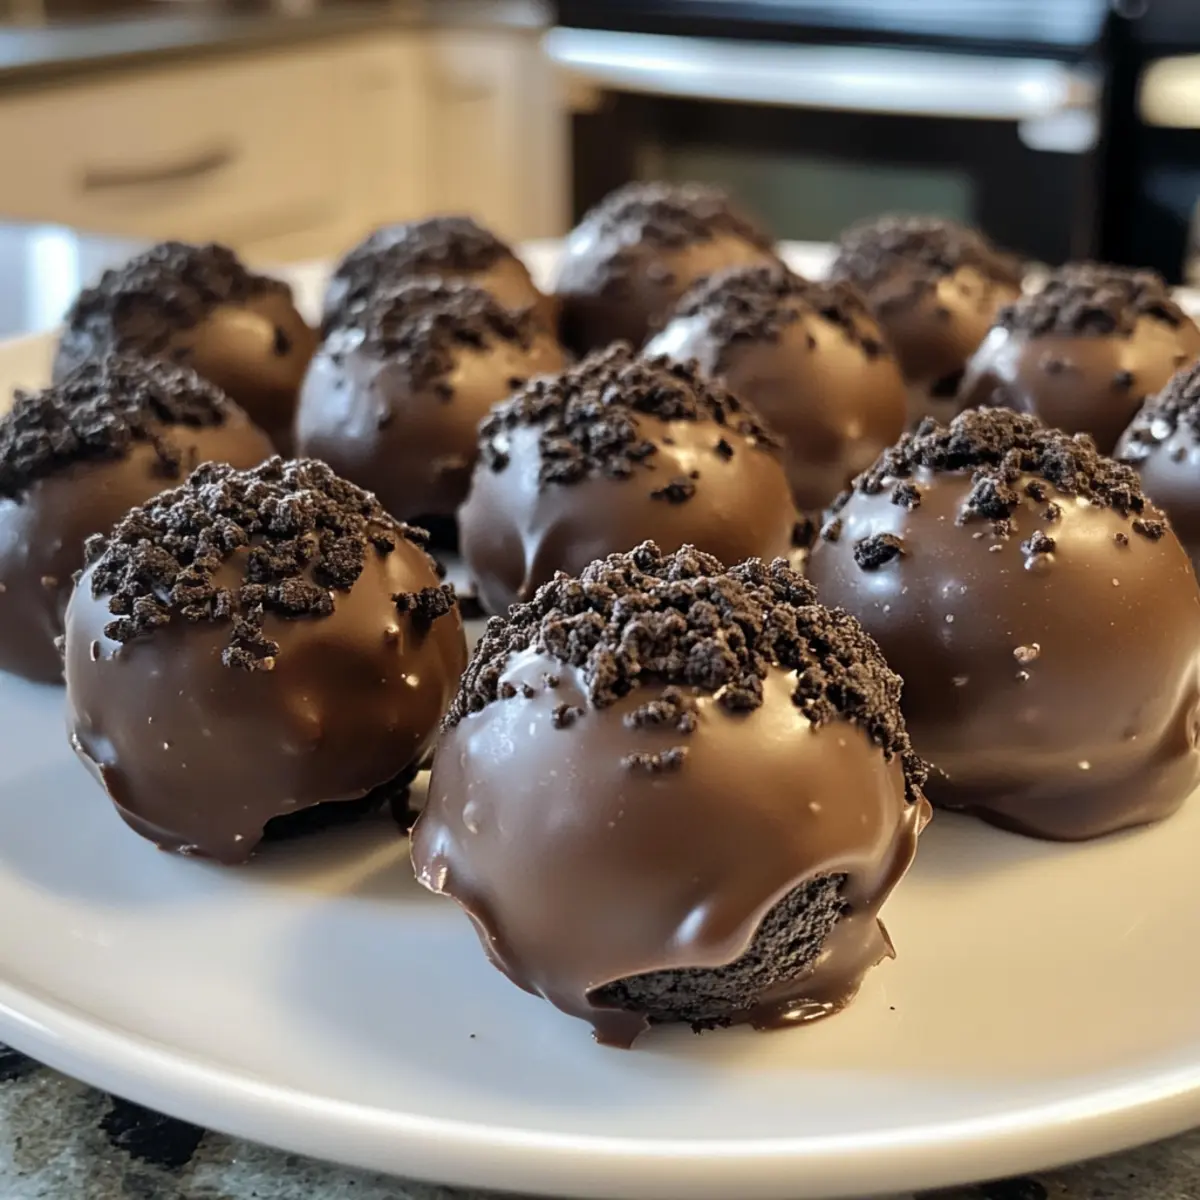
As I stood in my kitchen, the tantalizing aroma of my childhood favorite—Oreo cookies—brought back fond memories of late-night snacks and cozy gatherings. Today, I’m thrilled to share a modern twist with these Cream Cheese Oreo Protein Balls: quick, no-bake delights that perfectly blend nostalgia with nutrition. With just 15 minutes of preparation, these protein-packed snacks offer a healthier alternative to traditional desserts, ensuring you can satisfy your sweet cravings without the guilt. Perfect for busy days or post-workout fuel, they whip up effortlessly, letting you indulge in the rich, creamy flavor while keeping things light. Curious how to make these delectable bites? Let’s dive into the recipe!

Why Are These Protein Balls So Irresistible?
Deliciously rich flavor: Each bite captures the nostalgic taste of Oreos combined with creamy goodness, making them a treat you won’t want to put down.
Quick & Easy: With only 15 minutes of prep, they fit perfectly into your busy lifestyle—ideal for when those sweet cravings hit.
Protein-Packed: Each serving offers a nutritious boost of protein, making them a guilt-free snack option for any time of day.
Versatile: Customize to your preferences by swapping in different protein powders or adding your favorite toppings, keeping it exciting!
Crowd Pleaser: Perfect for parties or family gatherings; these protein balls are sure to impress your guests, just like my Tiramisu Balls Bake does!
No-Bake Perfection: Skip the kitchen hassle; these no-bake bites are quick to make and even easier to enjoy!
Cream Cheese Oreo Protein Balls Ingredients
Get ready to whip up these delightful treats in no time!
For the Base
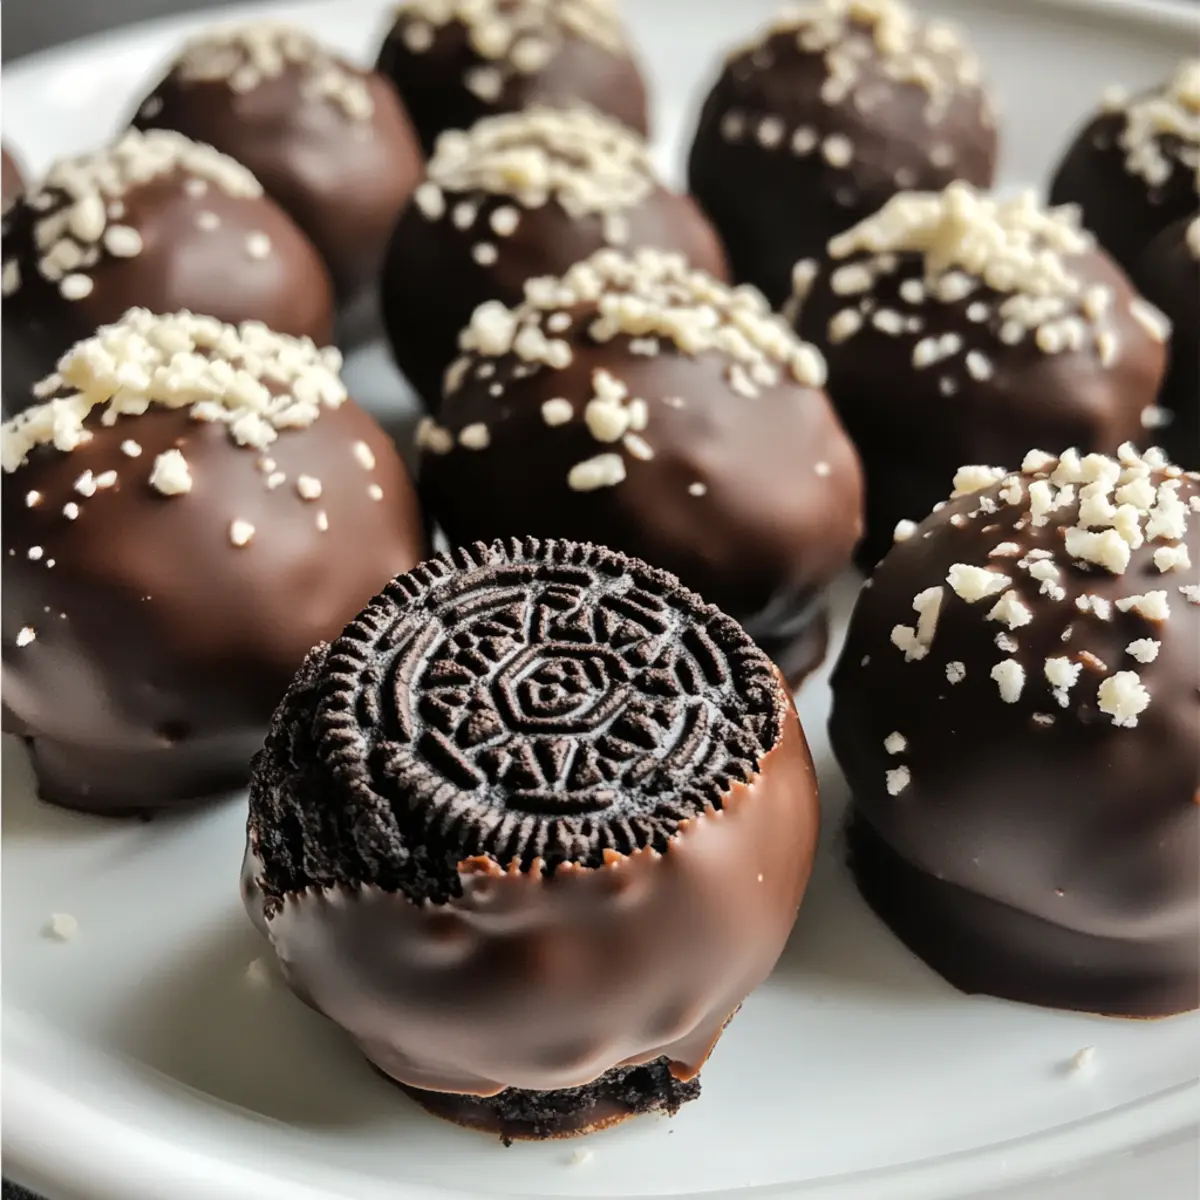
- 8 Oreo cookies – Provides the iconic flavor and crunch; substitute with gluten-free Oreos for a gluten-free version.
- 4 oz (115 g) cream cheese, softened – Creates a creamy texture; you can use Greek yogurt for a lighter option.
- 1/2 cup vanilla protein powder – Adds protein to the snack; feel free to use any flavored protein powder to suit your taste.
- 2 tbsp almond flour – Gives structure and a nutty flavor; swap in peanut flour or coconut flour for a different profile.
- 1/2 tsp vanilla extract – Enhances sweetness and flavor depth; try almond extract for a unique twist.
- 1 tbsp maple syrup – Provides natural sweetness; honey or agave syrup are great alternatives.
For the Coating
- 1/4 cup dark chocolate chips, melted – Adds a delicious chocolatey finish; consider using white chocolate or dairy-free chips for variety.
- 1 tbsp crushed Oreos (for topping, optional) – Adds visual appeal and extra crunch; sprinkle for that delightful presentation.
Now you’re all set to enjoy these Cream Cheese Oreo Protein Balls that are perfect for any occasion!
Step‑by‑Step Instructions for Cream Cheese Oreo Protein Balls
Step 1: Crush Oreos
Start by placing the 8 Oreo cookies in a zip-top bag. Use a rolling pin or your hands to crush the cookies into fine crumbs, ensuring there are no large pieces left. This process should take about 2-3 minutes. Alternatively, you can use a food processor for a quicker option. The visual cue to look for is a sand-like texture.
Step 2: Mix Ingredients
In a medium-sized mixing bowl, combine the crushed Oreos, 4 oz of softened cream cheese, 1/2 cup of vanilla protein powder, 2 tablespoons of almond flour, 1/2 teaspoon of vanilla extract, and 1 tablespoon of maple syrup. Use a spatula to mix until a thick, cohesive dough forms. This should take about 3-5 minutes. The mixture should be well-combined and slightly sticky.
Step 3: Form Balls
Using a tablespoon or a small cookie scoop, take portions of the dough and roll them into balls, about 1 inch in diameter. Repeat this process, ensuring each ball is smooth and uniform in size. This step should take around 5-7 minutes and will yield about 12-15 protein balls. Set them aside on a plate as you work.
Step 4: Chill
Once all the balls are formed, place them in the freezer for 10 minutes to firm up. This step is crucial as it helps the Cream Cheese Oreo Protein Balls hold their shape during the next steps. You’ll know they’re ready when they feel firm to the touch but not frozen.
Step 5: Coat in Chocolate
While the balls chill, melt 1/4 cup of dark chocolate chips in a microwave-safe bowl. Heat in 30-second intervals, stirring in between, until fully melted and smooth. Dip each chilled protein ball into the melted chocolate, allowing excess chocolate to drip off. Lay them on a parchment-lined tray to cool.
Step 6: Set
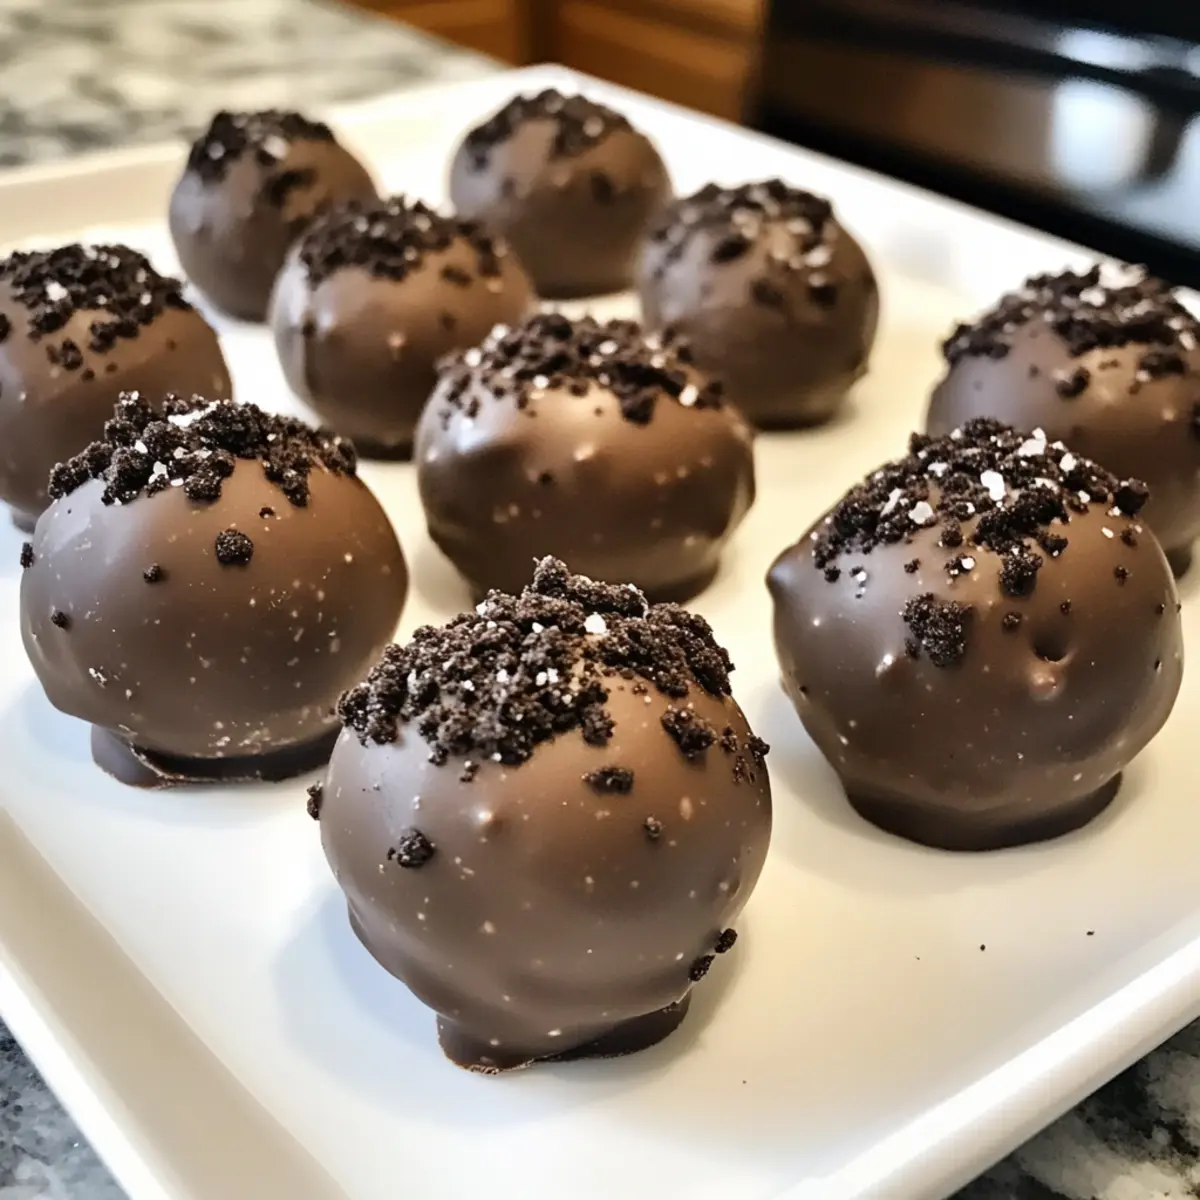
If desired, sprinkle each chocolate-coated ball with crushed Oreos for an extra touch of flavor and visual appeal. Place the tray in the refrigerator for about 10 minutes to allow the chocolate to harden completely. Once set, your Cream Cheese Oreo Protein Balls are ready to serve chilled.
Cream Cheese Oreo Protein Balls Variations
Feel free to explore these delightful twists that will make your Cream Cheese Oreo Protein Balls even more exciting and tailored to your taste!
-
Gluten-Free: Use gluten-free Oreos and swap almond flour for coconut flour to keep it light and enjoyable for everyone.
You won’t miss a beat with this variation. Gluten-free doesn’t mean flavor-free! -
Nut-Free: Replace almond flour with sunflower seed flour for a nut-free alternative while maintaining the same texture and taste. It’s a clever way to cater to allergies without compromising satisfaction.
-
Dairy-Free: Substitute cream cheese with vegan cream cheese or Greek yogurt for a dairy-free version that’s equally creamy. You can now savor this treat without the dairy!
-
Flavor Boost: Experiment by adding a tablespoon of peanut butter or almond butter into the mix for a richer flavor. Imagine the enchanting nutty aroma wafting through your kitchen!
-
Lower Sugar: Use stevia or monk fruit sweetener instead of maple syrup to reduce the sugar content, making them an even healthier snack option. Sweetness without the guilt is always a win!
-
Spiced Up: Add a pinch of cinnamon or a dash of espresso powder for that extra flavor kick. It’s like a warm hug in each bite!
-
Chocolate Lovers: Try rolling the protein balls in cocoa powder or crushed chocolate-covered peanuts for added indulgence and a fantastic texture twist. What’s better than a chocolatey crunch to complement the creamy filling?
-
Coconut Dream: Toss in shredded coconut into the mixture for a tropical flair; it creates a fantastic contrast with the Oreos for a taste sensation. Let the flavors transport you to a sun-kissed paradise!
With all these delicious variations, your Cream Cheese Oreo Protein Balls will never get boring. Enjoy the process, and don’t forget to share your yummy creations, perhaps alongside my Lavender Goat Cheese bites or even some Dubai Chocolate Balls for a special touch!
Expert Tips for Cream Cheese Oreo Protein Balls
- Soften Cream Cheese: Ensure the cream cheese is softened to room temperature for easy mixing; this will help achieve a smooth, creamy texture.
- Dough Consistency: If the dough feels too wet, add more protein powder or almond flour gradually until the texture is thick enough to roll.
- Chilling is Key: Don’t skip the chilling step; it helps the protein balls hold their shape and makes them easier to coat in chocolate.
- Melting Chocolate: Melt the chocolate in short intervals to prevent burning; stir well after each interval for a smooth coating.
- Customize Toppings: Feel free to get creative with toppings; crushed nuts or drizzled white chocolate can elevate your Cream Cheese Oreo Protein Balls!
How to Store and Freeze Cream Cheese Oreo Protein Balls
- Fridge: Store your protein balls in an airtight container in the fridge for up to 3-4 days to maintain their delicious flavor and creamy texture.
- Freezer: For longer storage, freeze the protein balls in a single layer on a baking sheet, then transfer to an airtight container or freezer bag, where they can last for up to 2 months.
- Thawing: When ready to enjoy, simply remove them from the freezer and let them sit at room temperature for about 10-15 minutes, or enjoy them straight from the freezer for a cool treat.
- Reheating: These Cream Cheese Oreo Protein Balls are best served cold, so there’s no need to reheat; just dive in and enjoy their creamy goodness!
Make Ahead Options
These Cream Cheese Oreo Protein Balls are perfect for busy home cooks looking to save time! You can prepare the dough up to 24 hours in advance by mixing the ingredients and rolling them into balls. Simply store them in an airtight container in the refrigerator to maintain their fresh flavor and texture. For longer storage, you can freeze the rolled balls for up to 3 months. When you’re ready to enjoy, just dip them in melted chocolate and let them set as the final step. This make-ahead option allows you to have nutritious snacks ready whenever those sweet cravings hit, ensuring you can indulge without hassle!
What to Serve with Cream Cheese Oreo Protein Balls
Looking for delicious companions to elevate your snack experience? These delightful protein balls are perfect for pairing with a variety of treats!
- Fresh Berries: Their tartness contrasts wonderfully with the sweetness of the protein balls, bringing a refreshing aspect to your snack plate.
- Greek Yogurt Parfait: Layer yogurt with granola and fruits for a creamy, crunchy contrast that’s both delicious and nutritious.
- Nutty Trail Mix: A handful of nutty trail mix adds extra crunch and fiber, perfectly balancing the soft texture of the protein balls.
- Chocolate Dipped Fruit: Complement the chocolate coating of the protein balls with strawberries or bananas dipped in dark chocolate for indulgent harmony.
- Smoothie: Blend up a thick smoothie with spinach, banana, and almond milk for a healthful drink that harmonizes beautifully with these protein-packed snacks.
- Iced Coffee: The rich, robust flavor of iced coffee brings a delightful balance and can boost your energy throughout the day.
- Cheese Platter: Include a mild cheese like brie or cream cheese spread for a savory contrast that will tempt your taste buds.
- Coconut Macaroons: The chewy texture and sweet coconut flavors create a wonderful pairing, creating a mini dessert buffet for any gathering.
- Herbal Tea: Sip on a soothing cup of herbal tea to cleanse the palate and enjoy the creamy sweetness of your protein balls.
Cream Cheese Oreo Protein Balls Recipe FAQs
What type of Oreos should I use?
You can use standard Oreo cookies for the classic flavor, or if you’re looking for a gluten-free option, make sure to grab gluten-free Oreo cookies. Either way, the rich taste will shine through!
How should I store leftover protein balls?
Store your Cream Cheese Oreo Protein Balls in an airtight container in the fridge for up to 3-4 days. If you want to keep them longer, freezing is a great option!
Can I freeze these protein balls?
Absolutely! To freeze, place the protein balls in a single layer on a baking sheet to prevent sticking, then transfer them to an airtight container or freezer bag. They can be frozen for up to 2 months. When you’re ready to enjoy, simply let them sit at room temperature for about 10-15 minutes or enjoy them straight from the freezer.
What if my dough is too wet?
If you find that the mixture is too wet to roll into balls, don’t worry! Just add more vanilla protein powder or almond flour, a tablespoon at a time, until you achieve the desired thick consistency. This may take about 2-3 additional tablespoons, depending on how moist your cream cheese was.
Are these protein balls suitable for kids?
Yes, these Cream Cheese Oreo Protein Balls make a great snack for kids! They offer a tasty and healthier alternative to traditional sweets, but be mindful of any allergies to dairy or nuts if you use almond flour.
How long does it take to make the protein balls?
The entire process takes just about 15 minutes, from preparation to chilling. With such a quick and simple recipe, you can whip these up anytime you need a protein-packed snack!
Cream Cheese Oreo Protein Balls for Guilt-Free Indulgence
Ingredients
Equipment
Method
- Crush 8 Oreo cookies in a zip-top bag or food processor until they form fine crumbs.
- In a mixing bowl, combine crushed Oreos, 4 oz cream cheese, 1/2 cup vanilla protein powder, 2 tbsp almond flour, 1/2 tsp vanilla extract, and 1 tbsp maple syrup; mix until a thick dough forms.
- Roll the dough into balls approximately 1 inch in diameter, yielding about 12-15 protein balls.
- Chill the formed balls in the freezer for 10 minutes to help them hold their shape.
- Melt 1/4 cup dark chocolate chips in a microwave-safe bowl and dip each ball in the melted chocolate.
- If desired, sprinkle with crushed Oreos, then refrigerate for another 10 minutes to set.
Leave a Reply