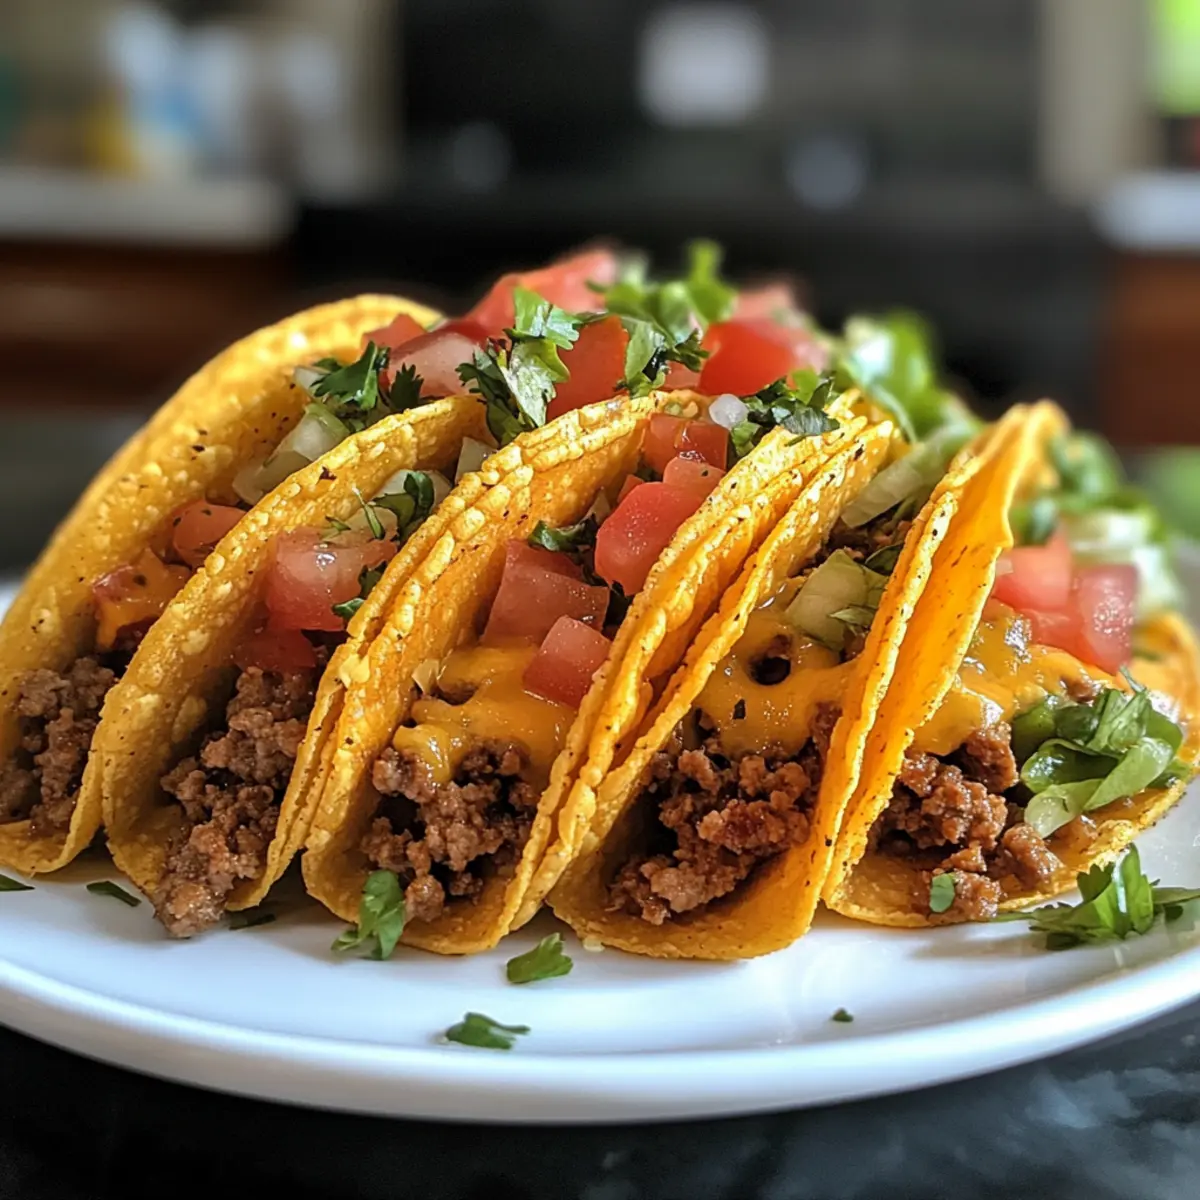
As I opened my oven to a warm oasis filled with the cozy aroma of spices and melting cheese, I knew I had created a dish that would bring everyone to the table. These Oven-Baked Cheesy Tacos are a game-changer for busy nights, offering a delightful crunch alongside rich, savory flavors that make every bite memorable. Not only are they quick to whip up, but they also pave the way for endless personalization—think delightful vegetarian swaps or gluten-free options that cater to everyone’s taste. You won’t have to worry about messy shells tipping over, thanks to this ingenious baking method that keeps everything in place. Ready to treat your loved ones to a fiesta? Let’s dive into this easy and satisfying dinner that’s sure to become a staple in your home!
Why Are These Tacos So Great?
Crunchy, gooey perfection: Each bite delivers a satisfying crunch paired with warm, melted cheese that just oozes flavor.
Easy to customize: With endless topping options, from classic favorites like sour cream to fresh veggies, you can make these tacos your own.
Time-saving convenience: Simply pop them in the oven, and dinner is served—perfect for busy weeknights!
Family-friendly fun: Kids and adults alike will enjoy assembling their tacos, making mealtime a creative and interactive experience.
If you’re craving more personalized dishes, check out my Cheesy Garlic Chicken for something equally delightful!
Oven-Baked Cheesy Tacos Ingredients
For the Filling
- Ground Beef – Provides the main protein and savory flavor. Substitution: Can replace with ground turkey or chicken for a lighter option.
- Olive Oil – Used for sautéing to soften onions and garlic. Note: Any cooking oil can work, but olive oil adds a nice flavor.
- Onion (diced) – Adds sweetness and depth to the filling. Substitution: Shallots or leeks for a milder taste.
- Garlic (minced) – Enhances flavor profile significantly. Note: Fresh is preferred; canned or powdered garlic can be used in a pinch.
- Taco Seasoning – Key for the taco flavor; can use a store-bought packet or homemade blend. Note: Adjust spices to personal heat preference.
- Tomato Sauce/Salsa – Adds moisture and tang to the filling. Substitution: Can also use diced tomatoes if preferred.
For the Tacos
- Taco Shells (flour/corn) – Structure for containing all ingredients. Note: Warm slightly before filling to prevent cracking.
- Shredded Cheddar Cheese/Mexican Blend – Provides creaminess and melty goodness. Substitution: Pepper jack for added spice or a blend for varying flavors.
For Toppings
- Lettuce – Freshness and crunch for topping.
- Tomatoes (diced) – Adds color and juiciness to the finished tacos.
- Red Onion (diced) – Brings sharp flavor and crunchy texture.
- Fresh Cilantro (chopped) – Brightens and enhances flavor. Note: Can omit for non-cilantro fans.
- Optional Toppings – Sour cream, jalapeños, guacamole, hot sauce for personalization and flavor.
These Oven-Baked Cheesy Tacos are waiting to bring joy and flavor to your table!
Step‑by‑Step Instructions for Oven-Baked Cheesy Tacos
Step 1: Preheat the Oven
Begin by preheating your oven to 375°F (190°C). While the oven warms, prepare a baking dish by lightly greasing it with cooking spray or lining it with aluminum foil. This will help ensure your delicious Oven-Baked Cheesy Tacos don’t stick, making cleanup a breeze.
Step 2: Sauté the Aromatics
In a skillet over medium heat, heat 2 tablespoons of olive oil. Add diced onion and minced garlic, sautéing for about 2-3 minutes until they become fragrant and the onion turns translucent. This step builds a robust flavor base for the taco filling, making every bite even more delightful.
Step 3: Cook the Meat
Add 1 pound of ground beef to the skillet, breaking it apart with a spatula. Cook for about 5-7 minutes, stirring occasionally, until the meat is browned and fully cooked. Once browned, mix in taco seasoning, tomato sauce, and a pinch of salt and pepper. Allow the mixture to simmer for 5 minutes until it thickens, creating a savory filling.
Step 4: Prepare the Taco Shells
Warm the taco shells slightly in the microwave for about 20-30 seconds, ensuring they’re pliable and less likely to crack when filled. This crucial step ensures that your Oven-Baked Cheesy Tacos maintain their structure and crunch, ready for generous fillings.
Step 5: Fill the Taco Shells
Using a spoon, scoop the meat mixture into each taco shell, filling them generously but ensuring they don’t overflow. Carefully sprinkle shredded cheddar cheese over the top of each filled shell, allowing the cheese to melt beautifully as they bake, which is vital for that irresistible cheesy flavor.
Step 6: Bake the Tacos
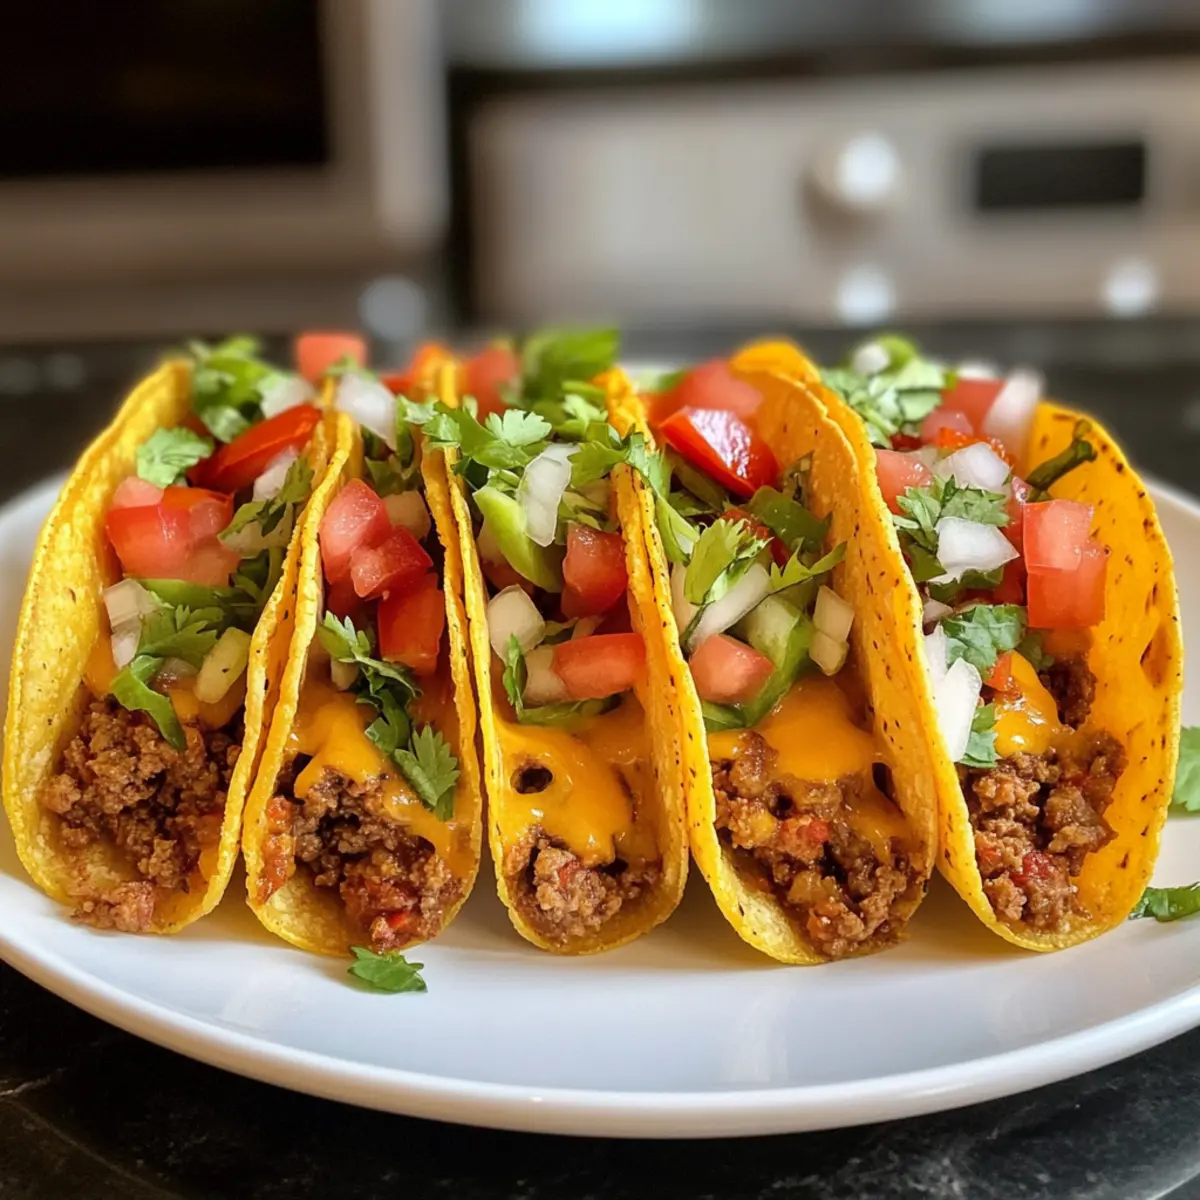
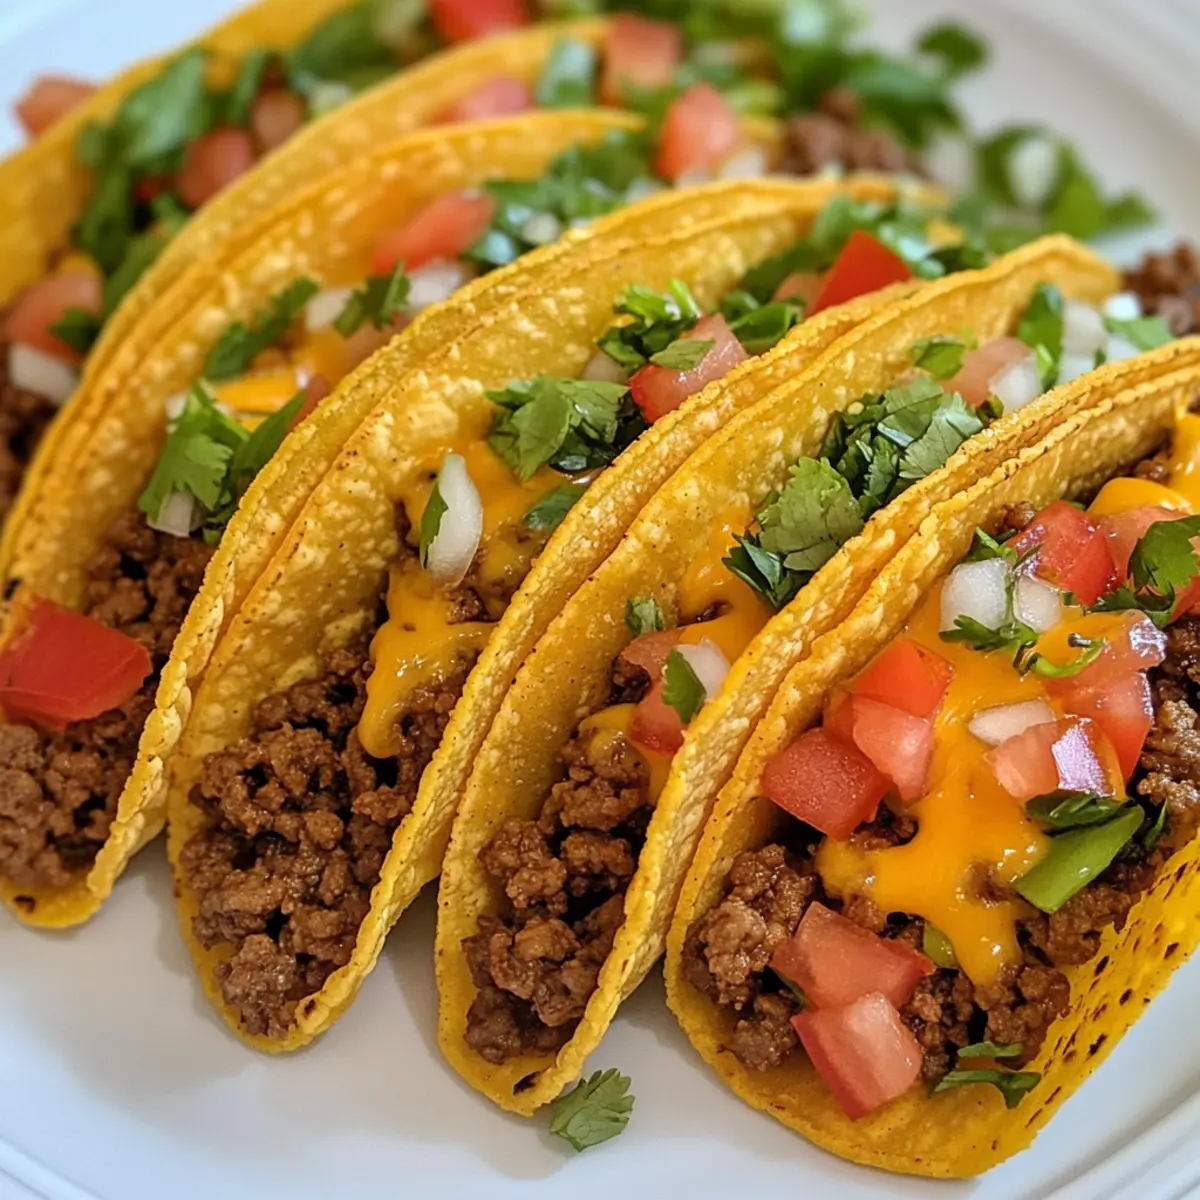
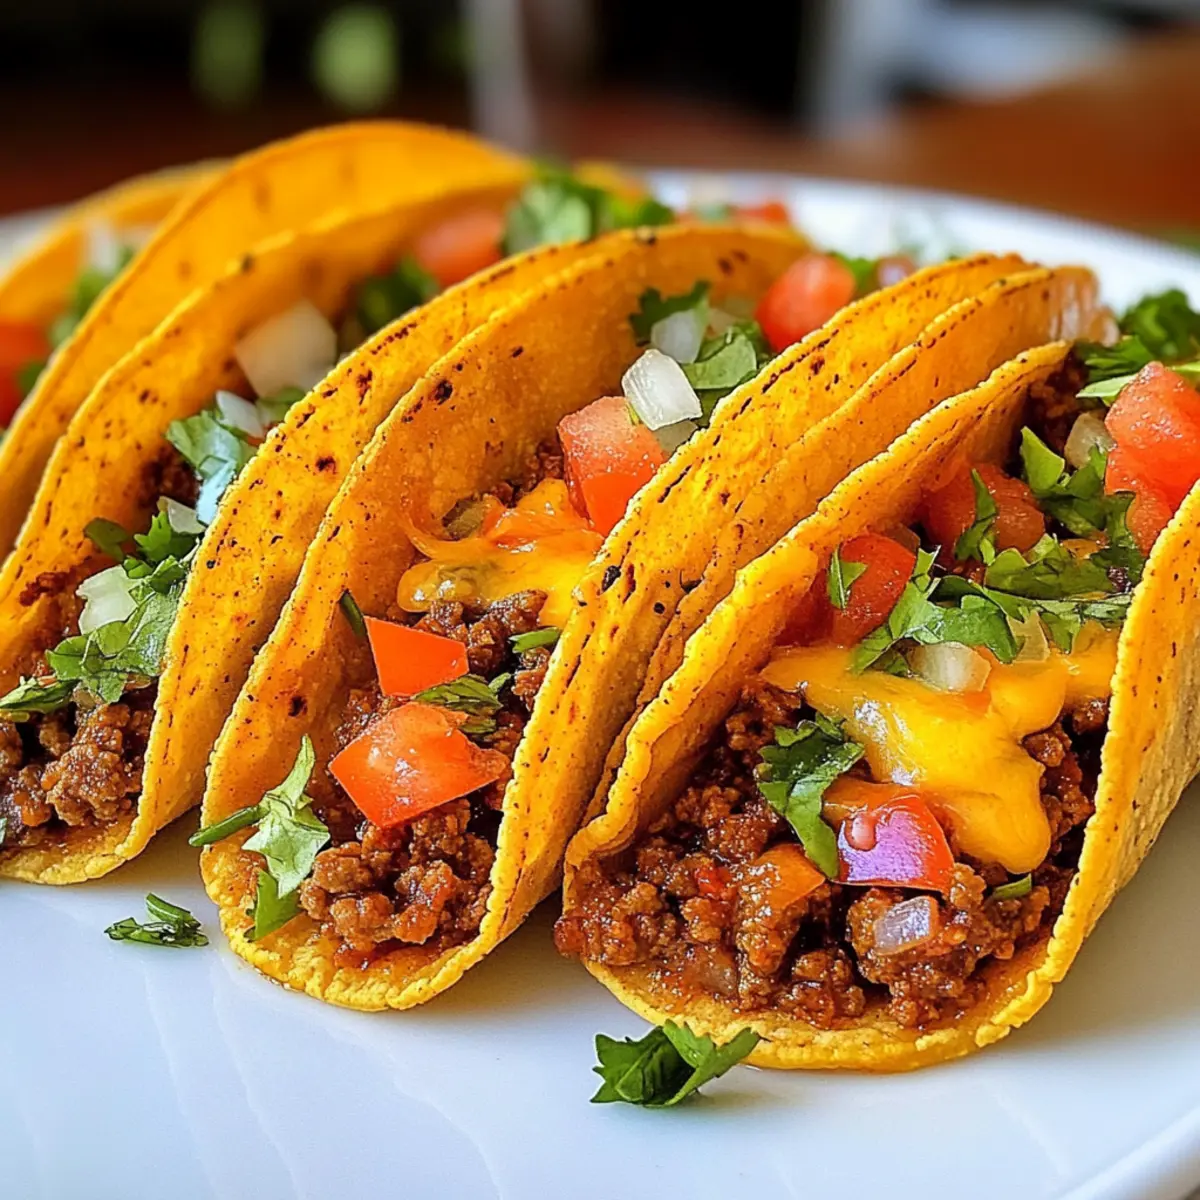
Arrange the filled taco shells upright in the prepared baking dish, packing them closely together for support. Place the dish in the preheated oven and bake for 10-15 minutes. Look for the cheese to be bubbly and slightly golden, while the taco shells should have crisped up nicely.
Step 7: Add Fresh Toppings
Once out of the oven, let your Oven-Baked Cheesy Tacos rest for a few minutes. Top them with fresh ingredients such as shredded lettuce, diced tomatoes, chopped red onion, and cilantro. Consider adding optional toppings like a dollop of sour cream or a drizzle of hot sauce for personal flair before serving.
Make Ahead Options
These Oven-Baked Cheesy Tacos are a fantastic choice for meal prep, allowing you to enjoy a delicious dinner with minimal effort on busy weeknights! You can prepare the meat filling and refrigerate it for up to 3 days in advance. Simply cook the ground beef with the onions, garlic, and taco seasoning, then let it cool before storing it in an airtight container. When you’re ready to bake, warm the filling slightly, fill the taco shells, sprinkle with cheese, and bake for 10-15 minutes until the cheese is bubbly. This method ensures your baked tacos taste just as fresh as if you made them from scratch, saving you precious time while keeping the flavors intact!
Oven-Baked Cheesy Tacos Variations
Feel free to put your own twist on these delightful tacos and make them uniquely yours!
-
Vegetarian: Swap ground beef for seasoned black beans or lentils for a nutritious vegetarian option. This creates a hearty filling without compromising flavor.
-
Gluten-Free: Use certified gluten-free taco shells or substitute large lettuce leaves as wraps for a fantastic gluten-free alternative that’s refreshing and crisp.
-
Add Veggies: Incorporate diced bell peppers and corn into the meat mixture for added color, texture, and a sweet crunch that complements the savory notes perfectly.
-
Breakfast Tacos: Transform these into a delicious breakfast by using scrambled eggs and breakfast sausage instead of beef, topped with a zesty green salsa. It makes for a fun and hearty start to the day!
-
Spicy Kick: Add diced jalapeños to the filling for an extra punch of heat, or sprinkle sliced pickled jalapeños on top before serving for bold flavors that awaken the taste buds.
-
Cheese Lovers: Experiment with different cheeses, like pepper jack for heat or a mix of mozzarella and cheddar for a gooey melty experience. Each combination enhances flavor in a unique way!
-
Fresh Herbs: Boost freshness by mixing in chopped fresh cilantro or scallions with your toppings. This adds a bright, aromatic flavor profile that elevates the whole dish.
-
Slow-Cooker: For a hands-off approach, consider preparing the filling in a slow cooker. Let the flavors blend beautifully while you go about your day, and then assemble your tacos when ready for dinner!
For even more delicious meal ideas, don’t forget to check out my Broccoli Cauliflower Casserole for a comforting side that pairs perfectly with these tacos!
What to Serve with Oven-Baked Cheesy Tacos
Create a full, satisfying meal that complements the delightful flavors and textures of your tacos.
- Spanish Rice: Fluffy and seasoned, this side adds a comforting element that soaks up all those amazing taco flavors.
- Cilantro-Lime Quinoa: Fresh and zesty, this nutritious alternative adds vibrancy to your table while balancing the savory tacos beautifully.
- Mexican Street Corn: Grilled and creamy, this dish showcases vibrant flavors that pair wonderfully, providing a sensational crunch.
- Garden Salad: Crisp greens topped with juicy tomatoes and a light vinaigrette creates a refreshing contrast to the hearty tacos.
- Guacamole and Chips: The creamy, rich guacamole paired with crunchy tortilla chips is a perfect appetizer that enhances the whole meal.
Beverages can elevate the experience even further. Consider pairing with:
- Margaritas: A classic choice, these tangy cocktails are a delightful match, adding a festive touch to any taco night.
- Agua Fresca: Light and refreshing, this fruit-infused water provides a cooling contrast to the warm, spicy flavors of your tacos.
- Iced Tea: A sweetened, lemony iced tea is a simple beverage option that complements the savory aspects of the meal, making your dining experience complete.
Expert Tips for Oven-Baked Cheesy Tacos
- Warm Shells First: Warm taco shells before filling to prevent cracking; this step ensures your Oven-Baked Cheesy Tacos hold up beautifully during baking.
- Don’t Overfill: Avoid overstuffing taco shells; this keeps them from tipping over and maintains their upright position.
- Fresh Cheese Counts: Use freshly shredded cheese instead of pre-shredded for optimal melting. Pre-shredded cheese may contain anti-caking agents that can prevent even melting.
- Pack Tightly Together: If taco shells tip over, arrange them closely in the baking dish for extra support during baking.
- Customize with Confidence: Feel free to experiment with fillings and toppings! The beauty of these tacos lies in their customization to suit everyone’s taste preferences.
How to Store and Freeze Oven-Baked Cheesy Tacos
- Fridge: Store any leftover Oven-Baked Cheesy Tacos in an airtight container for up to 4 days. This keeps them fresh and ready to reheat.
- Freezer: Assemble unbaked tacos can be frozen for up to 2 months. Wrap them tightly in foil or plastic wrap to prevent freezer burn.
- Reheating: To enjoy leftovers, reheat in a 350°F (175°C) oven for 15-20 minutes to retain their crispiness, or until heated through.
- Separate Ingredients: If possible, store toppings like lettuce and tomatoes separately to maintain their freshness and crunch when ready to serve.
Oven-Baked Cheesy Tacos Recipe FAQs
What type of taco shells works best for this recipe?
Flour or corn taco shells both work great for Oven-Baked Cheesy Tacos. If you prefer a gluten-free option, look for certified gluten-free taco shells or use large lettuce leaves as a wrap. Just make sure to warm them slightly before filling to make them more pliable and less likely to crack.
How long can I store leftover Oven-Baked Cheesy Tacos?
You can store any leftover Oven-Baked Cheesy Tacos in an airtight container in the fridge for up to 4 days. When you’re ready to enjoy them again, reheat in a 350°F (175°C) oven for about 15-20 minutes to restore their crispiness, making them almost as good as fresh!
Can I freeze these tacos, and if so, how?
Absolutely! You can assemble unbaked Oven-Baked Cheesy Tacos and freeze them for up to 2 months. Just make sure to wrap them tightly in foil or plastic wrap to prevent freezer burn. When you’re ready to cook them, you can bake them straight from the freezer, but you may need to add a few extra minutes to the baking time.
What should I do if my taco shells keep tipping over during baking?
No worries! If your taco shells tip over, simply pack them closer together in the baking dish for more support. This not only helps keep them upright but also allows the cheese to melt evenly without major spills. If you have a taco rack, that also works wonders!
Are there any dietary considerations for these tacos?
Yes, you can absolutely customize these Oven-Baked Cheesy Tacos to accommodate dietary needs. For a gluten-free option, use gluten-free taco shells or lettuce wraps. If you’re cooking for vegetarians, swap the ground beef for black beans or lentils. You can also adjust toppings for allergies or preferences—just keep an eye on things like dairy or specific vegetables.
How can I tell if the filling is cooked properly?
When cooking the filling, you’ll want the ground beef to be browned throughout, with no pink remaining. This usually takes around 5-7 minutes in the skillet. For added assurance, you can use a meat thermometer; the internal temperature should reach 160°F (71°C). Enjoy the comforting flavors knowing your filling is perfectly safe and delicious!
Oven-Baked Cheesy Tacos: Irresistible Flavor in Every Bite
Ingredients
Equipment
Method
- Preheat your oven to 375°F (190°C) and prepare a baking dish by lightly greasing it.
- In a skillet over medium heat, heat olive oil. Add diced onion and minced garlic, sautéing until fragrant and translucent.
- Add ground beef to the skillet and cook until browned. Mix in taco seasoning and tomato sauce, simmer for 5 minutes.
- Warm taco shells slightly in the microwave for about 20-30 seconds.
- Fill each taco shell with the meat mixture, then sprinkle shredded cheese on top.
- Arrange taco shells upright in the baking dish and bake for 10-15 minutes until cheese is bubbly and golden.
- Let the tacos rest slightly, then top with fresh ingredients and optional toppings before serving.
Leave a Reply