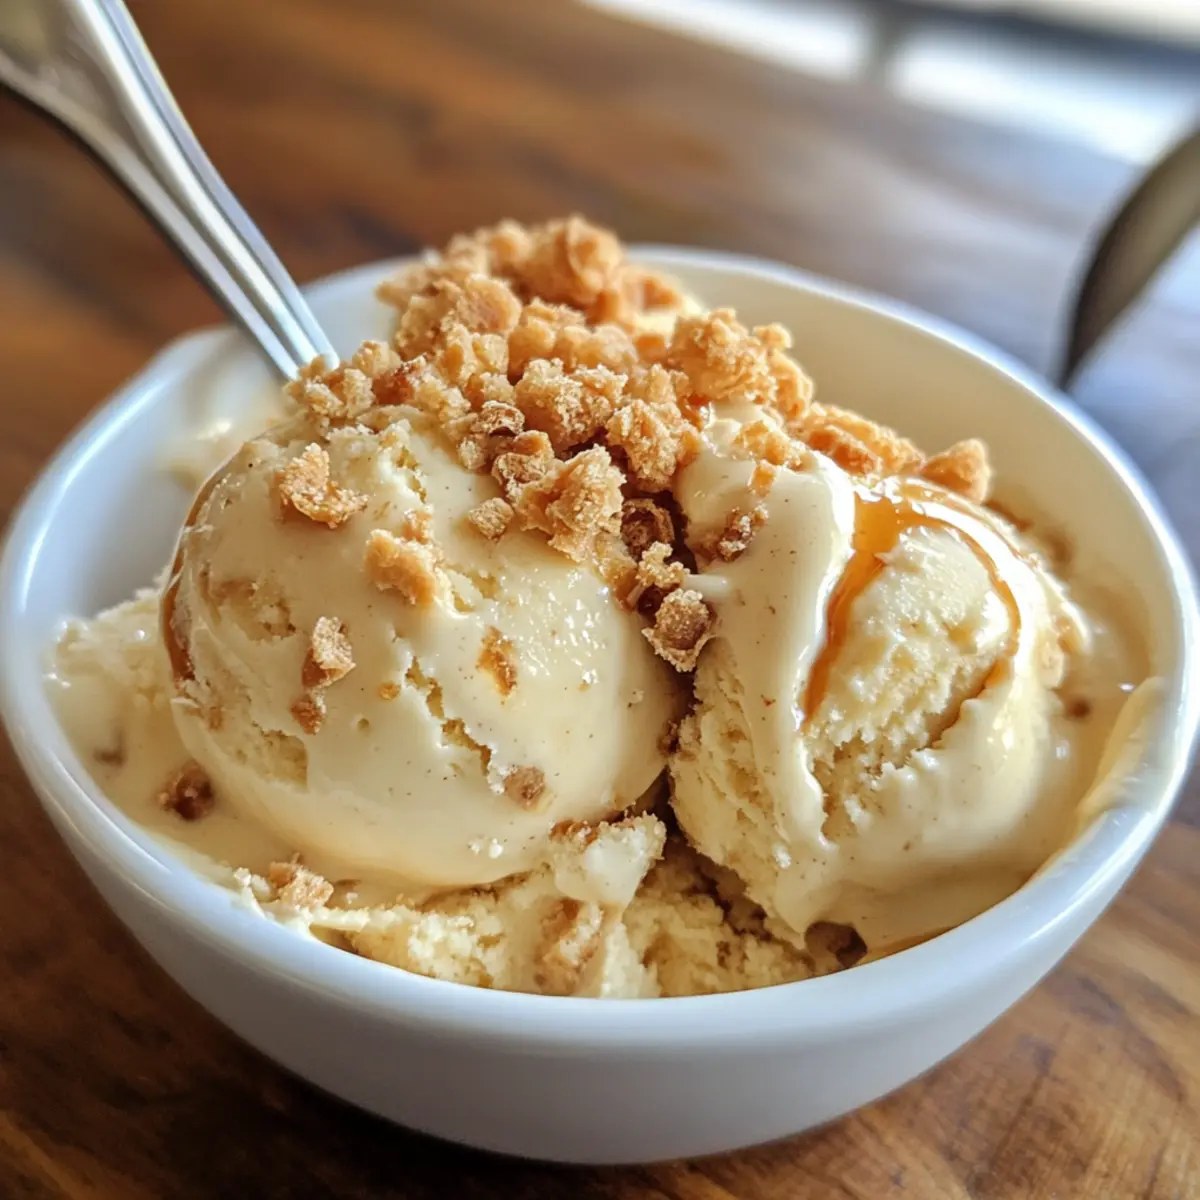
It was the height of summer, and my cravings for something indulgent danced alongside the rising temperatures. Enter the No Churn Crème Brûlée Ice Cream—a heavenly twist on a classic French dessert that truly embodies summer bliss. This easy recipe captures the silky custard flavor and that irresistible caramelized top we love about traditional crème brûlée, but without the fuss of an ice cream maker. With just a handful of ingredients, you can whip up this creamy delight that’s egg-free and gluten-free, making it accessible for everyone to enjoy. Whether you’re hosting a gathering or seeking a sweet, refreshing treat to enjoy alone, this ice cream is a surefire way to impress friends and family alike. Ready to elevate your dessert game with this creamy masterpiece that requires zero churning? Let’s dive into the deliciousness!
Why is this ice cream irresistible?
Simplicity, making this No Churn Crème Brûlée Ice Cream is as easy as it gets! You only need a handful of ingredients and minimal effort. Decadent flavor, this dessert perfectly blends the luxurious taste of classic crème brûlée with a creamy, velvety texture. Versatile options allow you to easily swap in your favorite mix-ins, making it a customizable treat for everyone. Crowd-pleaser, whether at summer parties or cozy nights in, it’s guaranteed to impress your guests. Plus, it’s gluten-free and egg-free, so everyone can indulge without worry. Enjoy a scoop alongside fresh berries or warm desserts, or savor it on its own for a delightful escape!
No Churn Crème Brûlée Ice Cream Ingredients
• Make this delightful dessert come to life with just these simple, key components!
For the Ice Cream Base
- 2 cups heavy whipping cream – Adds richness and creaminess to your No Churn Crème Brûlée Ice Cream; for the best texture, use a full-fat option.
- 1 (14 oz) can sweetened condensed milk – Serves as the essential sweetener and stabilizer for smoothness; it’s crucial for the no-churn method, so don’t substitute!
- 1 tbsp vanilla bean paste – Bestows deep vanilla flavor and beautiful specks; you can use pure vanilla extract instead, but the flavor will be slightly less intense.
For the Crunchy Element
- ½ cup toffee bits or crushed Heath Bar pieces – Adds a delightful crunchy texture and burnt-sugar flavor reminiscent of traditional crème brûlée; if unavailable, crushed caramel candies or caramel brittle can work as a substitute.
Optional Enhancer
- Pinch of salt – A tiny touch enhances the flavors and balances the sweetness beautifully.
Step‑by‑Step Instructions for No Churn Crème Brûlée Ice Cream
Step 1: Chill Mixing Bowl
Begin by chilling your mixing bowl and whisk in the freezer for about 10 minutes. This simple step is crucial for achieving stiff peaks when whipping the heavy cream, contributing to the airy texture of your No Churn Crème Brûlée Ice Cream. A cold bowl will also prevent the cream from warming too quickly during whipping.
Step 2: Whip Cream
Once your bowl and whisk are adequately chilled, pour 2 cups of heavy whipping cream into the bowl. Using a hand mixer or stand mixer, whip the cream on high speed until stiff peaks form, which usually takes about 3 to 5 minutes. You’ll know it’s ready when the peaks hold their shape without drooping, giving your ice cream its luxurious and fluffy base.
Step 3: Mix Condensed Milk
In a separate mixing bowl, combine a 14-ounce can of sweetened condensed milk with 1 tablespoon of vanilla bean paste and an optional pinch of salt for enhanced flavor. Stir the mixture until it is smooth and well-combined, about 1-2 minutes. This sweet blend will serve as the base that pairs perfectly with the whipped cream.
Step 4: Combine Mixtures
Gently fold the whipped cream into the sweetened condensed milk mixture, being careful not to deflate the cream. Use a spatula to glide the ingredients together in a circular motion for about 1-2 minutes, ensuring the blends are fully incorporated. This step brings together the rich creaminess of the No Churn Crème Brûlée Ice Cream while maintaining that airy texture.
Step 5: Add Toffee Bits
Once your mixtures are combined, fold in ½ cup of toffee bits or crushed Heath Bar pieces. This sweet addition adds a delightful crunch that mimics the burnt-sugar flavor of traditional crème brûlée. Disperse the toffee bits evenly throughout the mixture, taking care to maintain the light texture as you mix gently.
Step 6: Freeze
Transfer the delicious mixture into a loaf pan or an airtight container. Smooth out the top with a spatula, ensuring an even surface to help it freeze uniformly. Place it in the freezer and let it set for at least 6 hours, or ideally overnight, until it’s firm. This step is key to transforming your mixture into a scoopable No Churn Crème Brûlée Ice Cream.
Step 7: Serve
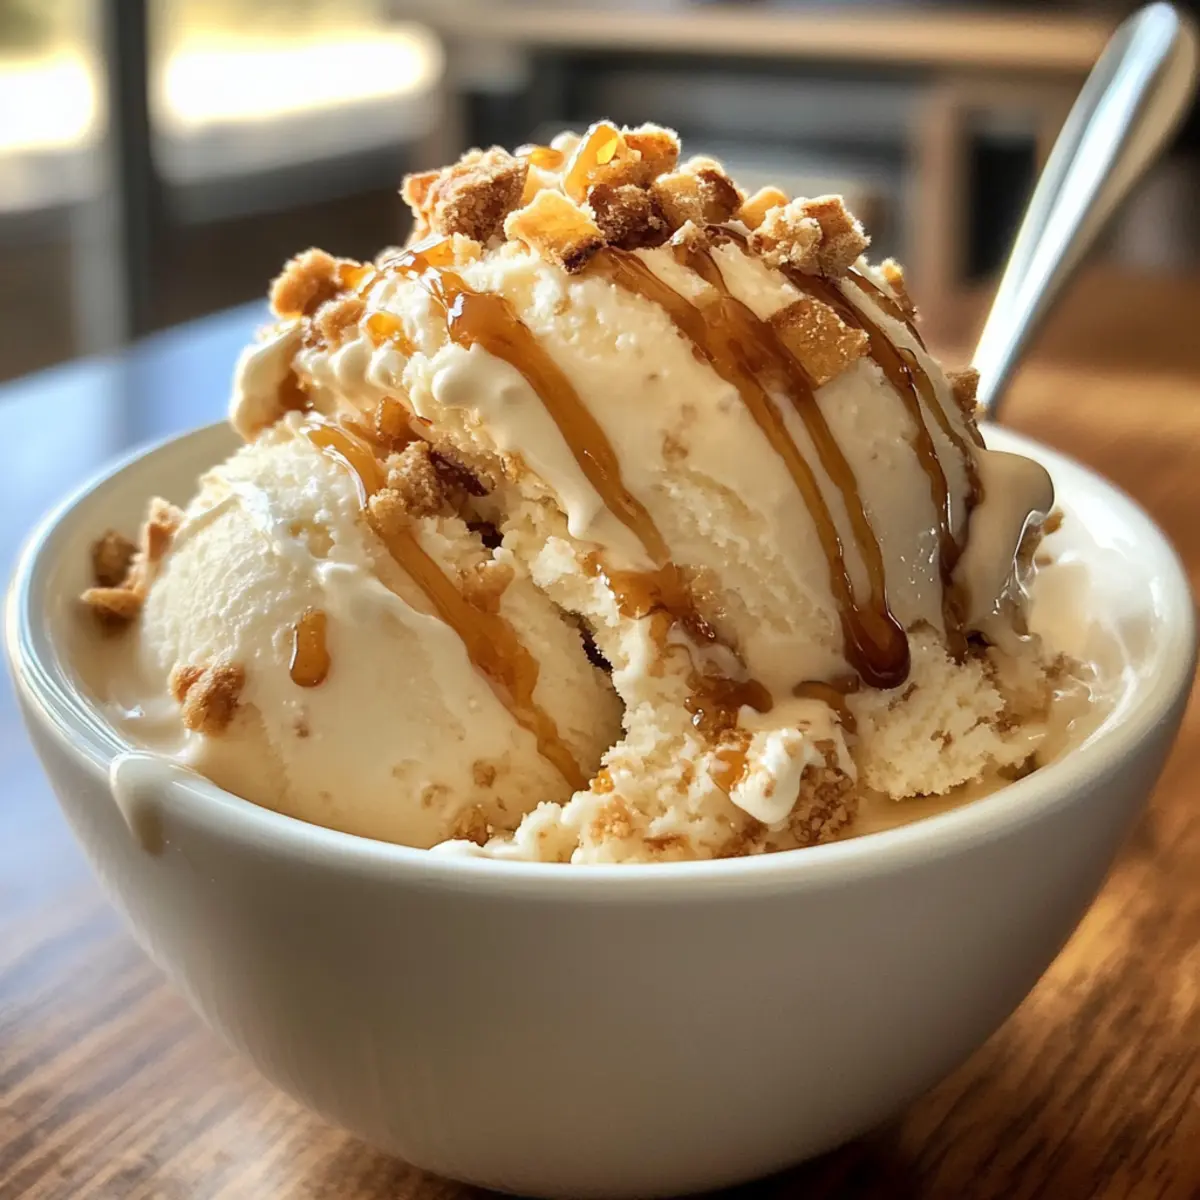
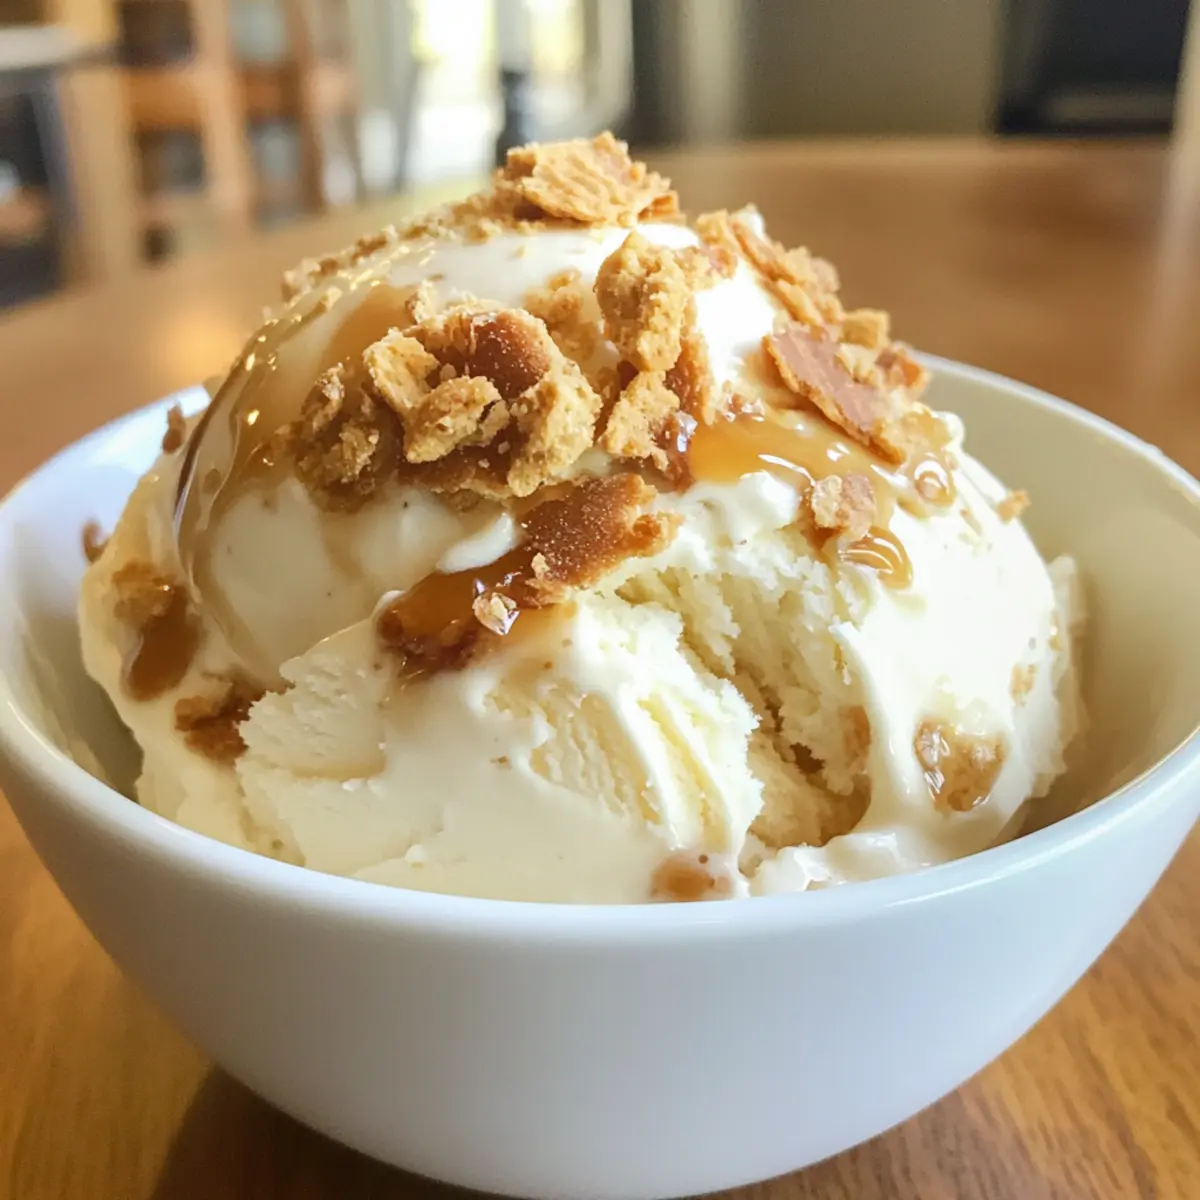
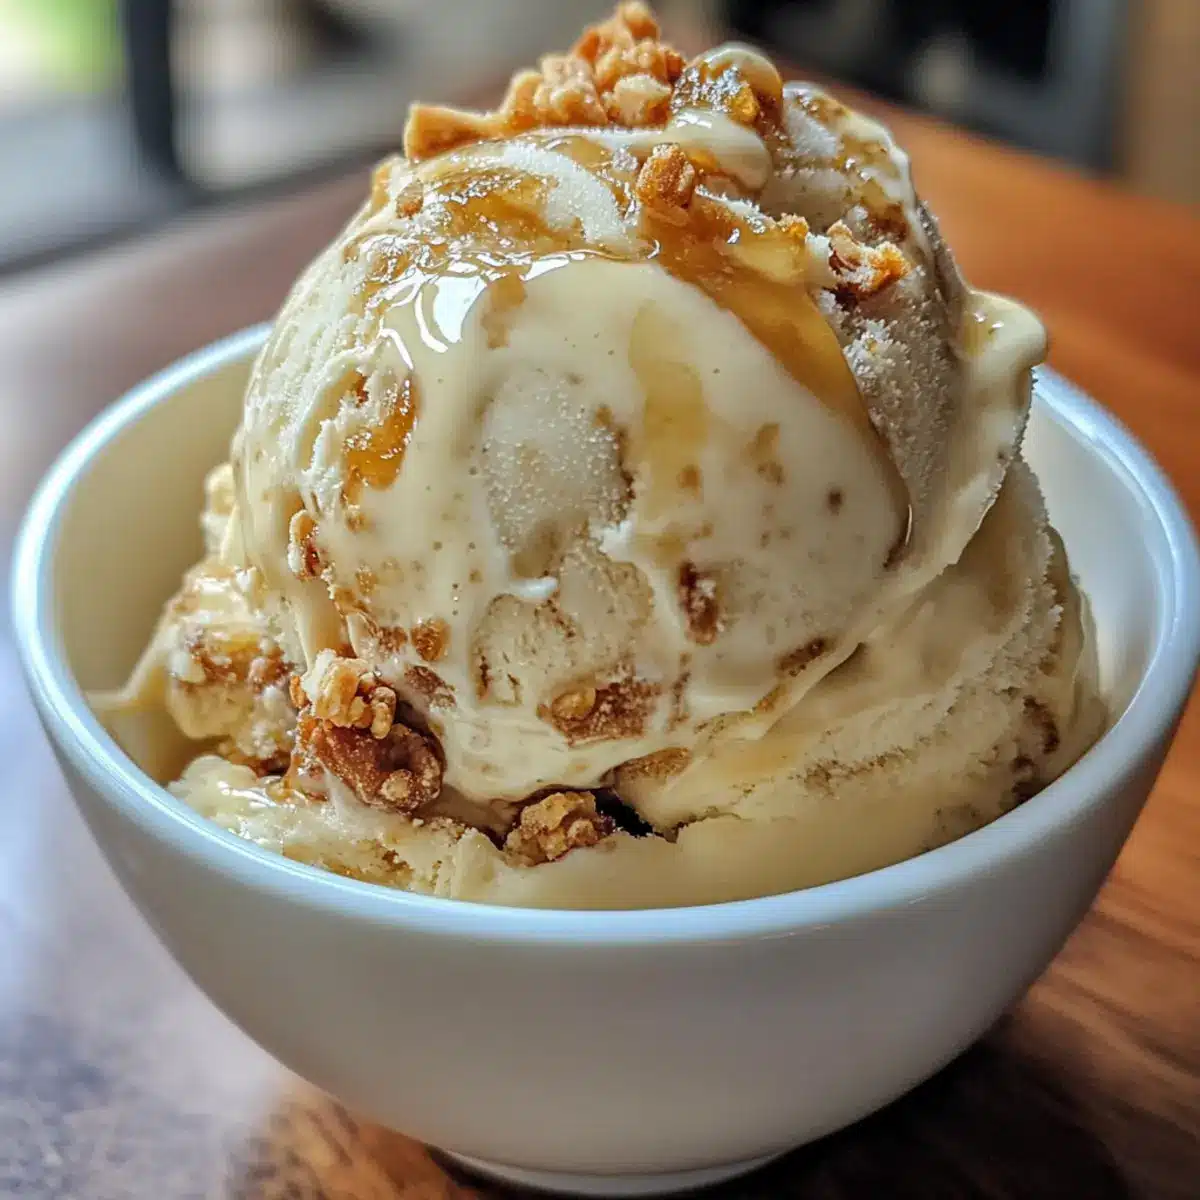
When ready to enjoy, remove the ice cream from the freezer and let it sit at room temperature for a few minutes to soften slightly. This will make it easier to scoop into bowls or cones. Serve your decadent No Churn Crème Brûlée Ice Cream plain or top with fresh berries for a delightful contrast!
Make Ahead Options
These No Churn Crème Brûlée Ice Cream treats are perfect for busy home cooks looking to save time during hectic weeks! You can prepare the ice cream base up to 24 hours in advance by whipping the cream and mixing it with sweetened condensed milk and vanilla bean paste. Simply freeze the mixture in an airtight container until ready to serve. For the best quality, add toffee bits only a few hours before serving to maintain their crunch. When it’s time to indulge, let the ice cream sit at room temperature for a few minutes to soften before scooping. This way, you’ll enjoy the same delicious and creamy texture without any last-minute fuss!
How to Store and Freeze No Churn Crème Brûlée Ice Cream
Fridge: Enjoy this ice cream fresh for up to 3 days; however, it’s best stored in the freezer to maintain its creamy texture.
Freezer: Store in an airtight container in the coldest part of the freezer for up to 2 weeks for optimal flavor and texture. Over time, it may become too hard to scoop.
Reheating: If the ice cream is too hard, let it sit at room temperature for about 5-10 minutes before scooping. This helps restore its creamy consistency.
Covering: Prevent freezer burn by ensuring the container is tightly closed and covered with plastic wrap before sealing it. Enjoy this delicious No Churn Crème Brûlée Ice Cream at its best!
No Churn Crème Brûlée Ice Cream Variations
Feel free to let your creativity shine and tailor this indulgent ice cream to your taste preferences!
-
Minty Fresh: Add 1 teaspoon of peppermint extract for a refreshing twist that’s perfect for summer. A surprise minty flavor will elevate the classic dessert.
-
Nutty Touch: Stir in ½ cup of toasted chopped hazelnuts or almonds for a delightful crunch and lovely nutty flavor. The combination of nuts and cream will remind you of luxurious desserts!
-
Coconut Delight: For a tropical spin, use coconut cream and sweetened condensed coconut milk as a dairy-free alternative. This swap creates a creamy texture with a coconut flavor that sings summer.
-
Fruit Fusion: Fold in 1 cup of mashed ripe bananas or berries for a fruity version; strawberries pair beautifully with the vanilla notes, creating a fresh contrast to the creamy base.
-
Spiced Variation: Introduce a hint of warmth with 1 teaspoon of cinnamon or nutmeg to the condensed milk mixture. This cozy touch adds depth and invites nostalgia with each scoop.
-
Chocolate Lovers: Incorporate ½ cup of mini chocolate chips or swirl in chocolate sauce for a rich and indulgent dessert. This variation will satisfy all chocolate cravings while maintaining the creamy texture.
-
Caramel Twist: Drizzle in some caramel sauce to the mixture before freezing for an exciting sweet surprise. The ribbons of caramel will enhance the crème brûlée experience wonderfully!
Try one of these variations, or mix and match to find your perfect combination! Pair your delightful creation with fresh fruits or a warm dessert like Mango Sticky Rice for a truly delightful experience.
What to Serve with No Churn Crème Brûlée Ice Cream
Savoring this luxurious ice cream is just the beginning—pair it with delightful accompaniments to elevate your dessert experience!
-
Fresh Berries: The vibrant tartness of berries, like raspberries or strawberries, brightens the creamy richness while adding a refreshing contrast.
-
Chocolate Sauce: Drizzling warm chocolate sauce over the ice cream creates a decadent twist that pairs perfectly with the creamy custard flavor.
-
Almond Biscotti: Serve with crunchy almond biscotti for a delightful texture contrast, perfect for dipping into the creamy ice cream.
-
Caramel Drizzle: A warm caramel drizzle enhances the luxurious flavor and adds an extra touch of sweetness to each scoop.
-
Nutty Toppings: A sprinkle of toasted almonds or hazelnuts adds a delightful crunch and flavor depth, making every bite even more indulgent.
-
Espresso: A shot of strong espresso alongside the creamy ice cream creates a perfect balance of temperatures and flavors, reminiscent of Italian affogato.
-
Warm Pie or Tart: Pairing with a slice of warm apple pie or fruit tart creates a classic dessert duo that warms the heart and soul.
Each of these combinations not only enhances the deliciousness but also transforms your No Churn Crème Brûlée Ice Cream into a fantastic dessert spread!
Expert Tips for No Churn Crème Brûlée Ice Cream
Chill Thoroughly: Ensure both the mixing bowl and whisk are well-chilled—this step is vital for achieving the perfect stiff peaks while whipping the cream.
Use Full-Fat Cream: For the best texture and creaminess, always opt for full-fat heavy whipping cream in your No Churn Crème Brûlée Ice Cream; low-fat varieties may lead to a less smooth result.
Avoid Overmixing: When combining the whipped cream and condensed milk mixture, gently fold to maintain that light and airy texture; overmixing can deflate the cream and result in a dense ice cream.
Store Properly: For optimal texture, store your ice cream in an airtight container in the coldest part of the freezer, avoiding the door where temperatures fluctuate.
Scoop with Ease: When serving, run your ice cream scoop under warm water first—this helps you achieve perfectly clean, easy scoops of your luxurious No Churn Crème Brûlée Ice Cream.
No Churn Crème Brûlée Ice Cream Recipe FAQs
What kind of cream should I use for the No Churn Crème Brûlée Ice Cream?
For the best texture and creaminess, I highly recommend using full-fat heavy whipping cream. Low-fat variants can lead to a less smooth and airy outcome, so go for the rich option to ensure your ice cream is as luxurious as possible.
How should I store my No Churn Crème Brûlée Ice Cream?
To keep your ice cream at its finest, store it in an airtight container in the coldest part of the freezer. It will stay fresh for up to 2 weeks, but for optimal flavor and texture, consume it within the first week. If it becomes too hard, let it sit at room temperature for 5-10 minutes before scooping.
Can I freeze the No Churn Crème Brûlée Ice Cream for longer?
Absolutely! While it’s best enjoyed within 2 weeks, you can keep it in the freezer for up to 3 months. Just make sure it’s tightly sealed in an airtight container to prevent freezer burn. When you’re ready to enjoy, simply let it soften slightly before scooping.
What if my whipped cream doesn’t form stiff peaks?
If your whipped cream isn’t reaching stiff peaks, it may be because the cream isn’t cold enough. Chill your mixing bowl and whisk for at least 10 minutes before whipping. If you still have trouble, try adding a tablespoon of powdered sugar while whipping to help stabilize the cream.
Is this No Churn Crème Brûlée Ice Cream gluten-free?
Yes, this recipe is naturally gluten-free! Just be cautious with the mix-ins; ensure that any caramel candies or toffee bits you use are gluten-free as well. This allows everyone, even those with gluten sensitivity, to indulge in this creamy delight.
Decadent No Churn Crème Brûlée Ice Cream That's Effortless
Ingredients
Equipment
Method
- Chill Mixing Bowl: Chill your mixing bowl and whisk in the freezer for about 10 minutes.
- Whip Cream: Pour heavy whipping cream into the bowl and whip on high speed until stiff peaks form, about 3 to 5 minutes.
- Mix Condensed Milk: In another bowl, combine sweetened condensed milk, vanilla bean paste, and salt. Stir until smooth.
- Combine Mixtures: Gently fold whipped cream into the condensed milk mixture, being careful not to deflate.
- Add Toffee Bits: Fold in the toffee bits evenly throughout the mixture.
- Freeze: Transfer to a loaf pan and freeze for at least 6 hours or overnight until firm.
- Serve: Let sit at room temperature for a few minutes before scooping, and serve plain or with fresh berries.
Leave a Reply