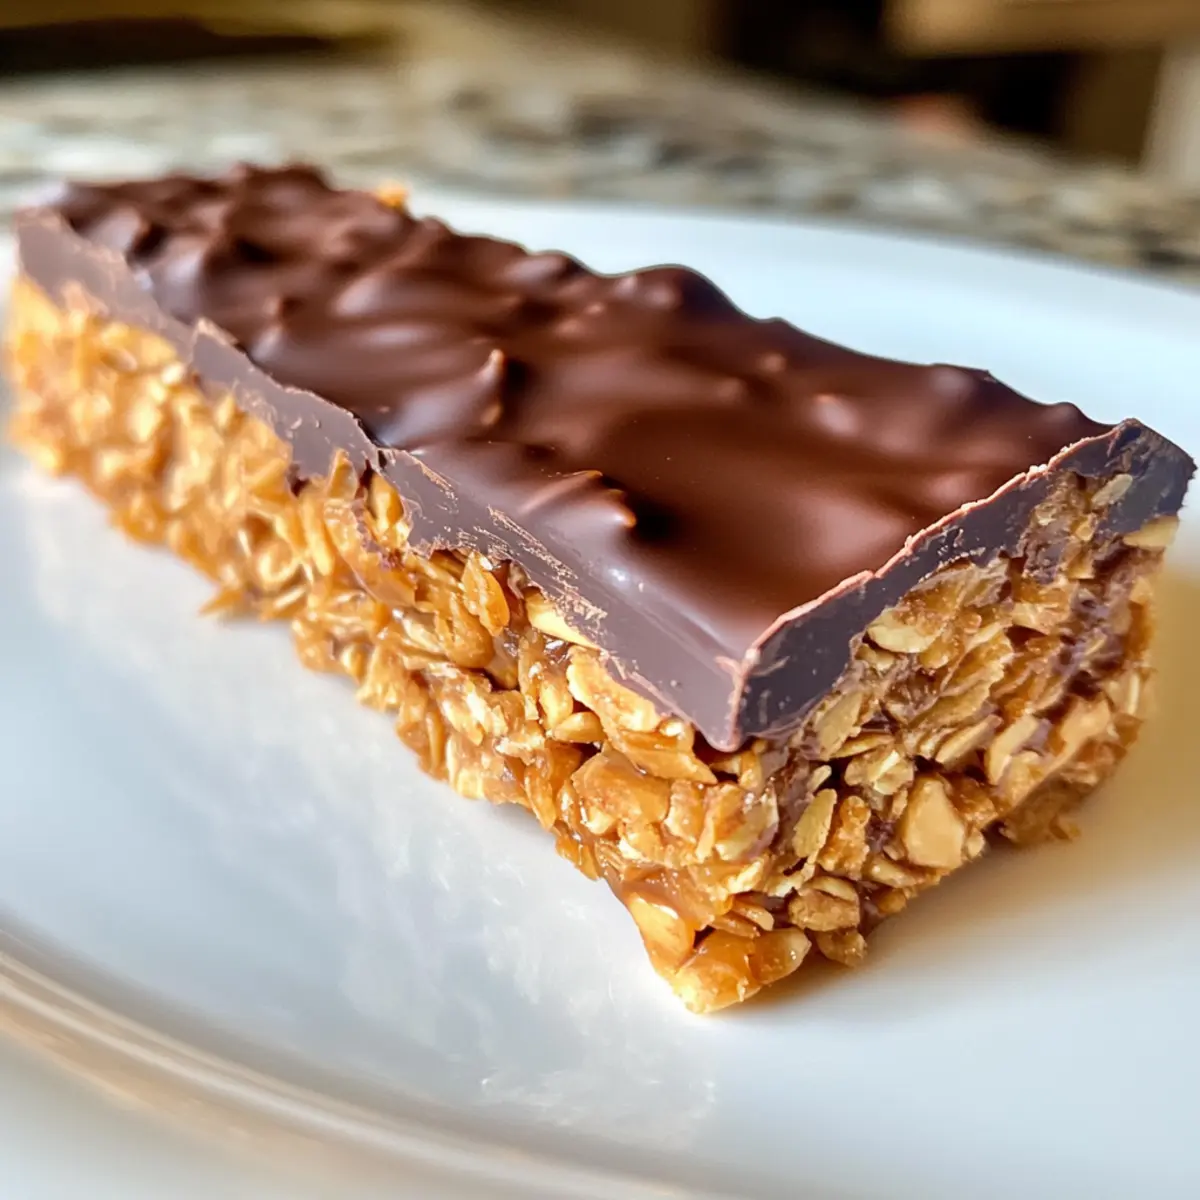
As I sift through my pantry, I stumble upon a treasure that feels both nostalgic and fresh: five simple ingredients perfect for crafting healthy homemade Butterfingers. These delightful treats deliver all the satisfying crunch and rich chocolatey goodness of the classic candy bar, but with a wholesome twist—gluten-free, dairy-free, and naturally sweetened! Not only are they incredibly quick to prepare, making them an ideal choice for busy days, but you can also stash them in your freezer for whenever a sweet tooth strikes. Allow me to share this exciting recipe that will not only awaken fond memories but also redefine how you enjoy candy. Are you ready to whip up a guilt-free treat that satisfies both cravings and health goals?
Why Are These Butterfingers So Irresistible?
Guilt-free Indulgence: With just 5 simple ingredients, these homemade butterfingers allow you to indulge without the guilt!
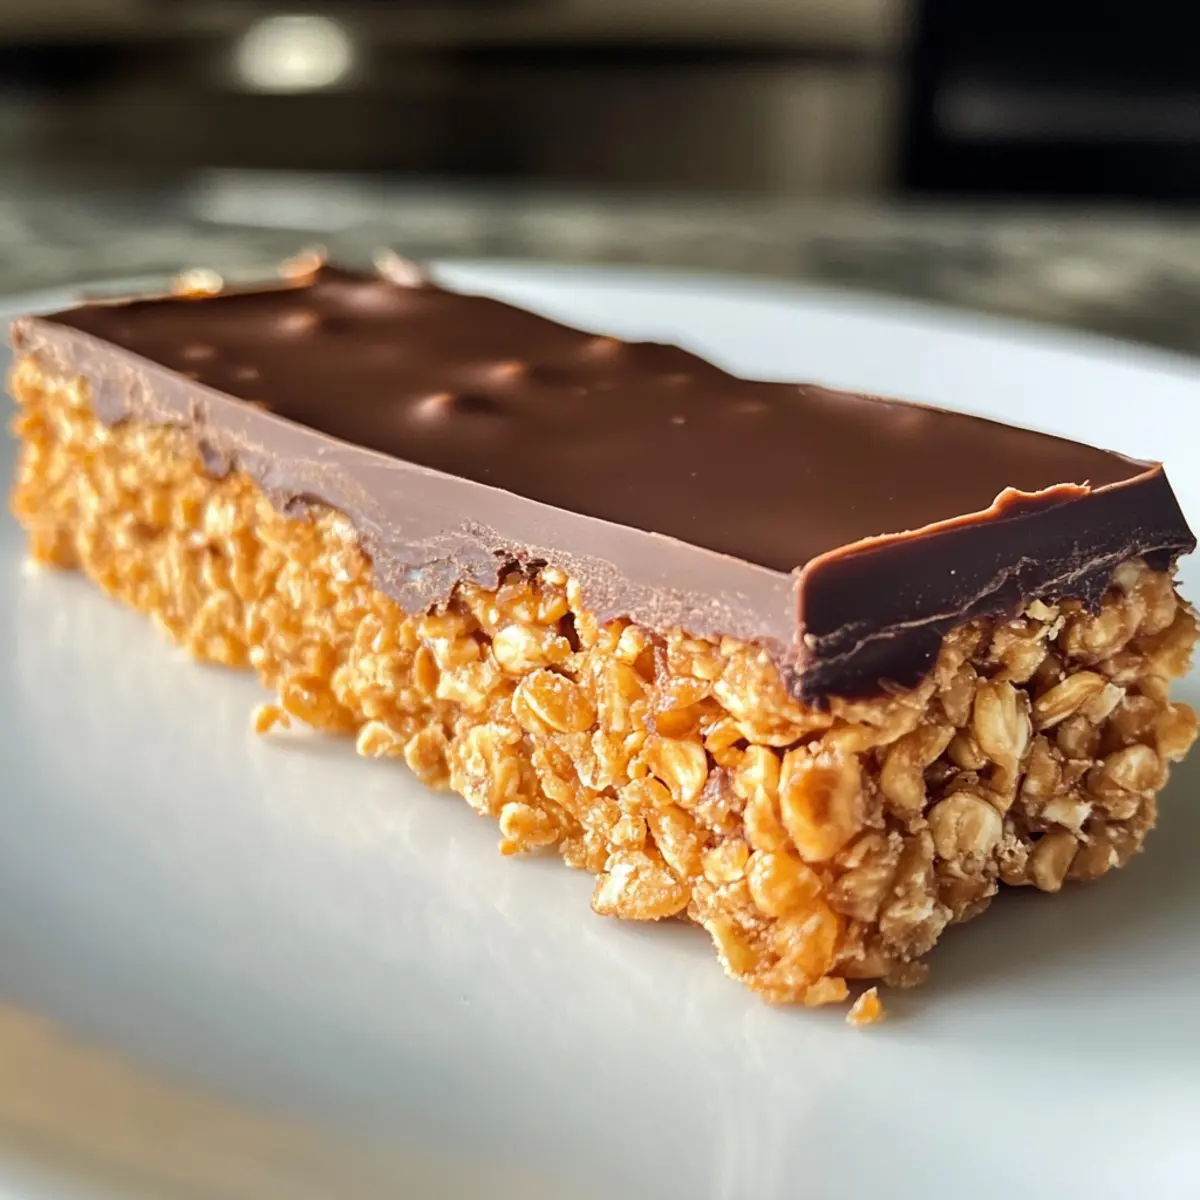
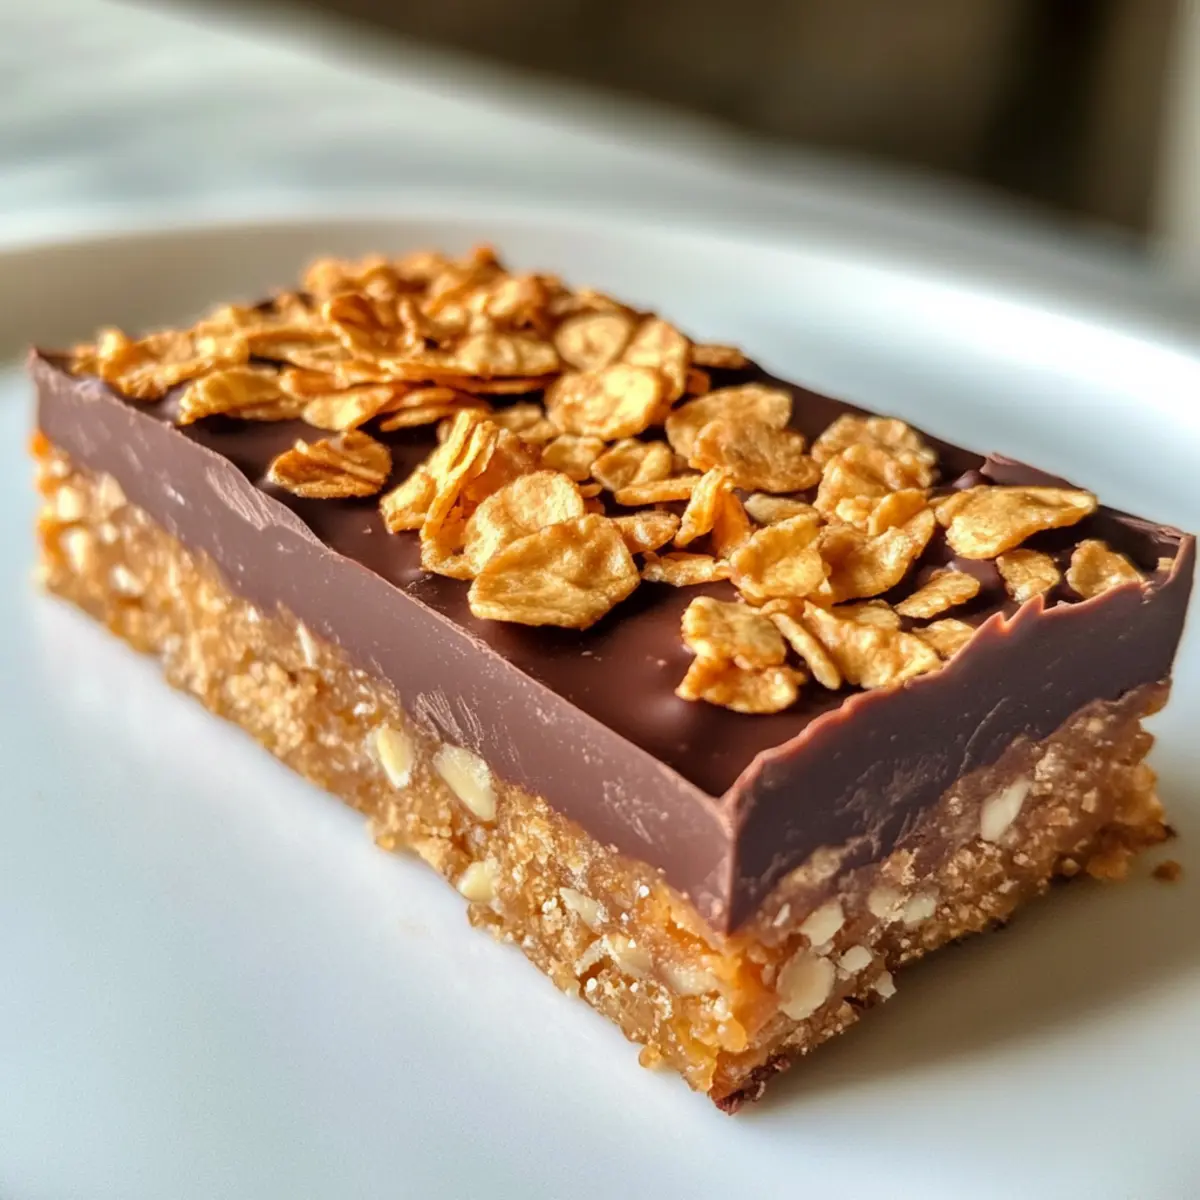
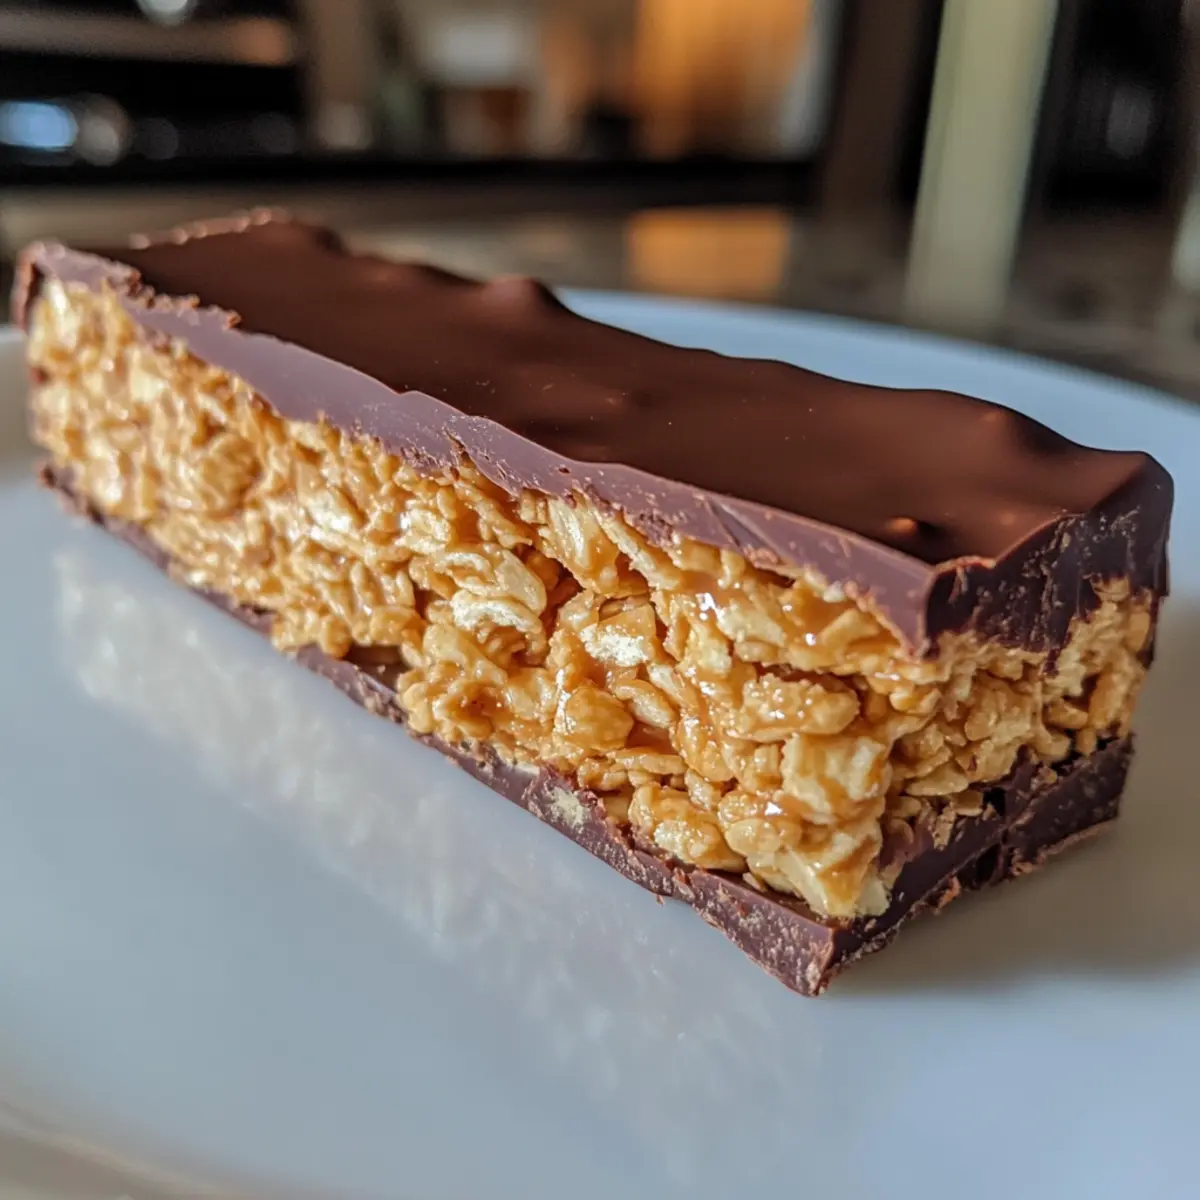
Crunchy Texture: The crispy corn flakes add a delightful crunch that elevates the experience, making every bite satisfyingly fun.
Versatile Options: Feel free to experiment by replacing peanut butter with almond or cashew butter for unique flavor twists!
Quick Preparation: These treats come together in a snap, making them a perfect solution for busy days or last-minute cravings.
Health-conscious Choice: Enjoy the rich, delicious flavors while knowing they’re gluten-free, dairy-free, and naturally sweetened—ideal for anyone looking for a healthier sweet fix.
For other delightful treats, check out my Healthy Watermelon Fries or dive into these sweet flavors with Homemade Orange Candy.
Healthy Homemade Butterfinger Ingredients
For the Bars
• Peanut Butter – Provides rich flavor and creaminess; opt for natural varieties for the healthiest choice without added sugars.
• Maple Syrup or Honey – Acts as a natural sweetener; feel free to use agave syrup for a vegan alternative.
• Corn Flakes – Adds a crunchy texture to the bars; choose gluten-free corn flakes if necessary.
For the Coating
• Chocolate Chips – Coats the bars in sweetness and chocolatey goodness; use dairy-free chocolate chips for a completely dairy-free version.
• Coconut Oil – Aids in melting the chocolate smoothly and contributes a subtle coconut flavor; can be substituted with vegetable oil when needed.
Step‑by‑Step Instructions for Healthy Homemade Butterfingers
Step 1: Prepare Corn Flakes
Begin by placing the corn flakes into a zip-top bag and use a rolling pin to crush them into small pieces. Aim for a texture that is crumbly yet retains some crunchiness, resembling coarse breadcrumbs. This process should take about 3-5 minutes, and be sure to leave any larger pieces behind for the best consistency in your Healthy Homemade Butterfingers.
Step 2: Mix Ingredients
In a large mixing bowl, combine the natural peanut butter with maple syrup (or honey) using a spatula, blending until smooth and creamy. Gradually fold in the crushed corn flakes, ensuring that they are evenly coated with the peanut butter mixture. Take about 5 minutes for this step, as the mixture should hold together but still retain the crunchy texture that defines your Healthy Homemade Butterfingers.
Step 3: Set in Pan
Line a loaf pan with parchment paper, allowing some overhang for easy removal later. Transfer the peanut butter-corn flake mixture into the prepared pan, pressing it down firmly and evenly with your fingers or the back of a spatula. Aim for a thickness of about 1 inch. Freeze this layer for at least 1 hour until it firms up completely, giving you a solid base for your candy bars.
Step 4: Cut Bars
Once the mixture is set, carefully lift the solidified layer out of the pan using the parchment paper overhang. Place it on a cutting board and use a sharp knife to cut it into 12 even-sized bars. Make sure each cut is clean, as this will enhance the presentation of your Healthy Homemade Butterfingers when coated in chocolate.
Step 5: Melt Chocolate
In a small, microwave-safe bowl, combine the chocolate chips and coconut oil. Microwave in 30-second intervals, stirring in between, until the chocolate is completely melted and smooth, which usually takes about 1-2 minutes total. Ensure there are no lumps in the mixture, as a smooth coating is essential for your Healthy Homemade Butterfingers.
Step 6: Coat Bars
Dip each of the cut bars into the melted chocolate, using forks to ensure they are fully coated. Allow any excess chocolate to drip back into the bowl. Place each chocolate-coated bar onto a parchment-lined plate, ensuring they do not touch one another to prevent sticking. The bars should glisten with a rich layer of chocolate, giving them a tempting appearance.
Step 7: Final Freeze
Transfer the coated bars back into the freezer, allowing them to set for about 10 minutes. This step is crucial for the chocolate to harden properly, creating a delightful shell around your Healthy Homemade Butterfingers. Once set, they are ready to be enjoyed or stored for later.
Expert Tips for Healthy Homemade Butterfingers
-
Consistent Crushing: Ensure the corn flakes are crushed evenly; larger pieces can lead to a chewy texture that doesn’t replicate the classic crunch.
-
Keep Them Frozen: These butterfingers are best enjoyed straight from the freezer to maintain their firmness—let them thaw for just a minute before biting in.
-
Chocolate Coating: Dip bars quickly in melted chocolate. Allow excess to drip back for a cleaner finish and a neater presentation of your Healthy Homemade Butterfingers.
-
Experiment with Ingredients: Don’t hesitate to add mix-ins like chopped nuts or coconut flakes to the peanut butter mixture for extra flavor and nutrition!
-
Uniform Size: Cut your bars into even sizes for consistent portioning and a beautiful display when serving or gifting these treats.
How to Store and Freeze Healthy Homemade Butterfingers
Fridge: Keep the bars in an airtight container in the fridge for up to 1 week. This option is great if you prefer them slightly softer for quicker snacking.
Freezer: Store your Healthy Homemade Butterfingers in a sealed container or freezer bag for up to 3 months. Layer parchment paper between bars to prevent sticking and maintain freshness.
Reheating: For a quick treat, remove the bars from the freezer and let them sit at room temperature for about 1-2 minutes before enjoying, allowing a perfect balance of crunch and melt-in-your-mouth chocolate.
Serving Tip: Take them out of the freezer and enjoy them straight away; they’re best eaten cold to keep that delightful crunch!
Healthy Homemade Butterfingers Variations
Feel free to get creative and tweak these homemade butterfingers to fit your cravings and dietary needs.
-
Nut Butter Switch: Swap peanut butter for almond or cashew butter for a deliciously different nutty flavor. Each option adds its own unique twist, giving a delightful spin to the classic recipe.
-
Gluten-Free Crunch: Use gluten-free rice cereal instead of corn flakes if you want an alternative crunch that still keeps the bars satisfying and crispy.
-
Sweet & Salty: Add a sprinkle of sea salt on top of the chocolate coating for a sweet and salty experience that tantalizes the taste buds. This combination perfectly complements the rich chocolate outer layer.
-
Caramel Surprise: Incorporate a layer of homemade caramel made from dates or coconut milk inside the bars for an extra treat. This added sweetness creates a gorgeous texture contrast with the crunchy exterior.
-
Coconut Clusters: Throw in unsweetened shredded coconut to the peanut butter mixture for a tropical flair. The distinct coconut flavor enhances the overall taste and brings back memories of paradise.
-
Chocolate Choices: Experiment with dark, milk, or white chocolate for the coating, depending on your personal preference. Each chocolate variety creates a unique taste experience, making it fun to switch things up!
-
Heat Things Up: If you like a kick, add a dash of cayenne pepper or a sprinkle of chili powder to the melted chocolate. This surprising twist will excite your taste buds and leave them wanting more.
-
Try Different Milk: For an extra creamy experience, mix in some almond milk or coconut milk into your chocolate coating for a smoother texture. It helps the chocolate to be more velvety and luscious when you bite in!
These delicious variations let you enjoy your healthy homemade butterfingers in ways you’ve never imagined. And while you’re in the kitchen exploring these flavors, why not whip up some Chicken Gyro Bowls to go alongside? A perfect complement to your sweet treats!
Make Ahead Options
These Healthy Homemade Butterfingers are perfect for meal prep enthusiasts! You can prepare the peanut butter and corn flake mixture up to 24 hours in advance by following steps 1 and 2; simply keep it tightly wrapped in the refrigerator. Furthermore, you can cut the bars and refrigerate them for up to 3 days before dipping them in chocolate. For the best quality, remember to store the cut bars in an airtight container to prevent them from drying out. When you’re ready to enjoy, just melt your chocolate coating and dip the bars as instructed in steps 5 and 6, ensuring a fresh, delicious treat that’s just as delightful as when you first made them!
What to Serve with Healthy Homemade Butterfingers?
Indulging in these guilt-free chocolate-covered delights makes you want to create a whole meal experience!
- Almond Milk: The creamy texture of almond milk complements the crunchy bars, providing a delightful contrast that enhances each bite.
- Fresh Berries: Their natural sweetness and tartness add a refreshing touch, balancing the rich flavors of your healthy treats perfectly. Serve a mix of strawberries, blueberries, and raspberries for a burst of color and taste!
- Coconut Yogurt: This dairy-free option offers a smooth and creamy pairing, enhancing the coconut notes in the butterfingers while adding a bit of tanginess.
- Chia Seed Pudding: Serve this alongside for an extra nutritional boost. The pudding’s creamy consistency beautifully contrasts with the crunchiness of the bars.
- Mint Tea: A warm cup of mint tea refreshes the palate, making it an excellent drink to sip while enjoying your homemade candy bars.
- Dark Chocolate Dipped Fruit: Elevate the dessert experience by pairing with fruits dipped in dark chocolate; they share similar flavors while adding freshness and variety.
- Coconut Flakes: Toasting coconut flakes for a crunchy topping can create an irresistible harmony of flavors when sprinkled over the bars or served on the side.
- Vegan Vanilla Ice Cream: For an indulgent combination, serve a scoop of creamy vegan vanilla ice cream alongside; the cold treat pairs wonderfully with the frozen butterfingers.
Healthy 5-Ingredient Homemade Butterfingers Recipe FAQs
What type of peanut butter should I use?
Absolutely! I recommend using natural peanut butter without added sugars or oils for the healthiest option. Look for brands that list only peanuts (and maybe a pinch of salt) in the ingredients. This ensures a richer flavor and a cleaner ingredient list.
How long can I store these butterfingers in the freezer?
Your Healthy Homemade Butterfingers can be stored in an airtight container or freezer bag for up to 3 months. I often layer parchment paper between the bars to keep them from sticking together and to maintain their delightful crunch.
Can I substitute the chocolate chips for something else?
Very! You can swap chocolate chips for cocoa powder mixed with coconut oil for a lower sugar option. Additionally, if you want a different flavor profile, try using carob chips or even a drizzle of your favorite nut butter on top instead!
What if my corn flakes are too big?
No worries at all! If you find that your corn flakes are still too large after crushing, just pop them back into the zip-top bag and give them another gentle roll with a rolling pin until they reach a consistent crumb size. This ensures every bite has that signature crunch.
How do I make these bars vegan?
To prepare a fully vegan version of these Healthy Homemade Butterfingers, just replace honey with agave syrup as the sweetener. Moreover, use dairy-free chocolate chips for the coating. These simple swaps will allow you to enjoy these treats without any animal products while keeping them just as delicious!
How should I thaw the bars after freezing?
For the best experience, simply remove the bars from the freezer and let them sit at room temperature for 1-2 minutes before enjoying. This brief moment allows them to soften slightly while still keeping that satisfying crunch, making them simply irresistible!
Creamy Healthy Homemade Butterfingers with a Crunchy Twist
Ingredients
Equipment
Method
- Prepare Corn Flakes: Crush corn flakes into small pieces in a zip-top bag using a rolling pin, aiming for a crumbly texture.
- Mix Ingredients: In a large bowl, combine natural peanut butter and maple syrup (or honey), blending until smooth. Fold in crushed corn flakes.
- Set in Pan: Line a loaf pan with parchment paper, transfer the mixture, pressing it down firmly. Freeze for at least 1 hour.
- Cut Bars: Lift the solidified layer from the pan and cut it into 12 even-sized bars using a sharp knife.
- Melt Chocolate: Combine chocolate chips and coconut oil in a microwave-safe bowl. Microwave in 30-second intervals until melted and smooth.
- Coat Bars: Dip each bar into the melted chocolate, then place on a parchment-lined plate to set.
- Final Freeze: Freeze the coated bars for about 10 minutes until the chocolate hardens.
Leave a Reply