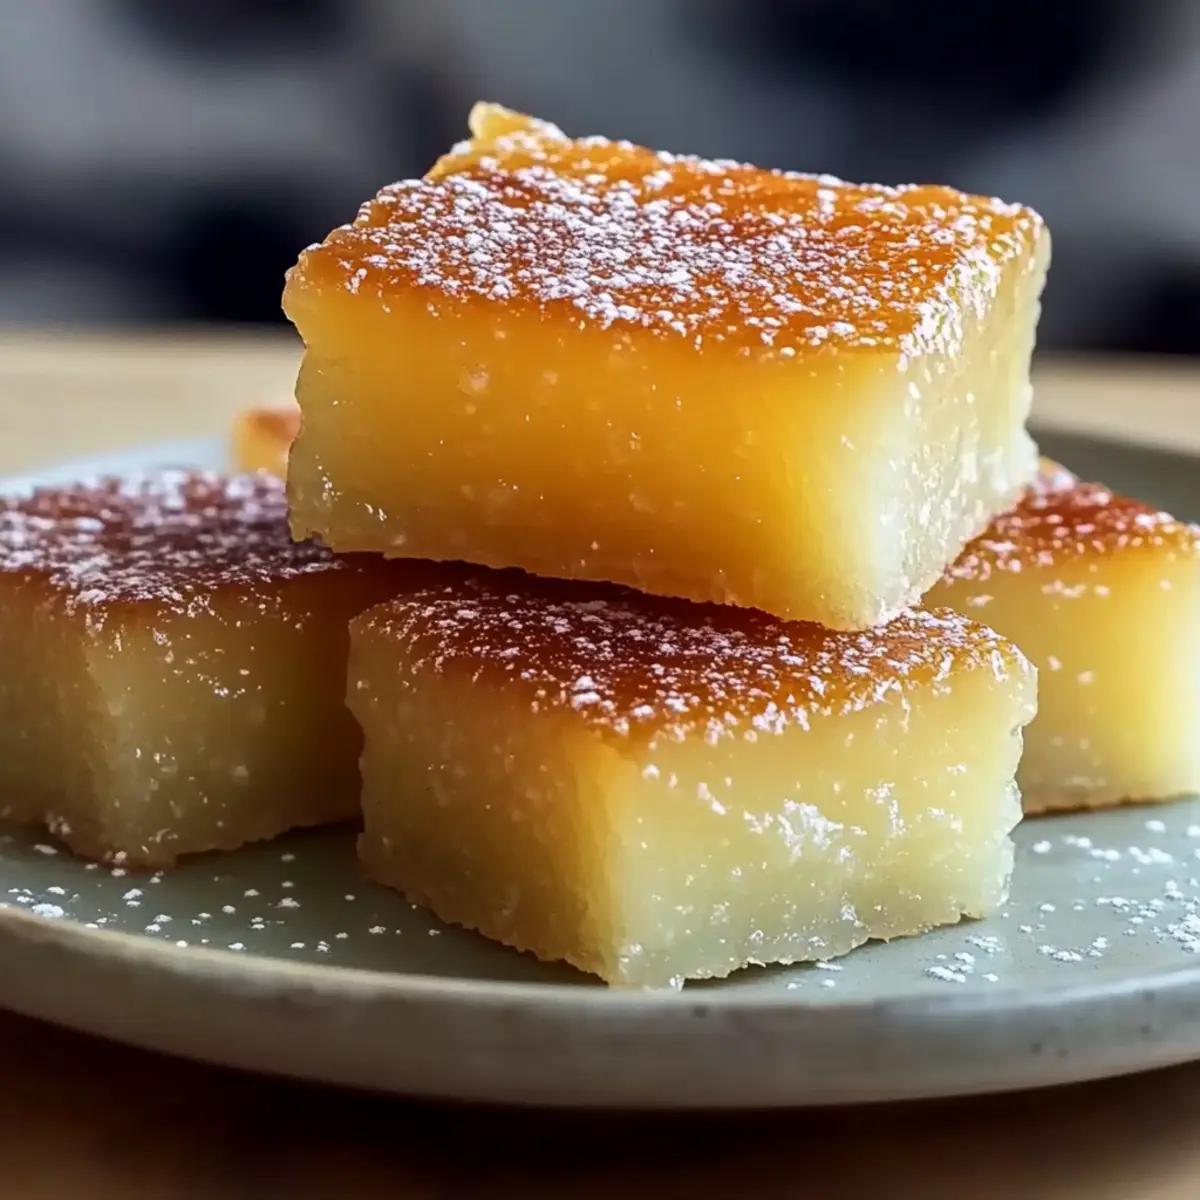
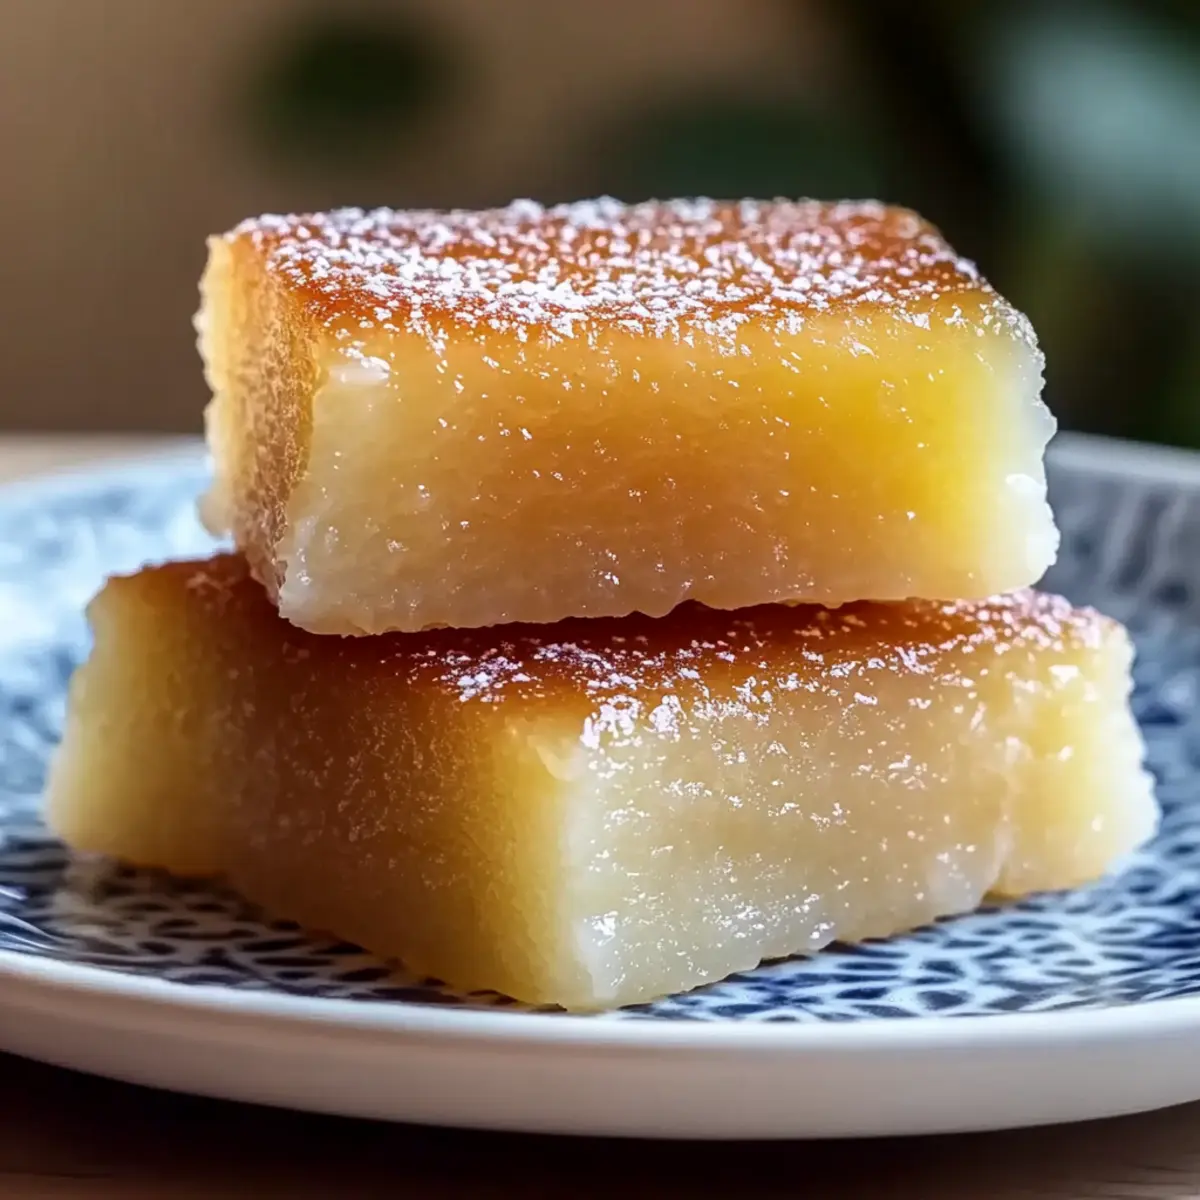
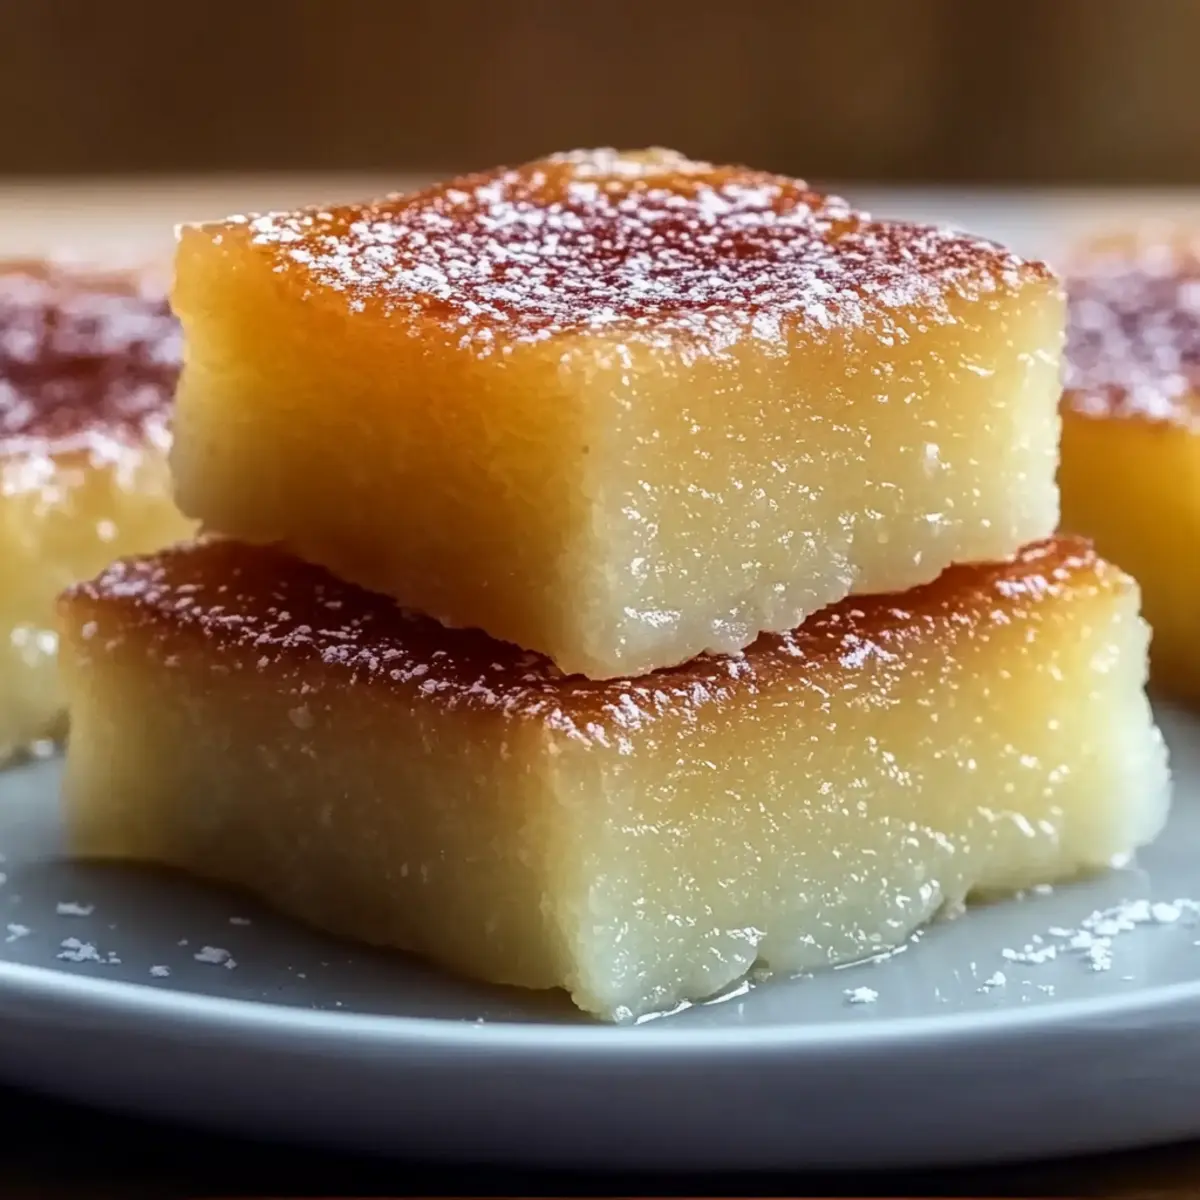
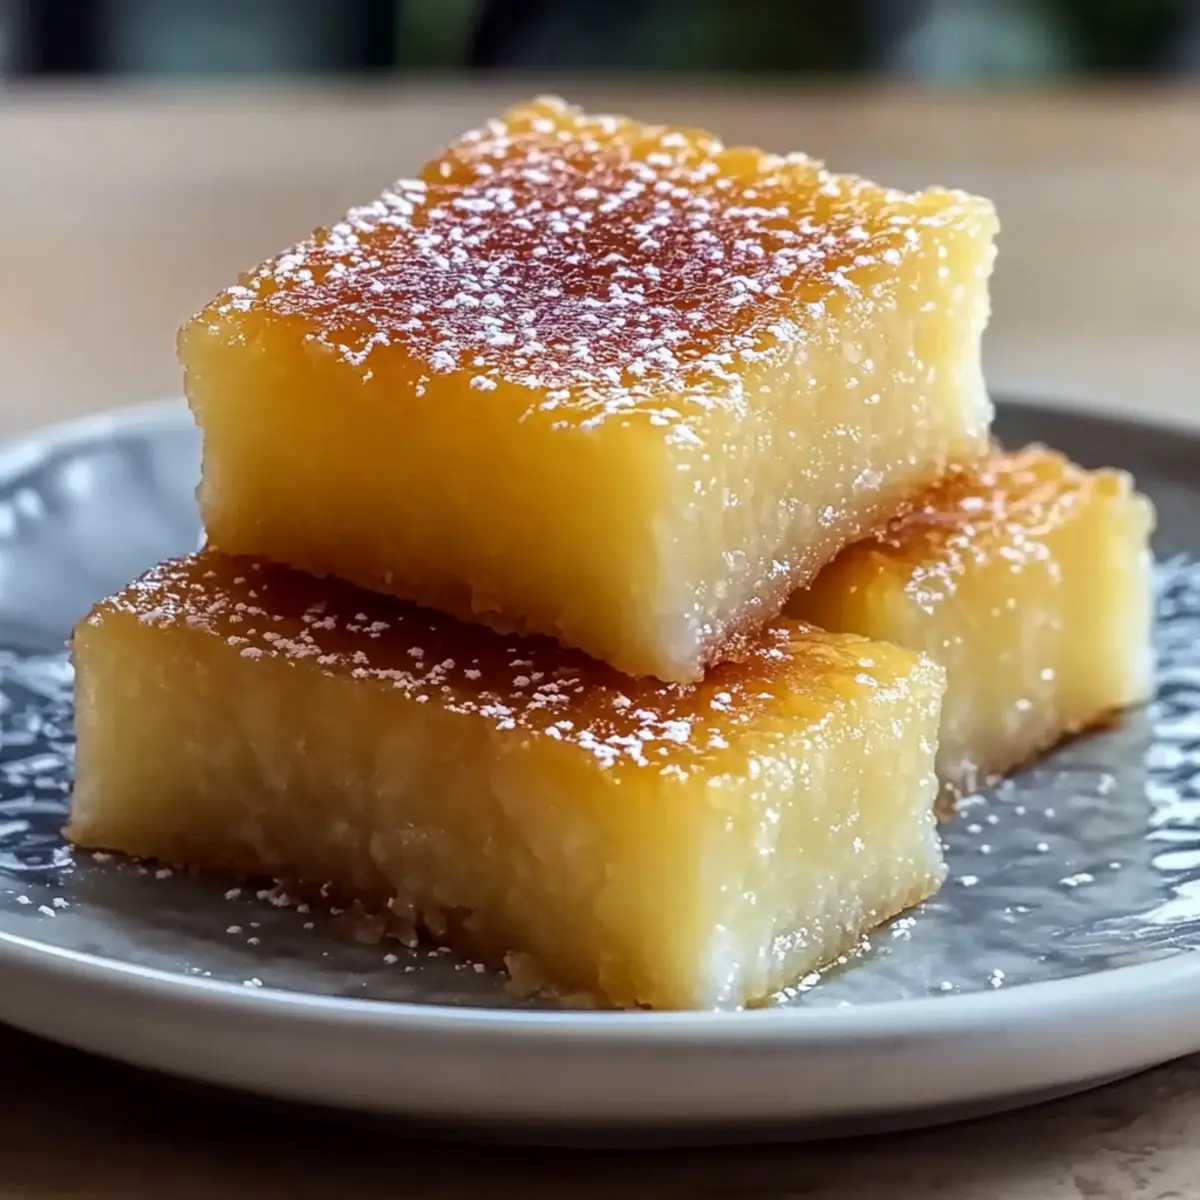
When the warm sun kisses my skin and the scent of coconut wafts through the kitchen, I know it’s time for Hawaiian Butter Mochi. This gluten-free tropical delight combines the chewy goodness of mochi with the rich flavors of butter and coconut, creating a paradise-inspired treat that anyone can whip up in under an hour. It’s the perfect dessert for gatherings or cozy family nights, bringing a taste of the islands right to your table. Imagine serving this tender, buttery confection that not only delights your taste buds but also showcases a unique texture reminiscent of soft brownies. Are you ready to add a little island flair to your dessert repertoire? Let’s dive into this delicious adventure together!
Why is Hawaiian Butter Mochi a Must-Try?
Irresistible Chewiness: The unique texture of Hawaiian Butter Mochi offers a delightful contrast to your usual desserts, melding a cake-like softness with a chewy bite that simply captivates.
Tropical Flavors: Infused with rich coconut and buttery goodness, each bite transports you to a sunny paradise, perfect for beach-themed parties or family gatherings.
Quick and Easy: Ready in under an hour, it’s the ideal solution for busy cooks wanting to impress without spending all day in the kitchen.
Versatile Toppings: Top it off with fresh fruits like pineapple or mango for a refreshing burst, or indulge your sweet tooth with a drizzle of chocolate for extra decadence.
Gluten-Free Delight: Not only is this a treat for the senses, but it’s also suitable for gluten-sensitive friends, making it a crowd-pleaser that everyone can enjoy—just like the delectable Hawaiian Cheesecake Salad that blends flavors beautifully.
Hawaiian Butter Mochi Ingredients
For the Batter
- Sweet Rice Flour (Mochi Flour) – Essential for achieving that delightful chewy texture; avoid substituting with regular flour to retain the mochi magic.
- Baking Powder – Helps to slightly elevate the mochi, giving it a lightness that contrasts beautifully with the chewy consistency.
- Sugar – Sweetens the dish; consider using coconut sugar for a richer, caramel-like flavor that complements the tropical vibes.
- Salt – A pinch enhances the overall flavor, balancing the sweetness brilliantly.
- Coconut Milk – Adds a luscious creaminess and a taste of the tropics; almond milk can be used for a nutty touch, though it wouldn’t be dairy-free.
- Melted Butter – Contributes moisture and a rich flavor; coconut oil makes for a great dairy-free alternative.
- Vanilla Extract – Introduces aromatic sweetness that pairs perfectly with the tropical ingredients.
- Eggs – Binds everything together, providing the necessary structure for this chewy delight.
Embrace the luscious flavors of Hawaiian Butter Mochi and let it whisk you away to your own tropical paradise!
Step‑by‑Step Instructions for Hawaiian Butter Mochi
Step 1: Preheat the Oven
Begin by preheating your oven to 350°F (175°C). While the oven warms up, take an 8-inch square baking pan and grease it generously with butter or cooking spray. This prevents the Hawaiian Butter Mochi from sticking, ensuring a clean release once baked. You’ll want this pan ready to go as soon as the batter is mixed.
Step 2: Combine Dry Ingredients
In a large mixing bowl, whisk together 2 cups of sweet rice flour, 2 teaspoons of baking powder, 1 cup of sugar, and a pinch of salt. Mix well until evenly combined to avoid clumps, which are the nemesis of smooth mochi. The mixture should be light and fluffy, lifting your spirits with its tropical promise as you prepare for the next step.
Step 3: Mix the Wet Ingredients
In another bowl, mix together 1 can (13.5 ounces) of coconut milk, ½ cup of melted butter, and 1 teaspoon of vanilla extract. Use a whisk to integrate these rich ingredients until they’re fully combined and look creamy. This luscious mix is what brings the Hawaiian Butter Mochi its delightful moisture and tropical flavor, setting the stage for a dreamy batter.
Step 4: Combine Wet and Dry Mixtures
Gently pour the wet ingredients into your bowl of dry ingredients, stirring with a spatula or whisk to combine. Mix until the batter is just smooth, being careful not to overmix—keeping a few lumps is perfectly fine! The Hawaiian Butter Mochi batter should be thick and glossy, enticingly hinting at the velvety texture of the final treat.
Step 5: Add the Eggs
Crack in 2 large eggs and fold them into the batter until just combined. The eggs are crucial for binding the mochi together, giving it the structure needed while maintaining that signature chewiness. As you integrate the eggs, you will notice the batter becoming rich and cohesive, ready to be transformed into a delightful cake.
Step 6: Pour and Smooth the Batter
Carefully pour the luscious batter into your greased baking pan, ensuring it spreads evenly across the surface. Use a spatula to smooth out the top, making it as level as possible. This step will help the Hawaiian Butter Mochi bake uniformly, allowing the golden top to form beautifully as it rises in the oven.
Step 7: Bake to Perfection
Place the baking pan in the preheated oven and set a timer for 30-35 minutes. Bake until the top is a lovely golden brown and a toothpick inserted into the center comes out clean. As it bakes, the wonderful aroma of coconut and butter will fill your kitchen, creating excitement for the delicious Hawaiian Butter Mochi awaiting you.
Step 8: Cool and Cut
Once baked, remove the pan from the oven and allow the Hawaiian Butter Mochi to cool completely in the pan. This cooling period is crucial for achieving clean cuts, as the mochi is quite soft when warm. After about 30 minutes, use a sharp knife to cut the treat into squares, revealing its chewy, cake-like texture perfectly nestled inside each piece.
Make Ahead Options
Hawaiian Butter Mochi is a dessert that lends itself beautifully to meal prep, making it a fantastic choice for busy weeknights or special occasions. You can prepare the batter up to 24 hours in advance by mixing the wet and dry ingredients separately and storing them in the refrigerator. Just be sure to combine the two just before baking to maintain the fluffy texture. Alternately, you can bake the mochi up to 3 days ahead, letting it cool completely before storing it in an airtight container at room temperature. When you’re ready to serve, simply cut it into squares and enjoy this tropical treat, just as delicious as when it was freshly baked!
Hawaiian Butter Mochi Variations & Substitutions
Feel free to let your culinary creativity shine by customizing this delightful dessert with these fun twists!
- Dairy-Free Alternative: Replace melted butter with coconut oil to maintain richness without dairy. Your Hawaiian Butter Mochi will stay deliciously moist and chewy.
- Alternative Sweeteners: Swap regular sugar for coconut sugar for a richer, caramel-like flavor that beautifully complements the tropical notes.
- Nutty Flavor: Use almond milk instead of coconut milk to give your mochi a subtly nutty undertone, adding a unique twist to this classic treat.
- Fruity Accents: Toss in shredded coconut or top with fresh fruit like mango or passion fruit for extra tropical flair; the refreshing taste of fruit contrasts perfectly with the buttery mochi.
- Chocolate Indulgence: Drizzle with melted dark chocolate after it cools for a decadent finish; this pairing enhances both flavor and visual appeal for an impressive dessert.
- Flavorful Extracts: Experiment with flavored extracts like almond or coconut to customize the aroma and taste; a little twist can add a whole new dimension to your mochi.
- Spicy Kick: Add a pinch of cayenne pepper or sprinkle some chili powder for an unexpected heat that beautifully contrasts this sweet treat, an outstanding conversation starter!
- Bite-Sized Treats: Cut them into smaller squares to turn these delights into perfect little bite-sized desserts for parties or gatherings, making them even more shareable and enticing.
As you enjoy this delightful creation, don’t forget to check out other mouthwatering recipes like Baked Lobster Tails and indulge in the creamy goodness of Garlic Butter Lobster for a complete tropical feast!
Storage Tips for Hawaiian Butter Mochi
- Room Temperature: Store leftovers in an airtight container at room temperature for up to 3 days. This helps maintain the chewy texture and keeps them fresh for immediate enjoyment.
- Fridge: If you need a bit more time, refrigerate the mochi in an airtight container for up to a week. Just remember to let it come to room temperature before serving for the best flavor.
- Freezer: For longer storage, freeze the Hawaiian Butter Mochi for up to a month. Wrap each square well in plastic wrap before placing them in a freezer bag to prevent freezer burn.
- Reheating: When you’re ready to enjoy, simply reheat in the microwave for about 10-15 seconds until warm. This restores its delightful chewiness and buttery flavor!
Expert Tips for Hawaiian Butter Mochi
-
Mixing Flour Properly: Ensure the sweet rice flour is blended well to avoid clumps, achieving a smooth and delightful Hawaiian Butter Mochi texture.
-
Baking Time is Key: Bake until the top is a beautiful golden brown; underbaking can create a gummy consistency that detracts from the mochi’s chewy charm.
-
Cooling is Crucial: Let the Hawaiian Butter Mochi cool completely in the pan before cutting to ensure clean, even squares without crumbling.
-
Avoid Overmixing: Gently mix the batter until just combined. Overmixing can lead to a denser texture, losing the quintessential chewiness of mochi.
-
Topping Suggestions: Experiment with toppings like fresh fruit or chocolate drizzle to enhance the tropical flavors and presentation of your Hawaiian Butter Mochi.
What to Serve with Hawaiian Butter Mochi
When you want to elevate your dessert experience, pairing delightful offerings with Hawaiian Butter Mochi will ensure a complete feast for the senses.
-
Tropical Fruit Salad: A medley of fresh fruits like pineapple, mango, and kiwi adds a refreshing burst to balance the richness of the mochi. Each bite of juicy fruit contrasts beautifully with the chewy texture.
-
Vanilla Ice Cream: A creamy scoop of vanilla ice cream provides a luscious complement, contrasting temperatures and textures that enchant the palate. Drizzle some caramel on top to turn this pairing into a decadent indulgence.
-
Coconut Smoothie: A chilled coconut smoothie echoes the tropical flavors of the mochi, creating a refreshing drink that ties the meal together. Its creamy texture enhances the overall Hawaiian experience.
-
Chocolate Drizzle: Drizzling warm chocolate over the mochi elevates the dessert, inviting a rich layer of flavor that enhances the buttery notes. The sweet and savory combination creates a delightful treat for chocolate lovers.
-
Toasted Coconut Flakes: Sprinkling toasted coconut on top adds a crunchy texture and something extra to the chewy mochi. This delightful contrast enhances the tropical vibe while delivering an added layer of flavor.
-
Iced Green Tea: Offering a refreshing iced green tea provides a light, caffeine-free beverage that cleanses the palate. The subtle flavors of green tea beautifully complement the Hawaiian Butter Mochi without overpowering its sweetness.
Hawaiian Butter Mochi Recipe FAQs
What type of sweet rice flour should I use for Hawaiian Butter Mochi?
Absolutely! You’ll want to use glutinous sweet rice flour, often labeled as mochi flour. This specific flour is essential for achieving that delightful chewy texture that makes Hawaiian Butter Mochi so special. Regular all-purpose flour won’t provide the same results, so stick with the sweet rice flour for the best outcome!
How should I store leftovers of Hawaiian Butter Mochi?
For optimal freshness, store leftover Hawaiian Butter Mochi in an airtight container at room temperature for up to 3 days. If you prefer refrigerating, it can last up to a week if sealed properly. To enjoy it at its best, allow it to come to room temperature before serving!
Can I freeze Hawaiian Butter Mochi?
Yes, indeed! You can freeze Hawaiian Butter Mochi for up to a month. Individually wrap each square tightly in plastic wrap and then place them in a freezer-safe bag or container. When you’re ready to enjoy, simply reheat in the microwave for about 10-15 seconds until warm, restoring that irresistible chewiness.
What if my Hawaiian Butter Mochi comes out gummy?
Very! If your mochi turns out gummy, it could be due to underbaking; ensure you bake until the top is golden brown and a toothpick comes out clean. Make sure also to let it cool completely before cutting, as warm mochi is softer and harder to cut cleanly. Following the instructions carefully will help you avoid this issue!
Are there any dietary concerns I should be aware of when making Hawaiian Butter Mochi?
Absolutely! While Hawaiian Butter Mochi is gluten-free, it’s always wise to check for allergies. It contains eggs and dairy (from butter), so for those with dietary restrictions, alternatives like coconut oil for butter and flax eggs can be used. Always ensure your sweet rice flour is certified gluten-free if needed!
Hawaiian Butter Mochi – Your New Favorite Chewy Dessert
Ingredients
Equipment
Method
- Preheat your oven to 350°F (175°C) and grease an 8-inch square baking pan.
- In a large mixing bowl, whisk together the sweet rice flour, baking powder, sugar, and salt until well combined.
- In another bowl, mix together the coconut milk, melted butter, and vanilla extract until creamy.
- Pour the wet ingredients into the dry ingredients and mix gently until just smooth.
- Fold in the eggs until just combined.
- Pour the batter into the greased pan and smooth the top evenly.
- Bake for 30-35 minutes until golden brown and a toothpick inserted comes out clean.
- Allow to cool completely in the pan before cutting into squares.
Leave a Reply