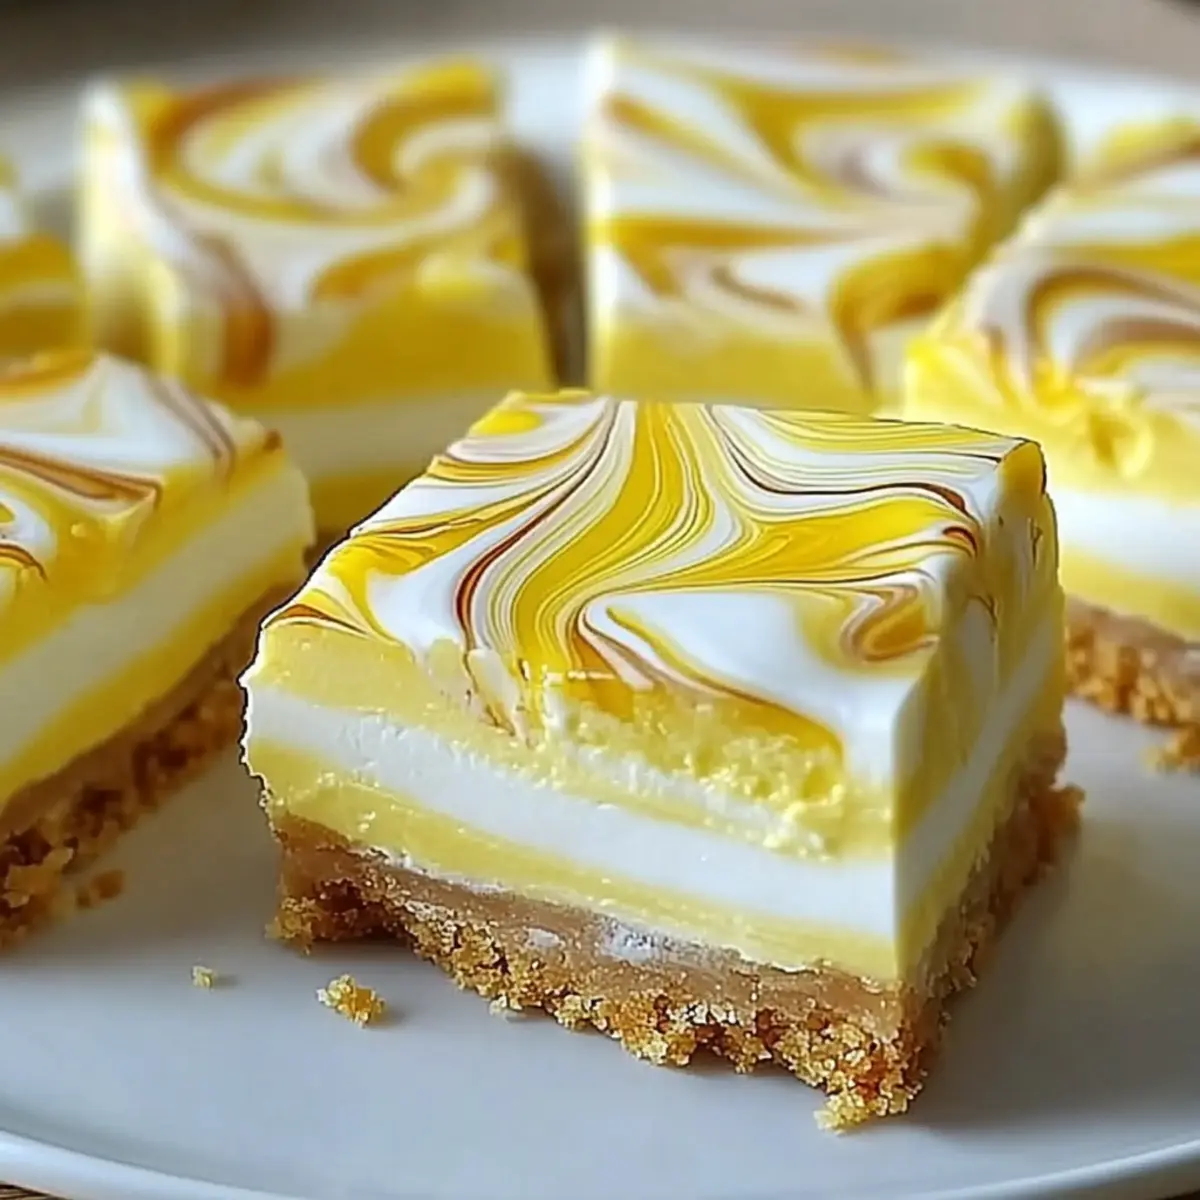
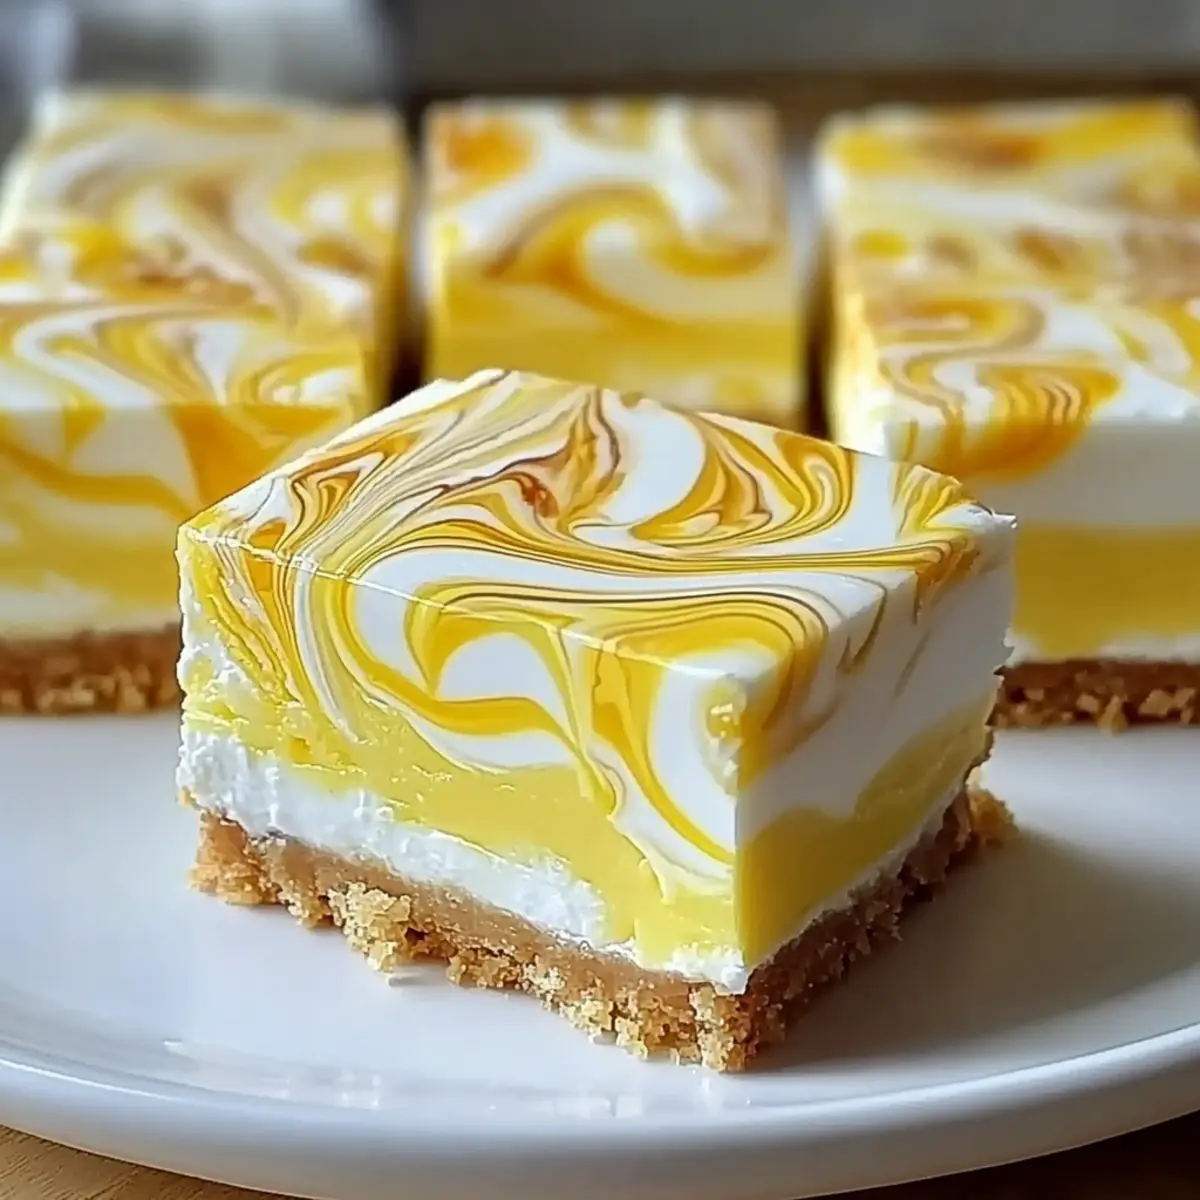
As I took my first bite of these Elegant Lemon Marbled Cheesecake Bars, a wave of sunshine washed over me, igniting memories of summer picnics and laughter. The enticing dance of tangy lemon and creamy cheesecake comes together in a way that’s simply irresistible. These Lemon Marbled Cheesecake Bars are not only a show-stopping dessert, but they’re also a breeze to prepare—perfect for impressing guests without spending hours in the kitchen. With a buttery graham cracker crust hugging that luscious lemon-infused filling, every bite balances indulgence with a refreshing lightness. Whether you’re planning a gathering or just treating yourself, these bars are gluten-free, allowing you to enjoy a delightful dessert without the guilt. Curious to learn how you can whip these up in no time? Let’s get started!
Why are Lemon Marbled Cheesecake Bars a Must-Try?
Incredibly Easy: The preparation is so straightforward that even novice bakers can achieve stunning results. Light and Refreshing: The bright lemon flavor perfectly complements the rich cheesecake, offering a delightful contrast. Gluten-Free Option: With an almond flour crust, these bars cater to various dietary preferences without sacrificing taste. Versatile Variations: Swap in different crusts or mix in seasonal flavors like cranberry for a festive twist. Crowd-Pleasing Delight: Perfect at gatherings, these bars are sure to impress and disappear quickly, reminiscent of the joy of summer picnics. Experience indulgence and lightness in each bite!
Lemon Marbled Cheesecake Bars Ingredients
For the Crust
• Graham Crackers – A delightful foundation for the bars; substitute with almond flour for a gluten-free option.
• Butter – Binds the crust ingredients together; unsalted butter is preferred for better flavor control.
For the Filling
• Cream Cheese – Creates that luscious, creamy layer; make sure it’s at room temperature for smooth blending.
• Granulated Sugar – Sweetens the filling beautifully; feel free to adjust the amount for a lighter touch.
• Eggs – Essential for structure and richness in your cheesecake bars.
• Vanilla Extract – Enhances the overall flavor profile of your lemon marbled cheesecake bars.
• Lemon Juice – Adds vibrant acidity; fresh juice is a must for the best flavor.
• Lemon Zest – Brings a fragrant citrus aroma; don’t skip this for that zesty kick!
• Yellow Food Coloring (optional) – Brightens the batter visually; perfect for special occasions.
Optional Toppings
• Fresh Berries – Enhance presentation and add a touch of freshness; great for pairing!
• Whipped Cream – Add a light dollop for extra creaminess and indulgence.
Get ready to embark on a baking adventure that will yield stunning Lemon Marbled Cheesecake Bars!
Step‑by‑Step Instructions for Lemon Marbled Cheesecake Bars
Step 1: Preheat and Prepare the Pan
Begin by preheating your oven to 325°F (163°C). While the oven warms up, grab an 8×8-inch baking pan and line it with parchment paper, letting the edges hang over for easy removal later. This ensures your Lemon Marbled Cheesecake Bars come out effortlessly and maintains their lovely shape.
Step 2: Make the Crust
Crush graham crackers in a food processor until finely ground, or place them in a sealed bag and crush with a rolling pin. Melt about 1/4 cup of unsalted butter in a microwave-safe bowl and combine it with the crushed crackers. Press this mixture firmly into the lined baking pan and create an even layer. Bake in the preheated oven for 10 minutes until lightly golden and fragrant.
Step 3: Blend the Cream Cheese Filling
In a mixing bowl, add 16 ounces of softened cream cheese and beat it with an electric mixer on medium speed until completely smooth—around 2 minutes. Gradually mix in 1 cup of granulated sugar until well combined, scraping down the sides as needed. Add 2 large eggs, 1 teaspoon of vanilla extract, and the zest of one lemon, mixing on low until just incorporated for luscious Lemon Marbled Cheesecake Bars.
Step 4: Separate the Batter
Once your filling is smooth, take half of the batter and transfer it to another bowl. To this reserved batter, add 1/4 cup of fresh lemon juice and mix until combined. This zesty mixture will be swirled into the cheesecake for a beautiful marbled effect. Keep the remaining batter plain, ready for layering.
Step 5: Assemble the Bars
Pour the plain cheesecake batter over the pre-baked graham cracker crust in an even layer, smoothing it with a spatula. Carefully drizzle the lemon batter over the top in several spots. With a knife or toothpick, gently swirl the lemon mixture into the cheesecake layer in a figure-eight motion, creating a beautiful marbled pattern.
Step 6: Bake the Cheesecake Bars
Place the assembled bars into the oven and bake for 30-35 minutes. You’ll know they’re ready when the edges are set, but the center should still have a slight jiggle—this is perfect for those creamy Lemon Marbled Cheesecake Bars you desire. Avoid overbaking to keep them rich and velvety.
Step 7: Cool and Chill
Once baked, remove the pan from the oven and allow the bars to cool completely at room temperature for about 1 hour. After that, cover the pan with plastic wrap or foil and refrigerate for at least 4 hours, allowing the flavors to meld and the bars to firm up beautifully, making them easy to slice.
Step 8: Slice and Serve
When ready to serve, lift the cheesecake bars out of the pan using the overhanging parchment paper. Slice them into squares with a sharp knife for neat edges. For an extra touch, you can serve your Lemon Marbled Cheesecake Bars with fresh berries or a dollop of whipped cream—adding just the right finishing touch!
Lemon Marbled Cheesecake Bars Variations
Feel free to let your creativity shine by customizing these delightful bars in ways that excite your taste buds!
-
Gluten-Free Crust: Substitute graham crackers with almond flour for a gluten-free version, offering both flavor and texture.
-
Ginger Snap Twist: Try a ginger snap crust for a spicy kick. The warm and zesty flavor will perfectly complement the lemony filling.
-
Seasonal Citrus: In winter, add a cranberry swirl for a festive touch. This delightful burst of tartness will elevate your holiday gatherings!
-
Herbal Touch: Infuse your mixture with fresh lavender or thyme for a unique spring aroma, creating a fragrant treat that pairs wonderfully with tea.
-
Extra Zest: Mix in a little orange zest alongside the lemon zest for a citrus flavor explosion. It adds depth and sunshine to every bite.
-
Nutty Crust: Combine crushed nuts like almonds or pecans into your graham cracker crust for added crunch and flavor. It gives your bars a richer texture and nuttier profile.
-
Flavorful Toppings: Consider serving with a drizzle of homemade lemon glaze or salted caramel sauce. It transforms your bars into an indulgent treat that’s bound to impress.
Don’t forget, for more stunning dessert ideas, explore these recipes: Creamy Lemon Truffles Minutes, or if you’re in the mood for something unique, try the exquisite Chocolate Raspberry Cheesecake. Each variation and twist welcomes you to create a dessert that’s perfectly tailored to your taste!
Make Ahead Options
These Lemon Marbled Cheesecake Bars are perfect for meal prep enthusiasts looking to save time during busy weeks! You can prepare the crust up to 24 hours in advance; just store it tightly wrapped in the refrigerator to maintain its freshness. Additionally, the cheesecake filling can be mixed and refrigerated (in an airtight container) for up to 3 days before assembling. To keep your bars just as delicious, avoid incorporating the lemon juice until you’re ready to swirl the filling together. When you’re set to serve, simply pour the batter over the crust, swirl, and bake as directed. You’ll have delightful, creamy bars ready to impress with minimal effort!
What to Serve with Elegant Lemon Marbled Cheesecake Bars?
Elevate your dessert experience by pairing these bright and creamy delights with complementary flavors that will dance harmoniously on your palate.
-
Fresh Berries: The natural sweetness and acidity in strawberries, blueberries, or raspberries add a refreshing contrast, enhancing the overall lightness of the bars.
-
Whipped Cream: A dollop of airy whipped cream brings an indulgent creaminess that balances the tangy flavors of the cheesecake, creating a heavenly bite.
-
Berry Compote: Drizzling homemade or store-bought berry compote enriches every slice, imparting additional fruitiness that pairs beautifully with the lemon tang.
-
Earl Grey Tea: A cup of Earl Grey, with its floral notes from bergamot, complements the lemon’s brightness, creating a soothing and refined pairing for a dessert moment.
-
Salted Caramel Drizzle: For those craving decadence, a drizzle of salted caramel introduces a sweet-salty dimension that harmonizes wonderfully with the cheesecake’s creaminess.
-
Coconut Ice Cream: Creamy coconut ice cream adds tropical flair, bringing a rich layer of flavor while cooling down the palate—perfect for warm weather gatherings.
-
Ginger Snap Cookies: A side of crunchy ginger snaps offers a spicy kick and textural contrast, making for a delightful nibble alongside your cheesecake bars.
-
Glass of Prosecco: Sparkling Prosecco adds elegance; its fruity bubbles enhance the lemony notes, making each bite feel like a celebration.
Each pairing brings its own unique charm to your Lemon Marbled Cheesecake Bars, ensuring that every bite is a moment of pure pleasure!
Expert Tips for Lemon Marbled Cheesecake Bars
-
Room Temperature Cream Cheese: Ensure your cream cheese is at room temperature to avoid lumps in your filling. This step is essential for achieving smooth and creamy Lemon Marbled Cheesecake Bars.
-
Proper Crust Chilling: Chill the graham cracker crust for about 10 minutes before adding the filling. This helps it set up nicely and prevents it from becoming soggy.
-
Avoid Overmixing: When combining ingredients in your filling, mix just until incorporated after adding the eggs. Overmixing can lead to cracks in your cheesecake bars during baking.
-
Swirling Technique: For a beautiful marbled effect, swirl gently with a knife. Too much swirling can blend the lemon and cheese batter together completely, losing that pretty pattern.
-
Check for Doneness: The bars should be set around the edges but still slightly jiggly in the middle. This ensures they remain creamy and don’t become dry.
How to Store and Freeze Lemon Marbled Cheesecake Bars
Fridge: Store the bars in an airtight container in the refrigerator for up to 5 days. Make sure they’re properly covered to preserve freshness and prevent them from absorbing any odors.
Freezer: These lemon marbled cheesecake bars freeze beautifully for up to 2 months. Wrap each bar individually in plastic wrap and then place them in a freezer-safe bag to prevent freezer burn.
Thawing: To enjoy your frozen bars, simply transfer them to the refrigerator to thaw overnight. This keeps the texture creamy and delightful, just like when they were freshly made.
Reheating (optional): For a warm treat, you can microwave individual slices for about 10-15 seconds, but be careful not to overheat, as this can alter the rich, creamy texture of the cheesecake.
Lemon Marbled Cheesecake Bars Recipe FAQs
What type of graham crackers should I use for the crust?
I recommend using regular graham crackers for a classic flavor, but if you’re looking for a gluten-free option, almond flour is a fantastic substitute! Simply mix it with melted butter to form your crust.
How long can I store Lemon Marbled Cheesecake Bars in the fridge?
You can store these delicious bars in an airtight container in the refrigerator for up to 5 days. Just make sure they are well covered to keep them fresh and to prevent any odors from penetrating them.
Can I freeze the Lemon Marbled Cheesecake Bars?
Absolutely! These bars freeze beautifully for up to 2 months. Simply wrap each bar tightly in plastic wrap and then place them in a freezer-safe bag. This method prevents freezer burn while keeping your dessert intact!
How do I thaw frozen Lemon Marbled Cheesecake Bars?
To thaw, place the frozen bars in the refrigerator overnight. This gradual thawing helps maintain the creamy texture, ensuring they taste as delightful as when they were first baked.
What should I do if my cheesecake bars crack while baking?
If you notice cracks developing, it might be due to overmixing your batter or baking at too high a temperature. To avoid this, mix your batter just until the ingredients are combined, and consider using a water bath during baking for even heat distribution which helps reduce the risk of cracks.
Are Lemon Marbled Cheesecake Bars suitable for people with allergies?
While these bars contain dairy and gluten (if using regular graham crackers), you can make them allergy-friendly! Use gluten-free graham crackers or an almond flour crust, and ensure that you’re using dairy-free cream cheese if needed to accommodate dietary restrictions.
Lemon Marbled Cheesecake Bars: Tangy Bliss in Every Bite
Ingredients
Equipment
Method
- Preheat your oven to 325°F (163°C) and line an 8×8-inch baking pan with parchment paper.
- Crush graham crackers and mix with melted butter, then press into the pan.
- Blend cream cheese until smooth, then incorporate sugar, eggs, vanilla, and lemon zest.
- Separate half the batter and add lemon juice to one half.
- Pour plain batter over crust, drizzle lemon mixture, and swirl with a knife.
- Bake for 30-35 minutes until edges are set and center is slightly jiggly.
- Cool at room temperature for an hour, then refrigerate for at least 4 hours.
- Lift bars from the pan, slice into squares, and serve with berries or whipped cream.
Leave a Reply