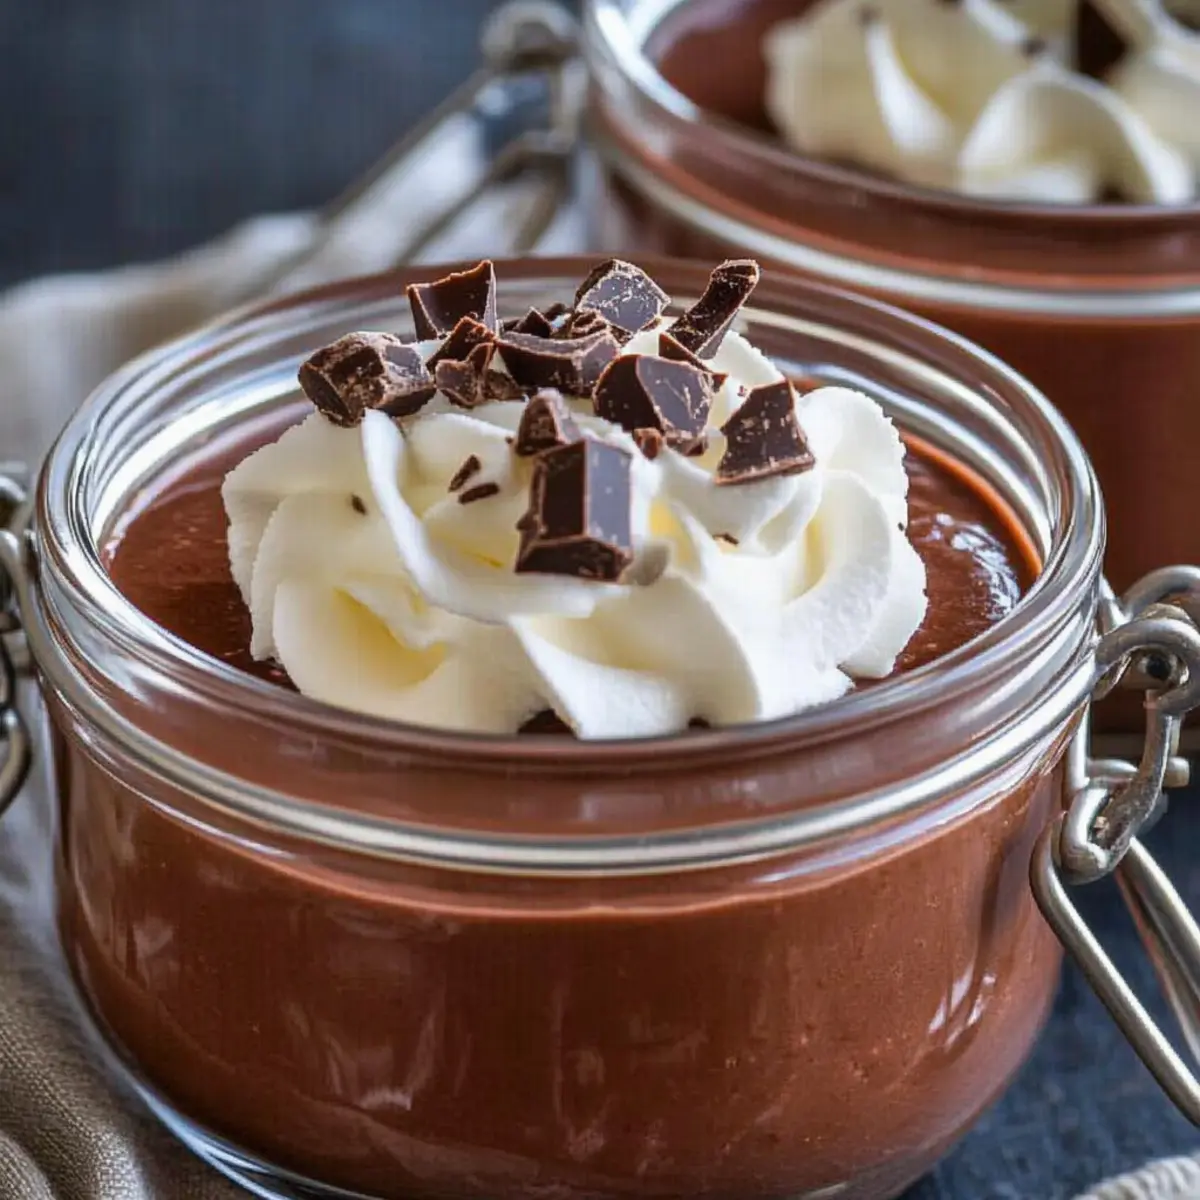
As I stood in my kitchen, the sweet aroma of cocoa filled the air, whisking me back to childhood memories of Grandma stirring her famous Chocolate Pudding on rainy afternoons. This comforting, old-fashioned delight offers a velvety texture and deep chocolate richness that makes it the perfect homemade dessert for any occasion. The best part? It’s super quick to whip up and crafted from simple, wholesome ingredients, free from artificial flavors. Whether you’re looking to treat yourself or impress guests, this classic recipe never fails to delight. Are you ready to create a bowl of nostalgia that will warm your heart and satisfy your sweet tooth? Let’s dive in!
Why Is This Chocolate Pudding Perfect?
Nostalgia, this homemade chocolate pudding takes you back to cozy afternoons spent with loved ones. Simplicity is key; it requires just a few ingredients and basic cooking skills, making it accessible for everyone. Velvety texture and rich cocoa flavor create a dessert that feels indulgent yet comforting. Quick preparation means you can have a delicious treat in no time, ideal for unexpected guests. Plus, it’s versatile! Top it with fresh berries or serve it alongside a scoop of ice cream to elevate your dessert game. For those who crave more decadent options, check out our Chocolate Dipped Orange Shortbread Cookies for a delightful pairing!
Chocolate Pudding Ingredients
• A delightful combination of simple ingredients is all you need to craft this classic, homemade chocolate pudding!
For the Pudding Base
- Granulated Sugar – Adds the perfect sweetness without affecting the creamy texture of the pudding.
- Unsweetened Cocoa Powder – Use high-quality cocoa for a rich, chocolatey flavor that shines.
- Cornstarch – Essential for thickening; ensures a luscious consistency that elevates the pudding experience.
- Salt – Just a pinch helps enhance and balance the chocolate flavor beautifully.
- Whole Milk – Provides the creamy base; opt for full-fat for a richness that can’t be beaten.
- Unsalted Butter – Incorporating room-temperature butter adds a wonderful richness and smoothness.
- Vanilla Extract – Pure vanilla deepens the flavor, transforming an ordinary dessert into something extraordinary.
Step-by-Step Instructions for How to Make Classic Chocolate Pudding from Scratch
Step 1: Combine Dry Ingredients
In a medium saucepan, whisk together ½ cup of granulated sugar, ⅓ cup of unsweetened cocoa powder, ¼ cup of cornstarch, and a pinch of salt. This initial mixture forms the foundation of your chocolate pudding, ensuring a smooth texture. Combine until well mixed, achieving a light cocoa hue with no lumps visible before you move to the next step.
Step 2: Add Milk
Gradually stir in 2 ¾ cups of whole milk into the dry mixture while whisking continuously. Place the saucepan over medium heat and keep stirring until the mixture begins to steam. Look for small bubbles starting to form around the edges—this indicates the milk is warming up, preparing to transform your dry mix into a rich chocolate pudding.
Step 3: Cook and Thicken Pudding
Continue to cook the pudding mixture, constantly stirring, until it reaches a full boil, and thickens noticeably—about 5-7 minutes. You want the pudding to bubble gently while thickening enough to coat the back of a spoon. This step is crucial for achieving the perfect velvety consistency that defines your homemade chocolate pudding.
Step 4: Finish and Chill
Remove the saucepan from the heat and immediately stir in 2 tablespoons of unsalted butter and 1 teaspoon of pure vanilla extract. Mix until the butter is fully melted and integrated, creating a smooth and glossy chocolate pudding. Pour the pudding into serving dishes or a single bowl and let it cool at room temperature before refrigerating for at least 2 hours to allow it to set properly.
How to Store and Freeze Chocolate Pudding
Fridge: Store chocolate pudding in an airtight container in the refrigerator for up to 3-4 days. This ensures it retains its creamy texture and delicious flavor.
Freezer: While it’s best enjoyed fresh, you can freeze chocolate pudding for up to 2 months. Portion it into freezer-safe containers, leaving some space for expansion.
Reheating: To enjoy frozen pudding, thaw it overnight in the fridge, then stir well before serving. For a warm dessert, reheat gently on the stove over low heat, stirring constantly.
Make-Ahead: Chocolate pudding can be prepared a day in advance. It actually tastes better after chilling for a few hours, allowing the flavors to meld beautifully.
Make Ahead Options
These classic chocolate pudding preparations are perfect for busy cooks looking to save time! You can prepare the pudding base up to 24 hours in advance, which allows the flavors to meld together beautifully. Simply follow the initial steps, then cover the finished pudding in an airtight container to refrigerate. This not only preserves its creamy texture but also ensures it tastes just as delicious when served. When you’re ready to enjoy, simply let it sit at room temperature for a few minutes or reheat gently on the stove for about 5 minutes. This way, you’ll have a delightful, nostalgic treat ready in no time!
Expert Tips for the Best Chocolate Pudding
-
Stir Constantly: Prevent lumps by whisking the mixture continuously while cooking. This ensures a smooth and velvety chocolate pudding.
-
Quality Ingredients: Use high-quality unsweetened cocoa powder and whole milk. They greatly enhance the richness and flavor, making your pudding truly indulgent.
-
Check Thickness: The pudding should coat the back of a spoon when done. If it’s too thin, let it cook a bit longer while stirring constantly.
-
Cool Properly: Allow the pudding to cool at room temperature before placing it in the fridge. This helps it set properly, resulting in the perfect texture.
-
Storage Tips: Keep leftover chocolate pudding in an airtight container in the fridge for 3-4 days. It tastes even better the next day as the flavors meld!
What to Serve with Classic Chocolate Pudding
Indulging in classic chocolate pudding opens a world of delightful pairings that enhance its rich chocolate flavor and velvety texture.
-
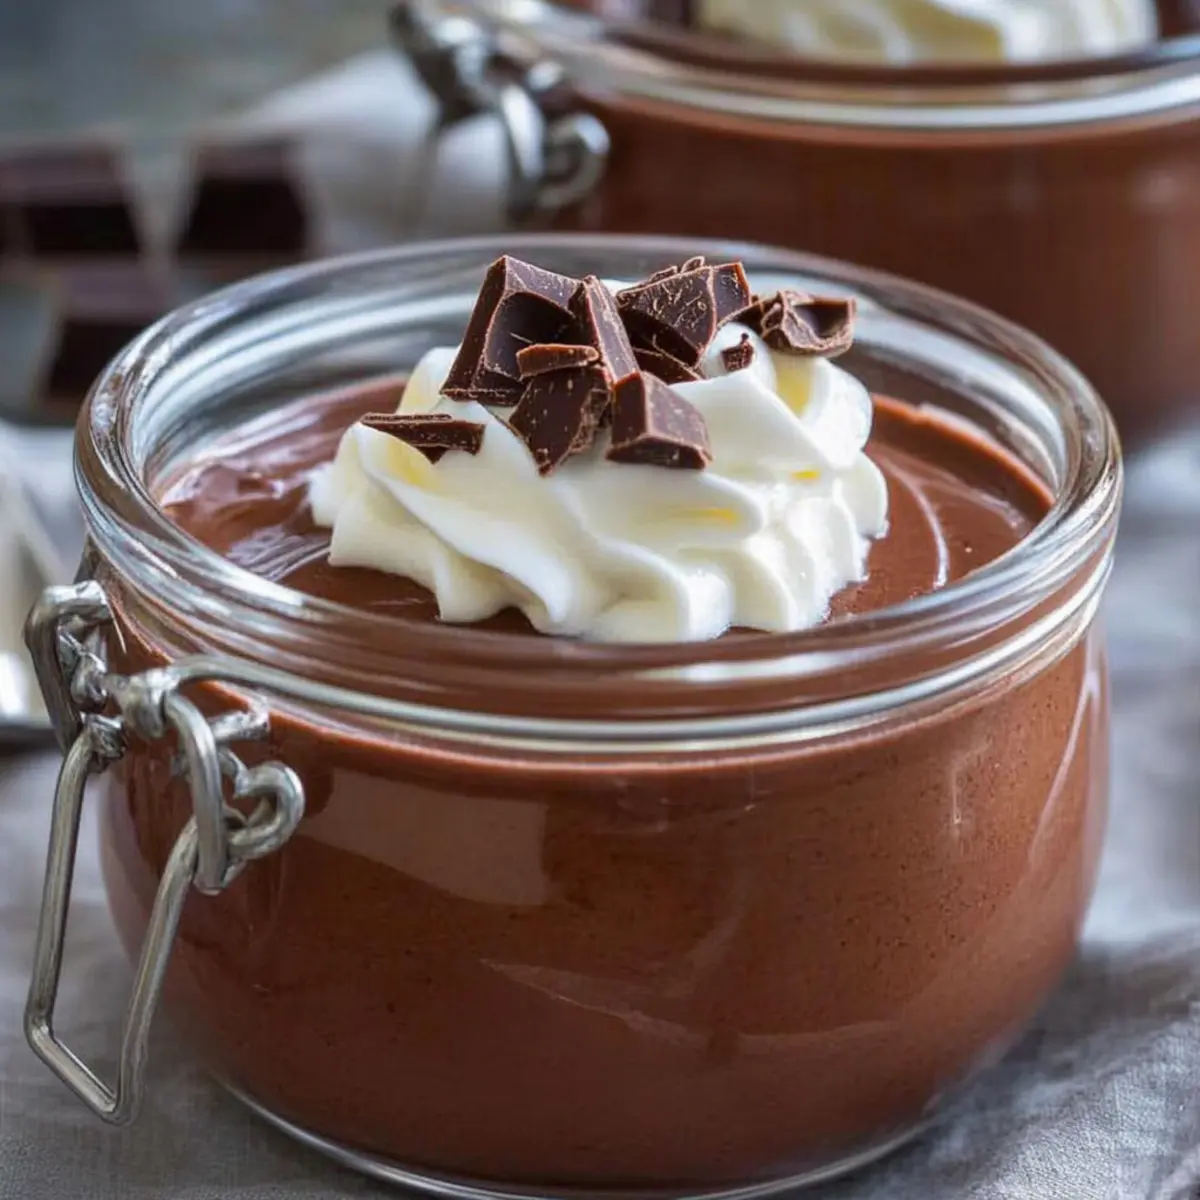
Whipped Cream:
A dollop of freshly whipped cream adds creamy sweetness, balancing the rich chocolate and providing a light, airy texture. -
Fresh Berries:
Sliced strawberries or raspberries introduce a fruity tartness that complements the chocolate beautifully, creating a refreshing contrast. -
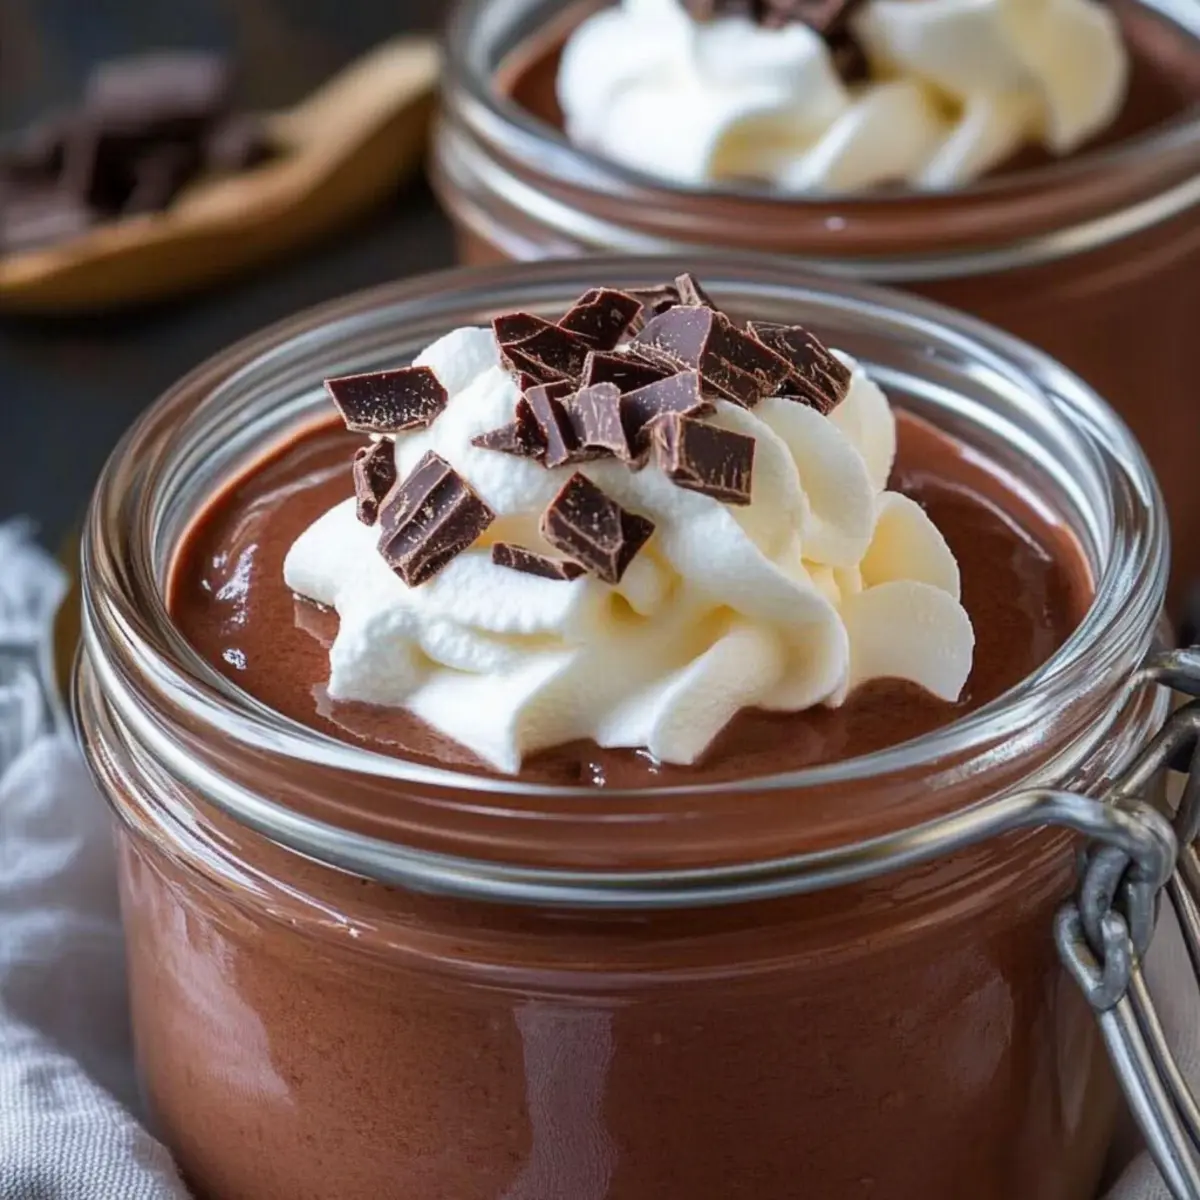
Chocolate Shavings:
For an extra touch of decadence, sprinkle chocolate shavings on top. They enhance the dessert’s elegance and texture, adding to the luscious experience. -
Ice Cream Scoop:
A scoop of vanilla or coffee ice cream offers a creamy counterpoint to the pudding, melting slightly to create a heavenly mixture of flavors. -
Toasted Nuts:
Chopped toasted almonds or hazelnuts add a delightful crunch, bringing nutty warmth and a textural contrast to the smooth pudding. -
Chocolate Sauce Drizzle:
For the true chocoholic, a warm drizzle of chocolate sauce amplifies the pudding’s rich flavor and elevates the presentation. -
Espresso or Coffee:
A cup of strong espresso or a rich coffee enhances the chocolate flavor, making for a perfect after-dinner pairing or afternoon treat.
These delightful additions promise to take your classic chocolate pudding experience to new heights, ensuring every bite feels special.
Chocolate Pudding Variations & Substitutions
Feel free to get creative with your chocolate pudding! The possibilities are as delightful as the pudding itself.
-
Dairy-Free: Substitute whole milk with almond or coconut milk for a creamy yet dairy-free version.
-
Richer Flavor: Add a tablespoon of strong brewed coffee to enhance the chocolate flavor and give it a sophisticated twist.
-
Chocolate Lovers: Use dark chocolate instead of cocoa powder for a more intense chocolate experience. Melt 4 ounces of dark chocolate into the mixture during the final steps.
-
Fruit-Infused: Stir in a bit of raspberry or cherry puree before chilling for a fruity burst of flavor that balances the richness.
-
Spiced Chocolate: Add a pinch of cinnamon or a drop of peppermint extract to the pudding for a warm or refreshing twist.
-
Thicker Consistency: Increase the cornstarch to ⅓ cup for an even thicker pudding that holds up beautifully in individual servings.
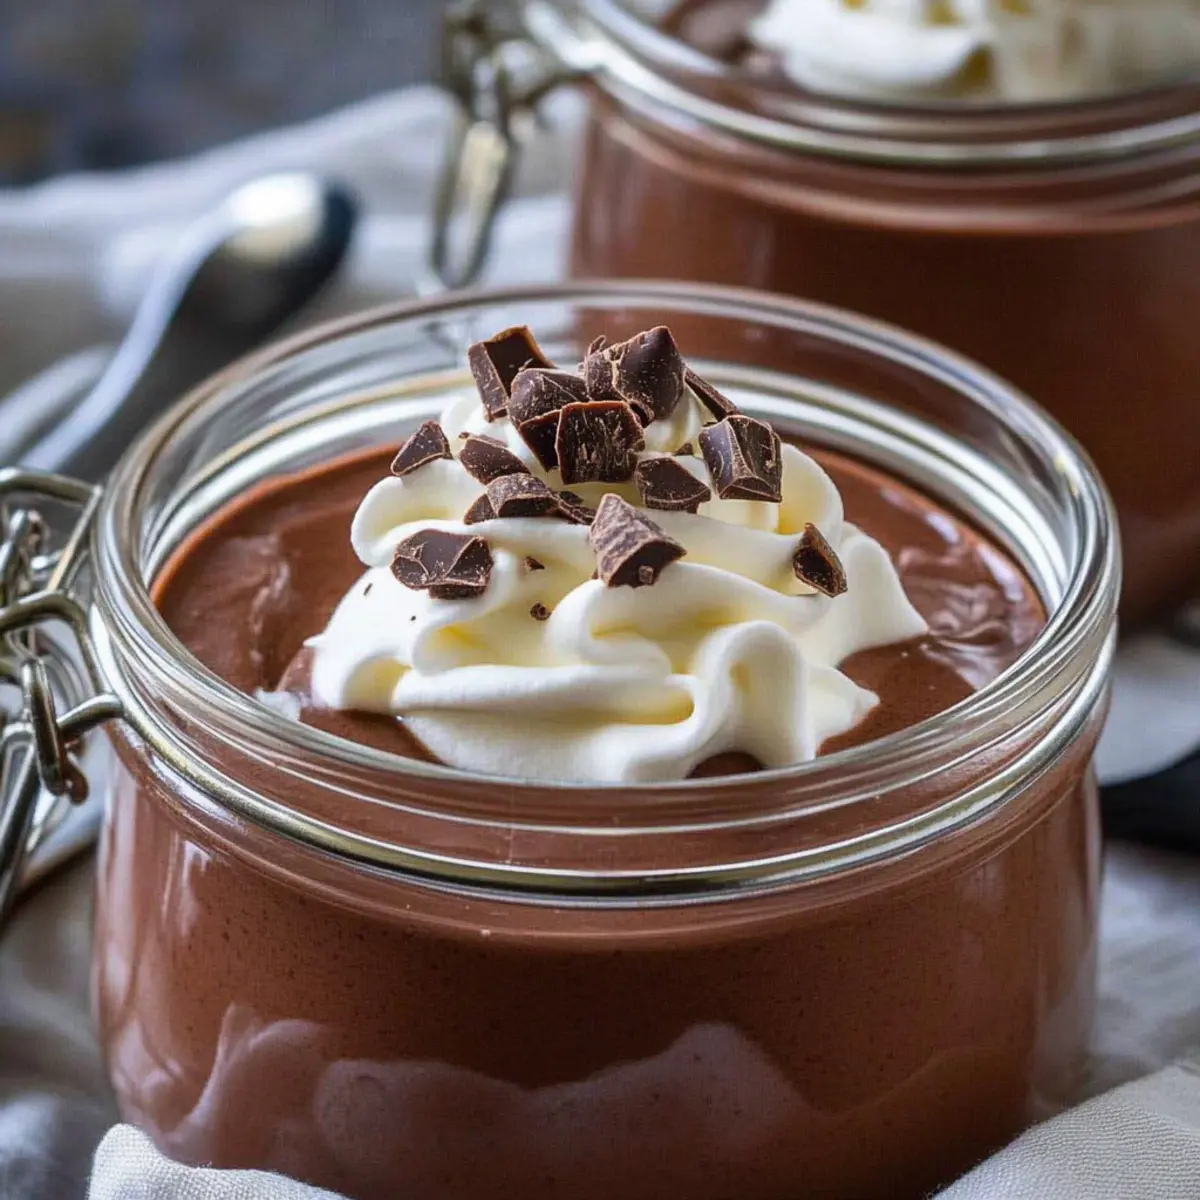
-
Toppings Galore: Top your pudding with fresh berries or a dollop of homemade whipped cream. For extra flair, try adding chocolate shavings or chopped nuts.
-
Custom Sweeteners: Feel free to substitute granulated sugar with coconut sugar or a sugar alternative for a different sweetness profile without sacrificing taste.
For even more dessert ideas, enjoy a slice of our White Chocolate Raspberry Cheesecake or indulge in some Dark Chocolate Almond Clusters – both are sure to satisfy any sweet tooth!
Chocolate Pudding Recipe FAQs
How should I select ripe ingredients for this chocolate pudding?
Absolutely! When it comes to chocolate pudding, the quality of your ingredients can make a significant difference. Opt for high-quality unsweetened cocoa powder; look for a rich, dark color without any lumps for the best flavor. For milk, whole milk is my top choice for creating that creamy texture, but if you prefer a substitute, ensure it is a full-fat variety if possible, as this will yield a creamier result.
How should I store chocolate pudding, and how long does it last?
Very good question! Store your chocolate pudding in an airtight container in the refrigerator for up to 3-4 days. Make sure it’s covered well to maintain that luscious, creamy texture and freshness. If you’re preparing it ahead of time for a gathering, you can make it a day prior, as it often tastes even better after a chill in the fridge.
Can I freeze chocolate pudding? If so, how?
Certainly! Chocolate pudding can be frozen for up to 2 months. To freeze, scoop your pudding into freezer-safe containers, leaving some space at the top for expansion as it freezes. When you’re ready to enjoy it, simply thaw it overnight in the fridge. To bring back that velvety smoothness, stir well before serving, or gently reheat it on the stove over low heat, stirring continuously until warmed through.
What should I do if my pudding doesn’t thicken properly?
Oh no, that can happen! If your chocolate pudding isn’t thickening as expected, continue to cook it while stirring constantly for a bit longer, usually an additional 1-2 minutes. It’s vital that the pudding reaches a full boil to activate the thickening power of the cornstarch. Remember, the pudding should coat the back of a spoon—if it feels too thin after boiling, don’t hesitate to let it simmer a little longer.
Are there any dietary considerations I should be aware of with this recipe?
Yes, definitely! If you’re serving it to children or others with dietary restrictions, be mindful that the recipe contains dairy and sugar. For lactose-sensitive individuals, a creamy milk alternative like almond or oat milk can be a suitable replacement, though it may alter the texture slightly. Always check for allergens associated with any substitutions you make!
Homemade Chocolate Pudding That Takes You Back to Childhood
Ingredients
Equipment
Method
- In a medium saucepan, whisk together the granulated sugar, cocoa powder, cornstarch, and salt until well mixed.
- Gradually stir in the whole milk into the dry mixture while whisking continuously.
- Place the saucepan over medium heat and cook, stirring constantly, until the mixture reaches a full boil and thickens, about 5-7 minutes.
- Remove from heat and stir in the unsalted butter and vanilla extract until fully combined.
- Pour the pudding into serving dishes and let it cool at room temperature before refrigerating for at least 2 hours to set.
Leave a Reply