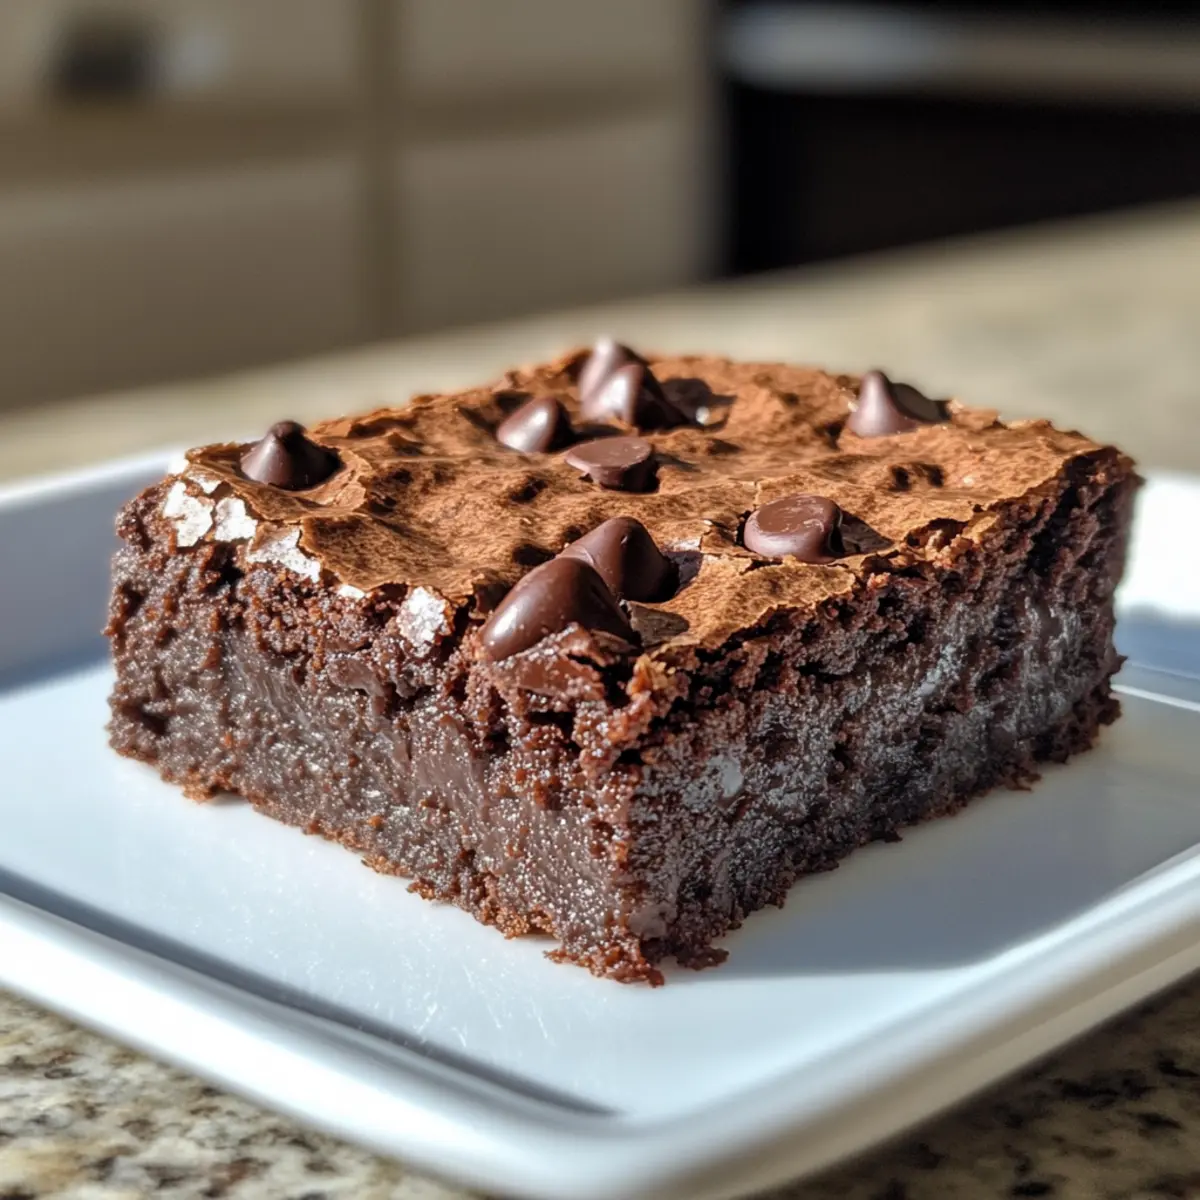
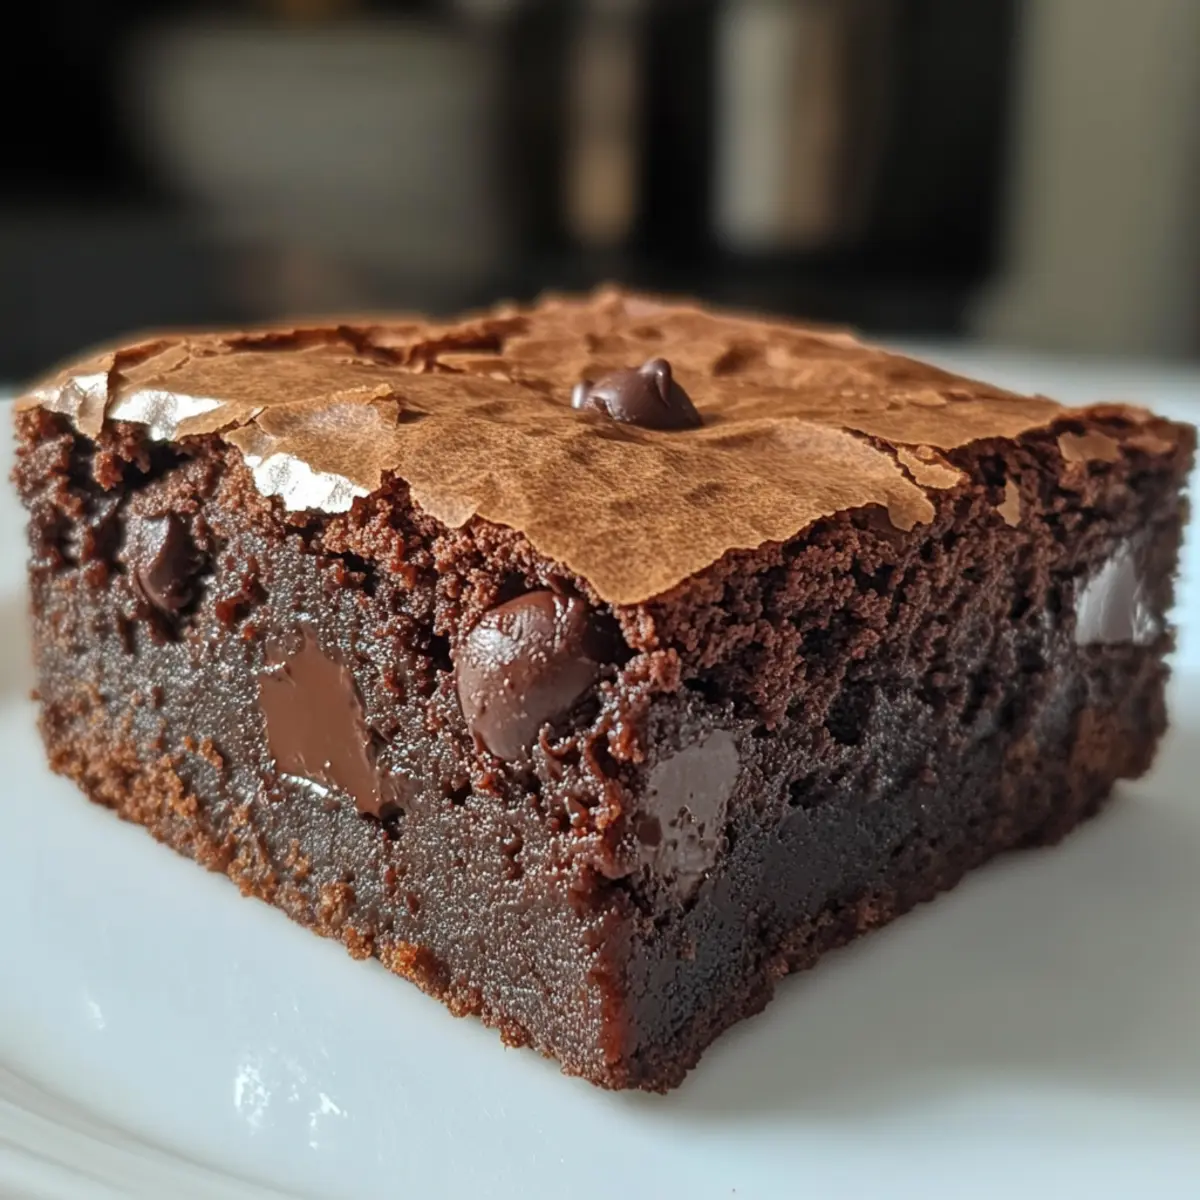
The scent of warm chocolate wafting through the kitchen brings back memories of comforting evenings spent indulging in a sweet classic. Nothing compares to the simple joy of a homemade treat, especially when it comes to a Classic Brownie. These fudgy brownies are not only deliciously rich, but they’re also a breeze to whip up, making them perfect for both novices and seasoned bakers alike. Whether you’re planning a cozy gathering or just craving a moment of indulgence, this recipe will satisfy your chocolate desires while impressing friends and family. Get ready to dive into a melt-in-your-mouth experience that’s sure to become a staple in your dessert rotation. What special occasion will you be celebrating with these delightful brownies?
Why Are Brownies So Irresistible?
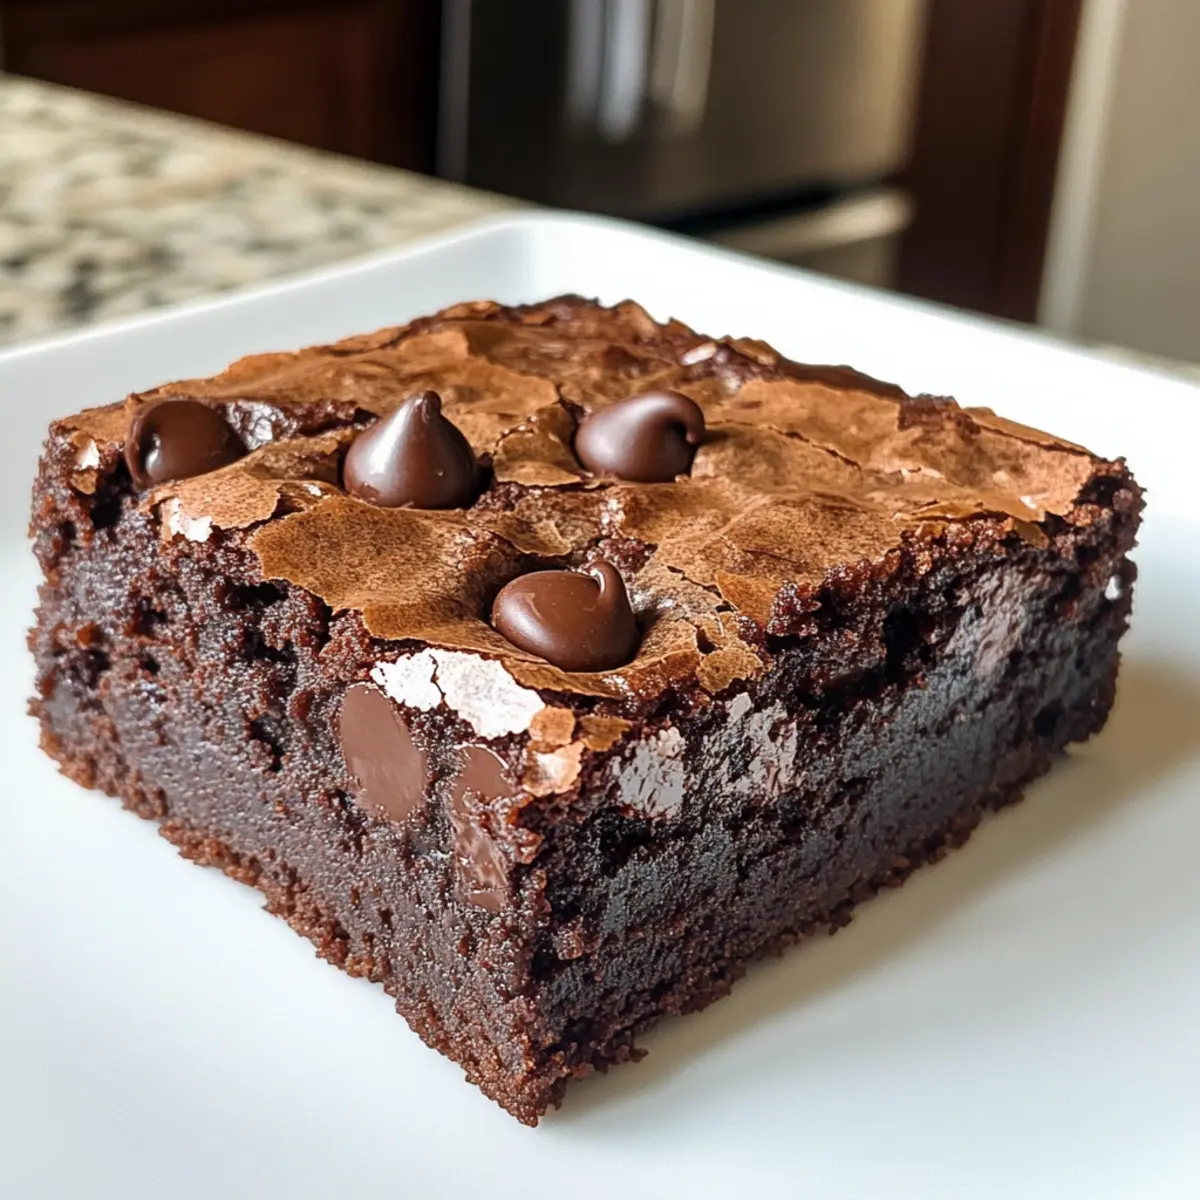
Irresistible, the rich chocolate flavor paired with fudgy texture creates a dessert that’s pure bliss. Easy to make, perfect for beginners and experienced bakers alike, with no complicated techniques involved. Versatile, you can customize them by adding nuts or extra chocolate chips for an added crunch. Crowd-pleaser, these brownies are sure to be the highlight of any gathering—served warm with ice cream or enjoyed solo. Make-ahead friendly, whip them up a day in advance, or freeze for a last-minute treat!
Classic Brownie Ingredients
• These ingredients will create the best homemade brownies you’ve ever tasted!
For the Brownie Batter
- All-Purpose Flour – Provides structure; you can opt for unbleached for a slightly different flavor.
- Granulated Sugar – Adds sweetness and moisture; cane sugar can be used if you want a natural option.
- Baking Soda – Helps the brownies rise for that perfect texture.
- Butter (Salted/Unsalted) – Contributes to richness; use unsalted if you prefer to control the saltiness.
- Vegetable Oil – Adds moisture; can substitute with canola or avocado oil for a healthier option.
- Water – Loosens the wet ingredients for better mixing, essential for a smooth batter.
- Eggs – Provide protein and help bind the ingredients for a fudgy consistency.
- Salt – Enhances flavor; sea salt is recommended for the best taste.
- Semi-Sweet Chocolate Chips – Adds intense chocolate flavor; opt for high-quality for the best results.
- Vanilla Extract – Enhances overall flavor; always choose good quality for the best impact.
Optional Add-ins
- Chopped Nuts (Walnuts, Almonds, Pecans) – Adds texture and flavor; feel free to skip if nut-free is your goal.
- Extra Chocolate Chips – Boosts the chocolatey goodness; swap semi-sweet for dark chocolate for an even richer taste.
These Classic Brownie ingredients will guide you toward baking a dessert that’s sure to become a favorite in your home!
Step‑by‑Step Instructions for Classic Brownie
Step 1: Preheat Your Oven
Start by preheating your oven to 325°F (163°C) to prepare for baking your Classic Brownies. This temperature ensures that the brownies cook evenly and develop that perfect fudgy texture. While the oven heats, gather your ingredients and baking dish so you’re ready to move on to the following steps.
Step 2: Combine Dry Ingredients
In a small bowl, whisk together 1 cup of all-purpose flour, 1 teaspoon of baking soda, and 1/4 teaspoon of salt. Mixing these dry ingredients first helps to evenly distribute the baking soda and salt, ensuring your Classic Brownies have the right rise and flavor. Set this mixture aside for later use, and get ready for the next step.
Step 3: Create the Chocolate Mixture
In a small saucepan over low heat, combine 1/2 cup of butter, 1/2 cup of vegetable oil, 1 cup of granulated sugar, and 1/4 cup of water. Stir continuously until the mixture simmers and becomes smooth, about 5 minutes. Remove the saucepan from heat and stir in 1 cup of semi-sweet chocolate chips until melted and glossy. This rich chocolate mixture is the heart of your Classic Brownies.
Step 4: Mix Wet Ingredients
Transfer the melted chocolate mixture to a large bowl. Allow it to cool slightly, then whisk in 1 teaspoon of vanilla extract and 2 large eggs until everything is well combined. The vibrant blend of chocolate and eggs will create a luscious base for your brownies. Smooth out any lumps to ensure a creamy batter later on.
Step 5: Combine Mixtures
Gradually add the dry ingredient mixture to the chocolate mixture, folding gently with a spatula until just combined. Be careful not to overmix; the goal is to achieve a thick and fudgy batter for your Classic Brownies. Watch for streaks of flour disappearing into the chocolate, signaling that you’re ready for the baking dish.
Step 6: Prepare Baking Dish
Pour the brownie batter into a greased or parchment-lined 8″x8″ baking dish. Use a spatula to spread the batter evenly across the dish, smoothing out the top for an even bake. This step is crucial to ensure that every piece of your Classic Brownies has that deliciously fudgy texture, so don’t rush it!
Step 7: Bake the Brownies
Place the baking dish in the preheated oven and bake for about 30 minutes. Keep an eye on the brownies as they bake, and perform the toothpick test – insert a toothpick into the center; it should come out mostly clean with a few moist crumbs sticking to it. This indicates your brownies are done and ready to come out!
Step 8: Cool and Serve
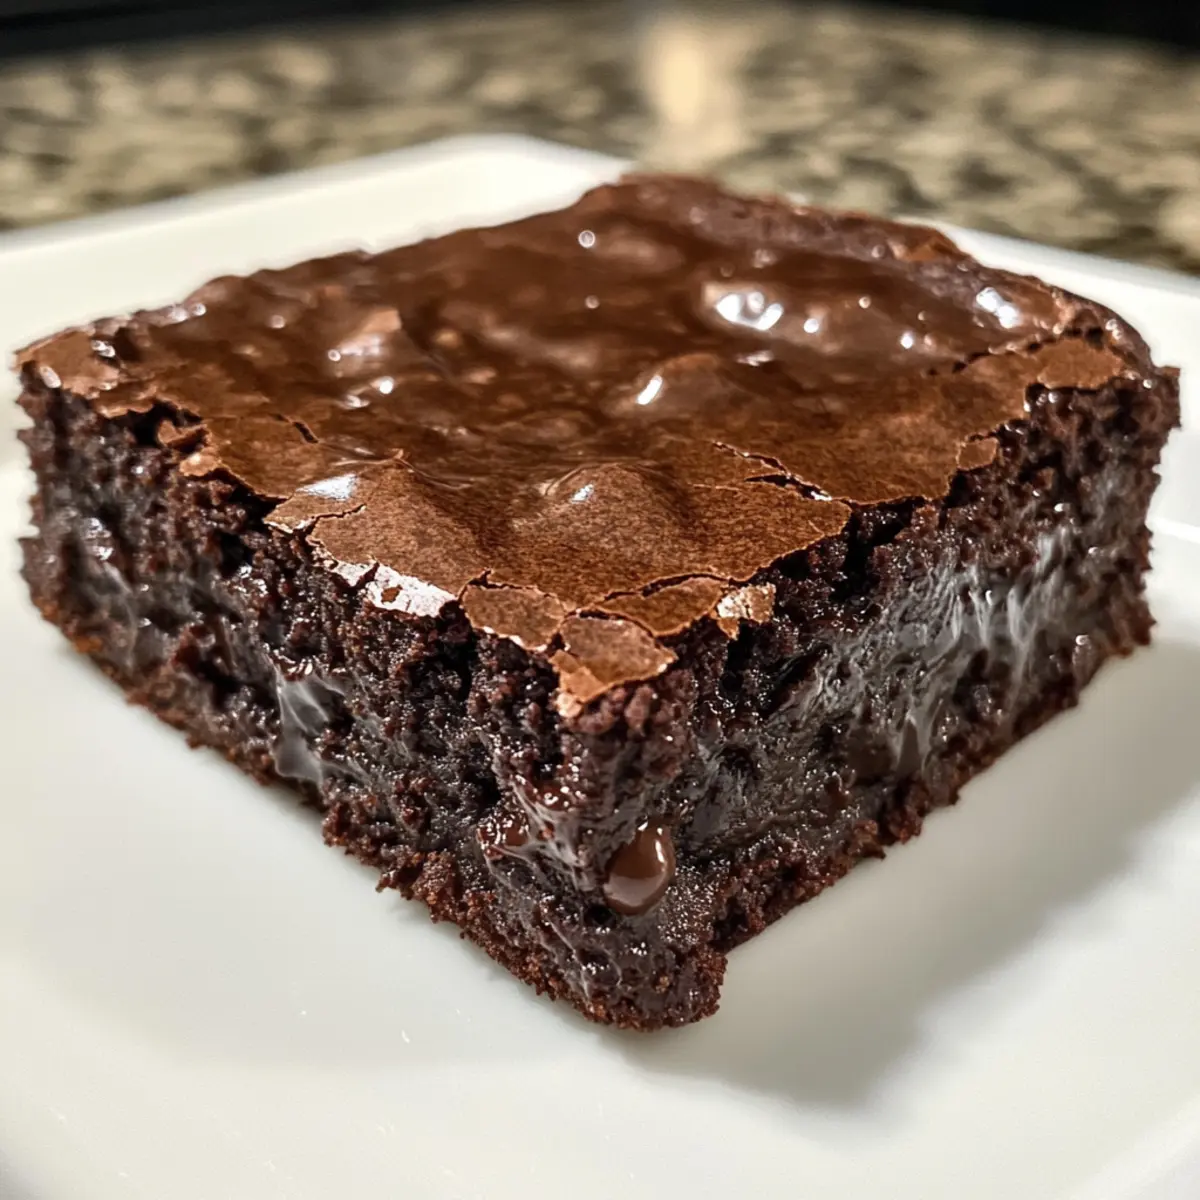
Once out of the oven, let your Classic Brownies cool in the baking dish for at least 10 minutes. Then transfer them to a wire rack to cool completely for easier slicing. The brownies will firm up as they cool, making them perfect for cutting into squares. Once cooled, slice and enjoy the rich, chocolatey goodness!
Expert Tips for Classic Brownies
-
Quality Ingredients: Use high-quality semi-sweet chocolate chips for the best flavor. Avoid generic brands that may lack richness in taste.
-
Don’t Overmix: When combining mixtures, fold gently until just combined. Overmixing can lead to tougher brownies, ruining their classic fudgy texture.
-
Proper Cooling: Always let brownies cool completely before slicing. This helps them set properly, making for cleaner cuts and preventing them from falling apart.
-
Watch the Bake Time: If you’re doubling the recipe for a larger dish, remember that baking times may vary. Start checking for doneness a few minutes before the standard 30 minutes.
-
Perfect Storage: Store brownies in an airtight container at room temperature. This keeps them moist and delicious for 3-5 days, making them a delightful treat anytime!
How to Store and Freeze Classic Brownies
Room Temperature: Store brownies in an airtight container at room temperature for up to 3-5 days to maintain their fudgy texture and prevent dryness.
Fridge: If you’re looking to prolong their freshness, you can keep brownies in the fridge for up to a week, but be sure to wrap them tightly to avoid absorbing odors.
Freezer: For longer storage, freeze brownies in a single layer or wrapped individually in plastic wrap and then in foil. They can last for up to 3 months when frozen.
Reheating: To enjoy warm brownies, simply microwave them for 10-15 seconds, or reheat in the oven at 350°F (175°C) for 5-10 minutes for that fresh-from-the-oven taste.
Classic Brownie Variations
Feel free to explore and enhance your Classic Brownie experience with these fun variations that bring new layers of flavor and texture!
-
Espresso Boost:
Add 1/2 to 1 teaspoon of espresso powder to deepen the chocolate flavor, making every bite even more rich and indulgent. -
Nutty Delight:
Fold in 1/2 cup of chopped walnuts or pecans for added crunch and flavor. Nuts give a wonderful texture that pairs beautifully with the fudginess of brownies. -
Chocolate Chip Swap:
Swap semi-sweet chocolate chips for dark chocolate for a richer treat. The intense cocoa flavor will elevate your brownies to a whole new level of chocolatey goodness. -
Nut-Free Bliss:
For a nut-free version, simply omit nuts and replace with toasted oats for a slight crunch without the allergies. They will still be deliciously fudgy! -
Minty Fresh:
Add a few drops of mint extract to the batter for a refreshing twist. Pair it with chocolate chips to create a delightful mint chocolate experience! -
Salted Caramel Drizzle:
Finish your brownies with a drizzle of salted caramel sauce on top. This sweet and salty addition creates a scrumptious contrast that everyone will love. -
Coconut Dream:
Fold in 1/2 cup of shredded coconut to the batter before baking. The coconut adds a lovely chewiness that enhances the overall brownie delight. -
Spicy Kick:
For those who like a bit of heat, add a pinch of cayenne pepper to the batter. The heat subtly contrasts the sweetness, creating a unique flavor experience.
Combine your personal touch with the classic brownie recipe, and don’t hesitate to check out my tips for ideas on how to take it up a notch. Whatever your choice, your brownies will surely be a hit!
What to Serve with Classic Fudgy Brownies?
Pairing delicious treats with fudgy brownies creates a symphony of flavors and textures that will elevate your dessert game.
- Vanilla Ice Cream: The creamy richness of vanilla ice cream complements the brownies’ chocolaty depth, making each bite a heavenly experience.
- Whipped Cream: Light and airy, whipped cream adds a delightful contrast and can be drizzled with chocolate sauce for an indulgent finish.
- Fresh Berries: Serve with strawberries, raspberries, or blueberries for a refreshing burst of tartness that beautifully balances the sweet brownies.
- Chocolate Sauce: A drizzle of warm chocolate sauce intensifies the flavor, satisfying the chocolate lover in all of us.
- Espresso: A cup of dark espresso enhances the chocolate flavor, adding sophistication and an aromatic kick to your brownie enjoyment.
- Nuts: Toasted walnuts or pecans sprinkled on top provide a delightful crunch, adding texture and a nutty contrast to the rich, fudgy brownies.
- Mint Leaves: Fresh mint not only adds a pop of color but its coolness creates a refreshing palate cleanser between bites of rich chocolate.
- Caramel Sauce: Drizzling warm caramel sauce over brownies adds a luscious sweetness that perfectly pairs with the chocolate.
- Coconut Whipped Cream: For a tropical twist, serve brownies with coconut whipped cream, enhancing the flavors with a light, fluffy touch.
Make Ahead Options
These Classic Brownies are a fantastic option for meal prep! You can prepare the brownie batter up to 24 hours in advance; just store it in an airtight container in the refrigerator to keep it fresh. Alternatively, you could bake the brownies ahead of time and let them cool completely before slicing. Once cooled, store them in an airtight container at room temperature for up to 3-5 days. For the best quality, if you’re freezing, wrap individual slices tightly in plastic wrap and place them in a freezer-safe bag. When you’re ready to serve, simply allow the brownies to come to room temperature, or warm them slightly in the microwave for an indulgent treat that’s just as delicious!
Classic Brownie Recipe FAQs
What kind of chocolate should I use for the best brownies?
Absolutely! I recommend using high-quality semi-sweet chocolate chips for a rich flavor in your Classic Brownie. Brands like Ghirardelli or Guittard tend to produce the best results, as they melt beautifully and infuse the batter with an intense chocolate taste. If you’re feeling adventurous, you can also experiment with dark chocolate chips for a deeper flavor profile!
How should I store leftover brownies?
To keep your leftovers fresh, store your brownies in an airtight container at room temperature. They’ll retain their fudgy texture and deliciousness for up to 3-5 days. If you find that you have more brownies than you can eat, you can refrigerate them for up to a week, just remember to wrap them tightly to avoid absorbing any fridge odors!
Can I freeze brownies, and how should I do it?
Definitely! Freezing brownies is a great way to save them for later. First, make sure they’re completely cooled down. Then, wrap each brownie individually in plastic wrap and then in aluminum foil. Place them in a freezer-safe bag or container to protect against freezer burn. They can last up to 3 months in the freezer. When you’re ready to indulge, simply thaw them overnight in the fridge or microwave them for a quick treat!
What should I do if my brownies come out too cakey?
Very! If your brownies turn out cakey, it might be due to overmixing the batter or adding too much flour. To achieve that fudgy texture you’re looking for, avoid overmixing after adding the dry ingredients, and make sure to measure your flour properly—scooping too much in can lead to fluffier, cakey results. Next time, consider reducing the flour by a couple of tablespoons to keep them rich and fudgy.
Are these brownies suitable for people with nut allergies?
Yes! Our Classic Brownie recipe can easily be made nut-free. Just skip the optional chopped nuts, and ensure that the chocolate chips you use are also nut-free. Always check the packaging since some brands may be processed in facilities that handle nuts, which could pose a risk for those with severe allergies. Enjoy your baking adventure safely!
Classic Brownie Bliss – The Ultimate Fudgy Treat
Ingredients
Equipment
Method
- Preheat your oven to 325°F (163°C). Gather your ingredients and baking dish.
- In a small bowl, whisk together flour, baking soda, and salt. Set aside.
- In a saucepan over low heat, combine butter, vegetable oil, sugar, and water. Stir until smooth. Remove from heat and mix in chocolate chips until melted.
- Transfer chocolate mixture to a bowl, let cool slightly, then whisk in vanilla and eggs.
- Gradually fold the dry ingredients into the chocolate mixture until just combined.
- Pour the batter into a greased 8x8 baking dish and spread evenly.
- Bake for about 30 minutes, checking doneness with a toothpick.
- Let cool for at least 10 minutes before transferring to a wire rack to cool completely.
Leave a Reply