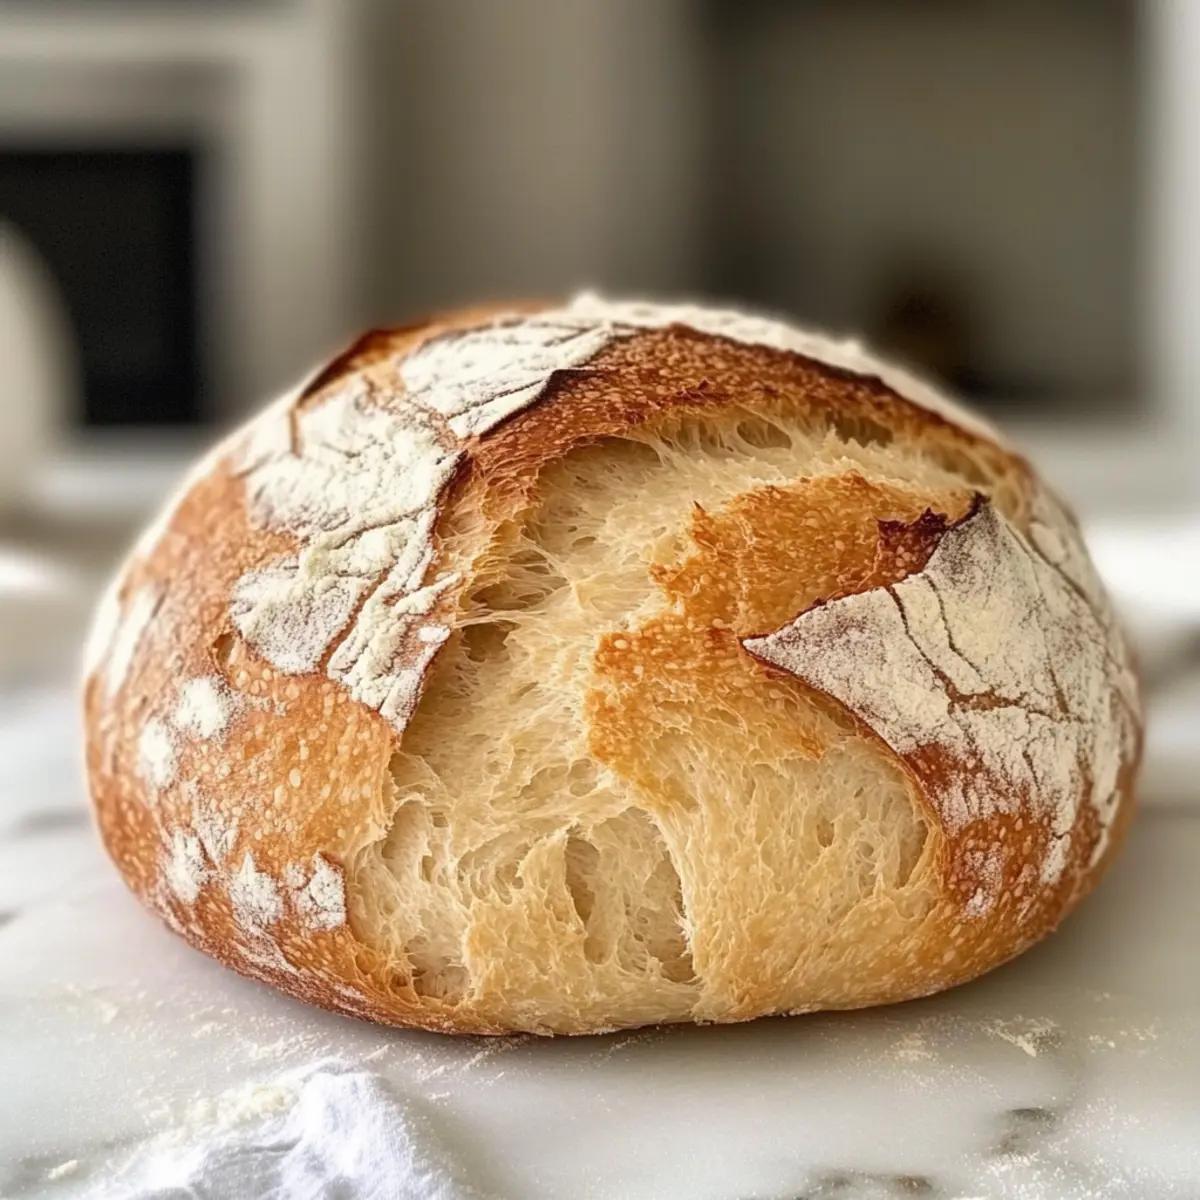
There’s nothing quite like the inviting aroma of freshly baked bread wafting through your home, a comforting embrace for your senses. I often find myself longing for a warm loaf, especially on those hectic days when time feels fleeting. Enter my 20-Minute Homemade Bread recipe—this gem comes to the rescue, letting you enjoy the pleasures of homemade bread without the tedious wait. This quick bread calls for no rise time, making it perfect for anyone seeking a speedy yet satisfying baking experience. It’s not just an easy fix; this recipe is adaptable too! You can make it your own with delightful variations like Cheese, Herb, or even Sweet Bread. Who knew that a simple, fluffy loaf could elevate your meals and impress your guests in such a short time? Ready to add a scrumptious touch to your kitchen and meals? Let’s dive into the details of this must-try recipe!
Why is homemade bread a game-changer?
Convenience at Its Finest: Create fresh bread in just 20 minutes, perfect for those busy evenings!
Endless Variability: Personalize your loaf with add-ins like cheese, herbs, or garlic — the possibilities are truly endless!
Fluffy and Delicious: Enjoy a soft, airy crumb that will have everyone raving, without the hours of waiting.
Nourishing Satisfaction: Nothing beats the joy of homemade bread; it’s healthier and more delightful than any store-bought option.
Pair this bread with any dish, and if you have some pumpkin on hand, don’t miss out on trying it with my Pumpkin Bread Pudding for a comforting dessert!
Homemade Bread Ingredients
For the Dough
• All-Purpose Flour – Forms the base structure of the bread; Substitution: Whole wheat flour may create a denser loaf.
• Baking Powder – Acts as a leavening agent for quick rising; Ensure it is fresh for optimal results.
• Salt – Enhances flavor; Do not eliminate, as it’s essential for taste.
• Sugar – Adds sweetness; Optional to increase to 2 tablespoons for a sweeter variation.
• Milk – Hydrates the dough, necessary for moisture; Can be substituted with any non-dairy milk for lactose intolerance.
• Vegetable Oil – Adds richness and moisture to the bread; Olive oil can replace it for added flavor.
Optional Add-Ins
• Shredded Cheese – For a delightful cheesy twist; Add ½ cup directly into the dough for cheesy bread.
• Herbs – Incorporate dried or fresh herbs like rosemary or thyme for a fragrant loaf.
• Minced Garlic – Mix in for a tasty twist and lovely aroma.
• Cinnamon – For a touch of sweetness, increase sugar and add a hint for sweet bread variations.
Step‑by‑Step Instructions for 20-Minute Homemade Bread
Step 1: Preheat & Prepare
Begin by preheating your oven to 400°F (200°C). As it heats, grease a baking sheet with a little vegetable oil or line it with parchment paper. This will prevent the bread from sticking. While your oven warms up, gather all your ingredients, creating a smooth workflow and ensuring everything is within reach.
Step 2: Mix the Dry Ingredients
In a large mixing bowl, combine 2 cups of all-purpose flour, 1 tablespoon of baking powder, 1 teaspoon of salt, and 1 tablespoon of sugar. Whisk these dry ingredients together until they are well incorporated and no lumps remain, creating a light and airy mixture. This step lays the foundation for your fluffy homemade bread, enhancing its texture.
Step 3: Add the Wet Ingredients
Pour in 3/4 cup of milk and 2 tablespoons of vegetable oil into the dry mixture. Stir gently using a wooden spoon or spatula until a soft dough forms. This should take just around a minute or so. Be cautious not to overmix; the dough should be slightly sticky but manageable, showcasing a great blend of moisture and dry ingredients.
Step 4: Knead the Dough
Turn the dough out onto a lightly floured surface. Knead it gently for about 1 minute until it’s smooth and elastic. You don’t need to exert too much effort here; just enough to bring the ingredients together. The dough should feel soft and pliable under your hands, a sign that it’s ready for shaping.
Step 5: Shape and Score
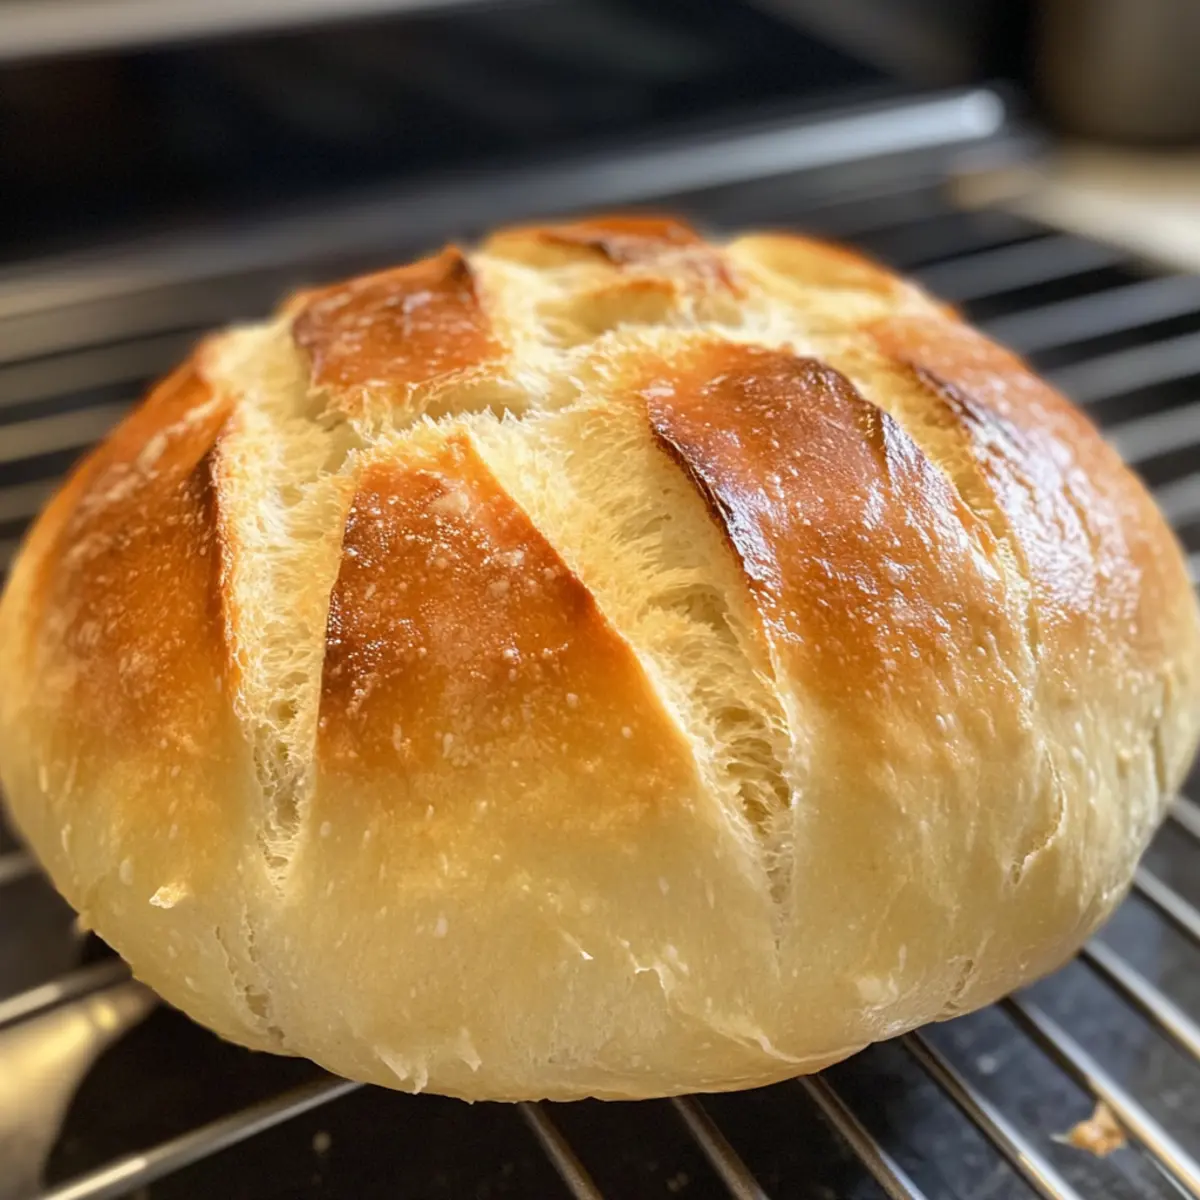
Shape the dough into a round loaf and place it on your prepared baking sheet. Use a sharp knife to score a shallow “X” or a few slashes across the top, which allows steam to escape during baking. This step not only enhances the loaf’s appearance but also ensures it bakes evenly, giving you that beautiful crust.
Step 6: Bake the Bread
Slide the bread into your preheated oven and bake for 15-20 minutes. Look for a golden-brown color and tap the bottom of the loaf; it should sound hollow, indicating that it’s fully cooked through. The aroma wafting through your kitchen will let you know something delicious is on its way!
Step 7: Cool & Slice
Once baked to perfection, remove the bread from the oven and let it cool on a wire rack for about 5 minutes. This short cooling period allows the steam to escape, making it easier to slice. For the best results, resist the temptation to cut it right away; instead, wait until it’s slightly cooled to enjoy clean, beautiful slices of your homemade bread.
Expert Tips for Homemade Bread
-
Cool Before Slicing: Allow the bread to cool slightly before cutting to avoid squished slices. This ensures a clean cut and maintains the bread’s shape.
-
Check Baking Powder Freshness: For the best rise, make sure your baking powder is fresh. An expired leavening agent could hinder your homemade bread from rising properly.
-
Knead Lightly: Don’t over-knead the dough. Just a minute or so to bring it together is sufficient for a fluffy texture; overworking can lead to dense bread.
-
Use a Serrated Knife: For smooth, beautiful slices, always use a serrated knife. A straight blade can crush the soft bread and ruin its fluffy crumb.
-
Experiment with Add-Ins: Feel free to get creative! Adding cheese, herbs, or garlic not only enhances flavor but also gives your homemade bread a personal twist.
What to Serve with 20-Minute Homemade Bread
There’s nothing quite as lovely as enhancing a freshly baked loaf with delightful sides and pairings to create a memorable meal experience.
-
Creamy Tomato Soup: This classic combo never fails; the warm, rich soup complements the fluffy texture of the bread perfectly. Dip slices for that extra cozy bite.
-
Garlic Herb Butter: Slather this on warm bread to elevate flavor profiles. The buttery aroma whisks you away to a rustic kitchen, enhancing every bite.
-
Mixed Green Salad: Fresh greens tossed in a zesty vinaigrette add a refreshing contrast to the bread’s warmth. It balances the meal beautifully while keeping it light.
-
Savory Parmesan Cheese: Sprinkle some grated cheese over warm slices for an irresistible cheesy crust that melts in your mouth; it’s an easy yet elegant addition.
-
Peppery Olive Oil for Dipping: Drizzle high-quality olive oil on a plate, adding fresh cracked pepper. It’s a delicious dip that pairs delightfully with the bread’s fluffy texture.
-
Homemade Jam: Sweet and tangy preserves spread over warm slices provide a beautiful contrast to the savory notes. Perfect for breakfast or an afternoon snack!
-
A Glass of Red Wine: A fruity red brings out the flavors of your homemade bread and any savory add-ins, creating a cozy, sophisticated meal experience.
-
Cheesy Garlic Bread Variation: Take your bread to a new level by adding minced garlic and mozzarella cheese right into the dough—perfect for garlic lovers!
Each of these pairings adds its unique flavor, ensuring every meal with your homemade bread is a delightful celebration of taste and warmth.
Make Ahead Options
These 20-Minute Homemade Bread loaves are fantastic for meal prep enthusiasts! You can prepare the dough up to 24 hours in advance by mixing the dry ingredients together and storing them in an airtight container. Additionally, after shaping the loaf, wrap it tightly in plastic wrap, and refrigerate; this will deepen the flavors while preventing drying out. When you’re ready to enjoy your bread, simply bake it according to the instructions straight from the fridge, adding an extra 2-5 minutes to the baking time for perfectly fluffy results. With these make ahead options, homemade bread has never been easier, ensuring you savor the comforting aroma of freshly baked bread without the last-minute rush!
Homemade Bread Variations & Substitutions
Get creative in the kitchen with these delightful twists that will elevate your homemade bread experience.
-
Cheese Bliss: Add ½ cup of shredded cheese directly into the dough for a savory treat. The melted pockets of cheese throughout create a wonderful texture and flavor.
-
Herb Infusion: Incorporate 2 tablespoons of dried or fresh herbs like rosemary or thyme for an aromatic loaf. The fragrances filling your kitchen will be irresistible!
-
Garlic Lovers: Mix in 2-3 cloves of minced garlic for a robust twist. This variation pairs wonderfully with soups or as an accompaniment to pasta dishes.
-
Sweet Treat: Increase sugar to 2 tablespoons and stir in 1 teaspoon of cinnamon for a delightful sweet variety. This is perfect for breakfast, slathered with butter or cream cheese.
-
Rolls: Shape the dough into small portions to create dinner rolls, baking for 10-12 minutes. They’re perfect for family gatherings or as a side to salads.
-
Whole Wheat Option: Substitute all-purpose flour with whole wheat flour for a heartier loaf. Expect a denser texture, rich in nutrients and flavor—great for a healthy twist!
-
Gluten-Free Delight: Use a gluten-free flour blend to cater to dietary needs. Adjust liquid slightly since gluten-free flours can absorb moisture differently, yielding a delightful bread for everyone.
-
Spicy Kick: Mix in a pinch of red pepper flakes or chopped jalapeños for a spicy twist. This fiery variation adds warmth and character, perfect for those who enjoy a little heat with their meals.
Feel free to explore these fun variations, and if you’re looking for more baked goods, try adding a slice of your bread to a warm bowl of creamy tomato soup, or savor it with a sweet honey butter topping! It’s all about bringing warmth and joy to your kitchen!
Storage Tips for Homemade Bread
Room Temperature: Store leftover homemade bread in an airtight container at room temperature for up to 2 days. This keeps it fresh while allowing you to enjoy its delightful texture.
Freezer: For longer storage, tightly wrap the bread in plastic wrap or foil and freeze it for up to 3 months. This preserves its flavor and texture, so you can indulge anytime!
Thawing: To enjoy frozen bread, simply remove it from the freezer and allow it to thaw at room temperature. You can also pop slices in the toaster for a quick, warm treat.
Reheating: If you like your homemade bread warm, reheat it in a 350°F (175°C) oven for a few minutes. This revives its crusty exterior and fluffy interior for the ultimate eating experience!
20-Minute Homemade Bread Recipe FAQs
How do I choose the right flour for homemade bread?
Absolutely! For this recipe, all-purpose flour works best because it provides a light, fluffy texture. If you’re looking to make a denser loaf, you can certainly substitute half with whole wheat flour. Just keep in mind that whole wheat flour absorbs more liquid, so you may need to add a little extra milk.
How should I store leftover homemade bread?
Very simply! Keep your leftover homemade bread in an airtight container at room temperature for up to 2 days. If you want to extend its freshness, wrap it tightly in plastic wrap or aluminum foil and freeze it for up to 3 months. This way, you can enjoy delightful bread whenever you wish!
Can I freeze my homemade bread?
Yes, you can! To freeze your homemade bread, allow it to cool completely after baking. Then, wrap it tightly in plastic wrap or aluminum foil, ensuring it’s airtight. After that, place it in a freezer bag, pushing out as much air as possible. Thaw the bread at room temperature when you’re ready to enjoy it.
What should I do if my homemade bread doesn’t rise?
If your bread doesn’t rise, the most common culprit is expired baking powder. Always check the freshness of your baking powder before using it. Additionally, ensure that you mix the dough gently and not over-knead, as this can lead to a denser, less fluffy bread. If you’re using cold milk, allow it to warm slightly before mixing to give the dough the best chance of rising.
Are there any dietary considerations for this recipe?
Absolutely! This homemade bread is vegetarian-friendly and can be easily adjusted for lactose-intolerant individuals by substituting regular milk with any non-dairy milk, such as almond, soy, or oat milk. If you have any allergies, make sure to check the ingredients in your add-ins—cheeses or herbs could potentially contain allergens, so choose brands that align with your dietary needs.
Homemade Bread in 20 Minutes: Fluffy & Flavorful Delights
Ingredients
Equipment
Method
- Preheat your oven to 400°F (200°C) and grease a baking sheet with vegetable oil or line it with parchment paper.
- In a large mixing bowl, combine 2 cups of all-purpose flour, 1 tablespoon of baking powder, 1 teaspoon of salt, and 1 tablespoon of sugar and whisk until no lumps remain.
- Pour in 3/4 cup of milk and 2 tablespoons of vegetable oil into the dry mixture and stir gently until a soft dough forms.
- Turn the dough out onto a lightly floured surface and knead it gently for about 1 minute until it’s smooth and elastic.
- Shape the dough into a round loaf and place it on your prepared baking sheet. Score the top with a sharp knife.
- Slide the bread into your preheated oven and bake for 15-20 minutes until golden-brown.
- Remove the bread from the oven and let it cool on a wire rack for about 5 minutes before slicing.
Leave a Reply