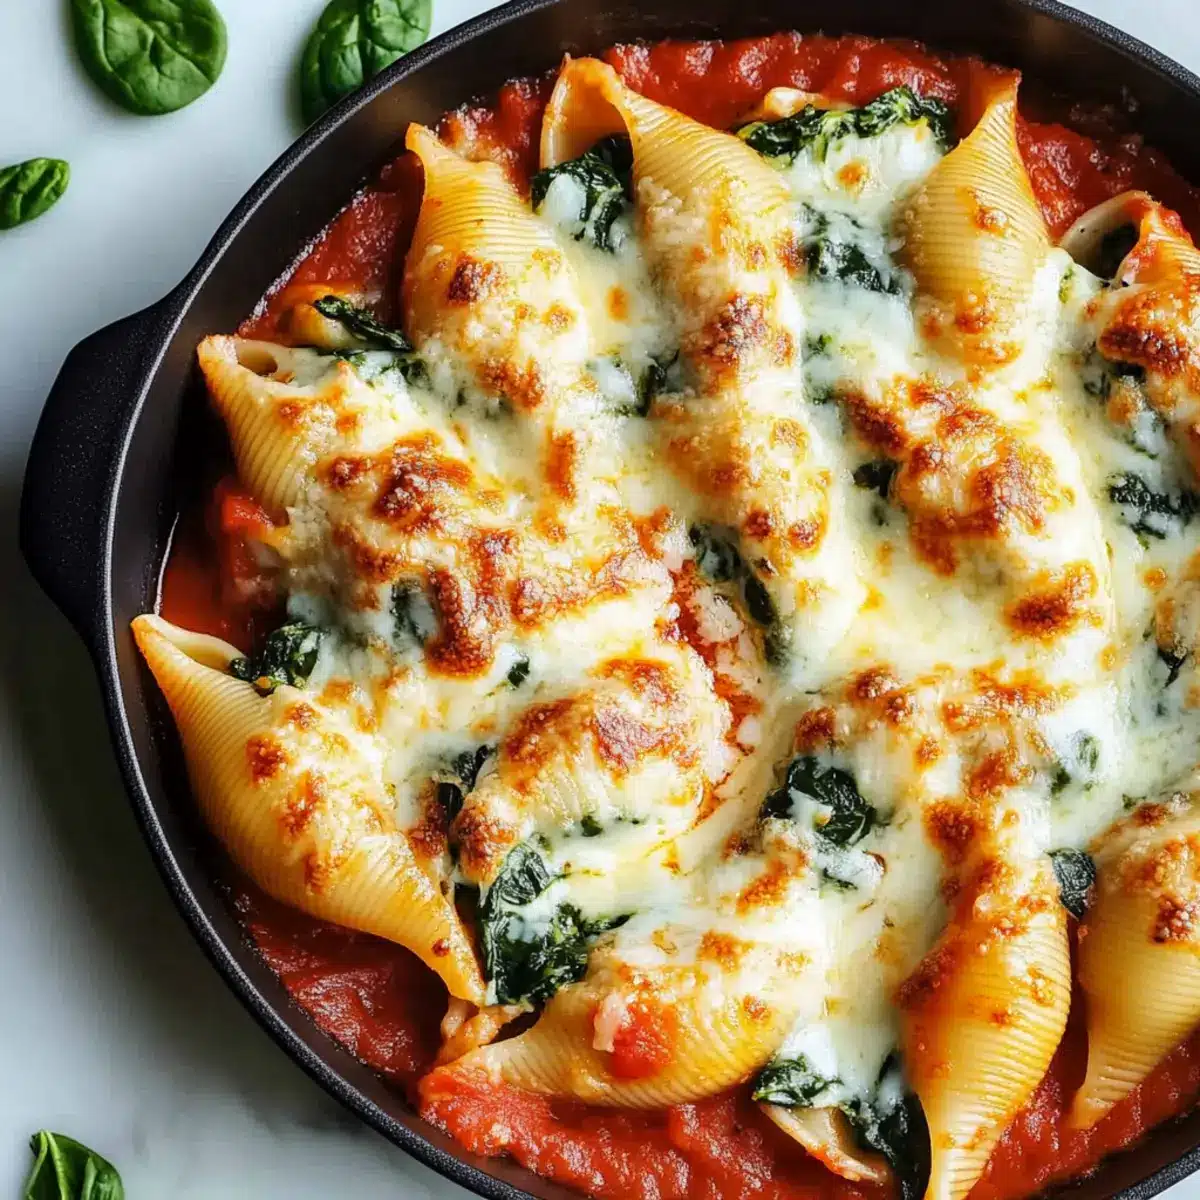
Every bite of these Easy Spinach Ricotta Stuffed Shells feels like a warm hug on a plate. As I stirred together the creamy ricotta, fresh spinach, and nutty Parmesan, the aroma of garlic wafted through my kitchen, promising comfort and satisfaction. This vegetarian delight is not just quick to prepare, but it also boasts a make-ahead option that’s perfect for busy weeknights or when hosting friends. Whether you’re a lifelong vegetarian or simply looking to bring more plant-based meals into your life, these stuffed shells will wow even the most devoted meat-eaters. Are you curious to discover how to create this comforting dish that charms everyone at the dinner table? Let’s dive in!
Why Choose Spinach Ricotta Stuffed Shells?
Comforting, These Easy Spinach Ricotta Stuffed Shells are like a warm hug on a plate, perfect for cozy nights.
Flavor-packed, The rich blend of cheeses and fresh spinach creates a delightful filling that sings with Italian flavors.
Make-ahead friendly, Prepare this dish in advance and bake it straight from the fridge, saving you time when entertaining.
Versatile, You can easily tweak the recipe by swapping cheese or adding your favorite vegetables for a personal touch.
Crowd-pleasing, This dish appeals to everyone, from vegetarians to meat-lovers, ensuring everyone leaves the table satisfied.
Explore more comforting options like Ricotta Pistachio Honey bites to complete your delightful meal experience!
Spinach Ricotta Stuffed Shells Ingredients
• Dive into the world of flavors with this comforting dish!
For the Shells
- Jumbo Pasta Shells – These large shells cradle the filling perfectly and become tender when baked in the sauce.
For the Filling
- Ricotta Cheese – Full-fat ricotta offers the creamiest texture and maximum flavor for the filling.
- Mozzarella Cheese – A must for that gooey melt and stretch, making each bite irresistible.
- Parmesan Cheese – This cheese lends a touch of salty depth, harmonizing beautifully with the ricotta and spinach.
- Fresh Spinach – Adds a refreshing pop and texture; frozen spinach is a good alternative—just remember to drain it well!
For the Sauce
- Marinara Sauce – The luscious base of this dish; choose a high-quality jarred sauce or homemade for optimal flavor!
For Flavoring
- Garlic – Essential for that aromatic backbone in the filling.
- Italian Seasoning – A sprinkle brings warmth and the nostalgia of traditional Italian meals.
- Salt and Pepper – Key for seasoning and enhancing the overall taste of the dish.
Feel free to experiment with your Spinach Ricotta Stuffed Shells by adding your favorite spices or herbs!
Step‑by‑Step Instructions for Spinach Ricotta Stuffed Shells
Step 1: Preheat the Oven
Begin by preheating your oven to 190°C (375°F). This ensures it’s ready for baking the Spinach Ricotta Stuffed Shells to perfection. If using frozen spinach, make sure to thaw it and squeeze out any excess moisture. For fresh spinach, wash and chop it into small pieces for a delightful filling.
Step 2: Cook the Pasta Shells
In a large pot of boiling salted water, cook the jumbo pasta shells until al dente, which usually takes about 8-10 minutes. Be sure to stir occasionally to prevent sticking. Once done, drain the shells in a colander and let them cool slightly, ensuring they’re easy to handle for stuffing later.
Step 3: Prepare the Filling
In a skillet over medium heat, add a drizzle of olive oil and sauté minced garlic until fragrant, about 1-2 minutes. Next, add the chopped spinach, cooking until wilted—about 3-4 minutes. In a bowl, combine the spinach mixture with ricotta cheese, mozzarella, Parmesan, an egg, and a hint of nutmeg, mixing until well blended and creamy.
Step 4: Assemble the Shells
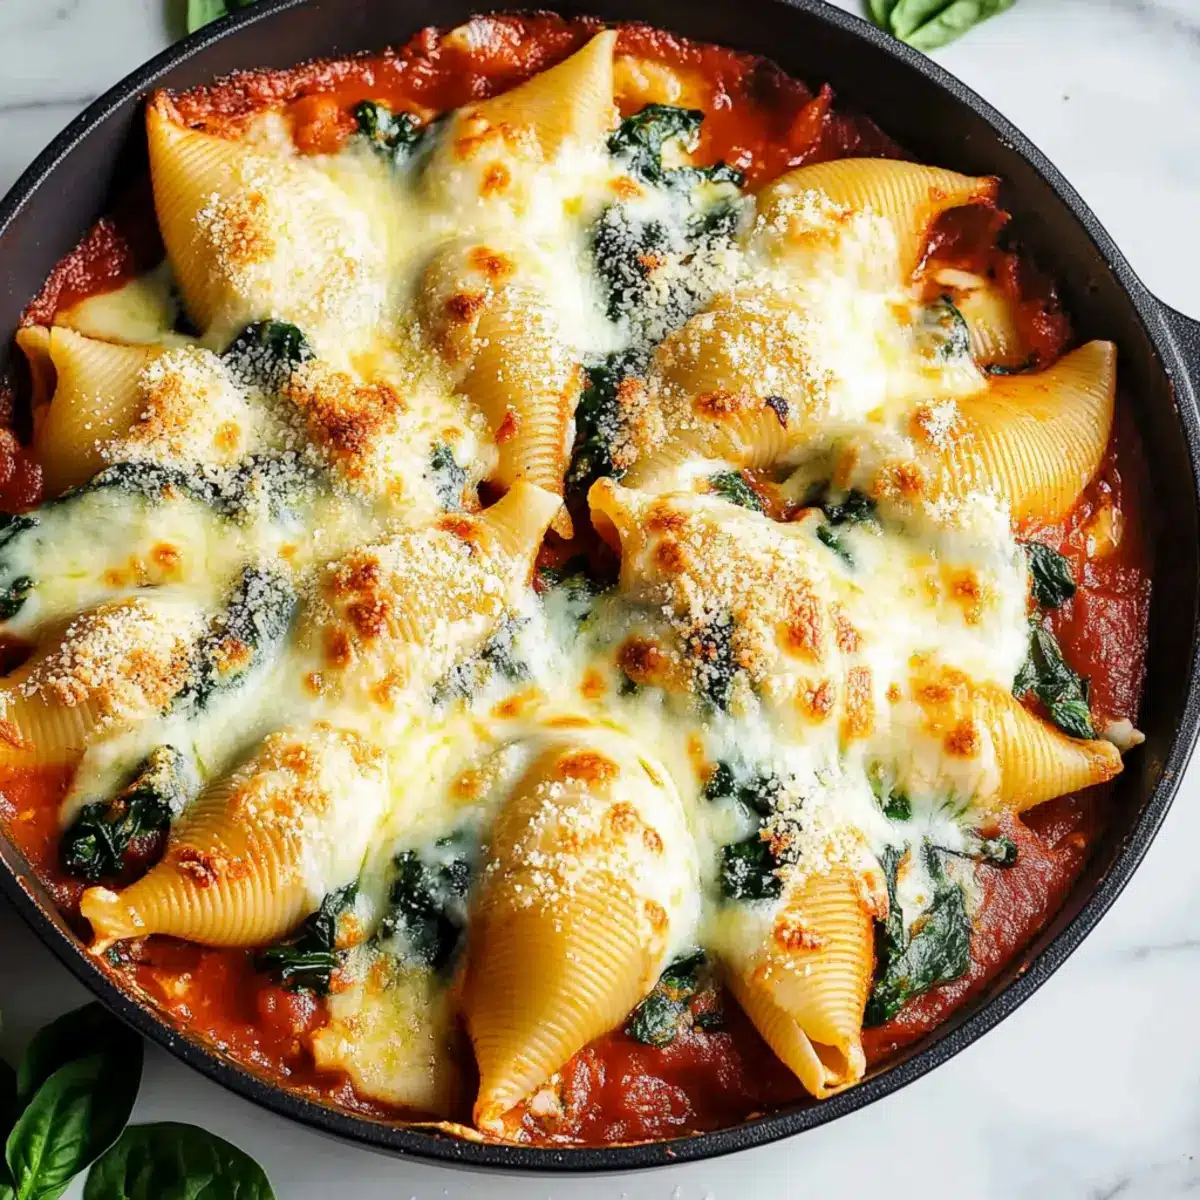
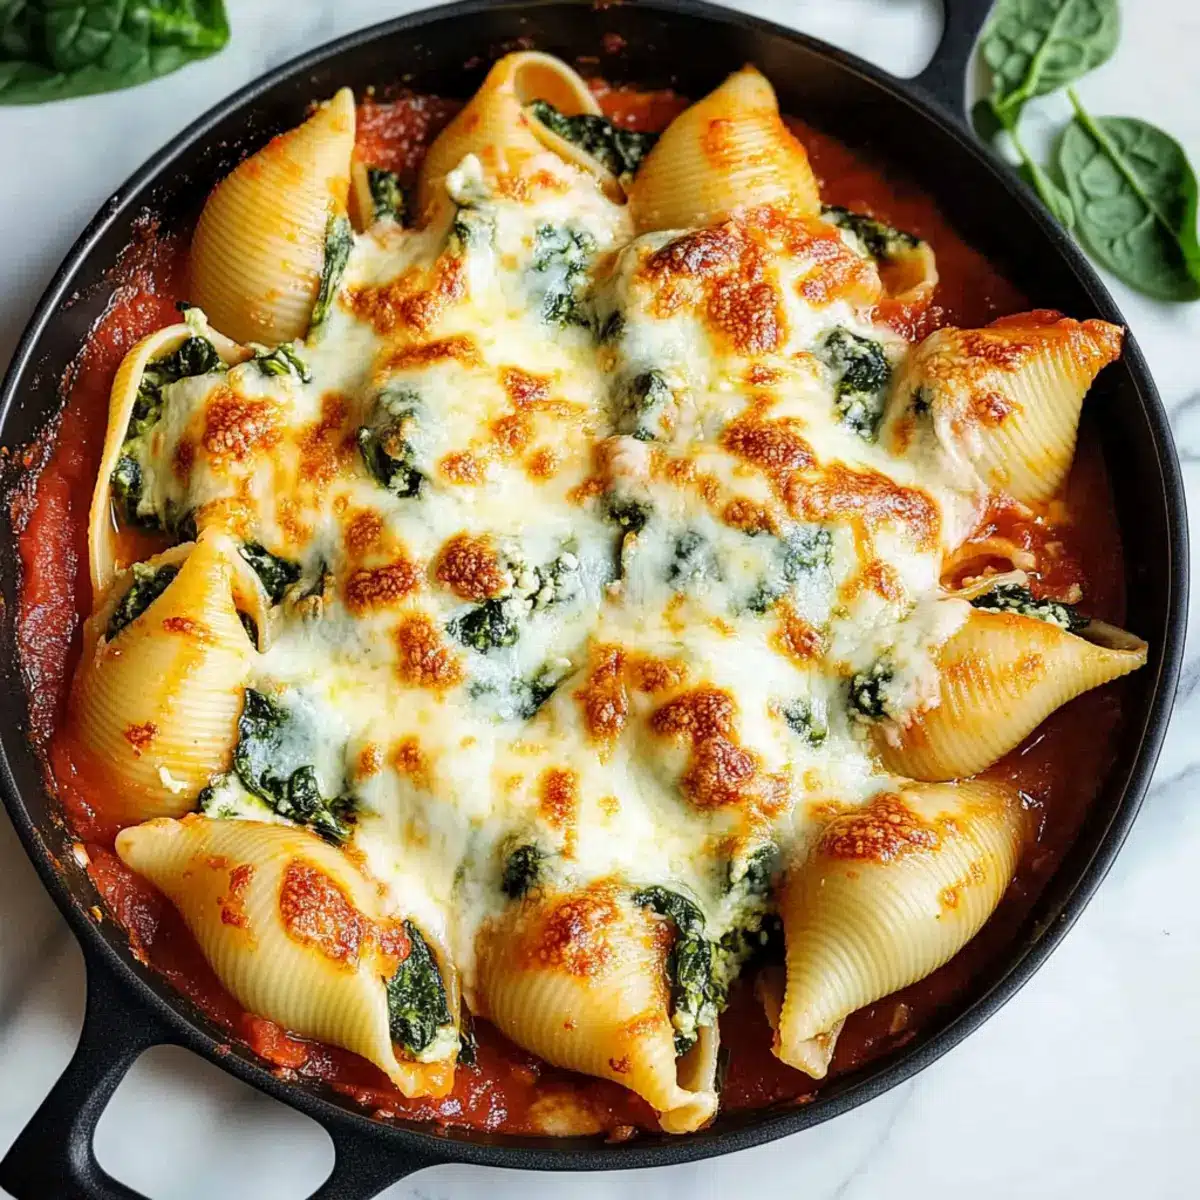
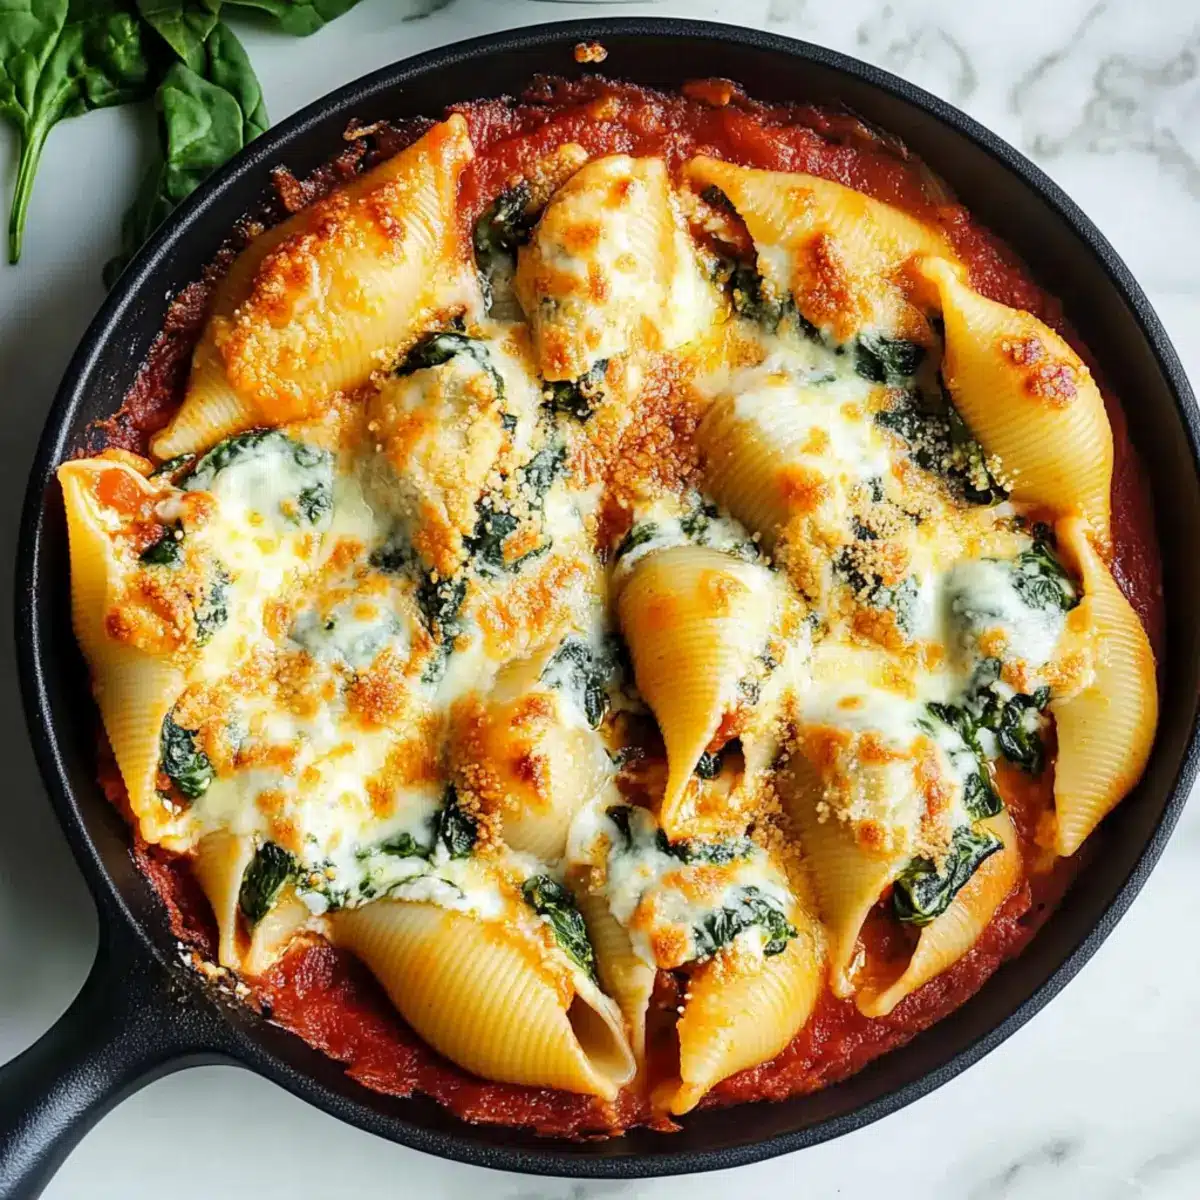
Spread a layer of marinara sauce evenly at the bottom of a baking dish. Carefully fill each cooked shell with the creamy spinach filling, placing them seam-side up in the dish. Once filled, pour the remaining marinara sauce over the shells, then sprinkle the extra mozzarella cheese on top for that irresistible melty finish.
Step 5: Bake the Dish
Cover the baking dish tightly with aluminum foil and place it in the preheated oven. Bake for 25 minutes to allow the flavors to meld beautifully. After that, remove the foil and bake for an additional 10 minutes until the cheese is bubbly and slightly golden brown, creating a delicious crust.
Step 6: Serve and Garnish
Once the Spinach Ricotta Stuffed Shells are out of the oven, let them rest for about 5 minutes to set. For a fresh finishing touch, garnish with chopped basil or parsley before serving. This comforting vegetarian dish is now ready to be enjoyed, with each bite showcasing the delightful combination of flavors!
What to Serve with Easy Spinach Ricotta Stuffed Shells
Every comforting bite of these stuffed shells deserves delightful companions to complete your meal experience.
-
Garlic Bread: Crunchy and buttery, it’s perfect for scooping up extra marinara sauce while delivering that aromatic garlic flavor we all love.
-
Simple Green Salad: A fresh salad with mixed greens, cherry tomatoes, and a zesty lemon vinaigrette provides a light balance, brightening up your plate.
-
Roasted Vegetables: Seasoned and caramelized, vegetables like zucchini, bell peppers, or asparagus offer a colorful and nutritious contrast that complements the creamy filling beautifully.
-
Italian Antipasto Platter: Include olives, marinated artichokes, and cheese—perfect for a nosh before diving into the main dish, bringing a variety of textures and flavors.
-
Chardonnay or Pinot Grigio: A chilled glass of white wine enhances the meal, cutting through the richness of the cheese while accentuating the spinach’s freshness.
-
Tiramisu: This classic Italian dessert with coffee and mascarpone is the perfect sweet ending, giving a delightful finish to your comforting meal.
With these pairings, you’ll create a cozy, inviting dinner that everyone will love!
Spinach Ricotta Stuffed Shells Variations
Get ready to explore delightful twists to elevate your comforting stuffed shells!
- Cottage Cheese: Swap ricotta for cottage cheese for a lighter, yet still creamy, filling. The flavor remains deliciously satisfying!
- Spicy Kick: Add red pepper flakes to the filling for an extra layer of heat. Each bite will surprise your taste buds!
- Provolone Boost: For richer flavor, mix in slices of provolone or gouda cheese in the filling. Guaranteed to take your dish to new cheesy heights!
- Veggie Lover’s Delight: Toss in broccoli, mushrooms, or zucchini to the filling for added texture and nutrition. Your family won’t even notice the extra greens!
- Pesto Twists: Blend a few spoonfuls of basil pesto into the ricotta mixture for a fresh, herbal flavor that steals the show. The result is a vibrant herby delight!
- Lemon Zest: Add a sprinkle of lemon zest to the cheese filling to brighten the flavors and give it a refreshing zing! You’ll be amazed at the difference!
- Nuts & Seeds: Stir in chopped walnuts or pine nuts for an unexpected crunch. It adds both texture and a nutty depth that complements the creamy filling.
- Cheesy Topping: For a crispy finish, sprinkle in some panko breadcrumbs mixed with olive oil over the cheese before baking. It creates the perfect golden crust!
Don’t forget, you can always add other flavors to pair beautifully with your stuffed shells, like these delightful Ricotta Pistachio Honey bites to round out your meal! Each variation will transform your plain shells into a new favorite. Enjoy the journey of cooking!
Make Ahead Options
These Easy Spinach Ricotta Stuffed Shells are perfect for meal prep enthusiasts! You can assemble the shells and store them in the fridge for up to 24 hours before baking, which is a fantastic time-saver for busy weeknights. To maintain quality, ensure the filling is well-combined and that the shells are filled with enough sauce to keep them moist. When you’re ready to enjoy this comforting dish, just pop them in the oven. If they are coming straight from the fridge, increase the baking time by about 10-15 minutes to ensure they’re heated through. With this make-ahead option, you can serve a delicious homemade meal with minimal effort!
Expert Tips for Spinach Ricotta Stuffed Shells
-
Moisture Control: Ensure spinach is thoroughly drained. Excess moisture can make the filling too runny, affecting your Spinach Ricotta Stuffed Shells’ texture.
-
Mixing Technique: Gently fold in the cheeses with the spinach mixture. Avoid overmixing to keep the filling creamy and light.
-
Perfect Bake Time: If assembling the dish ahead, remember to add 5–10 extra minutes to the baking time when cooking from cold.
-
Cheese Variations: Feel free to mix up the cheeses! Adding provolone or fontina can provide a richer flavor profile without losing the essence of the Spinach Ricotta Stuffed Shells.
-
Serving Suggestions: Pair your finished dish with a refreshing green salad or crusty garlic bread to make a complete and satisfying meal.
How to Store and Freeze Spinach Ricotta Stuffed Shells
Fridge: Store leftovers in an airtight container for up to 3 days; the flavors deepen and improve over time. Reheat in the microwave or oven until warmed through.
Freezer: Assemble the Spinach Ricotta Stuffed Shells and freeze before baking. Thaw overnight in the fridge before cooking for best results.
Reheating: When ready to serve, reheat in a preheated oven at 190°C (375°F) for about 20-25 minutes, covered with foil to retain moisture.
Make-Ahead: Prepare the shells a day in advance, storing them in the fridge before baking them fresh for your gathering.
Spinach Ricotta Stuffed Shells Recipe FAQs
How do I select the best spinach for my stuffing?
Absolutely! Fresh spinach should be vibrant green and tender with no dark spots. If you’re opting for frozen spinach, make sure it’s well-drained and free of excess moisture for the best filling consistency.
How should I store my leftover Spinach Ricotta Stuffed Shells?
Leftovers can be stored in an airtight container in the fridge for up to 3 days. I’ve found that they often taste even better the next day as the flavors meld together beautifully! When ready to enjoy, simply reheat in the microwave or oven until warmed through.
Can Spinach Ricotta Stuffed Shells be frozen? How?
Very! You can assemble the stuffed shells, cover them tightly with plastic wrap or foil, and freeze them unbaked for up to 3 months. To bake, simply thaw them overnight in the fridge, and then cook as directed in the recipe, adding an additional 5-10 minutes to the baking time if they are still cold.
What should I do if my filling is too watery?
If your filling turns out too watery, the key is to make sure both the spinach and ricotta are well-drained before mixing. Try pressing the spinach between paper towels to remove excess moisture. If you still find it too loose, you can add a small amount of breadcrumbs or more grated cheese to help thicken it up.
Are there any dietary considerations I should be aware of?
Yes! While this dish is vegetarian, those with dairy allergies should avoid it unless using plant-based cheese alternatives. If you’re making it for pets, be cautious, as ingredients like garlic and certain cheeses can be harmful. Always check with your vet if in doubt!
Can I make these Spinach Ricotta Stuffed Shells ahead of time?
Absolutely! You can prepare the stuffed shells a full day in advance. Just assemble them, store them in the fridge, and bake them when you’re ready to serve. This not only saves time but also makes it easier when entertaining guests!
Comforting Spinach Ricotta Stuffed Shells for Cozy Nights
Ingredients
Equipment
Method
- Preheat the oven to 190°C (375°F).
- In a large pot, boil salted water and cook the jumbo pasta shells until al dente, about 8-10 minutes. Drain and cool.
- In a skillet, heat olive oil and sauté minced garlic until fragrant. Add chopped spinach and cook until wilted, about 3-4 minutes.
- In a bowl, mix spinach with ricotta, mozzarella, Parmesan, an egg, and a hint of nutmeg until creamy.
- Spread marinara sauce in a baking dish, fill shells with the mixture, place them seam-side up, pour remaining sauce over, and sprinkle extra mozzarella on top.
- Cover with foil and bake for 25 minutes. Remove foil and bake for another 10 minutes until bubbly and golden.
- Let rest for 5 minutes and garnish with chopped basil or parsley before serving.
Leave a Reply