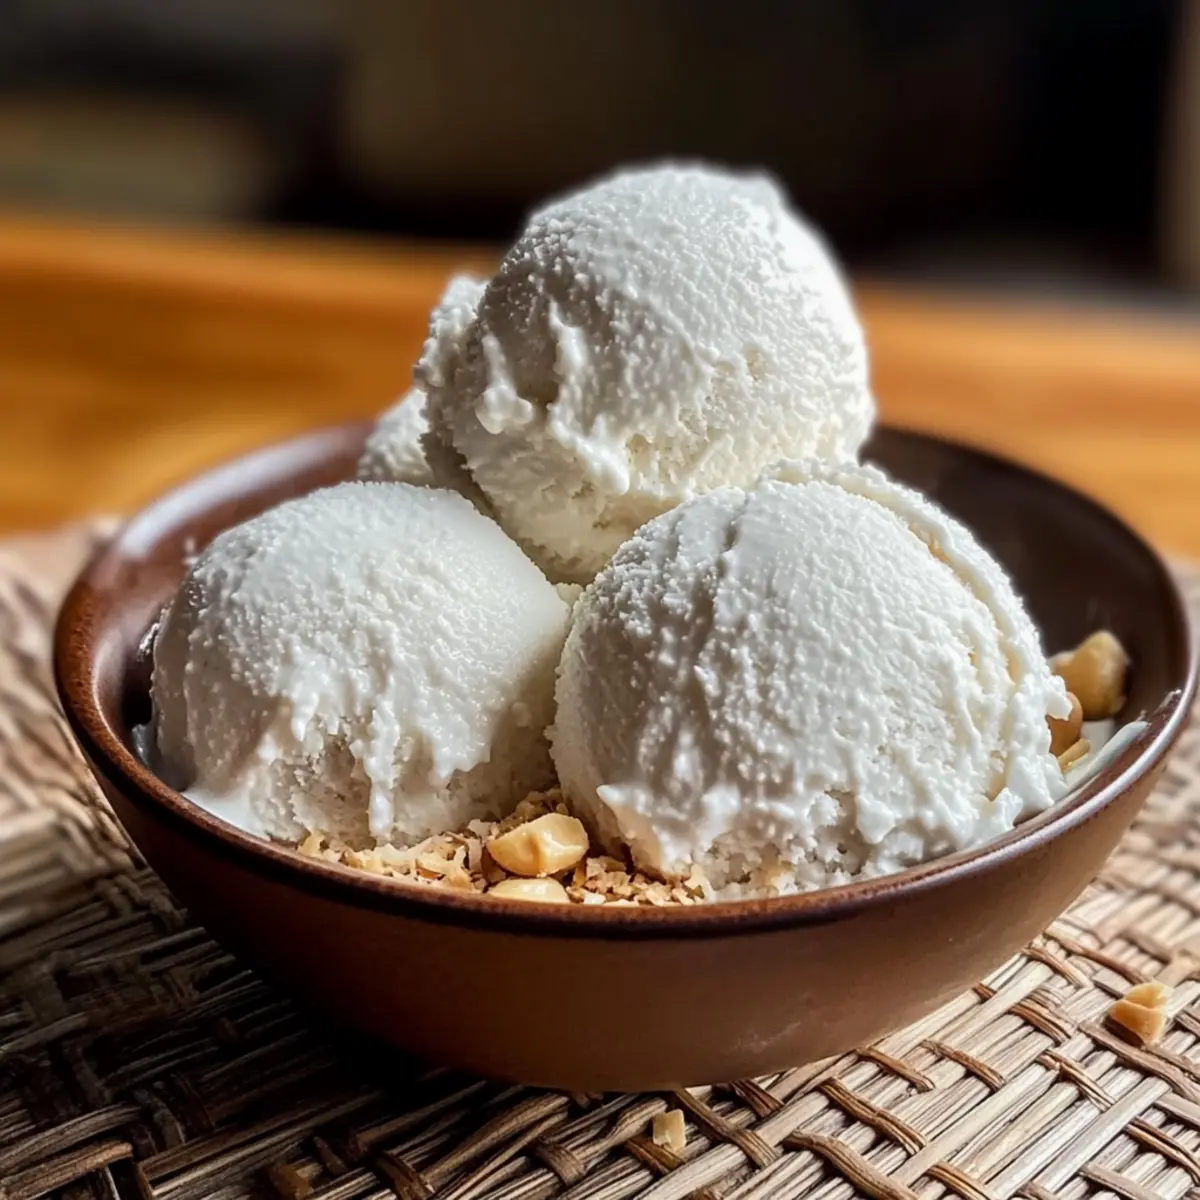
As I was savoring the last spoonful of creamy goodness, it struck me just how simple it can be to craft a dessert that’s both delicious and unique. This Creamy Thai Coconut Milk Ice Cream not only takes you on a culinary adventure with its rich coconut flavor, but it also requires no ice cream machine—perfect for the impromptu chef! With just a few ingredients, you can whip up this naturally sweet treat that’s easily customizable to suit any craving. It’s an ideal dessert for hot days, potlucks, or just when you need a moment of indulgence at home. So, what flavor twist will you add to your batch?
Why is This Ice Cream So Irresistible?
Creaminess and Flavor: This Thai Coconut Milk Ice Cream is incredibly rich and creamy, providing a luxurious dessert experience without the need for an ice cream maker.
Customizable Delight: Feel free to play with flavors—add fruity notes like mango or even a touch of chocolate for a unique twist.
Quick and Easy: With minimal preparation and ingredients, this recipe is perfect for any home cook looking to impress guests without the fuss.
Naturally Sweet: Made with natural coconut milk, it’s a guilt-free indulgence that’s also dairy-free.
Join the delicious journey of flavor and texture, and don’t forget to check out our other delightful sweet treats like Mango Sticky Rice or Lemon Truffles for more inspiration!
Thai Coconut Milk Ice Cream Ingredients
For the Base
• Coconut Milk – Provides a creamy, rich coconut flavor; can use light coconut milk for a lighter version.
• Evaporated Milk – Adds creaminess and contributes to the perfect texture; substitute with extra coconut milk for dairy-free.
• Cornstarch – Serves as a thickening agent for a smooth mouthfeel; ensure it’s fully dissolved to avoid lumps.
• Sweetened Condensed Milk – Brings sweetness and enhances the creamy texture; adjust sweetness based on preference.
• Salt – Balances sweetness and enhances flavors; just a pinch is enough to avoid overpowering.
• Vanilla Extract – Adds a beautiful vanilla note; almond extract works well for a different flavor profile.
For Optional Mix-ins and Toppings
• Chocolate Chips – A fun addition for chocolate lovers; sprinkle in during mixing for added flavor.
• Fresh Mango or Other Fruits – Offers fruity freshness; mix in puree or chunks before freezing for delightful bursts of flavor.
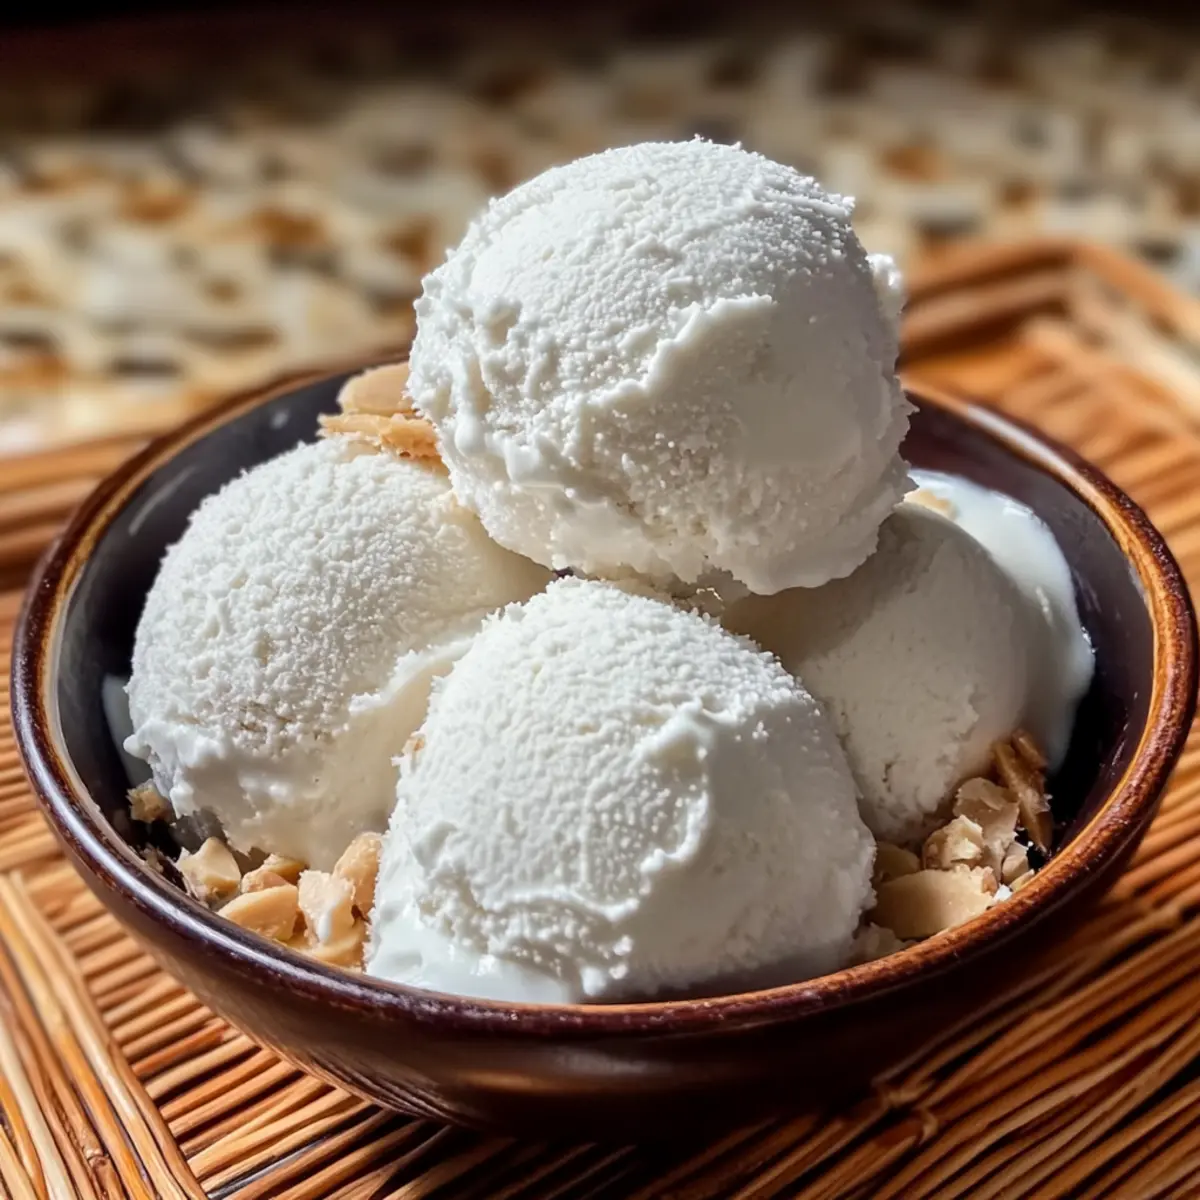
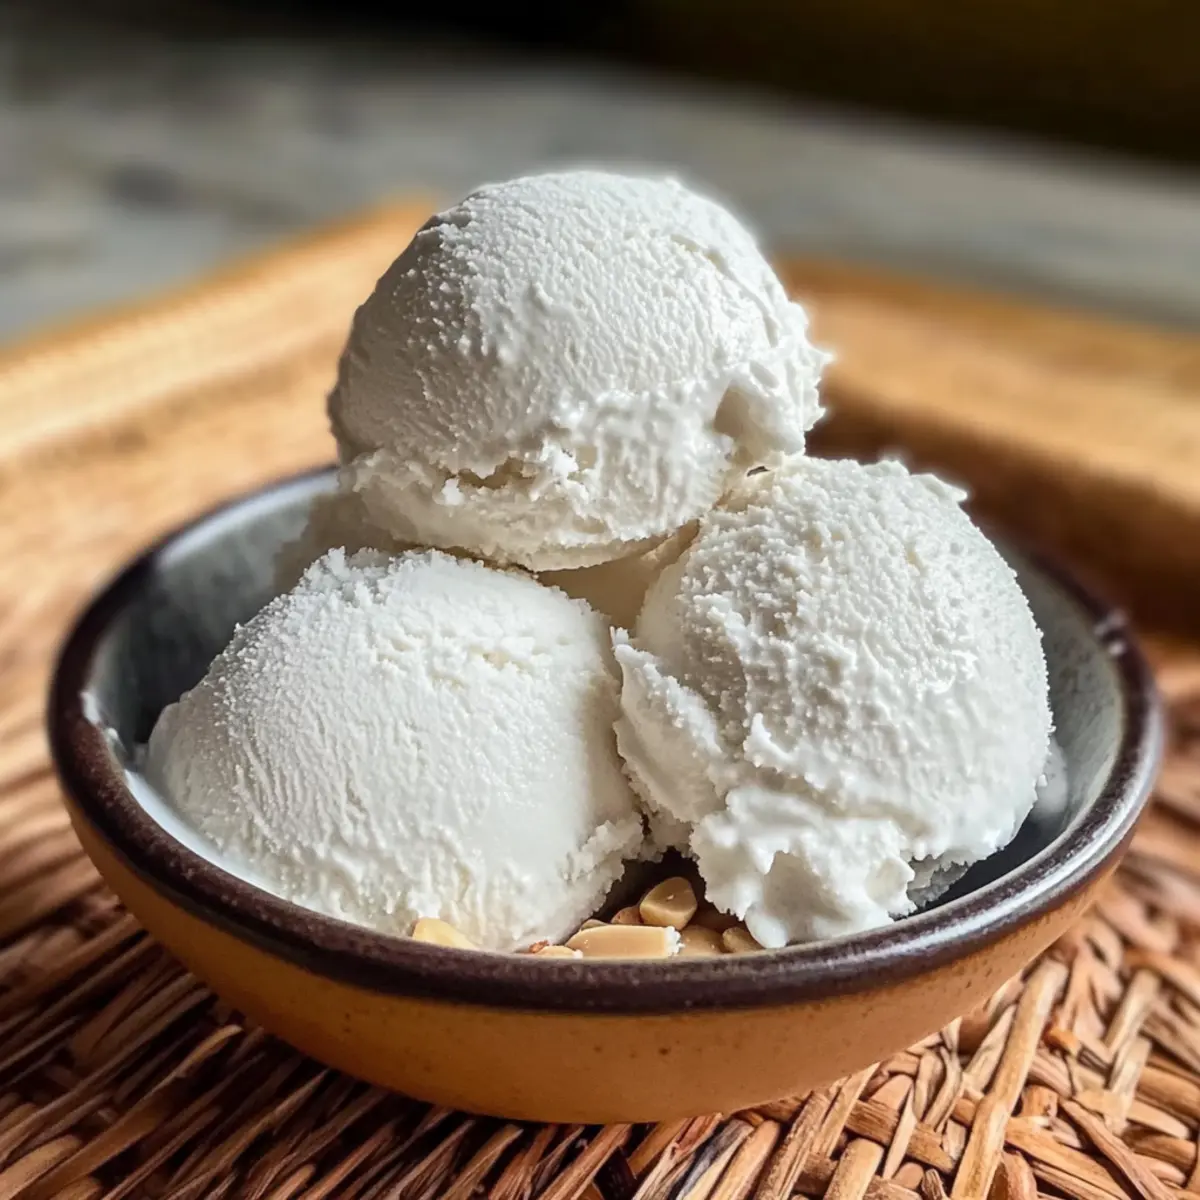
• Roasted Peanuts or Almonds – Perfectly crunchy toppings to enhance texture; add before serving for delightful contrast.
• Toasted Coconut Flakes – Boosts coconut flavor and adds a tropical touch; sprinkle on top for extra flair.
Ready to enjoy a deliciously smooth scoop? This Thai Coconut Milk Ice Cream is a fantastic sweet treat that’s as enjoyable to make as it is to eat!
Step‑by‑Step Instructions for Thai Coconut Milk Ice Cream
Step 1: Combine the Base
In a medium saucepan, mix together one can of coconut milk and one can of evaporated milk over low heat. Stir gently for about 5 minutes until the mixture is warm but not boiling—look for steam rising from the surface without bubbles forming, which indicates it’s ready for the next step.
Step 2: Thicken the Mixture
Gradually whisk in ¼ cup of cornstarch, ensuring it dissolves completely and the mixture thickens slightly. Continue to stir for 2 to 3 minutes, monitoring for a smooth consistency without any lumps. The mixture should become a bit creamier and coat the back of a spoon.
Step 3: Add Sweetness and Flavor
Remove the saucepan from heat and stir in 1 cup of sweetened condensed milk, 1 teaspoon of vanilla extract, and a pinch of salt. Mix thoroughly for about 2 minutes until all ingredients are well combined and you can see a lovely glossy texture forming. This is where the Thai coconut milk ice cream begins to take shape!
Step 4: Cool the Mixture
Let the mixture cool at room temperature for approximately 30 minutes. Stir occasionally to prevent a skin from forming on top, which ensures a smooth final texture. Once cooled, it can be transferred to an airtight container for the freezing process.
Step 5: Freeze the Ice Cream
Place the container in the freezer and allow the mixture to freeze for about 6 hours, or until solid. To keep the texture creamy, stir the mixture every 30–45 minutes for the first 2-3 hours. This helps to break up ice crystals and achieves that beloved creamy consistency of Thai coconut milk ice cream.
Step 6: Serve and Enjoy
Before serving, remove the ice cream from the freezer and let it sit at room temperature for about 5 minutes to soften slightly. This makes scooping easier and enhances your enjoyment. Serve with delicious toppings like toasted coconut flakes or roasted peanuts for an extra flavor burst that complements the creamy goodness perfectly!
Thai Coconut Milk Ice Cream Variations
Feel free to unleash your creativity and make this ice cream your own—it’s a canvas for tantalizing flavors just waiting for your touch!
-
Sweetness Adjustments: Modify the amount of sweetened condensed milk to suit your taste. Experimenting with sweetness levels can take your dessert from subtly sweet to decadently indulgent.
-
Dairy-Free Delight: Replace the evaporated milk with an equal amount of coconut milk for a completely dairy-free treat that keeps all the creaminess you love.
-
Fruity Infusions: Add fresh purees like mango or blended strawberries before freezing to create fruity variations. They’re bursting with flavor and perfect for a refreshing twist!
-
Chocolate Lovers: Mix in chocolate chips or cocoa powder for a rich chocolate version. You can also fold in melted chocolate right before you finish mixing for a luscious surprise.
-
Nutty Crunch: Incorporate crushed roasted peanuts or almonds for a delightful texture. These wonderful toppings provide an irresistible crunch alongside the creamy base.
-
Citrusy Zest: Add a squeeze of lime or lemon juice for a citrusy kick. This bright flavor pairs beautifully with the richness of the coconut.
-
Spicy Kick: For adventurous souls, try adding a pinch of cayenne or ginger for a surprise element of heat. It creates a tantalizing contrast to the sweetness of the ice cream.
-
Tropical Coconut Flakes: Scatter toasted coconut flakes on top before serving to amplify the tropical vibes and add a delightful crunch that mellows the creaminess.
Explore these variations to create your perfect scoop of Thai Coconut Milk Ice Cream. And for more delightful dessert ideas, why not check out our Creamy Baked Cauliflower Gratin or try your hand at Blueberry Cream Cheese?
Storage Tips for Thai Coconut Milk Ice Cream
Fridge: Store any leftovers in the fridge for up to 3 days, but for the best taste and texture, it’s recommended to keep them frozen.
Freezer: Keep the Thai coconut milk ice cream in an airtight container in the freezer for up to two weeks to maintain its creamy consistency and rich flavor.
Reheating: If the ice cream becomes too hard, let it sit at room temperature for about 5 minutes before serving. This will help soften it for easier scooping.
Wrapping: For long-term storage, consider using plastic wrap directly on the surface of the ice cream before sealing the container. This helps prevent freezer burn and keeps it fresh!
Make Ahead Options
These delicious Thai Coconut Milk Ice Cream treats are perfect for meal prep enthusiasts! You can prepare the ice cream base up to 24 hours in advance by following the initial steps: combine coconut milk, evaporated milk, and cornstarch, then add sweetened condensed milk, vanilla extract, and salt. Once cooled, transfer it to an airtight container and store it in the refrigerator. This allows the flavors to meld beautifully overnight without compromising quality. When you’re ready to enjoy your ice cream, simply pour the mixture into your container and freeze as directed. With this prep-ahead method, you can delight in a homemade ice cream experience that saves you time on busy days while ensuring every scoop is just as creamy and flavorful!
Expert Tips for Thai Coconut Milk Ice Cream
• Stir Regularly: To achieve a creamy texture, stir the mixture every 30–45 minutes during the first few hours of freezing to break up ice crystals.
• Avoid Lumps: Ensure cornstarch is fully dissolved before removing from heat; lumps can disrupt the smooth texture of the Thai coconut milk ice cream.
• Personalize Sweetness: Adjust the amount of sweetened condensed milk based on taste preference. You can always add more but can’t remove once mixed in.
• Cool Properly: Let the mixture cool at room temperature before freezing to ensure it freezes evenly without forming a skin.
• Optimal Serving: Allow the ice cream to soften at room temperature for about 5 minutes before serving, making it easier to scoop and enjoy.
Feel free to experiment with various flavors to create your perfect Thai coconut milk ice cream!
What to Serve with Creamy Thai Coconut Milk Ice Cream
Indulging in a scoop of this luscious ice cream is even more delightful when paired with the perfect accompaniments.
-
Fresh Mango Slices: The sweet, juicy mango slices add a refreshing burst of flavor that perfectly complements the creamy texture of the ice cream.
-
Toasted Coconut Flakes: Adding these crunchy flakes enhances the tropical vibe, creating a lovely contrast to each smooth spoonful. And let’s be honest, who doesn’t love a little extra coconut?
-
Roasted Peanuts: For a nutty crunch, sprinkle some roasted peanuts on top. Their savory hint balances the sweetness beautifully and adds a delightful texture.
-
Chocolate Sauce Drizzle: A rich chocolate sauce will introduce a decadent twist, turning your ice cream into a luxurious dessert experience that pleases any chocolate lover.
-
Almond Butter Swirl: Swirling in almond butter before freezing adds a nutty taste and silkiness, elevating each scoop to new heights of enjoyment.
-
Coconut Macaroons: These chewy treats are perfect for dipping or enjoying alongside your ice cream, enhancing the tropical theme with every bite.
-
Iced Green Tea: Sipping on a chilled cup of lightly sweetened iced green tea creates a lovely palate cleanser, making every scoop of Thai coconut milk ice cream even more enjoyable.
Elevate your dessert experience with these amazing pairings for your Thai Coconut Milk Ice Cream!

Thai Coconut Milk Ice Cream Recipe FAQs
What type of coconut milk should I use for this recipe?
Absolutely! Using full-fat coconut milk is ideal for achieving maximum creaminess and rich flavor. If you prefer a lighter version, you can opt for light coconut milk, which will still provide a nice coconut essence but with less richness.
How can I store the Thai coconut milk ice cream?
To keep your Thai coconut milk ice cream fresh, store it in an airtight container in the freezer. It will maintain its creamy consistency and rich flavor for up to two weeks. For additional protection, cover the surface of the ice cream with plastic wrap before sealing the container, which helps prevent freezer burn.
Can I freeze the ice cream for longer than two weeks?
While it’s best enjoyed within two weeks for optimal texture and flavor, you can keep it in the freezer for longer. Just note that the texture may change slightly after this period. If you freeze it for an extended time, remember to let it sit at room temperature for about 10 minutes before scooping!
What if my ice cream becomes icy or hard?
If your ice cream becomes too hard, let it sit at room temperature for about 5–10 minutes before serving. This allows it to soften and become more scoopable. Additionally, remember to stir it every 30–45 minutes for the first few hours of freezing to minimize ice crystal formation, ensuring that creamy texture everyone loves.
Are there any dietary considerations with this recipe?
Very! This Thai coconut milk ice cream is naturally dairy-free, making it a perfect option for those with lactose intolerance. However, if you have nut allergies, be cautious with optional toppings like roasted peanuts or almonds. Always label your ice cream if serving to guests, so they are aware of any potential allergens.
Can I customize the sweetness of the ice cream?
Yes, you can! If you prefer a less sweet ice cream, simply reduce the amount of sweetened condensed milk according to your taste. Start with half a cup and taste the mixture before freezing—it’s always easier to add a little more sweetness than to remove it!
Creamy Thai Coconut Milk Ice Cream That's Easy to Customize
Ingredients
Equipment
Method
- In a medium saucepan, mix together one can of coconut milk and one can of evaporated milk over low heat for about 5 minutes until warm.
- Gradually whisk in ¼ cup of cornstarch, ensuring it dissolves completely. Stir for 2 to 3 minutes until thickened.
- Remove from heat and stir in 1 cup of sweetened condensed milk, 1 teaspoon of vanilla extract, and a pinch of salt. Mix for 2 minutes.
- Let the mixture cool at room temperature for approximately 30 minutes, stirring occasionally.
- Place in the freezer for about 6 hours, stirring every 30–45 minutes for the first 2-3 hours.
- Before serving, let it sit at room temperature for about 5 minutes to soften slightly.
Leave a Reply