
There’s something magical about the first bite of a freshly baked taco, and these Baked Chicken Tacos are no exception! Nestled within light, crisp corn tortillas, you’ll find tender chicken and gooey, melty cheese that transform into a satisfying meal the whole family will love. Not only are these tacos a quick meal option for those bustling weeknights, but they also allow for fun customization with different fillings and cheeses, making them perfect for meal prepping in bulk. Imagine the joy of pulling a tray of golden, crispy tacos from the oven, ready to be devoured! With just a handful of ingredients and simple steps, you’ll be on your way to taco bliss. Who’s ready to discover the easiest taco night ever?
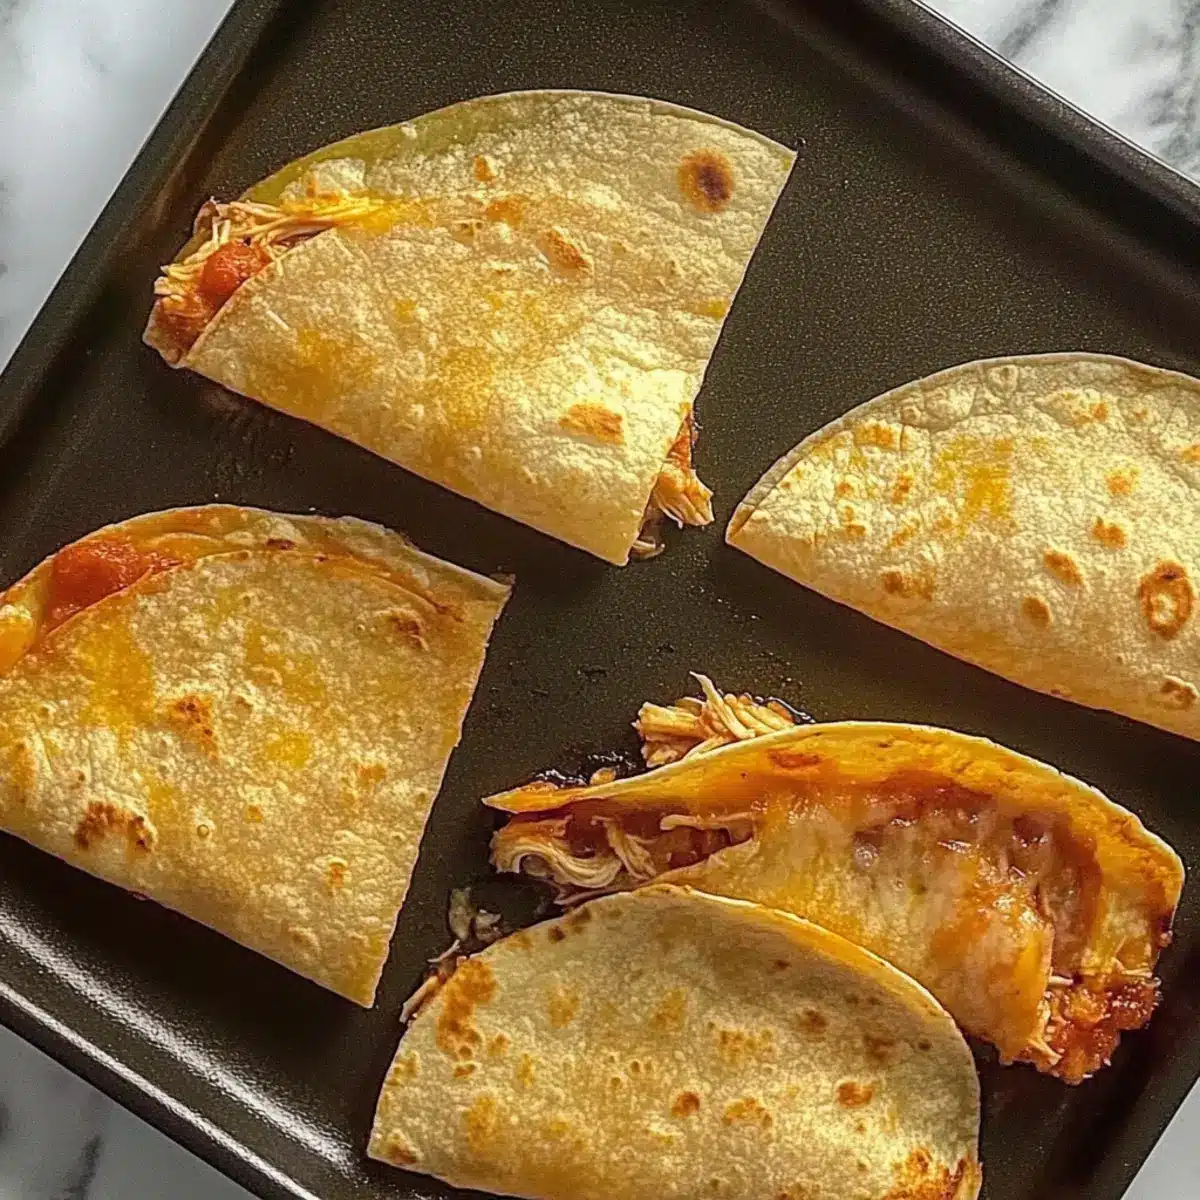
Why are Baked Chicken Tacos a must-have?
Quick and Easy: Busy weeknights? These tacos come together in a snap, ensuring you can serve a delicious meal in no time.
Customizable Fillings: Versatility is key. From shredded chicken to ground beef, you can mix and match fillings, creating a personalized taco experience that your family will adore.
Crispy Perfection: Enjoy that crunch! Baking rather than frying gives you a golden, crispy taco without the excess oil—truly a healthier option.
Meal Prep Friendly: Save time! These tasty tacos can be made ahead of time, frozen, and baked when you’re ready to serve, making meal prep a breeze.
Family Favorite: Appeal to all! These Baked Chicken Tacos are sure to please everyone at the dinner table, just like a satisfying plate of Greek Chicken Gyro or a comforting Chicken Wellington Effortlessly. Get ready for some happy tummies!
Baked Chicken Tacos Ingredients
For the Tacos
• Extra Thin Corn Tortillas – The crispy base for your tacos; Mission brand ensures the best texture.
• Cooked Chicken Breast (6 oz) – Your main protein; chopped or shredded works best, but rotisserie chicken is a fantastic shortcut.
• Shredded Cheese (1/2 cup, ~56g) – Adds flavor and binding; feel free to mix it up with cheddar or your favorite cheese blend.
Optional Fillings
• Ground Beef – A hearty alternative if you’re looking for a different flavor profile.
• Mixed Vegetables – Diced peppers or onions can add nutrition and a pop of color to your tacos.
For Serving
• Salsa – A perfect companion for dipping or drizzling on top for an added kick.
• Avocado – Creamy avocado complements the crispy tacos beautifully.
• Side Salad – Serve alongside for a complete meal that everyone will love.
Don’t forget, these Baked Chicken Tacos are not just a meal; they’re a canvas for your culinary creativity!
Step‑by‑Step Instructions for Baked Chicken Tacos
Step 1: Preheat the Oven
Start by preheating your oven to 400°F (200°C). This ensures that your Baked Chicken Tacos will cook evenly and achieve that delightful crispy texture. While the oven heats up, gather all your ingredients and equipment to streamline the process, making cooking an enjoyable experience.
Step 2: Soften the Tortillas
Wrap the extra thin corn tortillas in a damp paper towel and microwave for 45-60 seconds. This step is crucial for preventing the tortillas from cracking while filling. You want them soft and pliable, ready to envelop the tender chicken and cheese just waiting to be nestled inside.
Step 3: Assemble the Tacos
Once softened, take each tortilla and place it on a clean surface. Spoon the cooked chicken evenly on one half of each tortilla, followed by a generous sprinkle of shredded cheese. Feel free to add any optional fillings you love, ensuring not to overfill to keep them manageable and neat.
Step 4: Fold and Seal
Carefully fold each tortilla over the fillings, gently pressing down to seal the edges. This will create a delicious pocket that captures all the flavors. Remember, the key to perfect Baked Chicken Tacos is a secure fold that prevents any filling spillage during baking.
Step 5: Weigh Down the Tacos
To keep the tacos from opening while they bake, place a baking sheet on top for weight. This tip helps maintain their shape and ensures even crispiness throughout. With the tacos weighed down, they’re ready to make their delicious transformation in the oven!
Step 6: Bake the Tacos
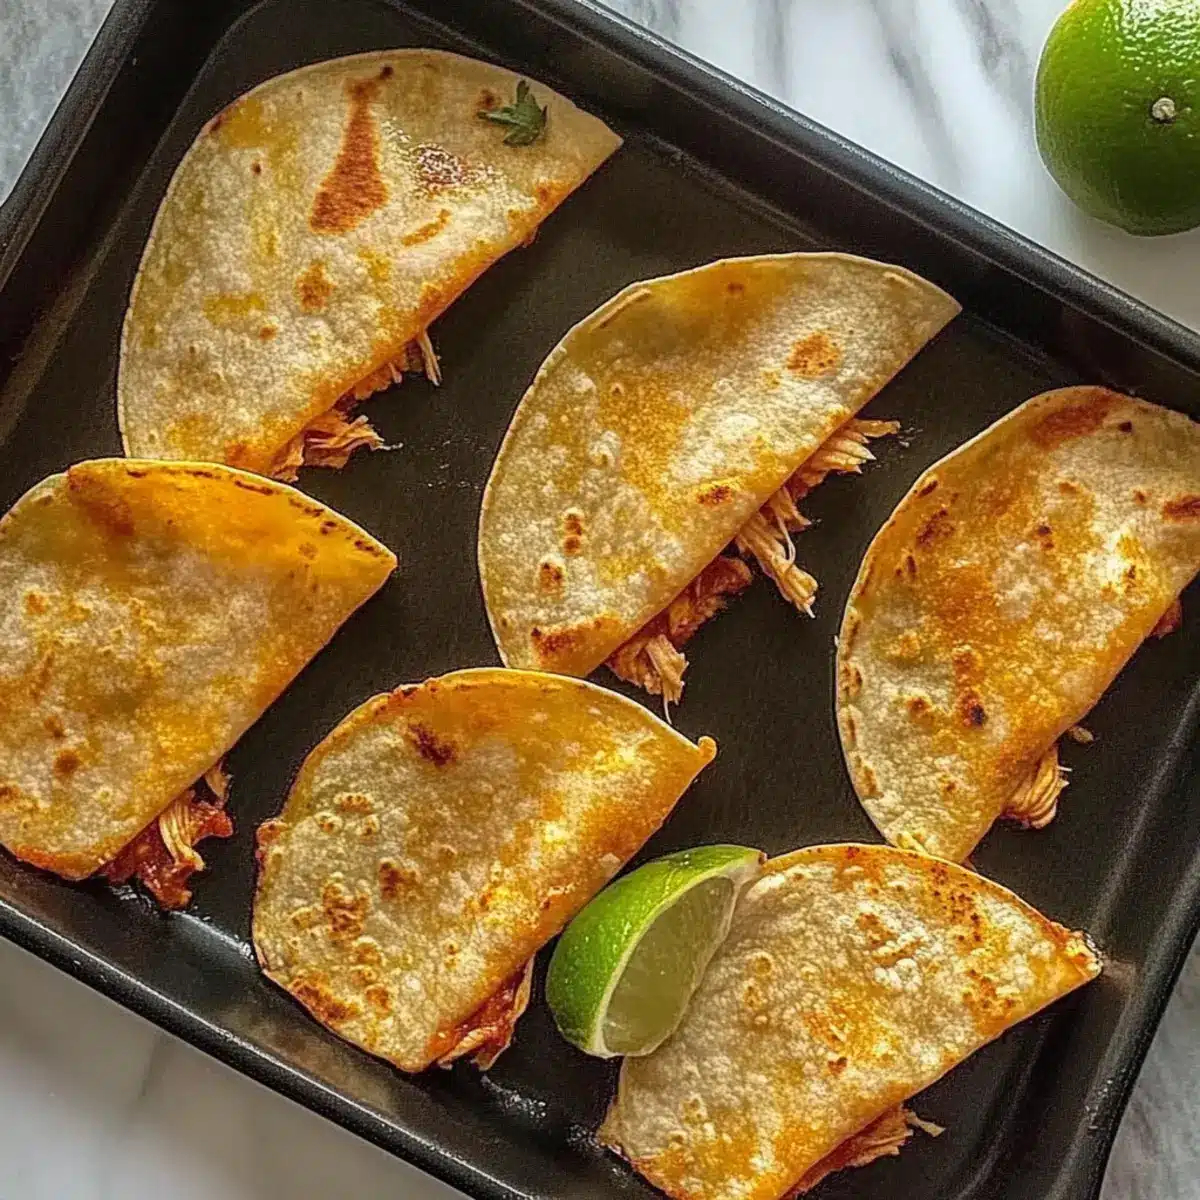
Transfer the baking sheet with the tacos into your preheated oven and bake for 8-12 minutes. Keep an eye on them, and look for a golden brown color on the tortillas as a sign they’re perfectly crispy. Your kitchen will be filled with an inviting aroma that hints at the taco joy to come!
Step 7: Optional Extra Crispiness
For an added layer of crunch, you can remove the top baking sheet during the last few minutes of baking. This lets the hot air circulate freely around the tacos, enhancing their crispy exterior. Monitor closely for the ideal golden hue and indulge in the delightful anticipation of your Baked Chicken Tacos!
Expert Tips for Baked Chicken Tacos
• Microwave Magic: Always microwave tortillas to soften before filling them. This prevents cracking and ensures they fold easily without tearing.
• Avoid Overfilling: Less is more! To keep tacos from spilling during baking, use a moderate amount of filling—enough to satisfy but not so much it overflows.
• Layer Wisely: For the best flavor, layer your cooked chicken and cheese thoughtfully. A good cheese layer on top can create a melty, irresistible crust.
• Bake for Crispiness: Remember to weigh down the tacos while baking. This simple tip preserves their shape and results in a perfectly crispy texture for your Baked Chicken Tacos.
• Reheat Right: For leftovers, reheat your tacos in the oven or air fryer at 400°F for 2-4 minutes to maintain that delightful crunch.
Baked Chicken Tacos Variations & Substitutions
Feel free to get creative and tweak these Baked Chicken Tacos to suit your taste and dietary needs!
- Ground Beef: Swap the chicken with seasoned ground beef for a traditional taco flavor. Add taco seasoning for a spicy kick!
- Vegetarian Delight: Use black beans or lentils instead of chicken for a hearty, plant-based twist that’s packed with protein. You won’t miss the meat!
- Cheese Swap: Experiment with different cheeses like pepper jack for a spicy melt or crumbled feta for a Mediterranean flavor explosion. Mixing cheeses can lead to delightful surprises!
- Spicy Kick: Add jalapeños or sliced serrano peppers inside the tacos for an extra dose of heat. Just a few slices can take your tacos to fiery new heights.
- Herb Infusion: Mix in fresh herbs like cilantro or parsley with your fillings for added freshness and color. It’s amazing how a little green can brighten your dish!
- Hybrid Tortillas: Try using a mix of corn-flour tortillas for a unique texture that’s great for folding and adds a richer flavor. The difference is subtle yet delightful!
- Extra Crunch: Toss in some crushed tortilla chips inside the tacos before baking for an enjoyable crunch that sets your meal apart. Think of it as your little secret ingredient!
- Creative Salsas: Top with homemade salsa or a dollop of guacamole instead of just serving on the side. A zesty fruit salsa can add an unexpected twist that will have everyone raving!
Feel free to dive into your culinary adventures with these customizable ideas that go hand-in-hand with your delightful Baked Chicken Tacos. After all, cooking is all about making each dish your own—just like a comforting plate of Baked Lobster Tails or twice baked breakfast potatoes!
What to Serve with Crispy Baked Chicken Tacos?
Imagine a delightful feast where every bite of your crispy baked chicken tacos is perfectly complemented by vibrant sides and refreshing drinks.
-
Creamy Guacamole: Creamy and smooth, guacamole adds a rich flavor that balances the crunchiness of the tacos.
-
Fresh Pico de Gallo: This zesty salsa of tomatoes, onions, and cilantro brightens each bite, enhancing the tacos with a fresh taste.
-
Spicy Black Beans: Hearty and protein-packed, black beans bring a savory touch that pairs wonderfully with the crispy texture of the tacos.
-
Mexican Street Corn Salad: Sweet corn mixed with creamy spices deliver a delightful sweetness that contrasts beautifully with savory tacos.
-
Crisp Green Salad: A refreshing green salad with a tangy vinaigrette adds a lightness to your meal, making each bite feel balanced.
-
Margaritas or Horchata: Sip on a refreshing margarita or creamy horchata to elevate your taco night into a festive occasion worth celebrating.
Serving these alongside your crispy baked chicken tacos creates a meal that will leave everyone feeling satisfied and happy!
How to Store and Freeze Baked Chicken Tacos
Fridge: Store leftover Baked Chicken Tacos in an airtight container for up to 3 days. Make sure to separate layers with parchment paper to keep them from sticking together.
Freezer: Freeze unbaked tacos before cooking for up to 3 months. Wrap each taco tightly in plastic wrap, then place them in a freezer-safe bag for long-lasting freshness.
Reheating: When ready to enjoy, bake frozen tacos directly from the freezer at 400°F for about 12-15 minutes, or until heated through and crispy.
Make-Ahead Reminder: These tacos are perfect for bulk prepping! Prepare and refrigerate or freeze before baking to have an easy, crowd-pleasing meal ready when you need it.
Make Ahead Options
These Baked Chicken Tacos are a lifesaver for busy weeknights! You can prepare the filling (cooked chicken and cheese) up to 3 days in advance and store it in an airtight container in the refrigerator. Additionally, you can assemble the tacos and refrigerate them up to 24 hours prior to baking. To maintain their quality, make sure to wrap the assembled tacos tightly so they don’t dry out. When you’re ready to enjoy them, simply pop them in a preheated oven at 400°F and bake for 8-12 minutes until golden. This way, you’ll have restaurant-quality Baked Chicken Tacos with minimal effort, making meal planning a breeze!
Baked Chicken Tacos Recipe FAQs
What type of tortillas should I use for Baked Chicken Tacos?
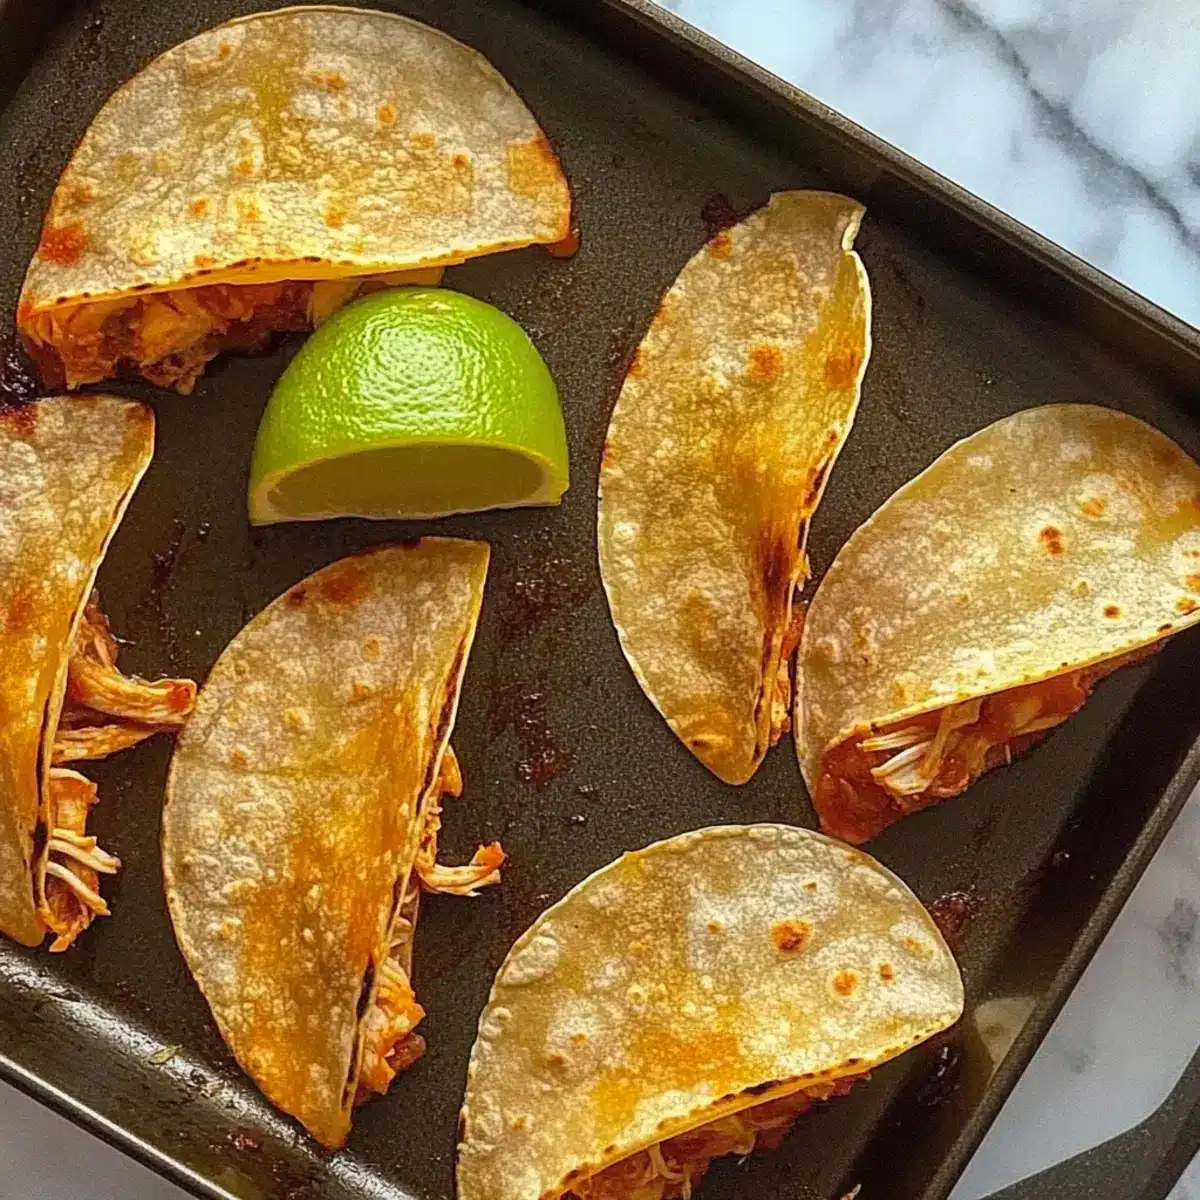
I recommend using extra thin corn tortillas, as they provide the perfect crispy texture. Mission brand tortillas are particularly great for achieving that lovely crunch!
How do I store leftover Baked Chicken Tacos?
Store any leftovers in an airtight container in the fridge for up to 3 days. To keep them from sticking together, I suggest layering them with parchment paper before sealing. That way, you’ll be ready to enjoy them again in no time!
Can I freeze Baked Chicken Tacos?
Absolutely! You can freeze unbaked tacos for up to 3 months. Just wrap each taco tightly in plastic wrap and place them in a freezer-safe bag. When you’re ready to enjoy, bake them straight from the freezer at 400°F for about 12-15 minutes until crispy.
What should I do if my tortillas are cracking while assembling?
If your tortillas crack during assembly, don’t worry! Simply microwave them again for an additional 10-15 seconds while wrapped in a damp paper towel. This helps restore their pliability so you can fold them without tearing.
Are there any dietary considerations for Baked Chicken Tacos?
When making Baked Chicken Tacos, be mindful of potential allergens such as cheese or corn tortillas for gluten sensitivities. You can easily substitute with gluten-free tortillas to make them suitable for a wider audience. Always check for any specific dietary restrictions of your guests to make sure everyone can enjoy this delicious dish!
How can I customize the fillings for Baked Chicken Tacos?
The possibilities are endless! You can swap the chicken for ground beef or shredded pork if you like. Alternatively, consider adding diced vegetables like peppers or onions for added nutrition. Get creative and have fun with your taco fillings!
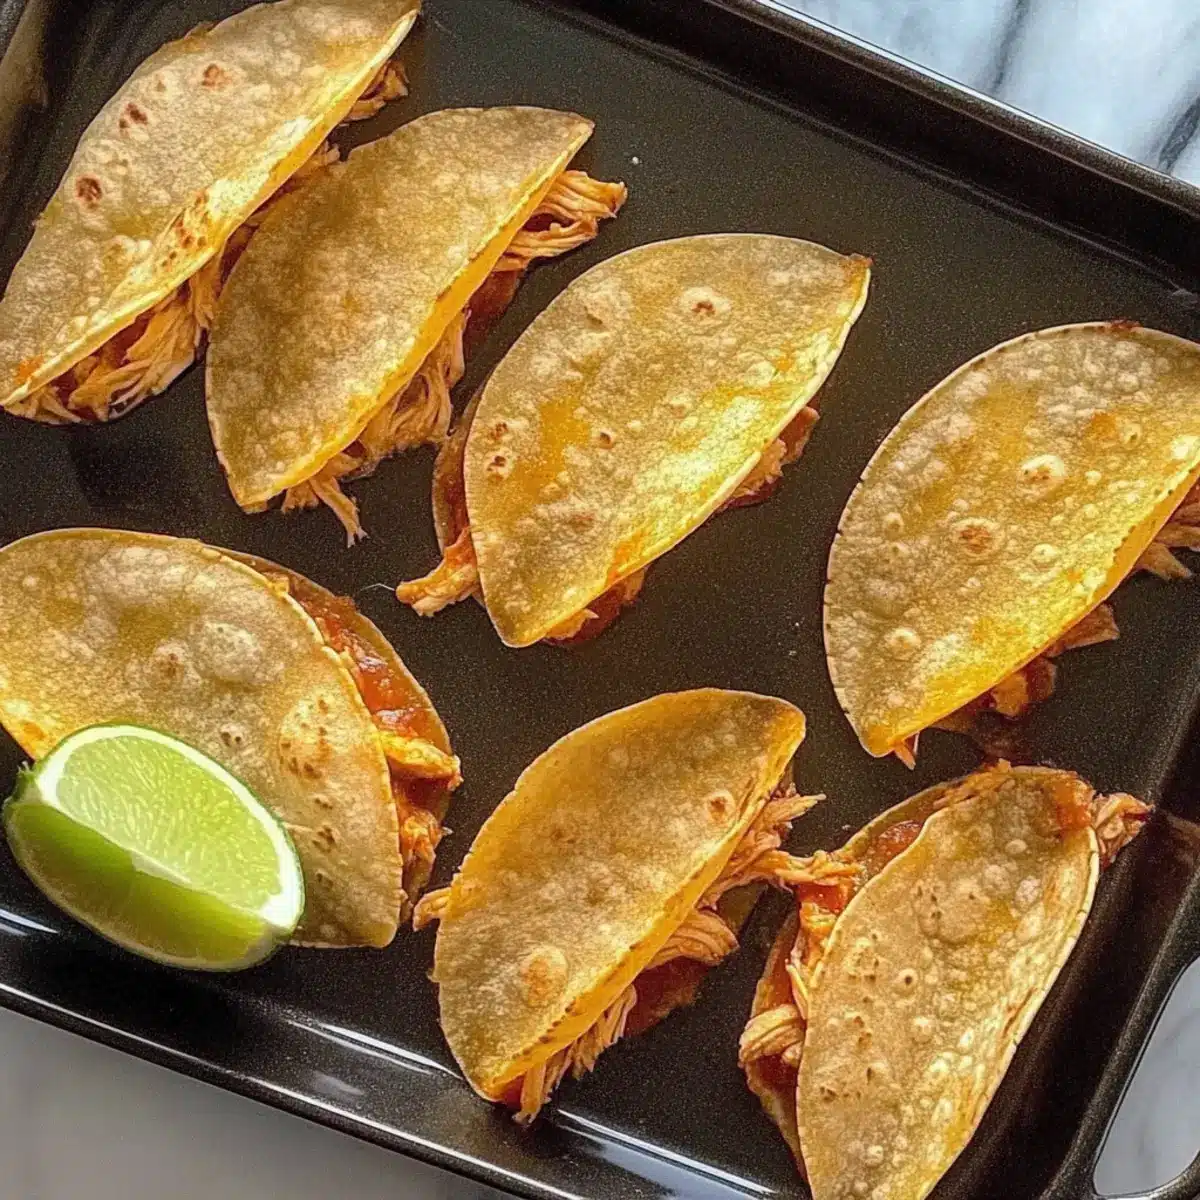
Crispy Baked Chicken Tacos for Quick Family Dinners
Ingredients
Equipment
Method
- Preheat your oven to 400°F (200°C).
- Wrap the extra thin corn tortillas in a damp paper towel and microwave for 45-60 seconds to soften.
- Assemble by spooning cooked chicken and shredded cheese onto one half of each tortilla, adding optional fillings if desired.
- Fold each tortilla over the fillings and press down to seal.
- Place a baking sheet on top of the tacos to weigh them down while baking.
- Bake in the preheated oven for 8-12 minutes until golden brown.
- For extra crispiness, remove the top baking sheet in the last few minutes of baking.
Leave a Reply