
As I was strolling through the local farmer’s market, the vibrant, sun-kissed zucchinis caught my eye, and I couldn’t resist grabbing a basketful. That’s when the idea for Italian Zucchini Scarpaccia sparked! This easy Tuscan recipe is a beautiful way to showcase the fresh produce of summer, wrapping tender zucchini in a savory, golden crust. With its simple ingredients and quick prep time, this scarpaccia is not just a delightful appetizer; it’s also vegetarian-friendly and perfect for impressing guests at your next gathering or family dinner. Ready to elevate your home cooking with this rustic dish? Let’s dive into the delightful world of Zucchini Scarpaccia and discover how this Italian classic can bring a taste of Tuscany into your kitchen!
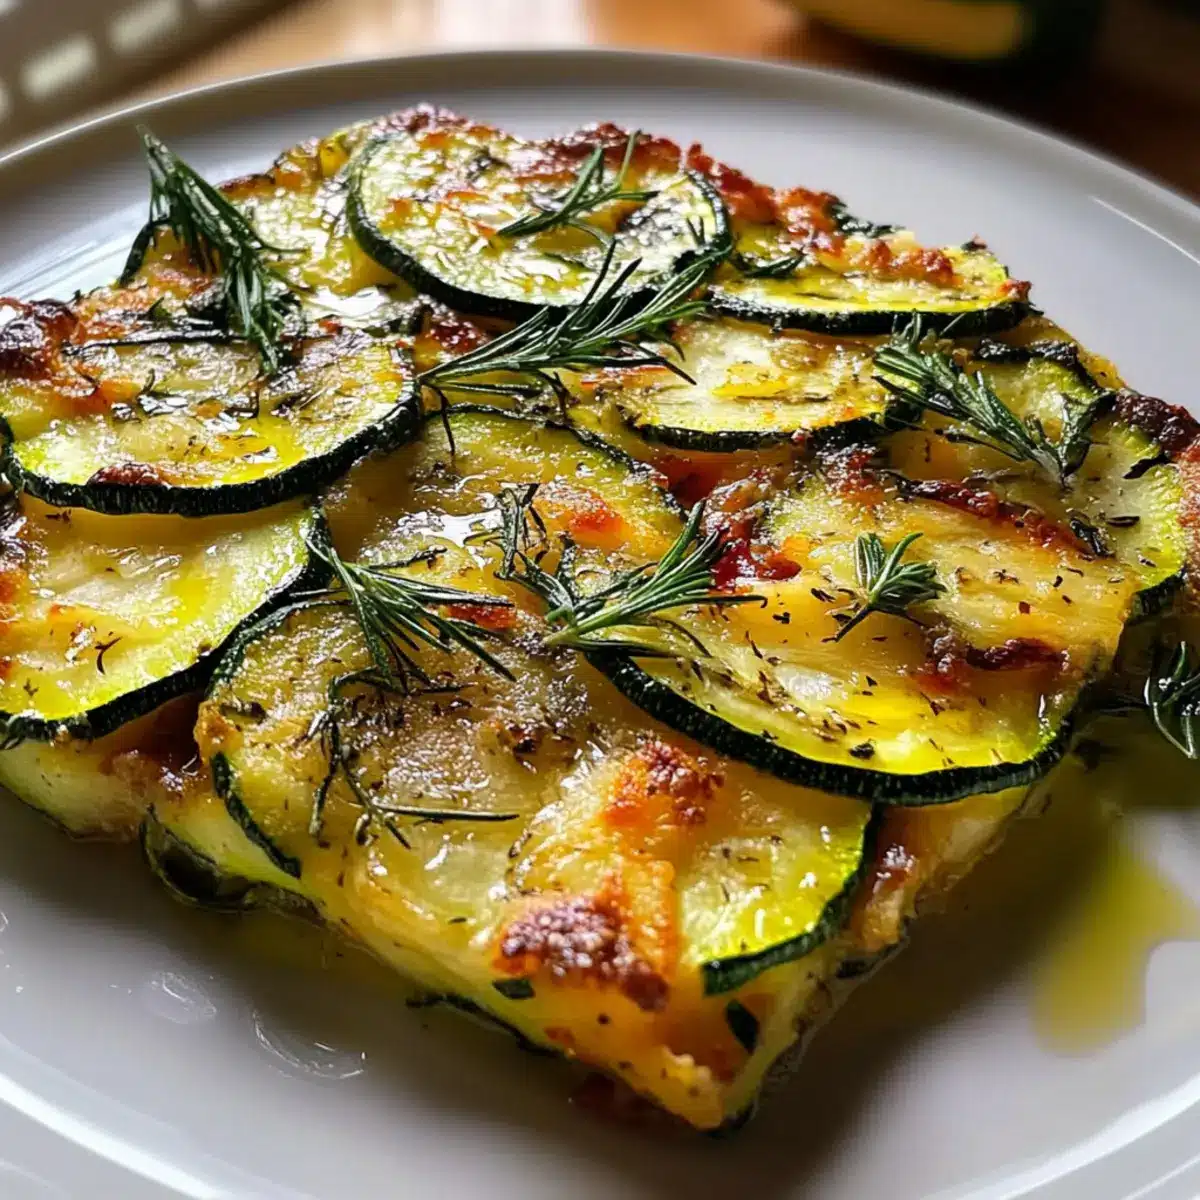
Why is This Scarpaccia a Must-Try?
Simplicity at its Finest: The Italian Zucchini Scarpaccia requires minimal prep with everyday ingredients, making it perfect for even novice cooks.
Savory Zucchini Flavor: The zucchini shines, enveloped in a nutty Parmesan crust, creating a delightful earthy taste that’s both nourishing and satisfying.
Versatile Dish: Serve it warm as an appetizer, side, or light main course, and feel free to experiment with different cheeses or herbs to suit your palate.
Summer Freshness: Made with seasonal zucchini, this recipe captures the essence of summer, bringing vibrant colors and flavors to your table.
Crowd-Pleasing Treat: Whether you’re hosting a gathering or enjoying a family meal, this scarpaccia is sure to impress everyone, just like my favorite Italian Almond Cookies or Chicken Zucchini Bake.
Italian Zucchini Scarpaccia Ingredients
• For the Batter
- Zucchini – Provides moisture and tenderness; can substitute with yellow squash or other summer squash.
- All-Purpose Flour – Gives structure to the dish; whole wheat flour can be used for a nuttier flavor.
- Cornmeal – Adds texture and subtle corn flavor, contributing to a crunchy crust.
- Baking Powder – Acts as a leavener to keep the dish light and airy.
- Salt – Enhances flavor while ensuring all ingredients shine.
- Black Pepper – Adds warmth and depth to the dish.
- Eggs – Binds all ingredients together, contributes to moisture, and gives a golden hue.
- Milk – Hydrates the flour and contributes richness; can substitute with almond or oat milk for a dairy-free version.
- Olive Oil – Adds flavor and moisture; enhances the tenderness of the crust.
• For Flavoring
- Parmesan Cheese – Adds savory umami and a crisp finish; can substitute with Pecorino Romano, mozzarella, or feta.
- Thyme – Adds aromatic flavor; can use dried thyme (1 teaspoon) instead of fresh (1 tablespoon).
- Pine Nuts (optional) – Provide a buttery crunch; omit for a nut-free version.
- Garlic – Infuses flavor; use less if a milder taste is preferred.
- Additional olive oil for drizzling – Encourages browning.
This warm and inviting Italian Zucchini Scarpaccia is destined to become a favorite in your kitchen, showcasing how simple ingredients can come together to create something truly special!
Step‑by‑Step Instructions for Italian Zucchini Scarpaccia
Step 1: Preheat and Prepare the Pan
Begin by preheating your oven to 375°F (190°C). While it warms, grease a 9×13-inch baking pan with olive oil to ensure your Italian Zucchini Scarpaccia doesn’t stick. This step is crucial for achieving a beautifully golden crust. Have your ingredients ready, and let’s make this rustic dish shine!
Step 2: Combine Dry Ingredients
In a large mixing bowl, combine the all-purpose flour, cornmeal, baking powder, salt, and black pepper. Whisk these dry ingredients together well until evenly mixed; this ensures your scarpaccia has a consistent texture and flavor. Take a moment to admire the colorful grains before moving on to the next step.
Step 3: Mix Wet Ingredients
In a separate bowl, whisk the eggs, milk, and olive oil together until smooth and well combined. This mixture will bring moisture to your Italian Zucchini Scarpaccia, creating a tender texture. Take care to incorporate air for fluffiness. Once combined, it’s time to merge the wet and dry mixtures in the next step.
Step 4: Combine Wet and Dry Mixtures
Gently pour the wet mixture into the bowl of dry ingredients, stirring until just combined. Be careful not to overmix, as this can lead to a tough scarpaccia. A few lumps are perfectly fine. This is where the magic begins, as the batter comes together and gets ready for the delicious zucchini.
Step 5: Fold in Zucchini and Flavorings
Carefully fold the thinly sliced zucchini, minced garlic, grated Parmesan cheese, fresh thyme, and pine nuts (if using) into the batter. The zucchini should be evenly distributed, adding moisture and flavor. This step transforms the batter into a vibrant medley that embodies the essence of the Italian Zucchini Scarpaccia.
Step 6: Spread and Drizzle
Pour the zucchini batter into the prepared baking pan, spreading it evenly with a spatula. Drizzle a little extra olive oil on top to encourage browning and enhance flavor. With your oven preheated and the pan ready, it’s time to send the scarpaccia into the oven for baking.
Step 7: Bake to Perfection
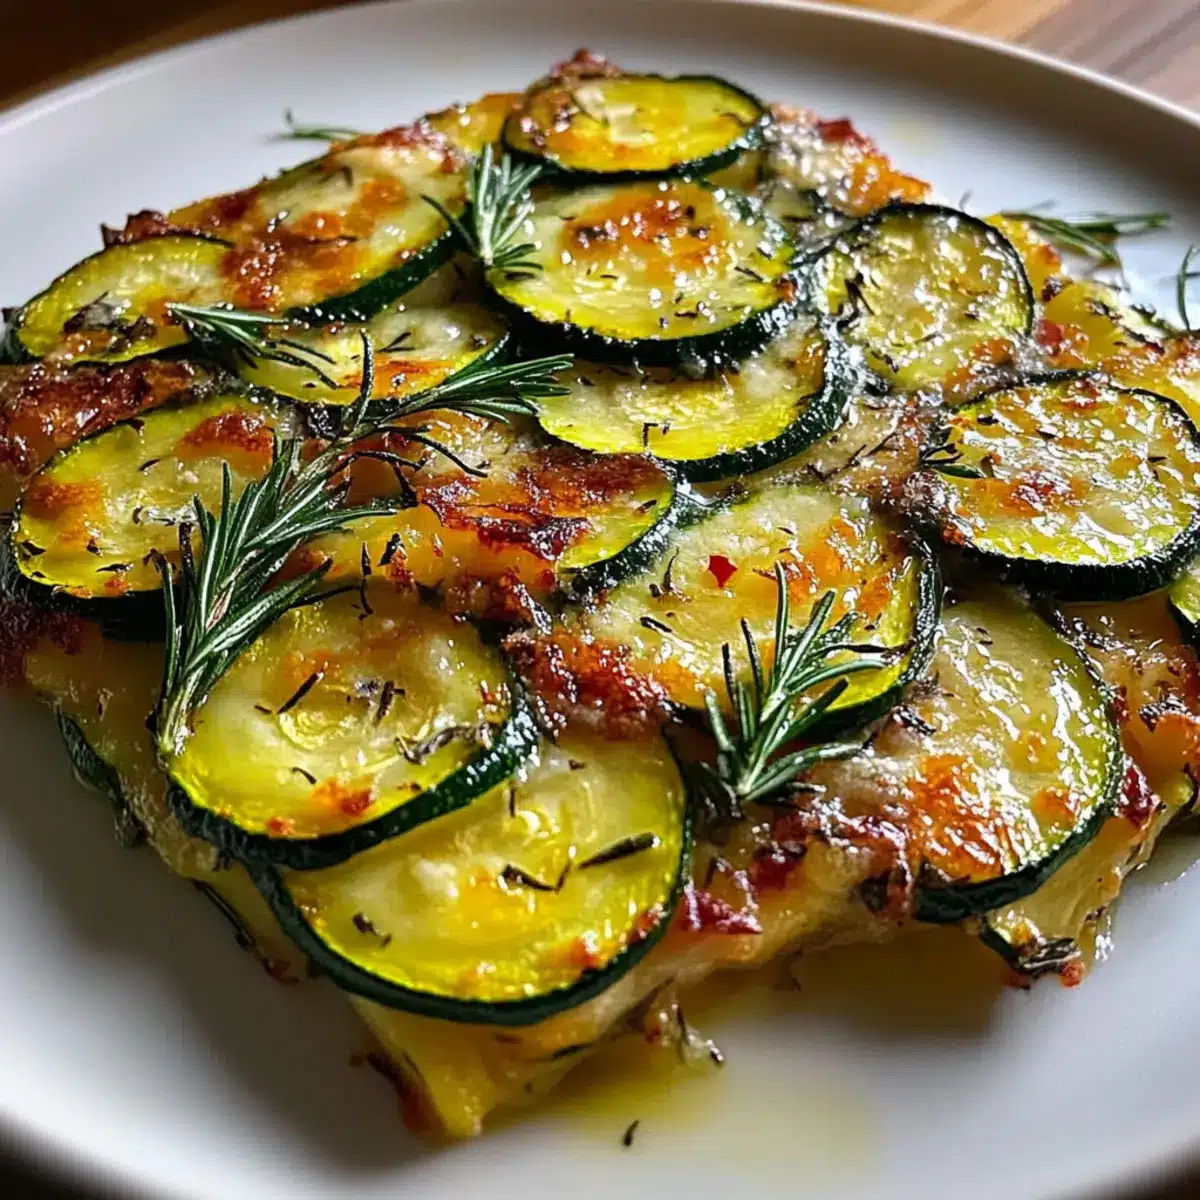
Place the pan in the preheated oven and bake for 35-40 minutes. You’ll know it’s done when the top turns a delightful golden brown and the center is set. Check for doneness by inserting a toothpick—it should come out clean. The aromas will fill your kitchen, promising a delicious Italian Zucchini Scarpaccia.
Step 8: Cool and Serve
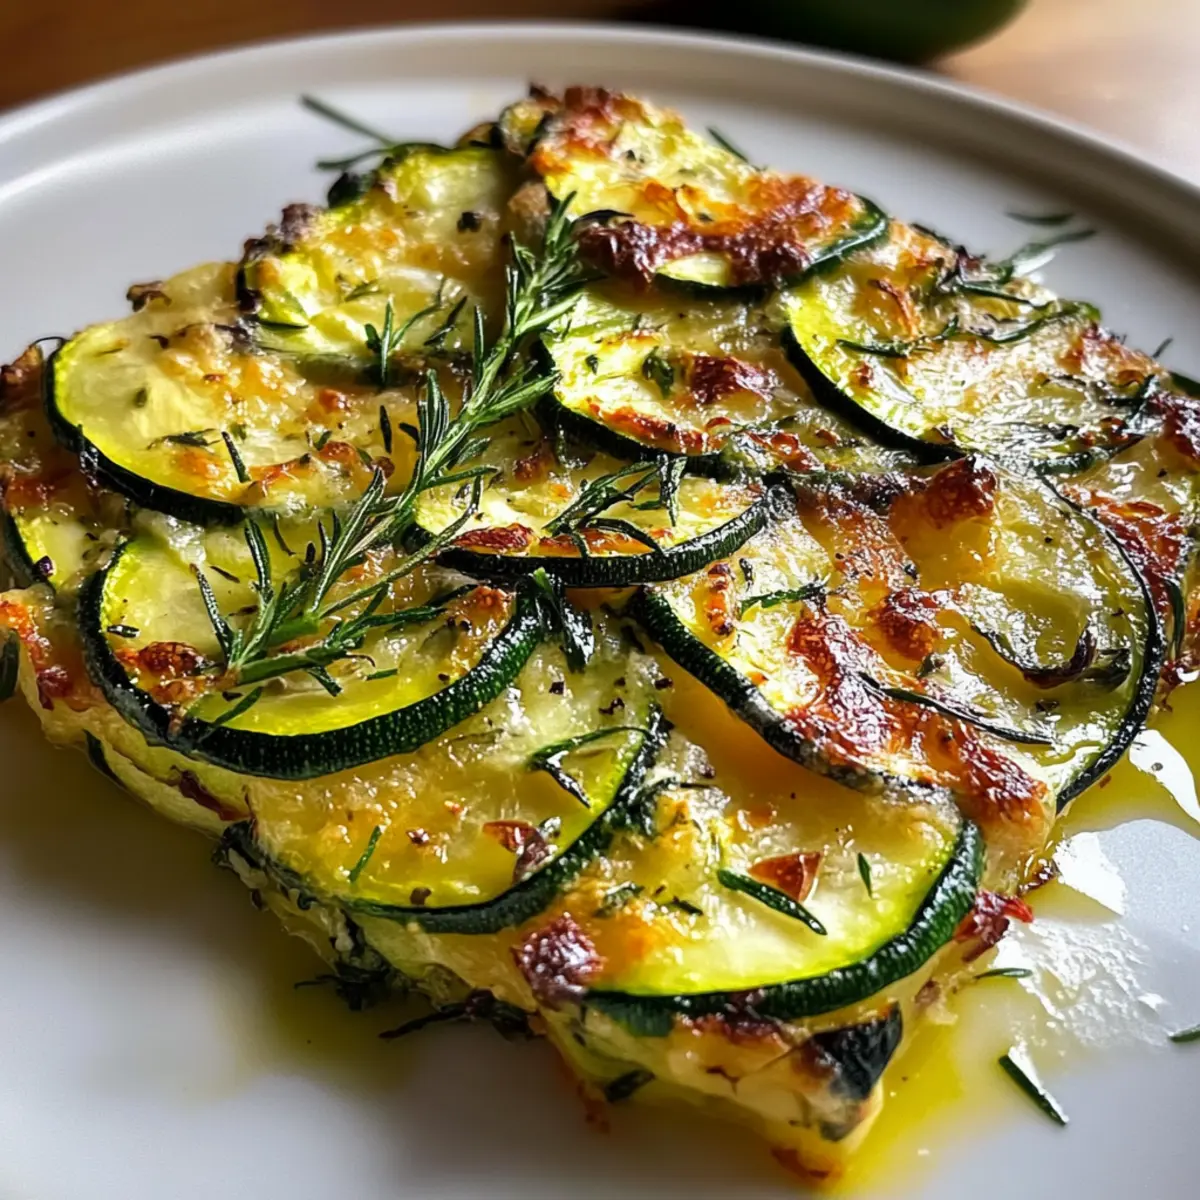
Once baked, remove the pan from the oven and allow the scarpaccia to cool for about 10 minutes. This resting period helps it set, making it easier to cut into squares. Slice and serve warm as a delicious appetizer or light meal, and enjoy the vibrant flavors!
Storage Tips for Italian Zucchini Scarpaccia
- Fridge: Store leftovers in an airtight container for up to 3-4 days. Make sure it’s completely cooled before sealing to prevent moisture buildup.
- Freezer: Wrap portions tightly in plastic wrap and place them in a freezer bag for up to 2-3 months. Label the bag with the date for easy access later.
- Reheating: For the best texture, reheat in the oven at 350°F (175°C) for about 10-15 minutes until warmed through. This helps restore the crispy crust of the Italian Zucchini Scarpaccia.
- Serving Suggestions: Enjoy the scarpaccia warm or at room temperature as part of a meal, alongside a refreshing salad or a dip, for a delightful experience.
Italian Zucchini Scarpaccia Variations
Feel free to get creative with your Italian Zucchini Scarpaccia and explore these delightful twists that will keep your taste buds dancing!
- Dairy-Free: Swap regular milk for almond or oat milk and use a dairy-free cheese blend for a creamy finish.
- Herb Medley: Experiment with different herbs like basil, oregano, or rosemary to elevate the flavor profile of your scarpaccia.
- Veggie Boost: Add diced bell peppers or cherry tomatoes to the batter for a vibrant color and extra nutrition.
- Hearty Mix: For a filling option, incorporate sautéed mushrooms or crumbled sausage. Their rich flavors pair beautifully with zucchini.
- Nut-Free: Omit pine nuts and consider adding sunflower seeds for a crunch without the nuts—just as tasty!
- Spicy Kick: Introduce a pinch of red pepper flakes to the batter for a delightful heat that complements the dish well.
- Cheese Swap: Try different cheeses such as feta or goat cheese for a tangy twist that adds depth to the flavor.
- Corny Delight: Blend in some creamed corn for a touch of sweetness that enhances the overall texture and flavor.
With each variation, you can recreate this classic dish in new and delightful ways! As you savor the Italian Zucchini Scarpaccia, remember that it’s equally wonderful paired with a light salad or a cool yogurt dip, much like my family-favorite Chicken Zucchini Bake. Enjoy the exploration of flavors!
Expert Tips for Italian Zucchini Scarpaccia
-
Avoid Overmixing: Gently combine wet and dry ingredients to keep the texture tender. Overmixing can lead to a dense scarpaccia.
-
Use Fresh Ingredients: For the best flavor, opt for fresh zucchini and herbs. They elevate the dish and enhance its deliciousness.
-
Let It Rest: After baking, allow the scarpaccia to cool for about 10 minutes. This resting time helps it set for clean slices.
-
For Crispiness: If you prefer a crispier crust, reheat leftovers in the oven rather than the microwave. It revives that golden texture!
-
Experiment with Variations: Don’t hesitate to mix in different cheeses or add herbs. Each small change can create a unique twist on classic Italian Zucchini Scarpaccia!
What to Serve with Italian Zucchini Scarpaccia?
Building a memorable meal around this Tuscan delight can elevate your dining experience, making your taste buds sing with joy.
-
Simple Mixed Green Salad: A crisp green salad adds a refreshing crunch that contrasts beautifully with the tender scarpaccia, enhancing your meal’s overall appeal.
-
Herb-Infused Yogurt Dip: This creamy, tangy dip brings a cool element, perfectly complementing the savory flavors of the zucchini and cheese.
-
Roasted Cherry Tomatoes: Sweet, caramelized cherry tomatoes provide a burst of flavor that harmonizes with the earthy notes of the zucchini, making each bite unforgettable.
-
Garlic Bread: The warm, buttery crunch of garlic bread pairs wonderfully with the scarpaccia, adding comforting familiarity to your Tuscan table.
-
Sparkling White Wine: A chilled glass of sparkling white wine adds a touch of elegance and lightness, making it a perfect drink to elevate the entire meal.
-
Seasoned Couscous: Light and fluffy couscous seasoned with herbs and lemon provides a lovely textural contrast, bringing a subtle nutty flavor that complements the scarpaccia beautifully.
-
Fresh Strawberry Dessert: End your meal on a sweet note with a light strawberry dessert; its sweetness provides a lovely balance to the savory dish you’ve just enjoyed.
Each of these pairings offers a unique taste experience, transforming your Italian Zucchini Scarpaccia into a centerpiece for a feast that celebrates the beauty of seasonal ingredients and heartfelt home cooking.
Make Ahead Options
Italian Zucchini Scarpaccia is a fantastic dish for busy home cooks looking to save time during hectic weeknights! You can prep the batter up to 24 hours in advance by mixing the dry ingredients and storing them in an airtight container. Additionally, you can slice the zucchini and combine it with the other ingredients, storing them in the refrigerator until you’re ready to bake. Just remember to give everything a good stir before pouring into the baking pan. When you’re ready to serve, simply bake the scarpaccia as directed, and you’ll have a delicious, time-saving meal that’s just as delightful!
Italian Zucchini Scarpaccia Recipe FAQs
What type of zucchini is best for this recipe?
Absolutely! Look for firm, fresh zucchini that is glossy and free from dark spots. Medium-sized zucchinis are ideal, as they contain less water and have a firmer texture, making them perfect for your Italian Zucchini Scarpaccia. If you don’t have zucchini on hand, yellow squash works as a great substitute, too!
How should I store leftovers of Italian Zucchini Scarpaccia?
Very easy! Once your scarpaccia has cooled completely, store it in an airtight container in the refrigerator for up to 3-4 days. This helps keep it fresh and flavorful. If you want to enjoy it for longer, consider freezing it!
Can I freeze Italian Zucchini Scarpaccia?
Absolutely! To freeze, wrap individual portions tightly in plastic wrap, then place them in a freezer-safe bag or container. Be sure to label the bag with the date. You can freeze it for up to 2-3 months. When you’re ready to eat, thaw in the fridge overnight and reheat in the oven for best results.
What should I do if my scarpaccia doesn’t rise properly?
Sometimes this can happen if the batter was overmixed or if your baking powder is old and ineffective. To avoid this, always check the expiration date of your baking powder, and simply combine the dry and wet ingredients until they’re just mixed; a few lumps are perfectly alright! This keeps your Italian Zucchini Scarpaccia airy and delicious.
Is this recipe suitable for those with dietary restrictions?
Very much so! This Italian Zucchini Scarpaccia can easily be modified to cater to various dietary preferences. For a dairy-free version, swap out the milk with almond or oat milk, and choose a dairy-free cheese option for added flavor. Additionally, feel free to omit the pine nuts to keep it nut-free. Always check for specific allergies or dietary needs when serving to others.
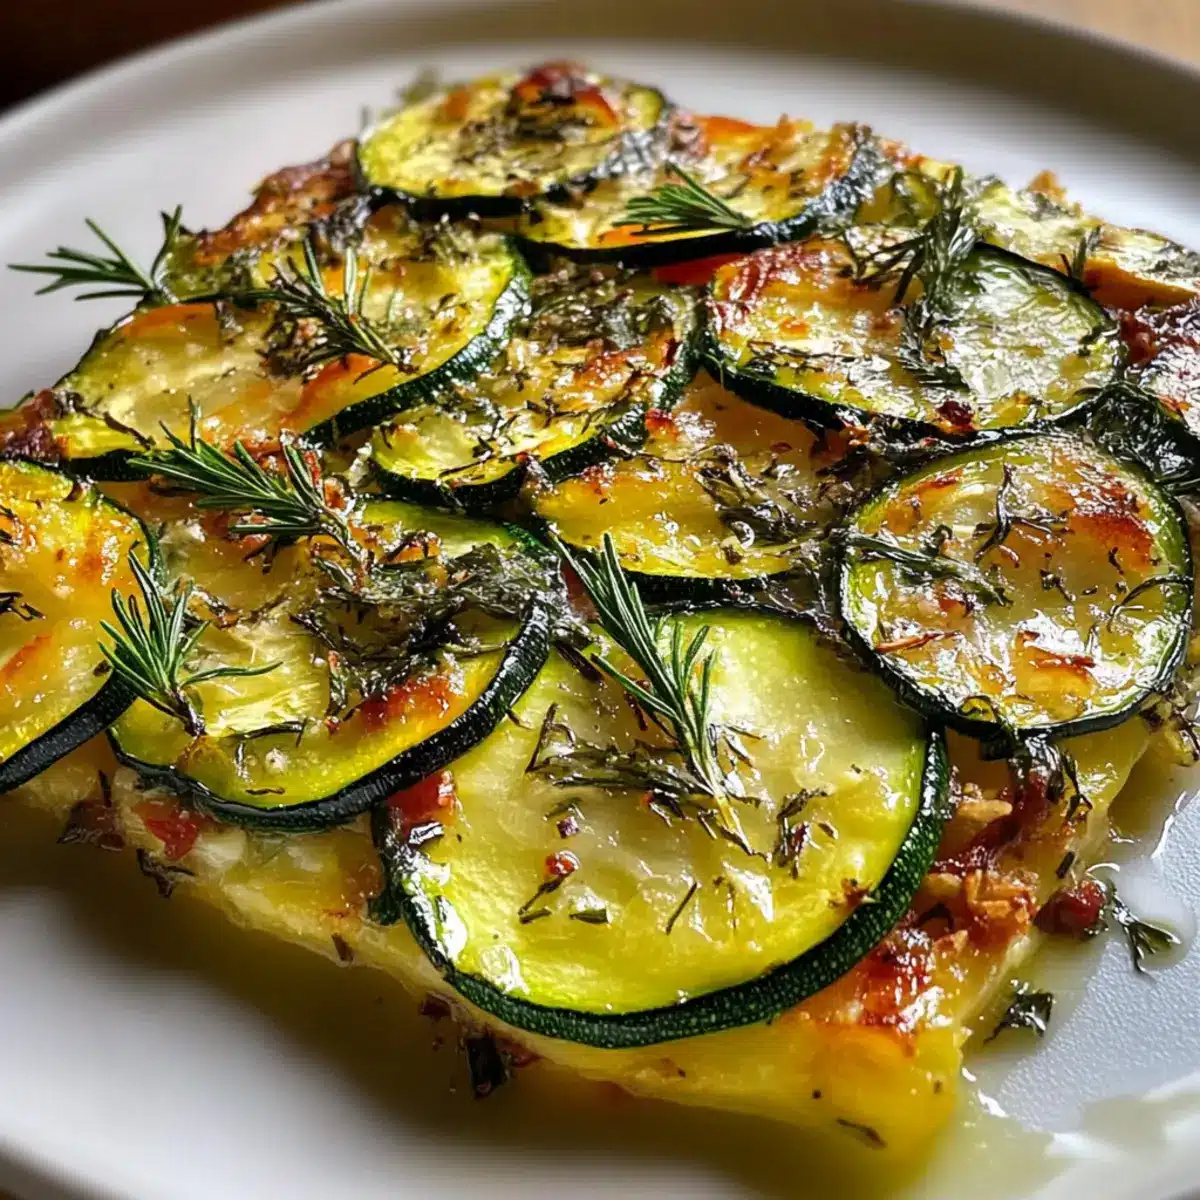
Italian Zucchini Scarpaccia – A Tuscan Treat You’ll Love
Ingredients
Equipment
Method
- Preheat your oven to 375°F (190°C) and grease a 9x13-inch baking pan with olive oil.
- Combine the all-purpose flour, cornmeal, baking powder, salt, and black pepper in a large mixing bowl.
- In a separate bowl, whisk the eggs, milk, and olive oil until smooth.
- Pour the wet mixture into the dry ingredients, stirring until just combined.
- Fold in the zucchini, garlic, Parmesan cheese, thyme, and pine nuts (if using).
- Pour the batter into the prepared baking pan and drizzle with additional olive oil.
- Bake in the preheated oven for 35-40 minutes until golden brown and the center is set.
- Allow the scarpaccia to cool for about 10 minutes before slicing and serving warm.
Leave a Reply