
As I rummaged through my freezer one sweltering afternoon, I stumbled upon a forgotten childhood treasure: the dazzling Cherry Creamsicles. These delightful homemade popsicles bring together the sweet, tart zing of fresh cherries and the luxurious creaminess of vanilla, transforming simple ingredients into refreshing bliss without a hint of refined sugar. Not only are they incredibly easy to whip up, but their pretty marbled effect will impress family and friends alike! This recipe doesn’t just satisfy your sweet tooth—it also aligns with a wholesome lifestyle, making it the perfect guilt-free treat. Ready to indulge in a nostalgic yet healthy dessert? Let’s dive into the deliciousness of Cherry Creamsicles!
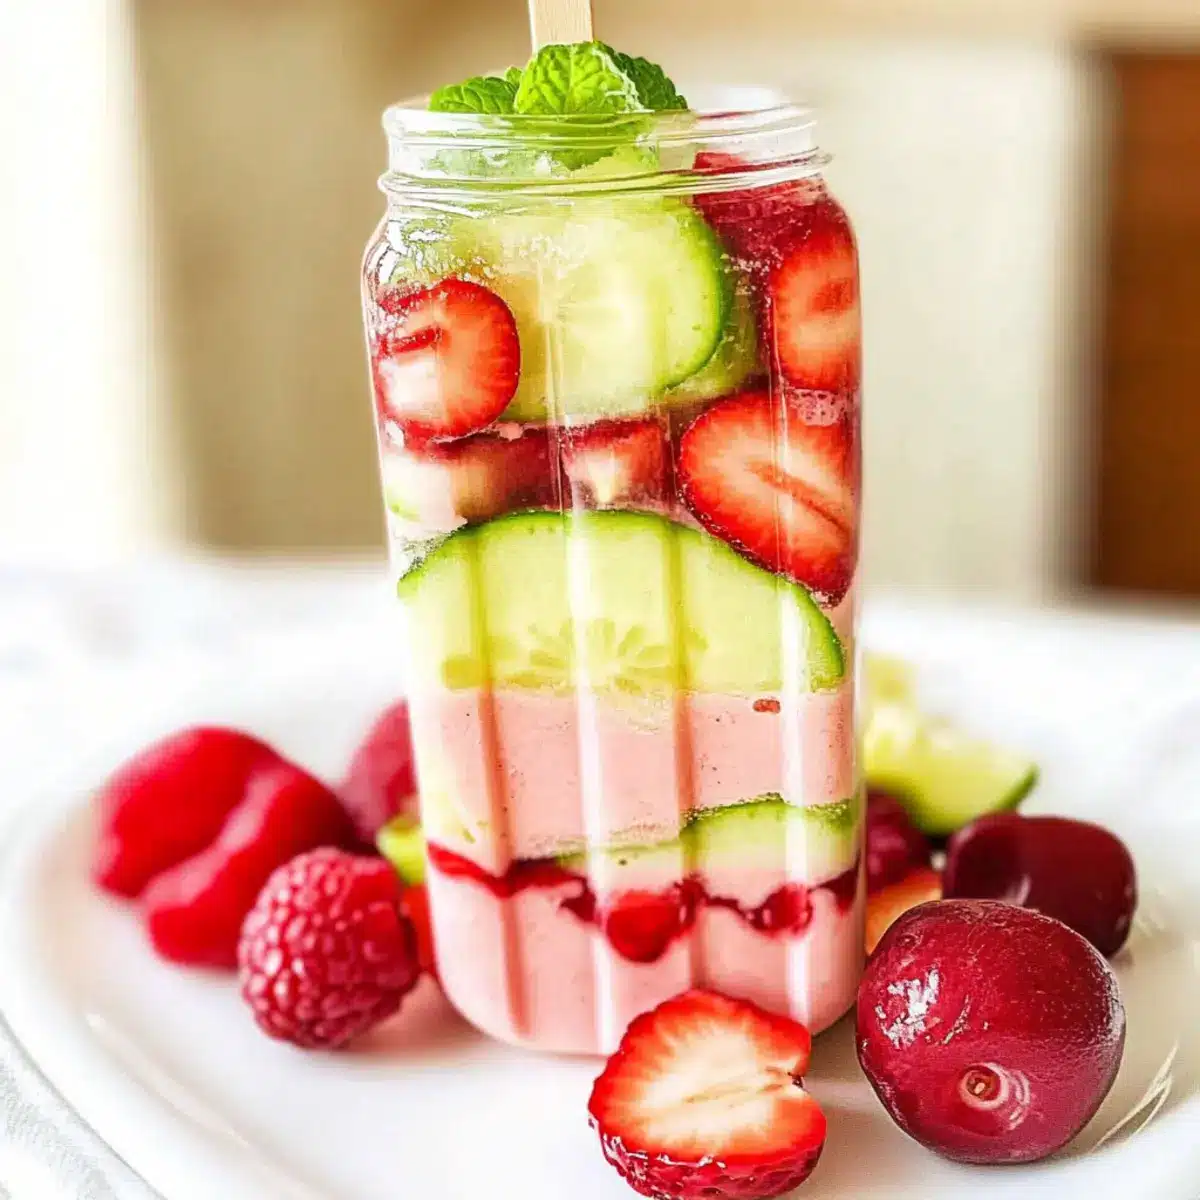
Why make Cherry Creamsicles today?
Easy to Make: With simple steps, these Cherry Creamsicles can be whipped up in no time, making them an excellent choice for a quick summer treat.
Rich, Creamy Texture: The combination of whipped cream and fresh cherries brings a delightful creaminess that rivals store-bought popsicles.
No Refined Sugar: Enjoy the natural sweetness without the guilt. Perfect for health-conscious individuals looking to indulge!
Versatile Flavors: Feel free to switch up the cherries for another fruit like peaches or strawberries, giving you endless flavor possibilities.
Crowd-Pleasing Fun: Kids and adults alike will love these colorful, delicious popsicles, making them a hit at parties or family gatherings.
These Cherry Creamsicles are a refreshing escape from boring fast food desserts—be sure to check out the Cherry Amaretto Tiramisu for another delightful treat!
Cherry Creamsicle Ingredients
For the Cherry Mixture
- Cherries – Fresh or thawed organic cherries provide natural sweetness and tart flavor. Substitution: Other stone fruits like peaches could work but will alter the flavor profile.
- Coconut Water/Filtered Water – Adds hydration and balances flavors. Substitution: You can use any fruit juice for a different taste, but it may alter the sweetness level.
For the Cream Base
- Raw Cream/Organic Whipping Cream – Creates the rich, creamy base. Dairy-free version: Use coconut cream from full-fat coconut milk.
- Organic Vanilla Extract – Enhances the overall flavor profile. No direct substitution needed, but imitation vanilla can be used in a pinch.
- Raw Honey – Sweetens naturally while adding flavor depth. Substitution: Maple syrup can be used, though it will change the taste and consistency slightly.
This simple and wholesome ingredient list ensures that your Cherry Creamsicles are not just delicious, but also a guilt-free indulgence that everyone will love!
Step‑by‑Step Instructions for Cherry Creamsicles
Step 1: Prepare Equipment
Gather your popsicle molds and set them aside for later use. To ensure your whipped cream reaches the perfect airy consistency, chill a large mixing bowl in the fridge for at least 10 minutes. This step is crucial for achieving that light and fluffy texture that will make your Cherry Creamsicles so delightful.
Step 2: Thaw Cherries
If you’re using frozen cherries, make sure they are completely thawed before starting your recipe. Place the thawed cherries in a bowl for about 10 minutes to reach room temperature. This will enhance their flavor and make them easier to blend, so you’ll get that sweet, vibrant base for your Cherry Creamsicles.
Step 3: Blend Cherry Base
In your blender, combine the thawed cherries with 1/4 cup of coconut water or filtered water. Blend the mixture on high until smooth and creamy, which should take about 30-60 seconds. Check the texture for any remaining chunks; the smoother the blend, the more delightful your Cherry Creamsicles will be.
Step 4: Whip Cream
Retrieve the chilled bowl and add the raw cream, organic vanilla extract, and raw honey. Use a hand whisk or an electric mixer to whisk the mixture for about 2-3 minutes until it thickens and soft peaks form. The whipped cream should be light and fluffy, which will create a beautiful contrast in your Cherry Creamsicles.
Step 5: Layer Mixtures
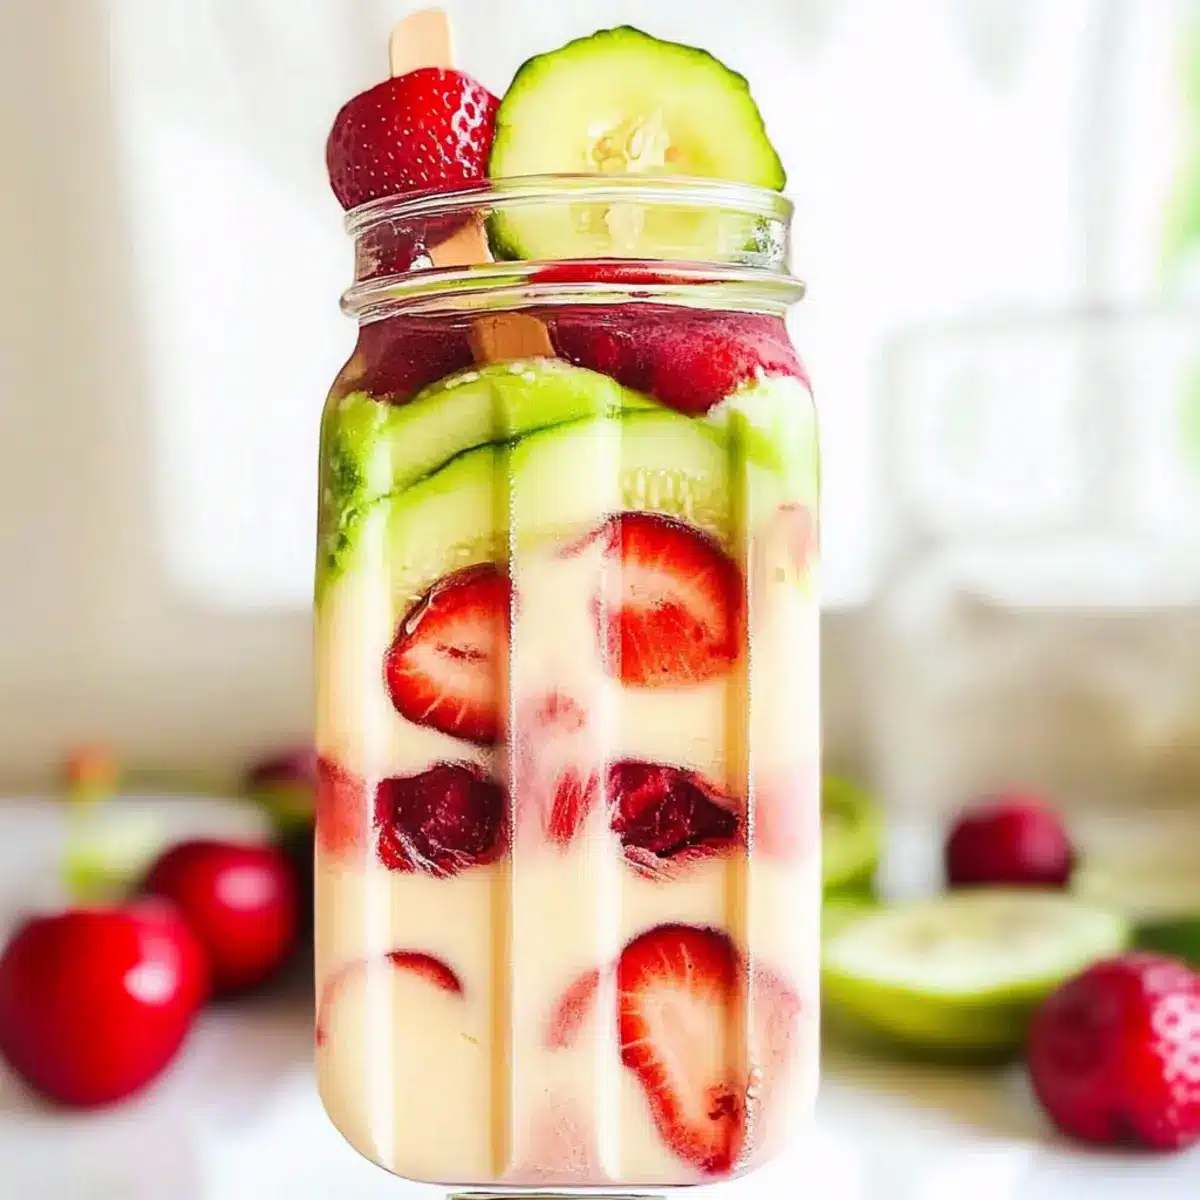
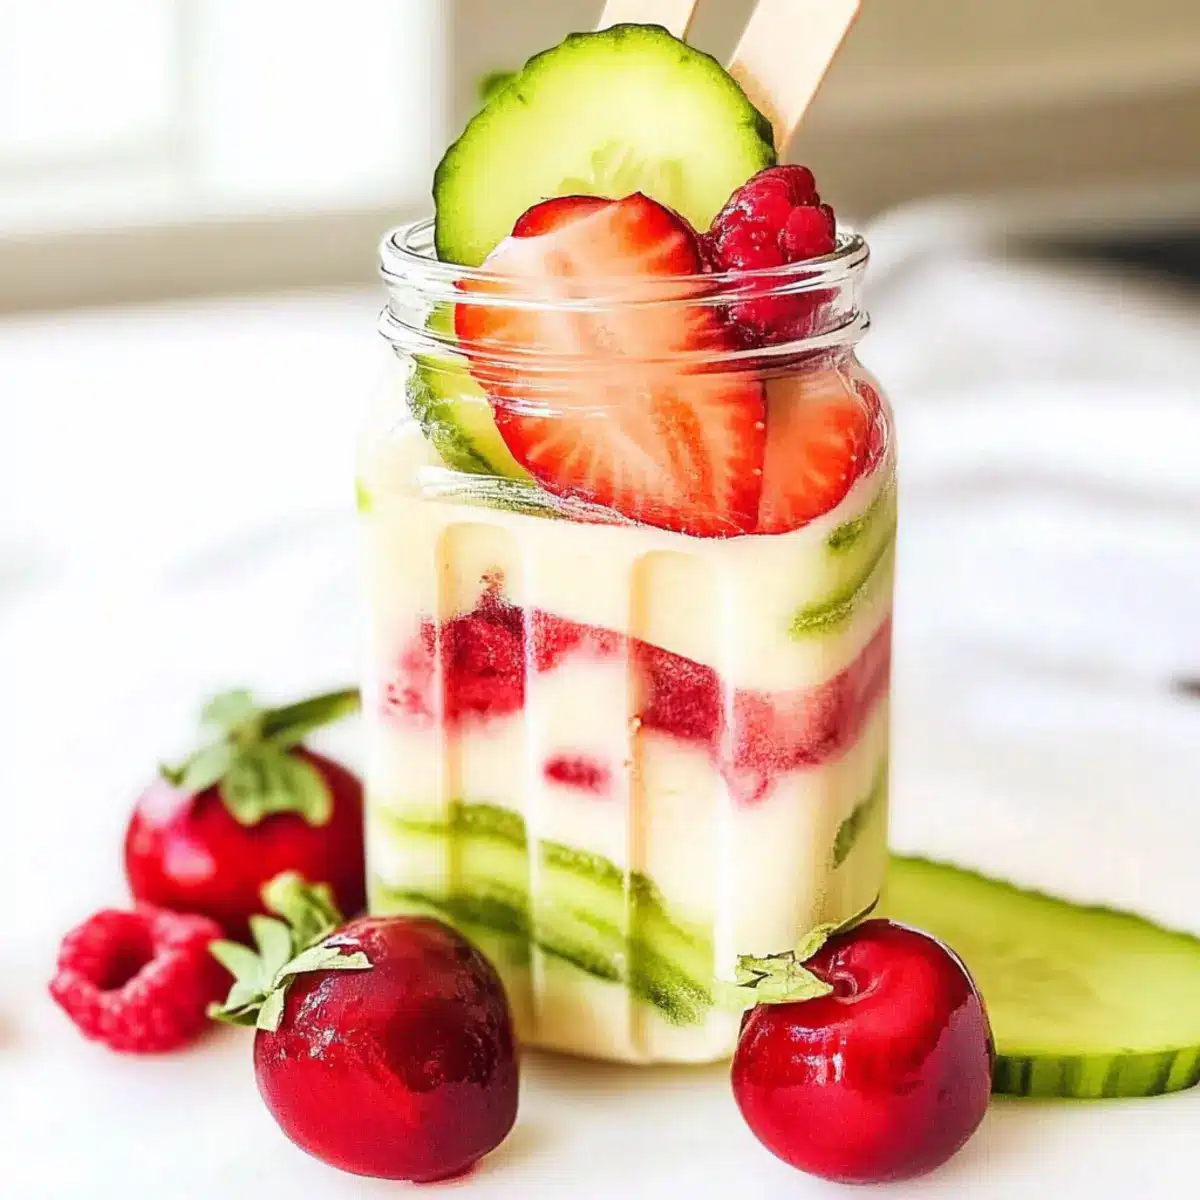
Take your popsicle molds and begin layering the mixtures. Using a spoon or spatula, alternately spoon the whipped cream and the cherry mixture into the molds to create a marbled effect. Aim for a balance in layering—this not only looks visually appealing but ensures that each bite of your Cherry Creamsicles is a tasty surprise.
Step 6: Freeze
Place the filled molds into the freezer and allow them to freeze for at least 6-8 hours, ideally overnight. This long freezing period is essential for achieving the firm texture that makes biting into your Cherry Creamsicles a refreshing delight on a hot day.
Step 7: Release Popsicles
When you’re ready to enjoy your treats, remove the molds from the freezer. To easily unmold the popsicles, run the outside of the molds under warm water for about 10-15 seconds. This quick step will help release the Cherry Creamsicles without breaking them, so you can relish every colorful, creamy bite.
Make Ahead Options
These Cherry Creamsicles are perfect for meal prep, saving you time on busy days! You can prepare the cherry mixture and whipped cream up to 24 hours in advance. Just blend the thawed cherries with coconut water and store in the fridge. Similarly, whip the cream and keep it chilled separately. When you’re ready, layer the cherry mixture and whipped cream into molds and freeze them for at least 6-8 hours before serving. To maintain the creamy texture and prevent ice crystals, make sure to keep the filled molds airtight in the freezer. Enjoy refreshing, guilt-free Cherry Creamsicles whenever you like without the last-minute hassle!
What to Serve with Cherry Creamsicles
Celebrate summer with the perfect pairing for your delightful frozen treat; these suggestions elevate your wholesome dessert experience!
- Grilled Peaches: Their warm, caramelized sweetness beautifully contrasts the cold cherry creamsicles, delighting your taste buds.
- Fresh Mint Garnish: A sprinkle of fresh mint not only adds a pop of color but also introduces a refreshing hint of herbal brightness.
- Chocolate Drizzle: A rich, melted chocolate drizzle on top of each creamsicle brings a decadent twist and an indulgent touch.
- Berry Salad: Mixed fresh berries tossed with a touch of honey create a light, vibrant side that complements the cherries perfectly.
- Lemonade Spritzer: This refreshing drink’s crisp acidity enhances the creamy flavors, making for a delightful summer beverage pairing.
- Vanilla Yogurt Dip: Creamy yogurt infused with a hint of vanilla adds a deliciously cool contrast, perfect for dunking those popsicles!
How to Store and Freeze Cherry Creamsicles
Fridge: Store leftover Cherry Creamsicles in the freezer; they maintain quality up to two weeks. Avoid placement in the fridge, as they will melt.
Freezer: Make sure the popsicles are stored in airtight molds to prevent freezer burn. Enjoy within two weeks for the best flavor and texture.
Removal Tip: Before serving, let them sit at room temperature for a few minutes to make it easier to release from the molds without breaking.
Reheating: No need to reheat—these Cherry Creamsicles are meant to be enjoyed straight from the freezer!
Expert Tips for Cherry Creamsicles
Smooth Mixture: Ensure the cherry mixture is completely blended without any chunks to achieve a velvety texture in your Cherry Creamsicles.
Chill the Bowl: Don’t skip chilling the mixing bowl before whipping the cream; it’s essential for achieving that light, airy consistency.
Adequate Freezing: Allow enough freezing time—6-8 hours is ideal. This prevents any softness, ensuring your popsicles are refreshingly firm.
Layer Creatively: Explore different layering techniques with the cream and cherry mixture for a visually stunning marbled effect.
Experiment with Flavors: Feel free to swap cherries for other fruits like strawberries or peaches for a delightful twist on these Cherry Creamsicles.
Cherry Creamsicles Variations & Substitutions
Customize your Cherry Creamsicles to suit your taste buds and enjoy a unique, refreshing treat!
- Dairy-Free: Replace raw cream with coconut cream from full-fat coconut milk for a lush, dairy-free delight.
- Fruit Fusion: Swap cherries for other berries like strawberries or raspberries for a different flavor profile; feel free to mix and match!
- Juice Boost: Use fresh fruit juice instead of coconut water for a sweeter, fruity twist—just keep in mind it may alter the texture.
- Sweetness Switch: Try using maple syrup instead of raw honey for a vegan-friendly option; just note the change in flavor.
- Crunchy Layers: Add crushed nuts or granola between the layers for delightful texture contrast; it’s a fun surprise in every bite!
- Herbal Twist: Incorporate a hint of fresh mint or basil into the cherry mixture for an aromatic, sophisticated touch.
- Extra Creamy: Fold in some Greek yogurt into the whipped cream for an extra dose of creaminess and protein.
- Spice it Up: Add a pinch of cinnamon or nutmeg to the cherry mixture for a warm, inviting flavor that surprises and delights.
Feeling adventurous? Why not explore more delicious recipes like the Cherry Amaretto Tiramisu to complement your Cherry Creamsicles!
Cherry Creamsicles Recipe FAQs
How do I know if my cherries are ripe enough?
Absolutely! When selecting cherries, look for those that are deep red in color with a slight sheen. They should be firm to the touch without any dark spots or blemishes. Ripe cherries often taste just a bit sweet but still have a nice tartness. If you’re unsure, taste one; it should be juicy and flavorful!
How should I store leftover Cherry Creamsicles?
Very! Store your Cherry Creamsicles in the freezer, ideally in airtight molds to avoid freezer burn. They can maintain their best quality for up to two weeks. Just make sure to avoid placing them in the fridge, as this will cause them to melt. If you do have leftovers, let them sit at room temperature for a few minutes before serving to make removal easier.
Can I freeze Cherry Creamsicles for longer periods?
Absolutely! While they are best enjoyed within two weeks, you can freeze them for up to three months. Make sure to store them in a well-sealed container to prevent freezer burn. When you’re ready to enjoy them, simply let them thaw in the fridge or at room temperature for a quick treat!
What if my Cherry Creamsicles are too soft after freezing?
No worries! If your popsicles are too soft, it may be due to insufficient freezing time. Ensure that they’ve been in the freezer for at least 6-8 hours, or ideally overnight. If they are already frozen but still soft, try adjusting the mixture next time by slightly reducing the cream or increasing the cherry puree for a firmer texture.
Can I make these Cherry Creamsicles dairy-free?
Very much so! For a delicious dairy-free version, substitute raw cream or organic whipping cream with coconut cream from full-fat coconut milk. This not only aligns with dietary restrictions but also adds a slight tropical flavor that complements the cherries beautifully.
Are these Cherry Creamsicles suitable for kids or people with allergies?
Absolutely! Using real food ingredients with no refined sugars makes these popsicles a nutritious choice for kids. However, if you’re concerned about allergies, double-check labels on ingredients like honey or flavored extracts. You can also easily modify any part of the recipe to fit dietary restrictions, making them family-friendly and versatile for all kinds of lifestyles.
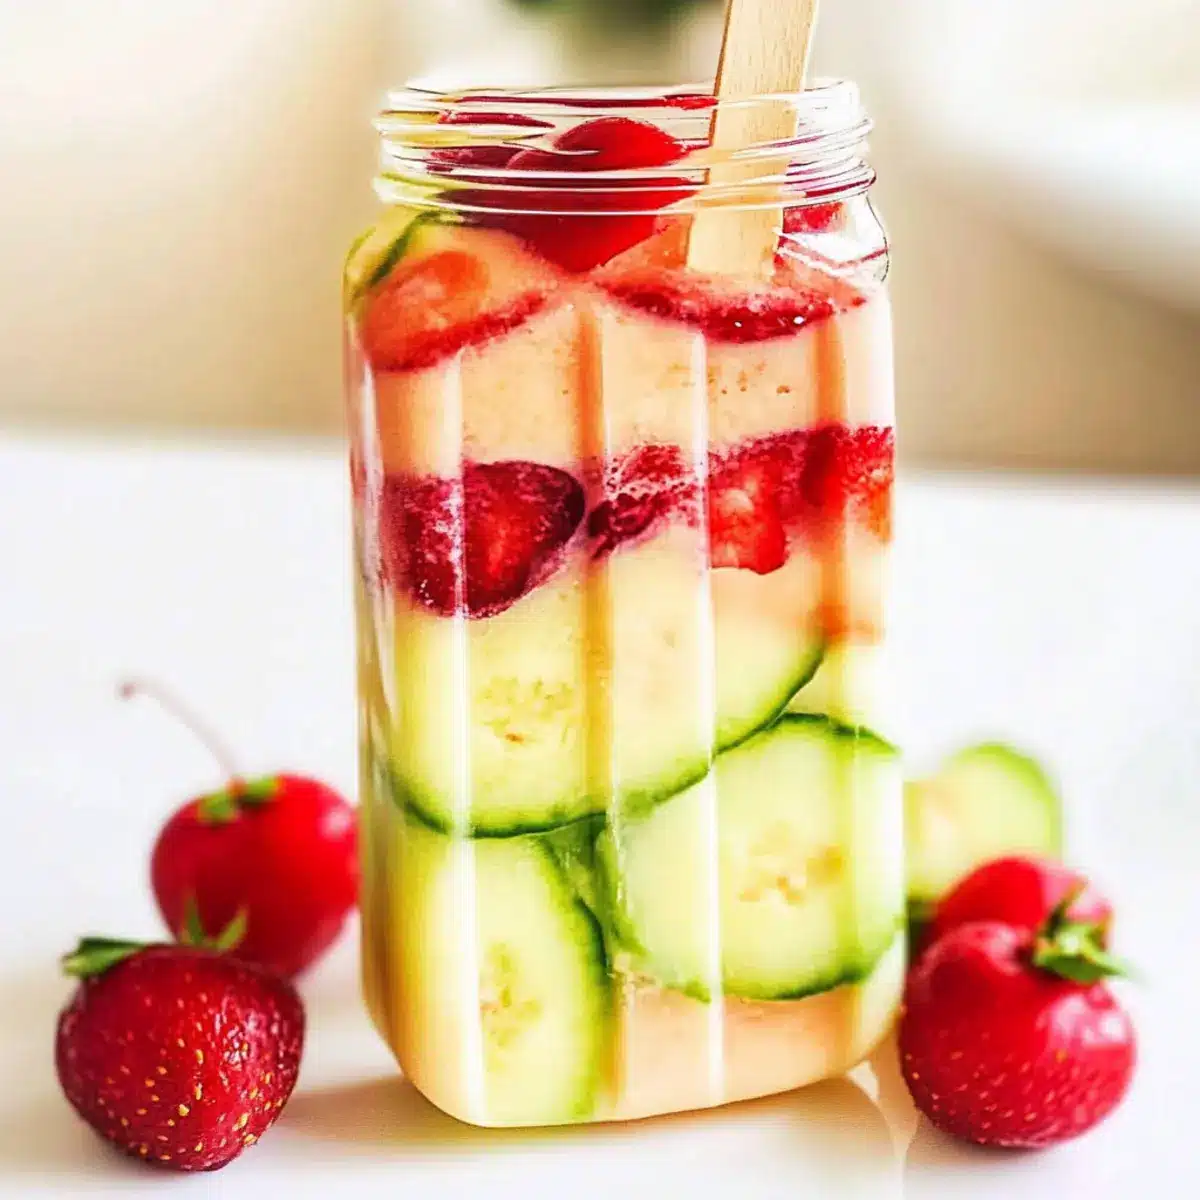
Cherry Creamsicles: Guilt-Free Summer Bliss You'll Love
Ingredients
Equipment
Method
- Gather your popsicle molds and set them aside for later use. Chill a large mixing bowl in the fridge for at least 10 minutes.
- If you're using frozen cherries, make sure they are completely thawed. Place the thawed cherries in a bowl for about 10 minutes.
- In your blender, combine the thawed cherries with 1/4 cup of coconut water or filtered water. Blend until smooth and creamy.
- Use the chilled bowl to add the raw cream, organic vanilla extract, and raw honey. Whisk for about 2-3 minutes until light and fluffy.
- Layer the whipped cream and cherry mixture into the popsicle molds.
- Place the filled molds in the freezer and allow them to freeze for at least 6-8 hours, ideally overnight.
- When ready, run the molds under warm water for about 10-15 seconds to easily release the popsicles.
Leave a Reply