
As I stood in my kitchen, the sun streaming through the window, I couldn’t shake the craving for warm, homemade bread—the kind that fills the house with a cozy aroma and makes your heart smile. This simple Homemade Bread recipe is a lifesaver, requiring just six ingredients you likely already have on hand. Not only is it quick and easy to whip up, but it also creates a buttery, soft loaf that’s perfect whether you’re making a gourmet sandwich or indulging in a lazy morning toast. Say goodbye to the store-bought stuff, and welcome that satisfying feeling of kneading dough and watching it rise! Are you ready to embark on this comforting baking adventure?
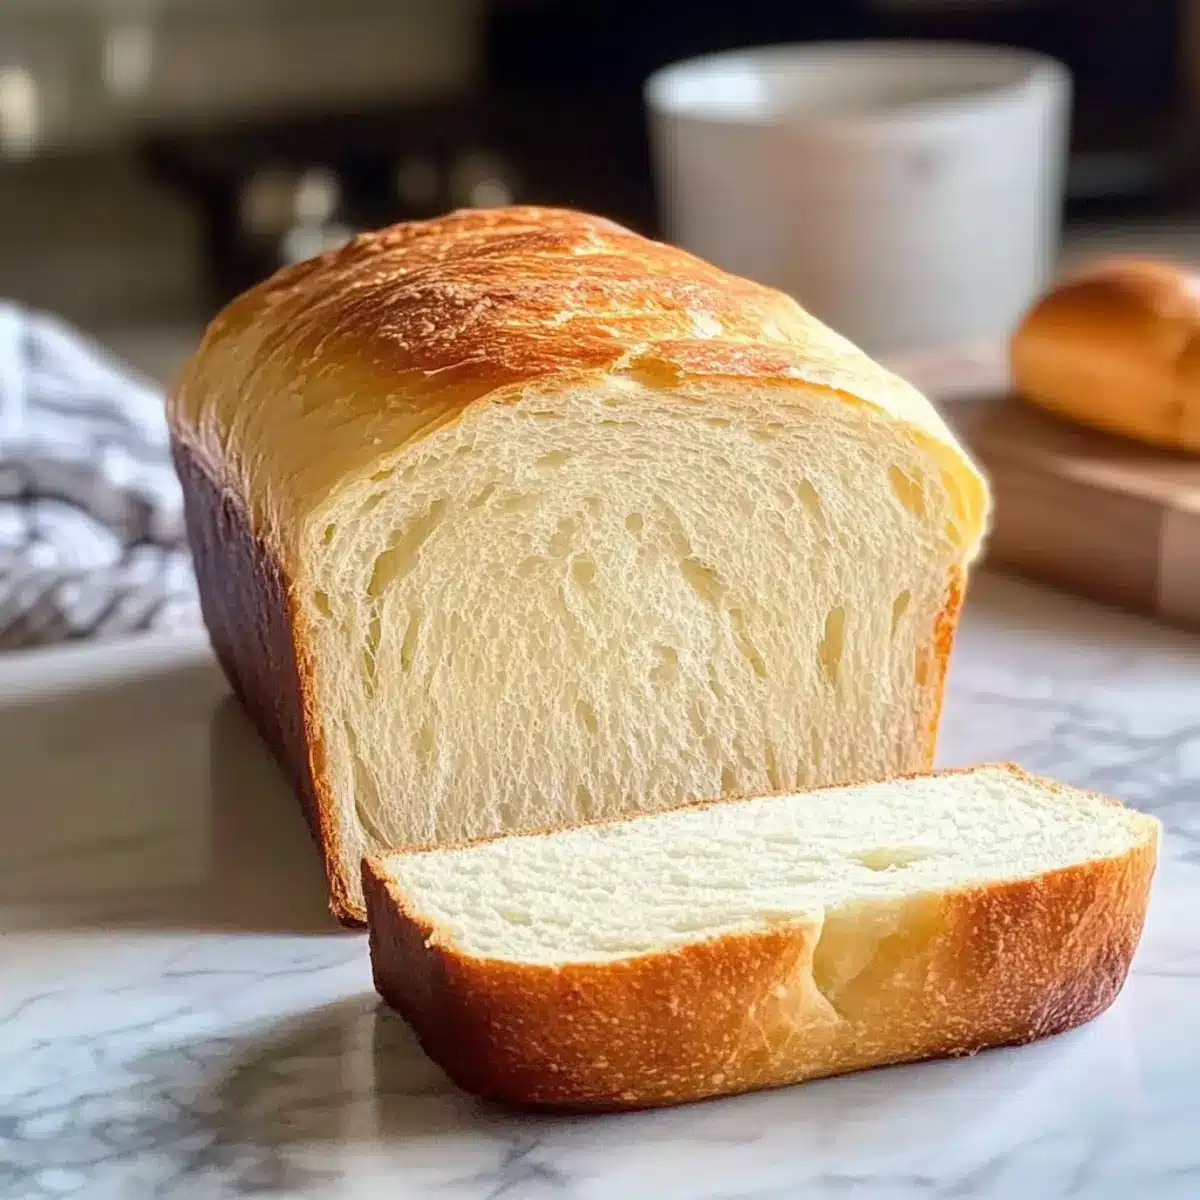
Why is Homemade Bread So Irresistible?
Comforting Aroma: The moment you start baking, your kitchen will fill with a warm and inviting smell that promises comfort.
Simple Ingredients: With just six pantry staples, you’ll create a loaf that’s both delicious and achievable for anyone, regardless of baking experience.
Versatile Delight: Whether sliced for sandwiches, enjoyed with soups, or savored with butter, this bread adapts to any meal beautifully.
Healthier Choice: Homemade bread often contains fewer preservatives and additives than store-bought options, letting you enjoy a wholesome treat.
Experience the pride of serving your family the warm, golden slices, reminiscent of local bakeries. Don’t forget, if you’re craving more homemade delights, check out my Pumpkin Bread Pudding or Cranberry Orange Shortbread for a sweet finish!
Homemade Bread Ingredients
• For a loaf that’s simply irresistible!
For the Dough
- All-Purpose Flour – Provides the structure and body for this delightful homemade bread; you can swap it with whole wheat flour for added nutrition.
- Warm Water – Activates the yeast effectively, helping the dough develop; be sure it’s the right temperature to work its magic.
- Active Dry Yeast – The essential leavening agent that makes your bread rise; verify its freshness for the best results.
- Sugar or Honey – Adds a hint of sweetness while feeding the yeast during proofing; you can choose either based on your preference.
- Salt – A crucial component that enhances flavor and regulates yeast fermentation for that perfect taste.
- Oil – Infuses moisture and tenderness into the bread; melted butter makes for a lovely alternative if you prefer a richer flavor.
Get ready to indulge in the satisfaction of creating your very own homemade bread!
Step‑by‑Step Instructions for Homemade Bread
Step 1: Proof the Yeast
In a large mixing bowl or stand mixer, combine the active dry yeast, warm water, and a pinch of sugar. Stir gently and allow this mixture to sit for about 5-10 minutes until it becomes foamy. This crucial step activates the yeast, ensuring your homemade bread rises beautifully and has that light, fluffy texture.
Step 2: Combine Dry Ingredients
Once your yeast is frothy, add the remaining sugar, salt, oil, and all-purpose flour to the bowl. Mix thoroughly until a cohesive dough starts to form; it should pull away from the sides of the bowl easily. This process should take about 1-2 minutes, and don’t worry if the dough looks a bit shaggy at first; it will come together with kneading.
Step 3: Knead the Dough
Transfer the dough to a lightly floured surface or continue using your mixer fitted with a dough hook. Knead the dough for 4-5 minutes on medium speed, or by hand for 5-8 minutes, until it becomes smooth and elastic. You’ll know it’s ready when it springs back after a gentle poke, making the perfect foundation for your homemade bread.
Step 4: First Rise
Lightly grease a clean bowl, place your dough inside, and cover it with a damp towel or plastic wrap. Set the bowl in a warm, draft-free area to rise for about 1.5 hours or until it doubles in size. You’ll see the dough puff up, which indicates that your yeast is working its magic and transforming the dough into a fluffy delight.
Step 5: Shape the Bread
After the first rise, gently punch down the dough to release any air bubbles. Divide the dough into equal portions and shape each piece into a log. Place the logs into greased loaf pans, covering them again to rise for another 45-60 minutes. Look for the dough to rise just above the edges of the pans, signaling it’s ready for baking.
Step 6: Bake the Bread
Preheat your oven to 350°F (175°C) during the second rising time. Once your dough has risen sufficiently, place the loaf pans in the oven and bake for 30-33 minutes. The bread should turn a lovely golden-brown color and sound hollow when tapped on the bottom. This is the moment when your homemade bread will fill your kitchen with a delicious aroma.
Step 7: Cool Down
Once your loaves are perfectly baked, remove them from the oven and let them cool in the pans for about 10 minutes. Then, transfer the loaves to a wire rack to cool completely. Waiting is the hardest part, but this step ensures that your homemade bread has the ideal texture, making it easier to slice when you’re finally ready to enjoy it.
What to Serve with Homemade Bread?
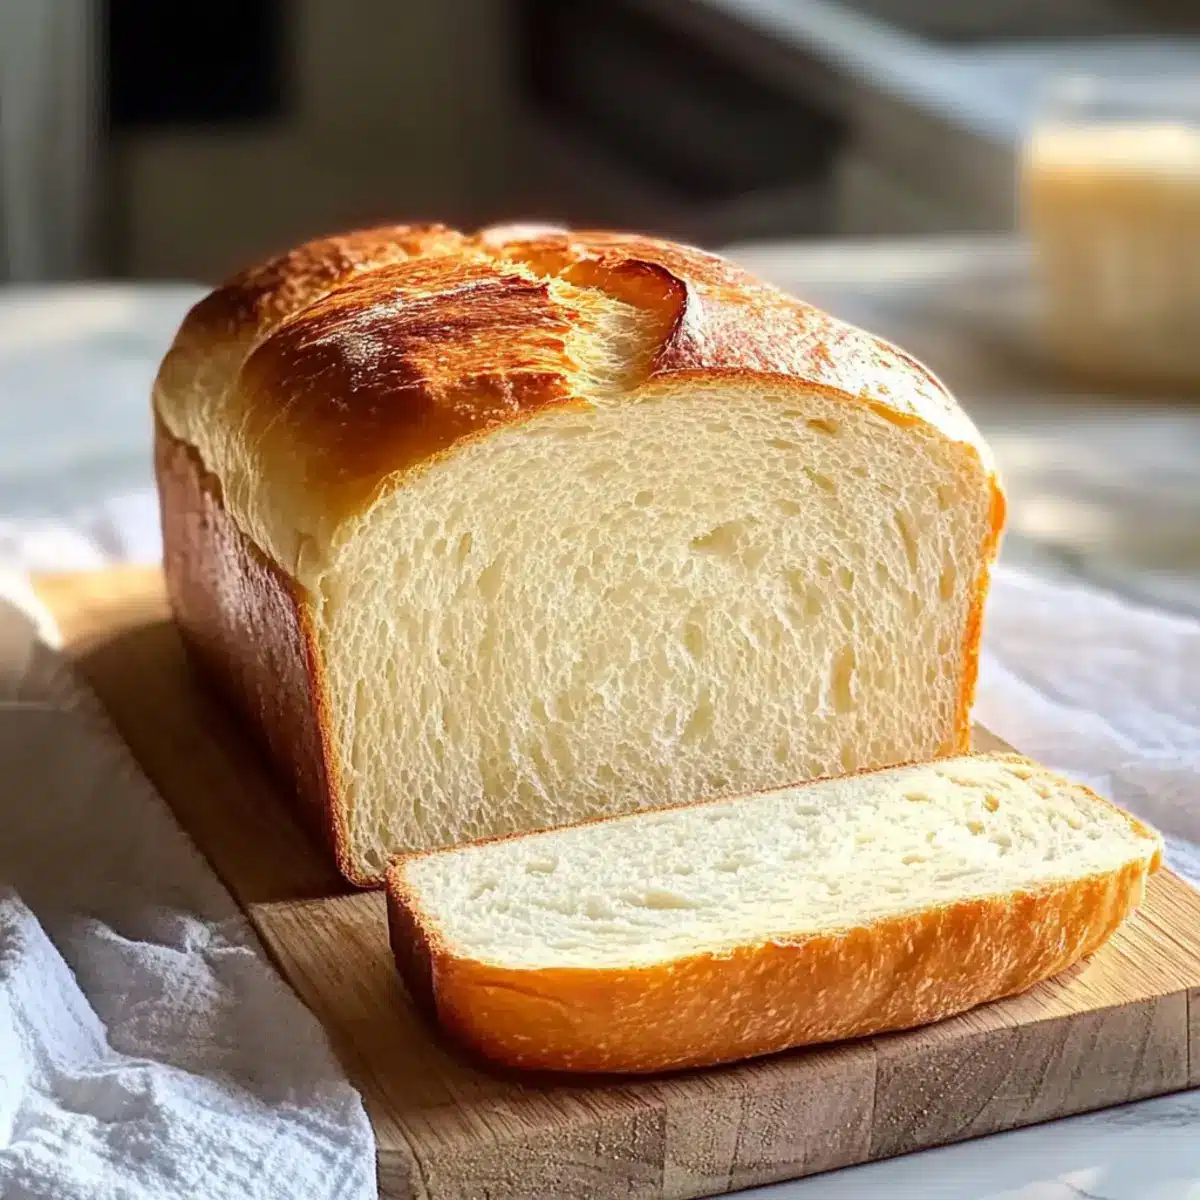
Imagine those warm, fluffy slices of homemade bread appearing at your dinner table, calling for delightful accompaniments to elevate your meal.
-
Creamy Tomato Soup: The rich, velvety texture pairs perfectly, and dunking pieces of your homemade bread creates a comforting experience.
-
Garlic Herb Butter: This fragrant spread elevates a simple slice into a robust treat, enhancing the bread’s natural flavors.
-
Simple Green Salad: A fresh salad filled with crisp greens and vibrant vegetables serves as a refreshing contrast to the soft, warm loaf.
-
Cheese Platter: An assortment of your favorite cheeses creates a delightful mix of flavors, allowing everyone to enjoy fun, interactive bites.
-
Savory Avocado Toast: Top slices with mashed avocado, sprinkle with salt and pepper, and enjoy a delicious, trendy dish for brunch or a light lunch.
-
Honey or Jam: Drizzle some honey or spread your favorite jam for a sweet indulgence that makes for a perfect breakfast or snack.
-
Chili or Stews: Pair with hearty bowls of chili or robust stews, utilizing your homemade bread for scooping up every savory bite.
-
Red Wine: A glass of your favorite red wine complements the bread’s warm flavors, making for a cozy dinner experience.
These pairings highlight the versatility of your homemade bread, making it a flavorful centerpiece for any meal!
How to Store and Freeze Homemade Bread
- Room Temperature: Keep your homemade bread in an airtight container or a resealable bag for up to 3 days to maintain its softness and prevent staleness.
- Fridge: If you prefer, slice the bread and store it in the refrigerator for up to 5 days. Just be aware that this may slightly dry it out.
- Freezer: To enjoy your homemade bread later, wrap it tightly in plastic wrap or use a freezer-safe bag. It can be frozen for up to 3 months. Thaw in the fridge or reheat in the oven for that fresh-baked taste!
- Reheating: For the best results, reheat the thawed bread in a preheated oven at 350°F (175°C) for about 10-15 minutes to restore its fluffy texture and crisp crust.
Homemade Bread Variations & Substitutions
Get ready to embrace your creativity in the kitchen with these delightful twists on your Homemade Bread!
-
Whole Wheat: Substitute half of the all-purpose flour with whole wheat for a heartier, nuttier flavor. This variation not only enhances taste, but also boosts fiber content, making each slice even more wholesome.
-
Herb-Infused: Add fresh or dried herbs like rosemary or thyme to the dough for a fragrant twist. These aromatic additions elevate your bread to a savory masterpiece that pairs beautifully with soups or salads.
-
Cheesy Delight: Stir in shredded cheese like cheddar or mozzarella before kneading. Melty and delicious, cheesy bread makes for an irresistible snack or side dish.
-
Seed Topping: Sprinkle sesame or poppy seeds on top of the loaves before baking for a simple yet elegant finish. This adds a delightful crunch, making your homemade bread visually appealing and even tastier!
-
Sweet Twists: Replace sugar with honey or maple syrup for a slightly different sweetness. The natural flavors lend a subtle richness that complements the warmth of fresh bread perfectly.
-
Flavorful Add-ins: Mix in a handful of nuts or dried fruits like walnuts or cranberries for added texture and surprise in every bite. This can transform your plain bread into a delightful treat that’s perfect for more than just sandwiches.
-
Spicy Kick: Add a pinch of red pepper flakes to the dough for a mild kick if you’re looking for a bit of heat. This subtle spice will awaken your taste buds without overwhelming your palate.
As you explore these variations, don’t forget to check out my recipe for Pumpkin Bread Pudding for a cozy, sweet dessert that uses your homemade bread, or consider that zesty touch with Cranberry Orange Shortbread to round off a lovely meal!
Make Ahead Options
These Homemade Bread options are perfect for busy home cooks looking to save time! You can prepare the dough up to 24 hours in advance by mixing and kneading everything, then storing it in the refrigerator. Just cover the bowl tightly with plastic wrap to prevent it from drying out. When you’re ready to bake, let the dough come to room temperature for about 30 minutes before the first rise. Alternatively, you can shape the loaves and freeze them before the second rise; simply cover them in plastic wrap and store in an airtight bag for up to 3 months. When ready to serve, let the frozen loaves thaw in the fridge overnight and follow the usual rising and baking steps. With these make-ahead tips, your Homemade Bread will be just as delicious with minimal last-minute effort!
Expert Tips for Homemade Bread
-
Use Fresh Yeast: Always check the expiration date of your active dry yeast. Dated yeast can lead to flat bread, so freshness is key.
-
Measure Accurately: Baking is a science! Use a kitchen scale for accurate flour measurements, avoiding dense or crumbly results in your homemade bread.
-
Be Patient: Allow the dough to rise fully during both proving stages. Rushing this step may result in heavy bread, so trust the process!
-
Tap for Doneness: Ensure it’s perfectly baked by tapping the bottom of the loaf. A hollow sound indicates your bread is ready to come out of the oven.
-
Experiment with Flavors: Don’t hesitate to add herbs, seeds, or even cheese into your dough. This adds an exciting twist to your simple homemade bread!
Homemade Bread Recipe FAQs
How do I select the best ingredients for Homemade Bread?
Absolutely! When choosing all-purpose flour, opt for a brand that has a good reputation for quality; its protein content affects the bread’s structure. For warm water, ensure it’s between 100°F and 110°F (37°C – 43°C) to properly activate the yeast. Always check your yeast for freshness by looking for a purchase date on the package—expired yeast may result in dense bread.
What is the best way to store my Homemade Bread?
Very simple! Store your homemade bread in an airtight container at room temperature for up to 3 days. If you’d like to keep it longer, slice the bread and place it in a resealable bag in the refrigerator to enjoy for up to 5 days. However, keep in mind that refrigeration may dry it out a bit.
Can I freeze Homemade Bread, and how do I do it?
Absolutely! To freeze your homemade bread, let it cool completely, then tightly wrap it in plastic wrap. Place the wrapped loaf in a freezer-safe bag or airtight container. It can be frozen for up to 3 months. When ready to enjoy, simply thaw in the fridge overnight or reheat directly from the freezer at 350°F (175°C) for about 10-15 minutes to restore its delicious texture.
What should I do if my bread doesn’t rise properly?
If your homemade bread doesn’t rise, don’t worry! First, check that your yeast is fresh and properly activated. If your dough is not rising enough during the first rise, it could be too cold or dry—try placing it in a warmer area for a more conducive rising environment. If all else fails, consider adjusting your kneading time; the dough should be smooth and elastic for optimal results.
Is this Homemade Bread recipe suitable for those with dietary restrictions?
Very much so! You can make this recipe vegan by substituting the oil for melted coconut oil or using plant-based butter. For gluten-free adjustments, consider using a gluten-free all-purpose flour blend specifically designed for baking, but keep in mind that this may alter the bread’s texture. Always check ingredients for possible allergens like yeast and sugar to accommodate specific dietary needs.
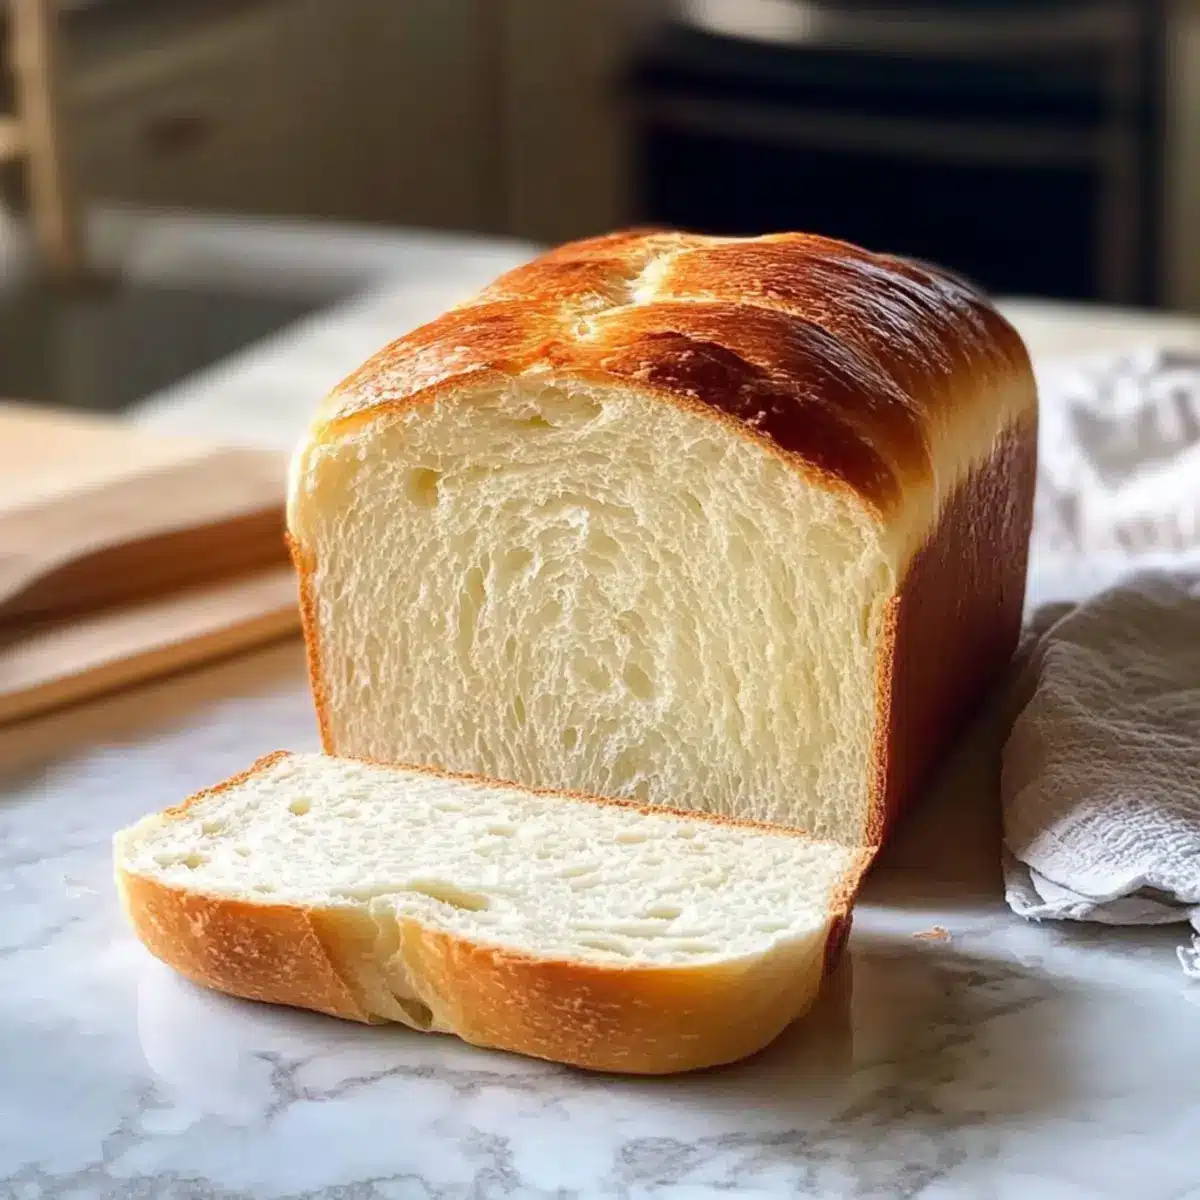
Soft and Golden Homemade Bread in Just 6 Simple Steps
Ingredients
Equipment
Method
- Proof the Yeast: Mix active dry yeast, warm water and a pinch of sugar in a bowl and let sit for 5-10 minutes until foamy.
- Combine Dry Ingredients: Once yeast is frothy, add sugar, salt, oil, and flour. Mix until cohesive dough forms.
- Knead the Dough: Knead dough for 4-5 minutes on medium speed, or by hand for 5-8 minutes until smooth and elastic.
- First Rise: Grease a bowl, place dough inside, cover and let rise for 1.5 hours or until doubled in size.
- Shape the Bread: Punch down dough, divide into logs, place in greased loaf pans and rise for 45-60 minutes.
- Bake the Bread: Preheat oven to 350°F, bake for 30-33 minutes until golden brown and sounds hollow when tapped.
- Cool Down: Let the loaves cool in pans for 10 minutes, then transfer to wire rack to cool completely.
Leave a Reply