
As I flipped through my recipe notebook, a single thought struck me: tacos belong in every home cook’s repertoire. Today, I’m excited to share my Quick & Easy Baked Chicken Tacos, a recipe that marries crispy tortillas with savory chicken and gooey cheese for a meal that’s as satisfying as it is simple. Perfect for those busy weeknights, this dish allows you to spend less time in the kitchen and more with loved ones. Not only are these baked tacos quick to prepare and ideal for meal prepping, but they’re also incredibly versatile—swap in ground beef, or even veggies, to cater to your family’s taste buds. Curious how to make these crunchy delights in your own kitchen? Let’s dive in!
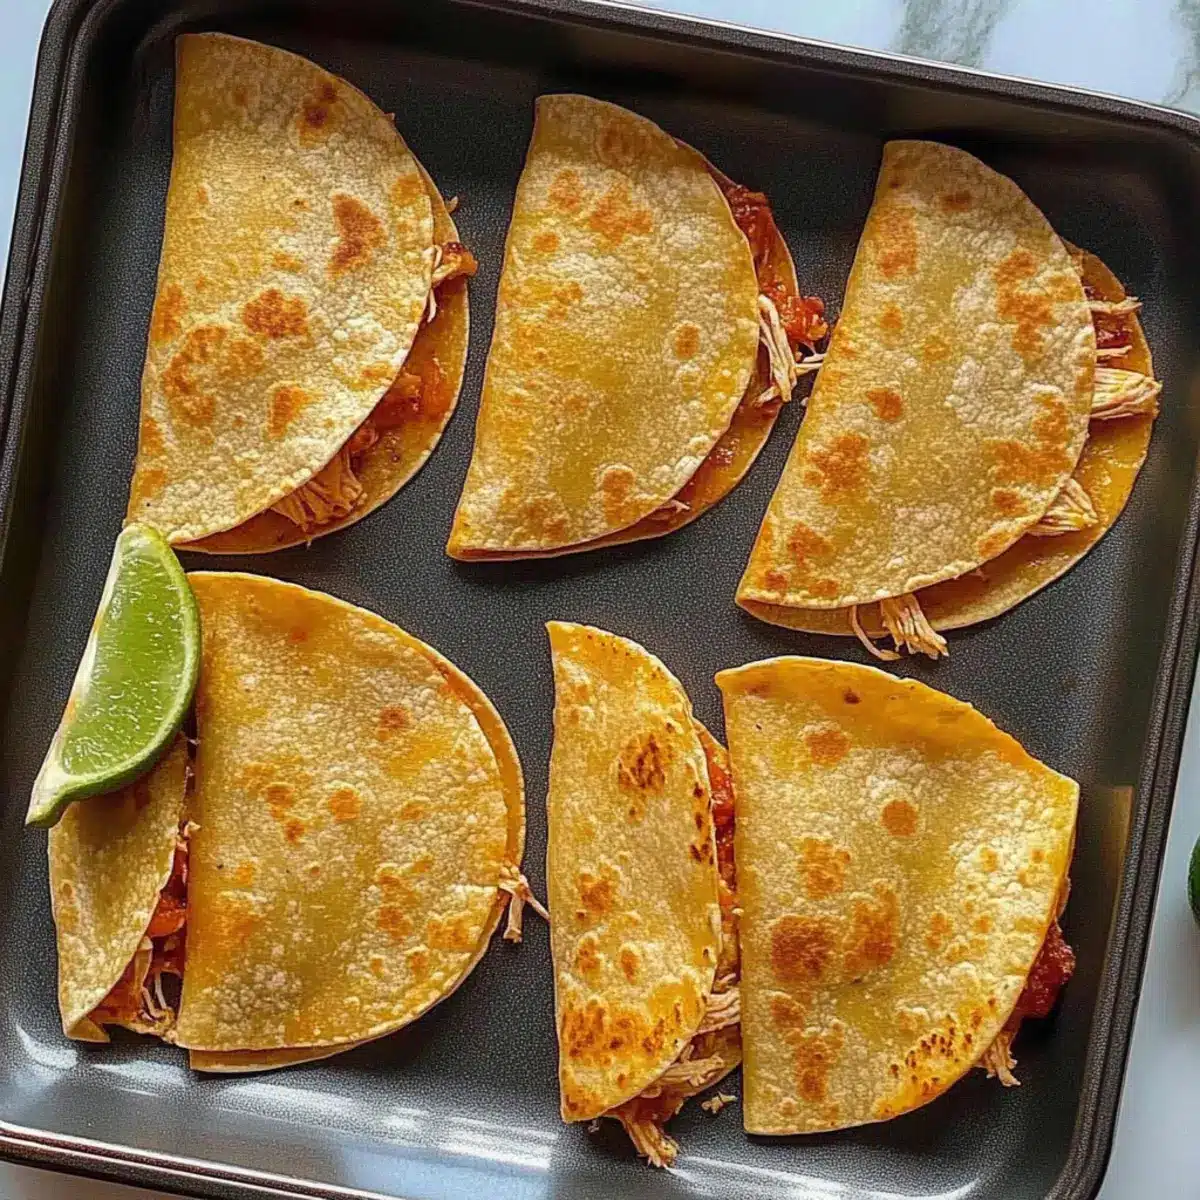
Why You’ll Love These Baked Tacos
Quick and Easy: You can whip these up in no time, making them perfect for busy weeknights when you crave something delicious without the hassle.
Customizable Fillings: Whether you prefer chicken, ground beef, or even roasted veggies, these tacos easily adapt to your family’s favorites.
Crowd-Pleaser: Planning a get-together? These baked chicken tacos will impress guests and leave them asking for seconds! Pair them with some fresh guacamole or salsa for an irresistible meal.
Guilt-Free Indulgence: At around 110 calories each, you can enjoy these tacos without sacrificing your health goals. They’re a satisfying treat that won’t break your diet.
Effortless Meal Prep: Make a batch ahead of time and reheat for a quick lunch or dinner throughout the week—just like my Cheesy Garlic Chicken!
Baked Chicken Tacos Ingredients
For the Tacos
• Extra Thin Corn Tortillas – The ideal base for crispy tacos; Mission brand is highly recommended.
• Cooked Chicken Breast (6 oz) – The star of the dish, delicious when chopped or shredded; feel free to substitute with ground beef or rotisserie chicken for an easy twist.
• Shredded Cheddar (1/2 cup, 56g) – Adds a rich, melty texture; you can mix it up with cheeses like Monterey Jack or Pepper Jack for extra flair.
For the Optional Toppings
• Salsa – Offers a fresh, zesty kick; perfect for adding brightness to your baked chicken tacos.
• Guacamole – Creamy and delicious, it balances the savory flavors beautifully.
• Fresh Cilantro – Adds a fresh herbaceous note; sprinkle on just before serving for an extra touch.
These baked chicken tacos are not only customizable, but they also deliver a satisfying crunch and flavor that is sure to please!
Step‑by‑Step Instructions for Baked Chicken Tacos
Step 1: Preheat the Oven
Begin by preheating your oven to 400°F (200°C). This temperature will ensure that your baked chicken tacos come out perfectly crispy and golden. While the oven heats up, gather your baking sheet to prepare for assembling the tacos, which will make the process smooth and efficient.
Step 2: Prepare the Tortillas
Wrap the extra thin corn tortillas in a slightly damp paper towel and microwave them for 45–60 seconds, flipping halfway through. This step is crucial as it softens the tortillas, making them pliable and preventing any cracking when you fold them. Once softened, lay them out on a clean surface, ready for filling.
Step 3: Fill the Tortillas
Take a tortilla and place it on your workspace, then fill one half with a generous portion of cooked chicken and a sprinkle of shredded cheddar cheese. Make sure to leave some space at the edges to avoid any spilling during baking. Carefully fold the tortilla over to create a taco shape and press gently to seal it closed.
Step 4: Weight the Tacos
Arrange your filled tacos seam side down on a baking sheet. To keep them sealed and ensure they hold their shape during baking, place another baking sheet or a heavy oven-safe dish on top of them. This extra weight will help achieve a beautifully crisp outer shell while keeping the filling intact.
Step 5: Bake to Perfection
Slide the baking sheet into your preheated oven and bake for 8–12 minutes. Keep an eye on your baked chicken tacos, looking for a delightful golden-brown color. You want the cheese to be perfectly melted and the tortillas crispy, so adjust timing as needed to prevent burning.
Step 6: Crisp Up the Tacos
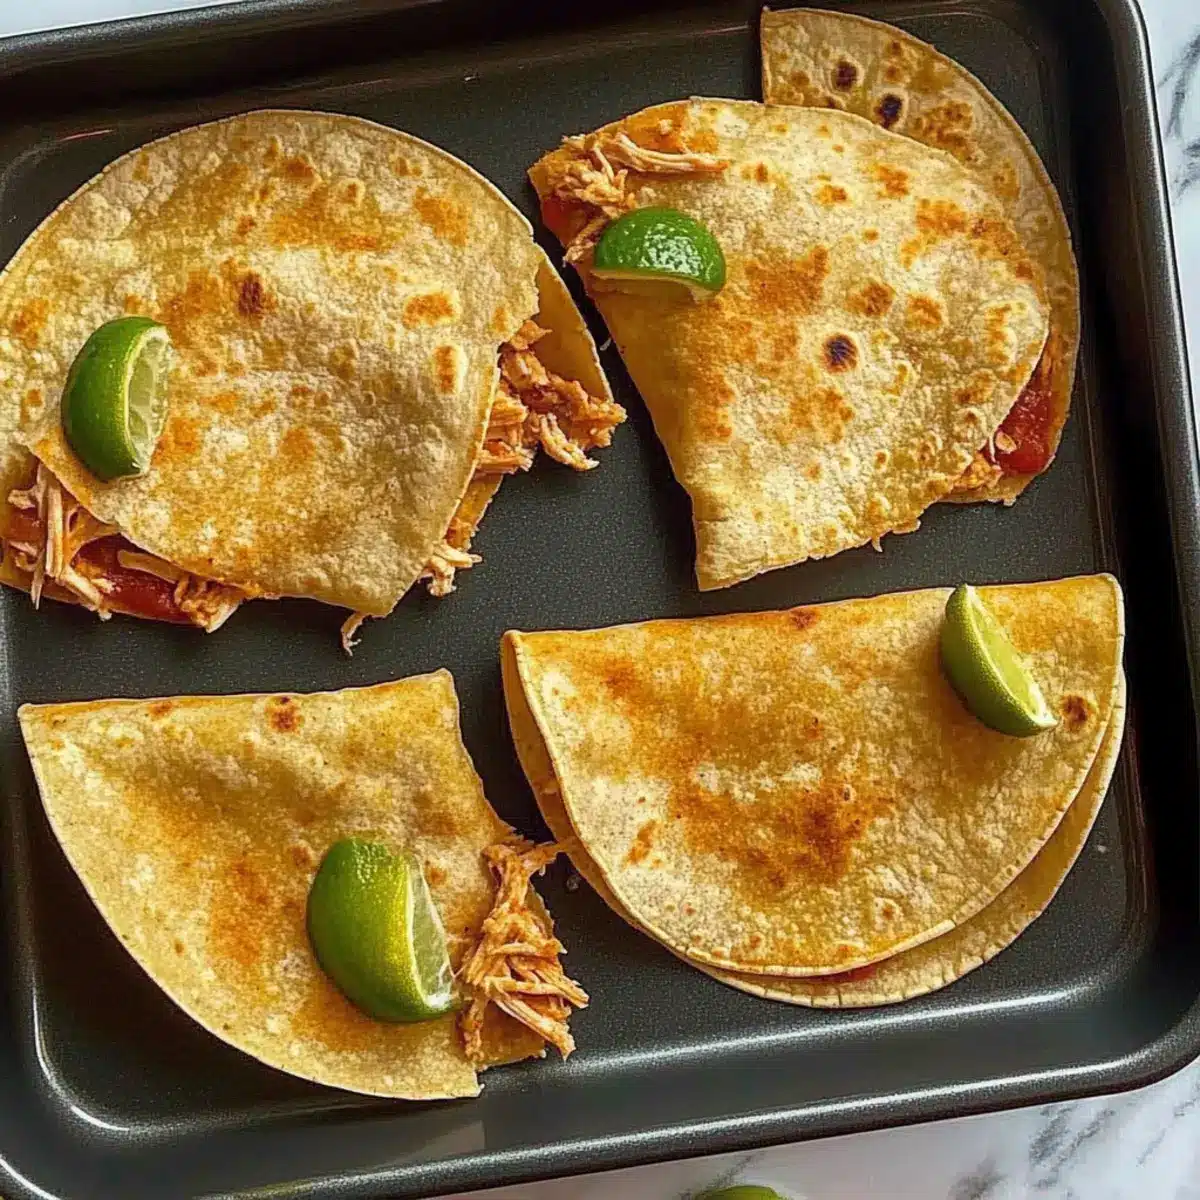
If you prefer extra crispiness, carefully remove the weight from the tacos in the last 2-3 minutes of baking. This allows the tortillas to crisp up even more, enhancing the texture of your baked chicken tacos. Watch closely to achieve the perfect crunch just before serving.
Make Ahead Options
These Baked Chicken Tacos are perfect for meal prep enthusiasts! You can assemble the tacos up to 24 hours in advance; simply prepare and fill the tortillas, then store them in an airtight container in the refrigerator to maintain quality. If you’re short on time, you can also cook the chicken and cheese filling ahead of time; it stays delicious for up to 3 days in the fridge. When it’s time to eat, just pop the assembled tacos in the oven at 400°F for about 10-12 minutes, allowing them to bake until they’re golden and crispy. This way, you enjoy all the flavor and crunch of Baked Chicken Tacos without the last-minute rush!
What to Serve with Baked Chicken Tacos
Delight in a flavorful feast that perfectly complements your crispy baked chicken tacos!
- Fresh Guacamole: Creamy and rich, guacamole adds a luscious balance to the savory tacos. Plus, it’s simply irresistible!
- Zesty Salsa: A splash of fresh salsa brings a tangy brightness, enhancing the flavors and adding an exciting burst of freshness.
- Crunchy Mexican Coleslaw: The crisp texture and tangy dressing of coleslaw provide a refreshing contrast that completes each bite.
- Spicy Refried Beans: Creamy and flavorful, refried beans add a protein-packed side that melds wonderfully with taco flavors.
- Savory Cilantro Rice: The fragrant herbiness of cilantro rice beautifully pairs with the tacos for a fulfilling and hearty meal experience.
- Cooling Sour Cream: A dollop of sour cream not only adds creaminess but also helps temper any spice from the filling.
- Margaritas: Refreshing and tangy, a tangy margarita elevates your meal, making it feel like a festive occasion.
- Churros for Dessert: End the meal on a sweet note with warm, crispy churros dipped in chocolate or cinnamon sugar.
- Lime Wedge: The simple addition of lime wedges can brighten each taco’s flavor with a little zesty squeeze!
- Chilled Lemonade: A cool glass of lemonade refreshes the palate and balances the savory spices of your tacos perfectly.
How to Store and Freeze Baked Chicken Tacos
Fridge: Store leftover baked chicken tacos in an airtight container for up to 3 days. Reheat in the oven or air fryer to restore their crunchiness.
Freezer: You can freeze assembled but unbaked tacos in an airtight container for up to 2 months. Bake from frozen, adding a few extra minutes to the bake time.
Reheating: For perfect reheating, use the oven or air fryer at 400°F for 2-4 minutes to ensure the tacos are crispy and warm.
Wrap It Right: If freezing cooked tacos, wrap them in foil or cling wrap to avoid freezer burn and maintain flavor. Enjoy your delicious baked chicken tacos anytime!
Expert Tips for Baked Chicken Tacos
Proper Tortilla Heating: Ensure tortillas are thoroughly heated before folding to prevent cracking. This step guarantees a better taco shape and texture.
Mindful Filling: Avoid overfilling your tacos; this will prevent messy spills during baking. A little goes a long way to keep them neat and tidy.
Crispy Result: For the ultimate crunch, consider removing any weights during the last few minutes of baking, letting the tortillas crisp up beautifully.
Batch Cooking: If making a large quantity, cook in batches rather than stacking all the tacos in the air fryer. This approach leads to even cooking and crispiness.
Topping Variations: Feel free to experiment with spices in the filling, such as taco seasoning or chipotle powder, to elevate your baked chicken tacos.
Baked Chicken Tacos Variations
Feel free to put your personal spin on these tacos and enjoy new flavor experiences!
- Ground Beef: Swap the chicken for seasoned ground beef for a classic twist and heartier filling.
- Vegetarian: Replace chicken with roasted vegetables and black beans for a colorful, plant-based option. They bring a delightful texture and taste that everyone will love.
- Spicy Chicken: Add diced jalapeños or a sprinkle of cayenne pepper to the chicken filling for a flavor boost that ignites your taste buds.
- Cheese Lover’s: Use a mix of cheeses like Monterey Jack and Pepper Jack to create a melty, cheesy blend that elevates your tacos. Don’t forget to sneak in some extra cheese on top before baking!
- Herb Infusion: Mix fresh cilantro and lime juice into the chicken to brighten the flavors. This fresh taste will enchant your palate and evoke memories of sunny fiestas.
- Corn Salsa Topping: Top with fresh corn salsa for a crunchy, zesty finish that complements the cheesy filling. The sweetness of the corn is a delightful contrast!
- BBQ Chicken: For a smoky twist, combine shredded chicken with your favorite barbecue sauce before filling the tortillas. The rich flavor will add a new dimension to your tacos.
- Gluten-Free Option: Use gluten-free corn tortillas or lettuce wraps to cater to dietary needs while enjoying these crunchy delights. They still deliver that satisfying crunch!
These substitutions open a world of mouthwatering possibilities just like my Greek Chicken Gyro or Baked Lobster Tails for a unique meal. Enjoy experimenting with these variations!
Baked Chicken Tacos Recipe FAQs
What type of tortillas should I use for baked chicken tacos?
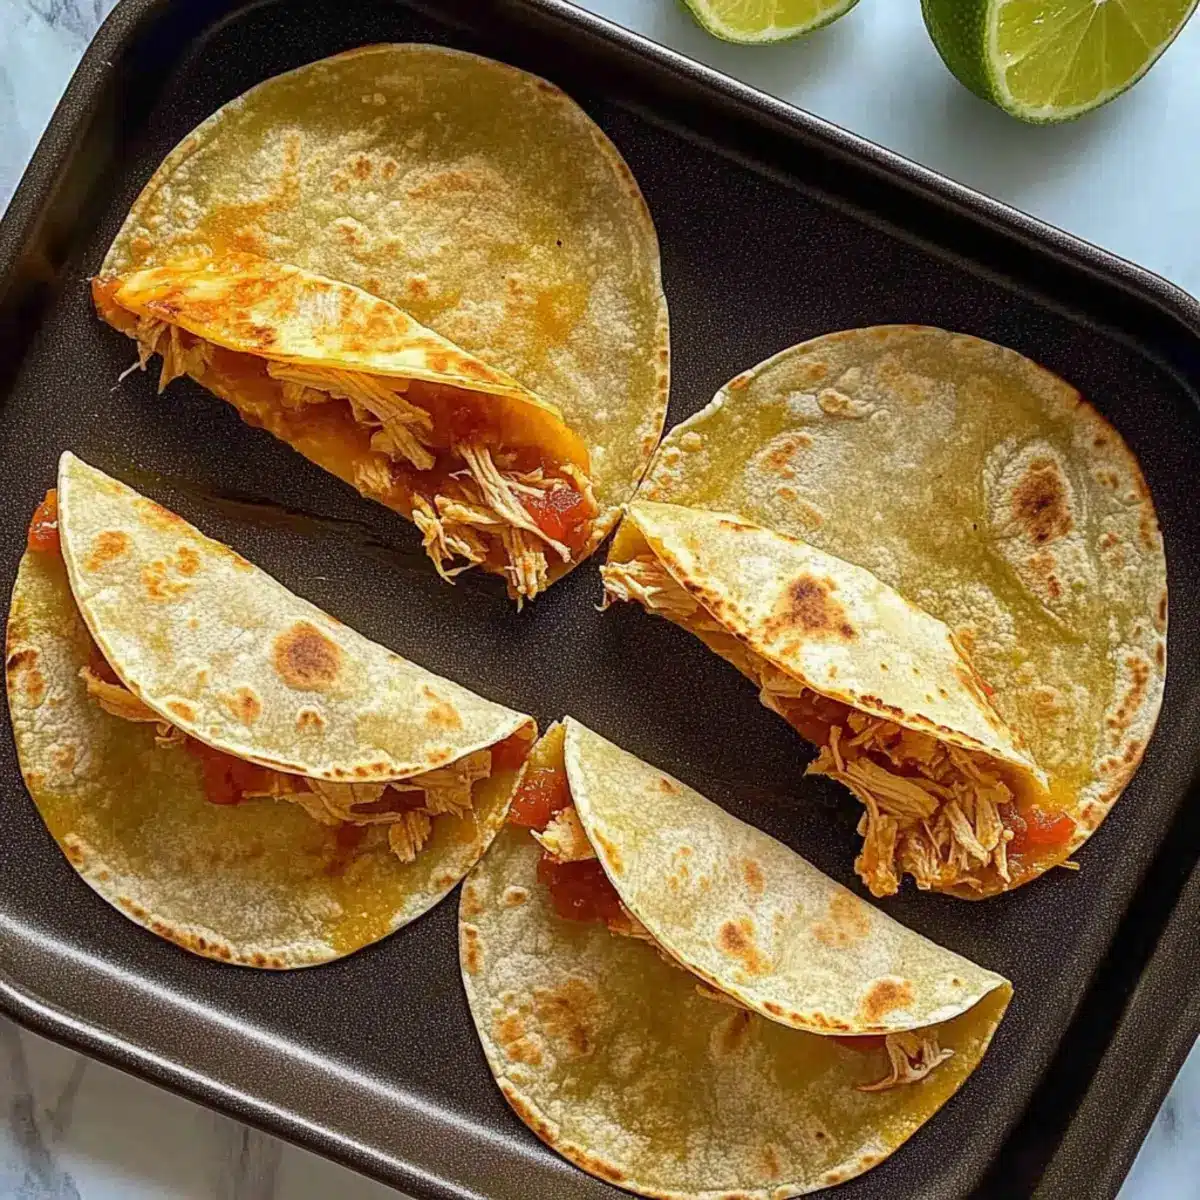
Absolutely! For the best results, I recommend using extra thin corn tortillas, such as Mission brand. They hold up well to baking and give that perfect crispy texture. If you can’t find corn tortillas, feel free to use flour tortillas, but keep in mind they might not achieve the same level of crunch.
How should I store leftover baked chicken tacos?
Store any leftover baked chicken tacos in an airtight container in the refrigerator for up to 3 days. Before serving, I suggest reheating them in the oven or air fryer at 400°F for about 2-4 minutes to restore their crispy delight. Avoid using the microwave, as it can make the tortillas soggy.
Can I freeze baked chicken tacos?
Yes, you can! Assemble the tacos but do not bake them. Place the unbaked tacos in an airtight container or freezer bag, and they will keep in the freezer for up to 2 months. When you’re ready to enjoy them, just bake from frozen, adding a few extra minutes to the typical bake time. This way, you can enjoy delicious homemade tacos anytime!
What should I do if my tortillas crack while assembling?
Very important! If your tortillas crack, it’s usually because they haven’t been warmed up enough. Be sure to microwave them until they are soft and pliable—about 45-60 seconds wrapped in a damp paper towel does wonders. If you find that even after warming they still crack, you may want to try a different brand or look for thicker tortillas, which can be more forgiving.
Are baked chicken tacos healthy?
Absolutely! Each baked chicken taco contains approximately 110 calories, making it a guilt-free indulgence. They’re low in calories but high in flavor, fitting well into many dietary plans. If you’re mindful of dietary restrictions, you can use ground turkey or make them vegetarian with roasted vegetables to cater to different needs.
How can I customize the filling for my baked chicken tacos?
The more the merrier! You can easily customize the filling to suit your taste. Instead of chicken, try using ground beef, shredded beef, pulled pork, or even roasted vegetables for a vegetarian option. Want more flavor? Add spices like taco seasoning or chipotle powder to the filling. Don’t hesitate to mix and match for a variety your family will love!
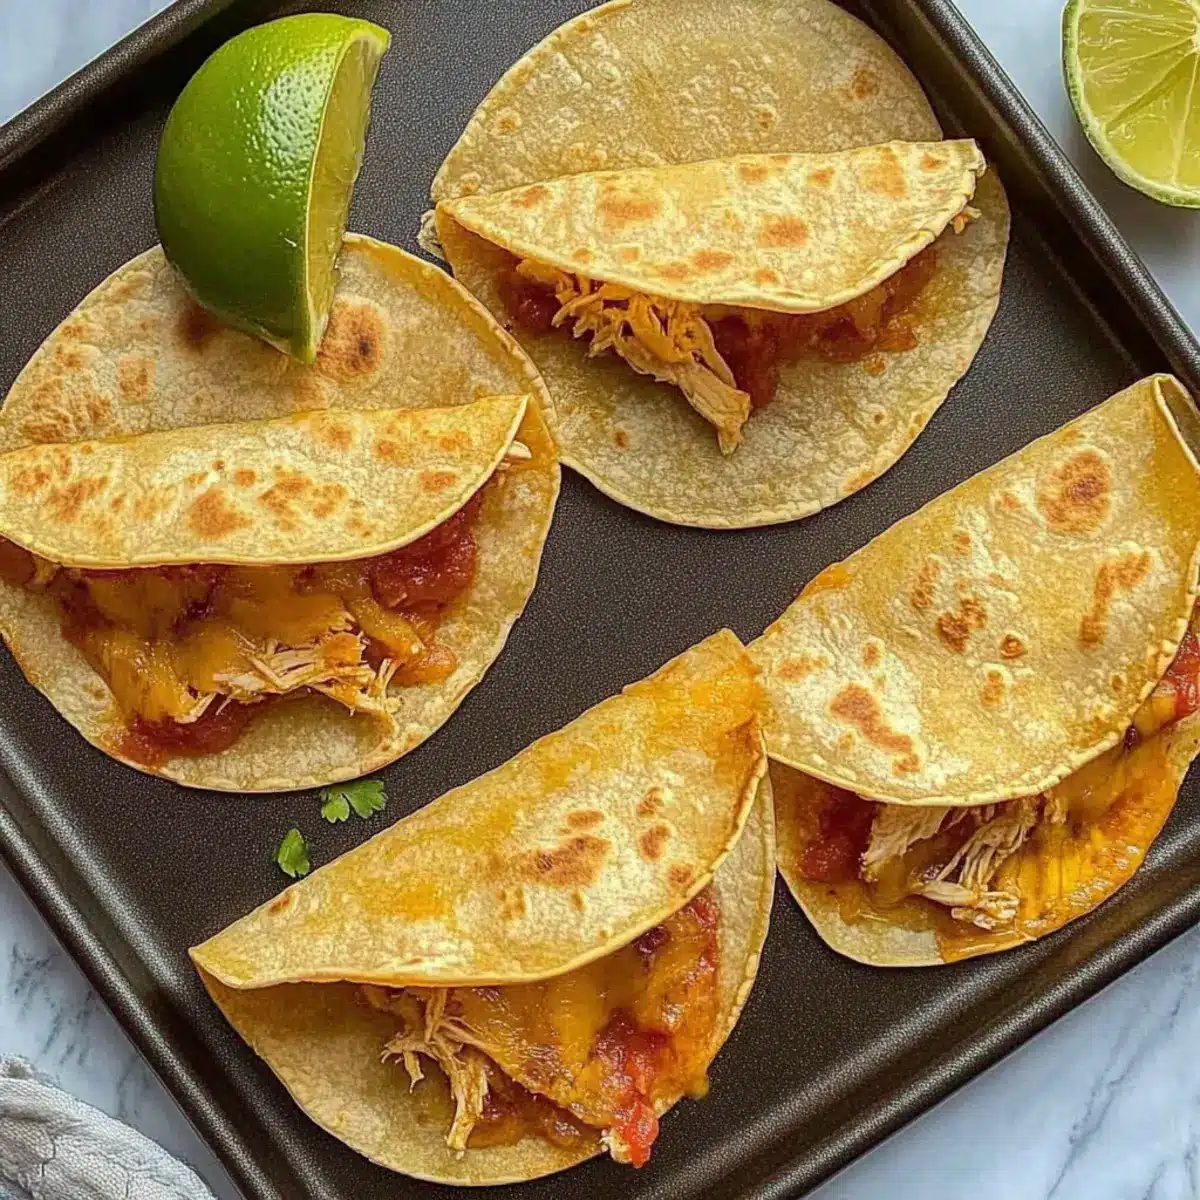
Savory Baked Chicken Tacos: Quick and Crispy Delight
Ingredients
Equipment
Method
- Preheat your oven to 400°F (200°C).
- Wrap the tortillas in a damp paper towel and microwave for 45–60 seconds, flipping halfway.
- Fill one half of each tortilla with cooked chicken and shredded cheddar, then fold and press gently to seal.
- Place tacos seam side down on a baking sheet and cover with a heavy oven-safe dish.
- Bake for 8–12 minutes until golden-brown and crispy.
- For extra crispiness, remove the weight for the last 2–3 minutes of baking.
Leave a Reply