
As I stood in my kitchen, the enticing aroma of freshly baked cookies wafted through the air, but I needed something a little different to surprise my taste buds. That’s when I decided to whip up a batch of gluten-free chocolate oat cookies—my new go-to for a quick and easy indulgence! Rich in chocolate and delightfully chewy, these cookies don’t just satisfy my sweet tooth; they’re also a healthier option for snacking without compromising on flavor. Plus, the simplicity of the recipe means you can have a warm batch ready in no time, making them perfect for any occasion. Curious about how to create this sweet sensation in your own kitchen? Let’s dive into the recipe!
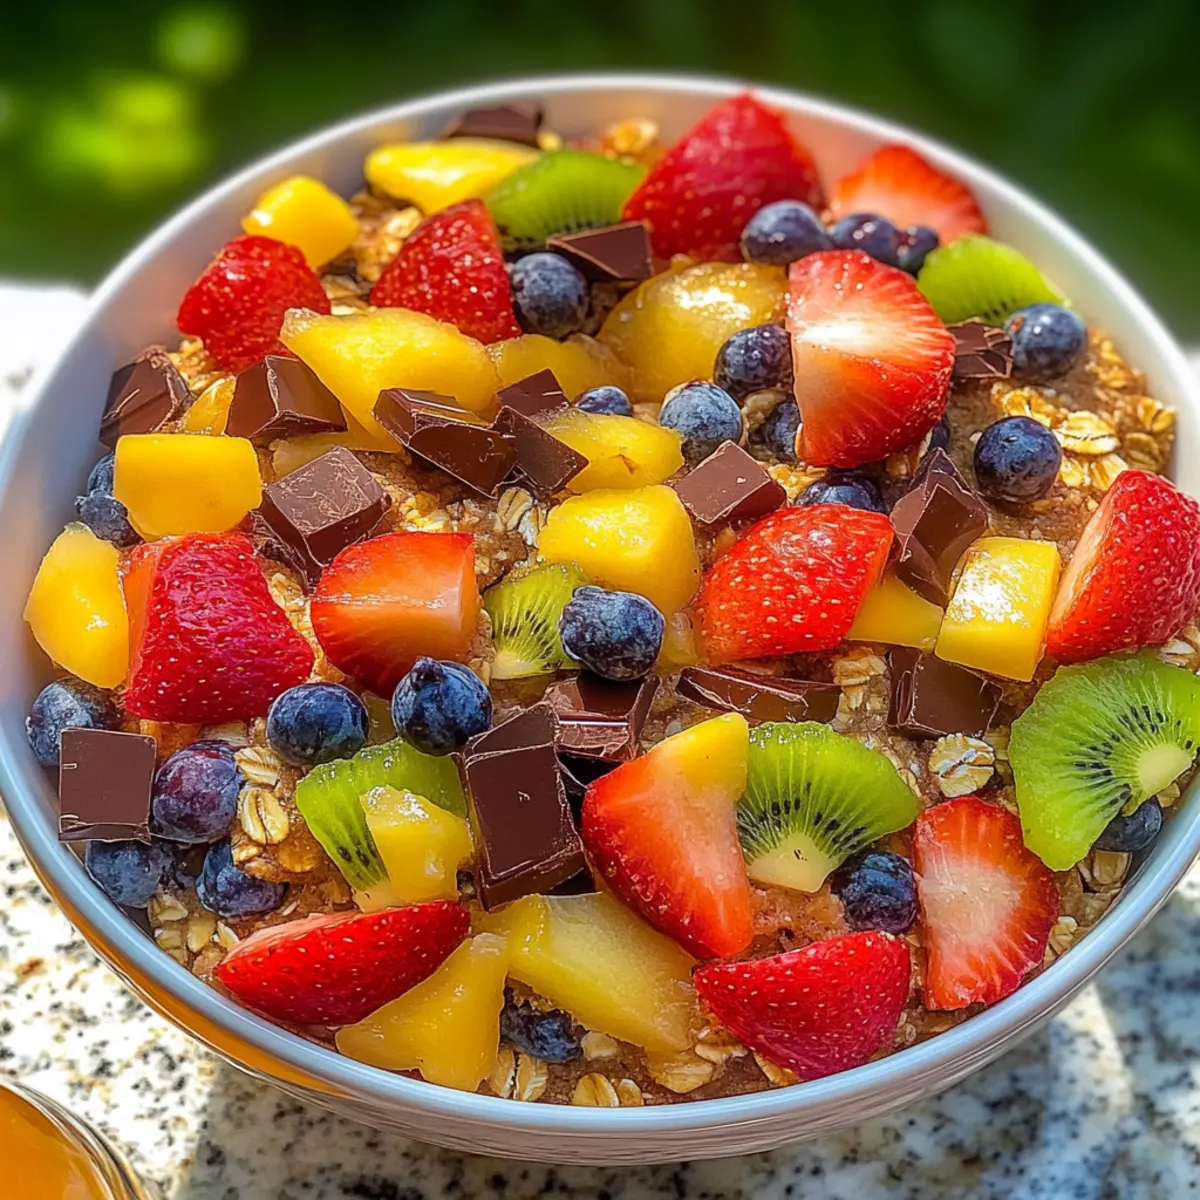
Why are these cookies a game changer?
Quick, Effortless Prep: The simplicity of this recipe allows anyone to whip up a delicious batch in under 30 minutes—perfect for busy lives!
Decadent Chocolate Flavor: Rich cocoa powder paired with gooey chocolate chips creates a treat that’s truly irresistible.
Healthy Twist: With rolled oats and nut butter, these cookies offer a nutritious snacking option without sacrificing taste.
Versatile Variations: Whether you prefer classic or gluten-free, you can easily customize this recipe to satisfy your cravings. Plus, check out my Hawaiian Cheesecake Salad or Mango Panna Cotta for a sweet finish to your meal!
Crowd-Pleasing Appeal: These cookies make a fantastic addition to any gathering, ensuring they’ll disappear quickly. Whether it’s for kids or adults, everyone will love them!
Gluten-Free Chocolate Oat Cookies Ingredients
For the Cookies
- Rolled Oats – Use gluten-free oats for a satisfying gluten-free option.
- Cocoa Powder – Opt for Dutch-processed cocoa for a smoother and richer flavor.
- Nut Butter (Almond or Peanut) – This binds the cookies together and adds healthy fats, giving them a delightful texture.
- Sweetener (Honey or Maple Syrup) – Use agave syrup for a vegan twist that perfectly sweetens the mix.
- Chocolate Chips – Toss in dairy-free chips if you’re looking for a vegan-friendly indulgence.
For Serving (Optional)
- Almond Milk – A refreshing pairing that complements the cookies beautifully.
- Coffee – The deep flavors sip well together, making for a perfect afternoon treat.
These gluten-free chocolate oat cookies are a versatile and healthy indulgence, sure to delight your taste buds!
Step‑by‑Step Instructions for Gluten-Free Chocolate Oat Cookies
Step 1: Preheat the Oven
Begin by preheating your oven to 350°F (175°C). This ensures that your baking environment is hot enough to create those perfectly baked cookies. While the oven warms up, gather your ingredients and line a baking sheet with parchment paper, preparing a surface for your cookies to bake evenly.
Step 2: Mix Dry Ingredients
In a large bowl, combine rolled oats, cocoa powder, and any other dry ingredients you’re using. Stir them together until fully blended, ensuring that there are no clumps of cocoa powder. You want this mixture to be uniform, as it sets the base for your gluten-free chocolate oat cookies, contributing to their delicious texture.
Step 3: Prepare Wet Ingredients
In a separate bowl, add your chosen nut butter and sweetener. Use a fork or whisk to mix until smooth and creamy. This mixture should be glossy and well-combined, allowing for easy incorporation into the dry ingredients later, which will help form a rich batter for the cookies.
Step 4: Combine Dry and Wet Mixtures
Once you have both wet and dry mixtures prepared, pour the wet ingredients into the dry ingredients. Gently fold them together with a spatula or wooden spoon until just combined. Be mindful not to over-mix, as this will ensure your gluten-free chocolate oat cookies remain tender and chewy instead of tough.
Step 5: Add Chocolate Chips
Now it’s time to add the chocolate chips! Gently fold them into the cookie dough, ensuring they’re evenly distributed throughout. This step enhances the overall chocolate flavor of your cookies and adds delightful chunks of sweetness, making each bite an irresistible treat.
Step 6: Drop Cookie Dough
Using a spoon or cookie scoop, drop generous spoonfuls of the dough onto your prepared baking sheet, spacing them about two inches apart. The dough will spread slightly while baking, so give them some room. Aim for uniform sizes for even cooking, granting each cookie a deliciously chewy texture.
Step 7: Bake the Cookies
Place the baking sheet in your preheated oven and bake for 10-12 minutes. Keep an eye on the edges; they should look firm and slightly crisp while the centers remain soft and chewy. This is the perfect baking time to achieve those beloved gluten-free chocolate oat cookies that everyone will enjoy.
Step 8: Cool and Enjoy
Once baked, remove the cookies from the oven and let them cool on the baking sheet for 5 minutes. This resting period allows them to set slightly and makes transferring them easier. After cooling, transfer the cookies to a wire rack to cool completely, ensuring they retain their perfect chewy texture before serving.
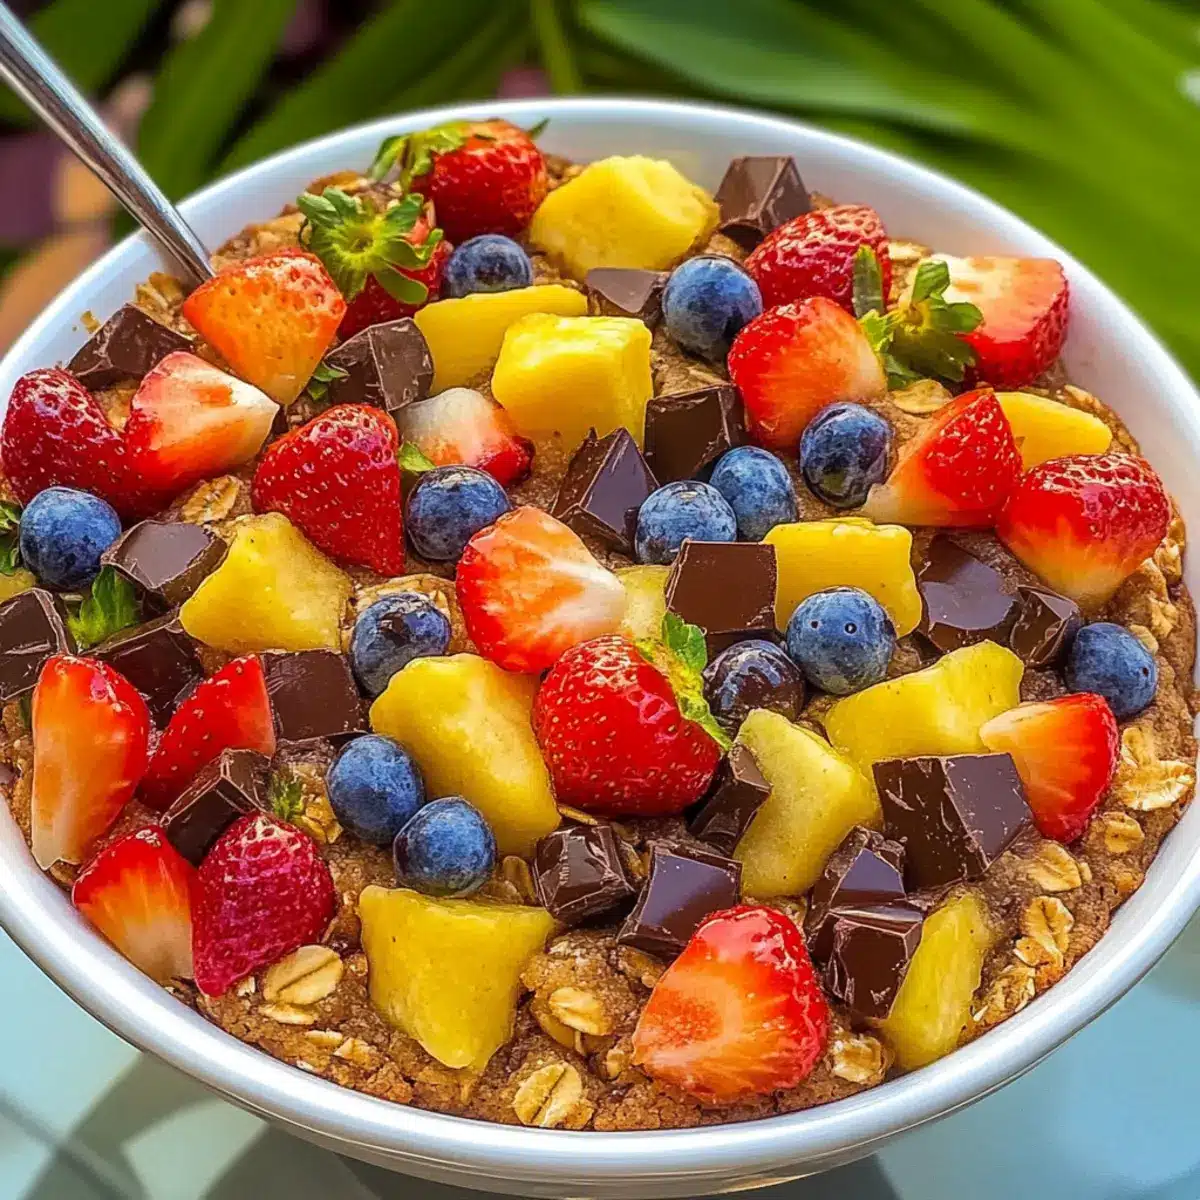
What to Serve with Gluten-Free Chocolate Oat Cookies
Savoring these delightful cookies alone is tempting, but elevating them with the right pairings creates a symphony of flavors for your taste buds.
-
Almond Milk: A refreshing glass of almond milk complements the rich chocolate flavor perfectly, adding a creamy contrast to your snack.
-
Fresh Berries: A medley of strawberries and blueberries brings a burst of freshness that balances the sweetness of the cookies. These juicy fruits add a vibrant color and a lovely tartness!
-
Coffee: The deep, robust flavors of a fresh brew bring out the cocoa notes, making for a cozy afternoon treat—perfect alongside your cookies.
-
Greek Yogurt: Creamy, tangy Greek yogurt provides protein, turning your cookies into a more balanced snack when enjoyed together. Consider adding a drizzle of honey for extra sweetness!
-
Vanilla Ice Cream: For a dreamy dessert, pair these chewy cookies with a scoop of vanilla ice cream, creating the ultimate indulgent treat that’s both warm and cold.
-
Coconut Flakes: Sprinkle some toasted coconut on top for an added crunch and tropical twist, enhancing both flavor and texture with delightful richness!
These pairings transform simple gluten-free chocolate oat cookies into a delightful gathering experience, inviting friends and family to indulge in your homemade creations.
Tropical Sunshine Fruit Salad Variations
Feel free to brighten up this fruit salad with your own touches for a uniquely refreshing twist!
-
Citrus Boost:
Add a splash of freshly squeezed orange or lemon juice for a zesty burst of flavor that brightens the entire dish. Citrus elevates the natural sweetness and makes every bite feel more invigorating. -
Berry Medley:
Incorporate a mix of berries like strawberries, blueberries, or raspberries to enhance color and antioxidants. The tartness of berries pairs beautifully with tropical fruits, bringing a delightful balance to your salad. -
Crunchy Texture:
Add chopped nuts or seeds such as almonds or chia seeds for an added crunch that contrasts with the soft fruit. This twist not only enhances texture but also brings in healthy fats perfect for a snack. -
Creamy Addition:
Consider folding in some yogurt or whipped coconut cream to create a creamy layer that complements the freshness of the fruit. This indulgence turns your salad into a creamy dessert treat. -
Herbal Note:
Sprinkle in some fresh mint leaves or basil for an aromatic flair. The herbaceous notes can elevate the tropical experience, making it feel less ordinary and more gourmet! -
Spiced Up:
Dust with a hint of cinnamon or a sprinkle of chili powder for a surprising depth of flavor. This adds a warm, cozy element to the salad that will have everyone guessing the secret ingredient. -
Lightly Sweetened:
Drizzle a bit of honey or agave syrup over the top for enhanced sweetness, especially if your fruits are on the tart side. Just a touch can tie everything together beautifully, making your salad even more appealing. -
Coconut Shavings:
Top with unsweetened coconut flakes for a tropical vibe that immerses you in island flavors. The chewiness of coconut perfectly complements the juicy fruits, transforming your salad into a tropical escape!
Try any of these variations to make your Tropical Sunshine Fruit Salad a personalized delight! And if you’re looking for dessert inspiration, give my incredibly delicious Mango Panna Cotta a try!
Make Ahead Options
These Gluten-Free Chocolate Oat Cookies are an excellent choice for busy home cooks looking to save time! You can prepare the cookie dough up to 24 hours in advance by mixing all the ingredients and then refrigerating the dough in an airtight container. This not only makes assembly a breeze but also allows the flavors to meld beautifully. If you prefer, you can scoop the dough into balls and freeze them for up to 3 months; simply bake from frozen, adding a couple of additional minutes to the baking time. When you’re ready to enjoy these delightful cookies, just follow the final steps of baking as indicated in the recipe, ensuring you have warm, chewy treats that are just as delicious!
Storage Tips for Gluten-Free Chocolate Oat Cookies
Room Temperature: Store your cookies in an airtight container at room temperature for up to 5 days to maintain their delightful chewy texture.
Fridge: If you prefer, refrigerate in an airtight container for up to 2 weeks. Allow cookies to come to room temperature before enjoying for the best flavor experience.
Freezer: For longer storage, freeze the cookies in a single layer on a baking sheet, then transfer to a zip-top bag for up to 3 months. Thaw in the fridge overnight before indulging.
Reheating: To enjoy warm cookies, simply warm in the microwave for about 10-15 seconds. This refreshing method will enhance the gooey chocolate chips again, making your gluten-free chocolate oat cookies irresistible!
Expert Tips for Gluten-Free Chocolate Oat Cookies
• Choose Quality Ingredients: Fresh, gluten-free rolled oats and high-quality cocoa powder elevate your cookie’s flavor. Ensure everything is in good condition for the best results.
• Mind the Mixing: Avoid over-mixing the dough; this can lead to tough cookies. Mix just until combined for that perfect chewy texture everyone loves.
• Cooling is Key: Allow cookies to cool completely on a wire rack. This helps them firm up, making them easier to handle and intensifying the flavor of your gluten-free chocolate oat cookies.
• Watch the Baking Time: Keep a close eye while baking—these cookies can go from perfect to overdone quickly! The edges should be firm, but the centers should remain soft for that desirable chew.
• Experiment with Add-ins: Don’t hesitate to get creative! Add nuts, seeds, or dried fruits for extra texture and flavor dimensions in your gluten-free chocolate oat cookies.
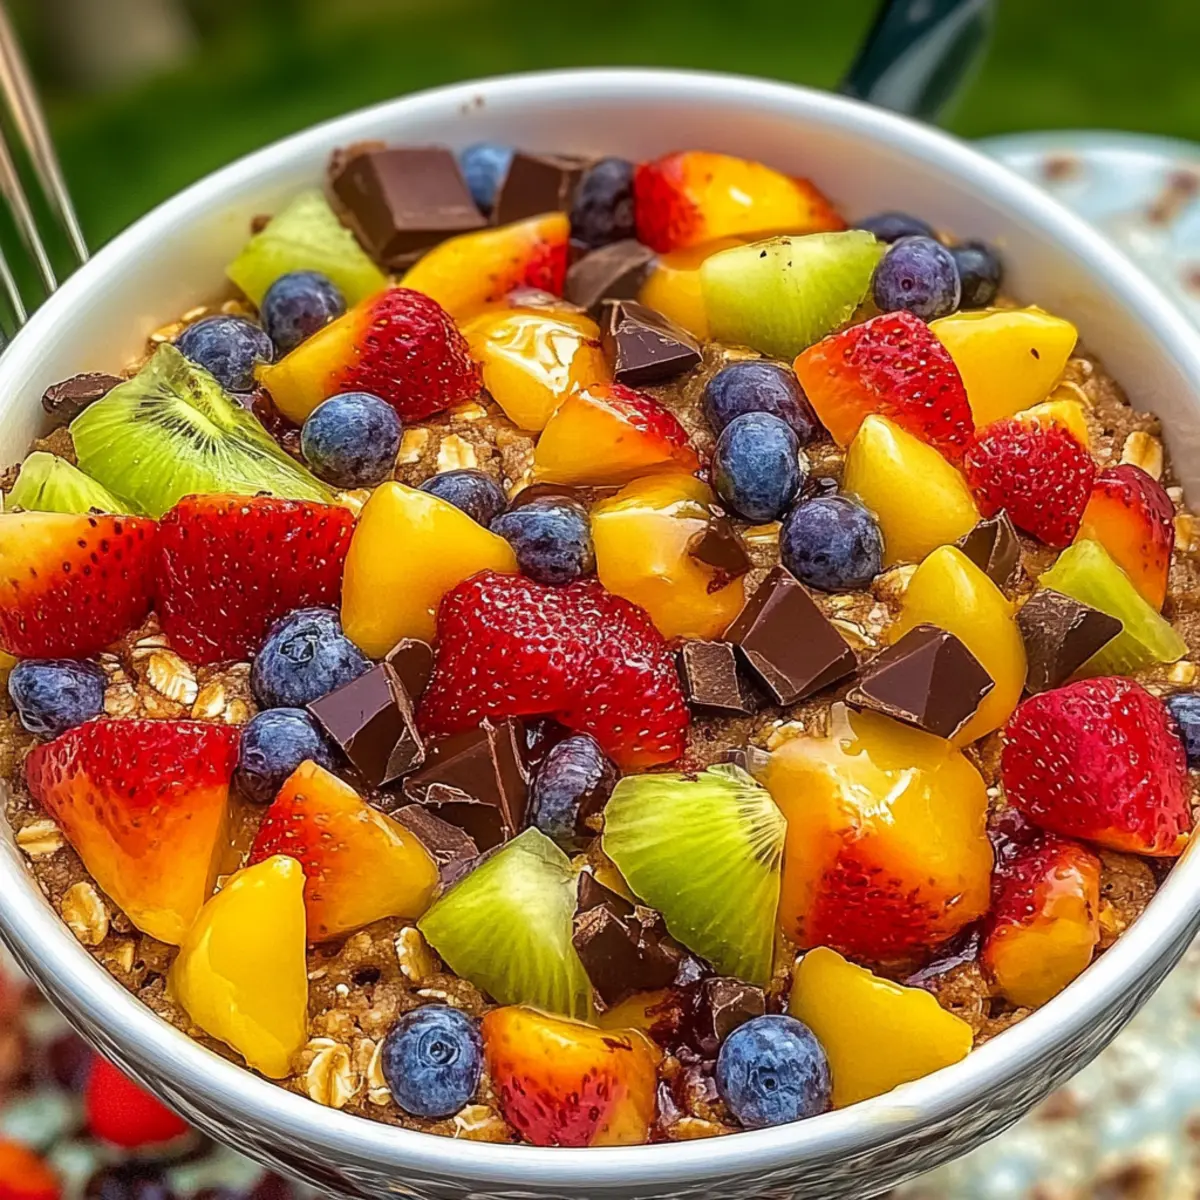
Gluten-Free Chocolate Oat Cookies Recipe FAQs
What type of oats should I use?
Absolutely! For gluten-free chocolate oat cookies, ensure you use certified gluten-free rolled oats. Regular oats can contain gluten due to cross-contamination during processing, so always check the label to keep your cookies safe for those with gluten sensitivities.
How should I store my cookies?
To keep your gluten-free chocolate oat cookies fresh, store them in an airtight container at room temperature for up to 5 days. If you live in a humid climate, refrigerate them to maintain texture and flavor, where they’ll keep for up to 2 weeks.
Can I freeze these cookies?
Very! To freeze your gluten-free chocolate oat cookies, first cool them completely. Then, place them in a single layer on a baking sheet and freeze for about an hour. Once solid, transfer them to a zip-top bag and label with the date. They’ll stay delicious in the freezer for up to 3 months! When you’re ready to enjoy, simply thaw in the fridge overnight or warm in the microwave for 10-15 seconds.
What do I do if my cookies turn out too dry?
If your gluten-free chocolate oat cookies turn out dry, it’s likely due to overmixing or using too much flour. Always mix the dough until just combined and avoid packing the oats. If you ever find yourself with dry cookies, adding a dollop of nut butter or a splash of milk (non-dairy works well too) can help restore some moisture when enjoying the leftovers!
Are these cookies safe for people with nut allergies?
If you’re baking for someone with nut allergies, you can substitute nut butter with sunflower seed butter, which is a great alternative that won’t compromise the flavor. Just ensure any additional ingredients, like chocolate chips, are also nut-free, especially when serving to sensitive individuals.
How can I customize these cookies further?
The more the merrier! Feel free to customize your gluten-free chocolate oat cookies by adding mix-ins like chopped nuts, seeds, or dried fruit to enhance texture and flavor. Experimenting with spices, such as cinnamon or vanilla extract, can also elevate your cookie’s taste, creating a unique and delicious treat each time!
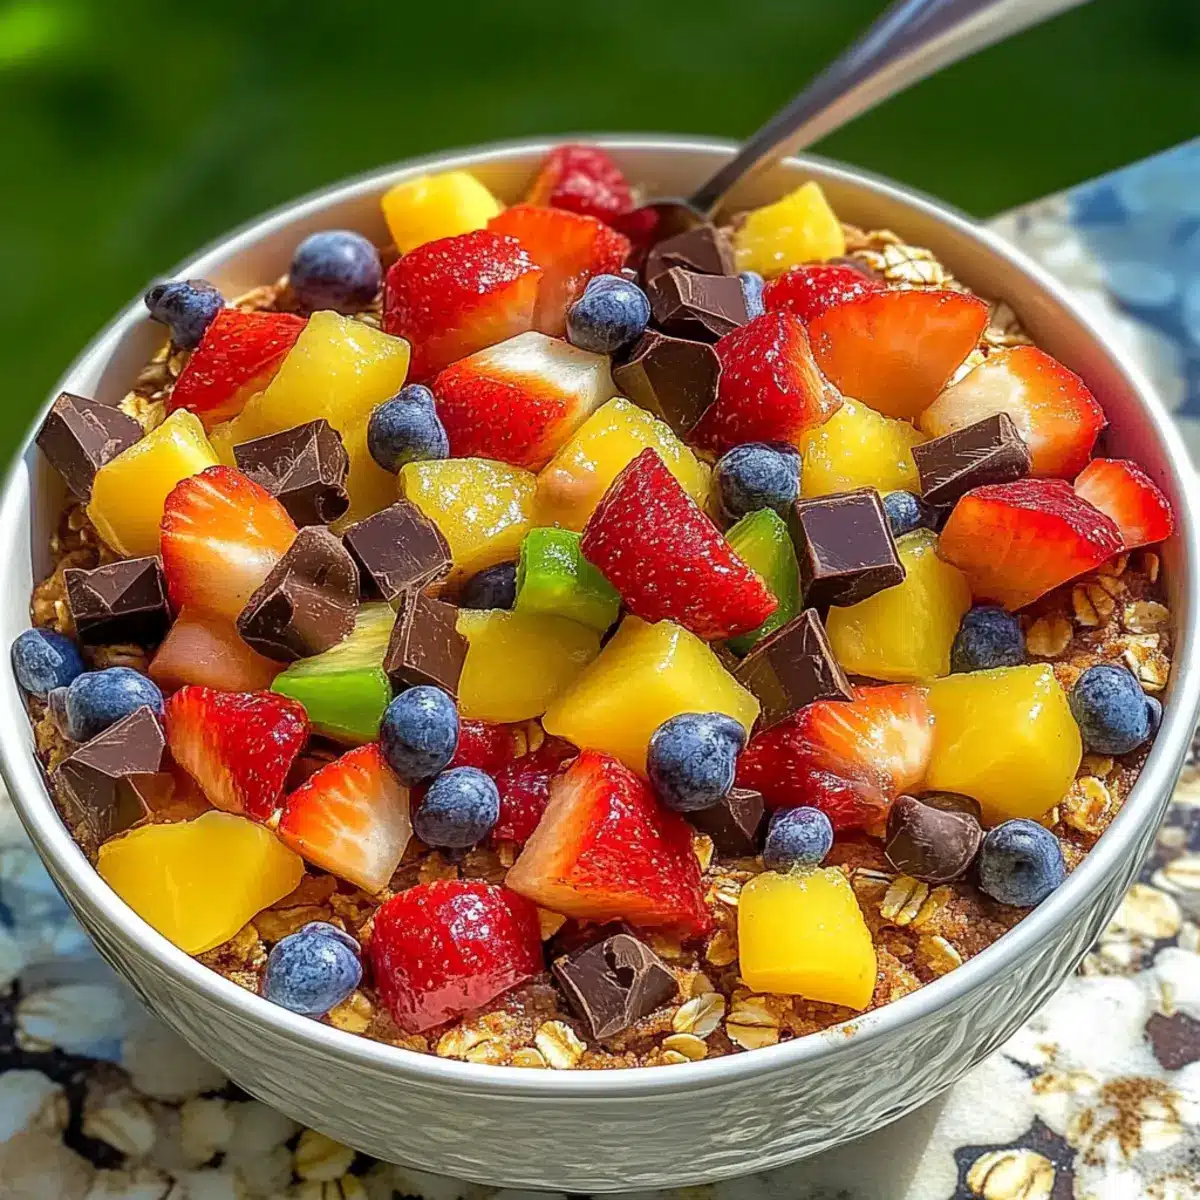
Tropical Sunshine Fruit Salad: A Bright and Healthy Delight
Ingredients
Equipment
Method
- Prepare all fruits by washing, peeling, and cutting them into bite-sized pieces.
- In a mixing bowl, combine all the diced fruits and gently toss them together.
- Drizzle lime juice over the salad and mix gently to combine.
- Serve immediately or chill in the refrigerator for 30 minutes for the best flavor.
Leave a Reply